
As you may have surmised, I’m not the girl who goes for gore. I don’t do horror films, gross things, or even dark colours, really. I’m pastel-hued, floral, I seek out beauty and positivity.
Each year I struggle with Halloween. I don’t want a severed finger on my cupcake, brain-shaped petit fours or spaghetti that looks like intestines. I very much admire the talent of the people who create them (and the stomachs of the people who eat them!) but I just can’t do it.
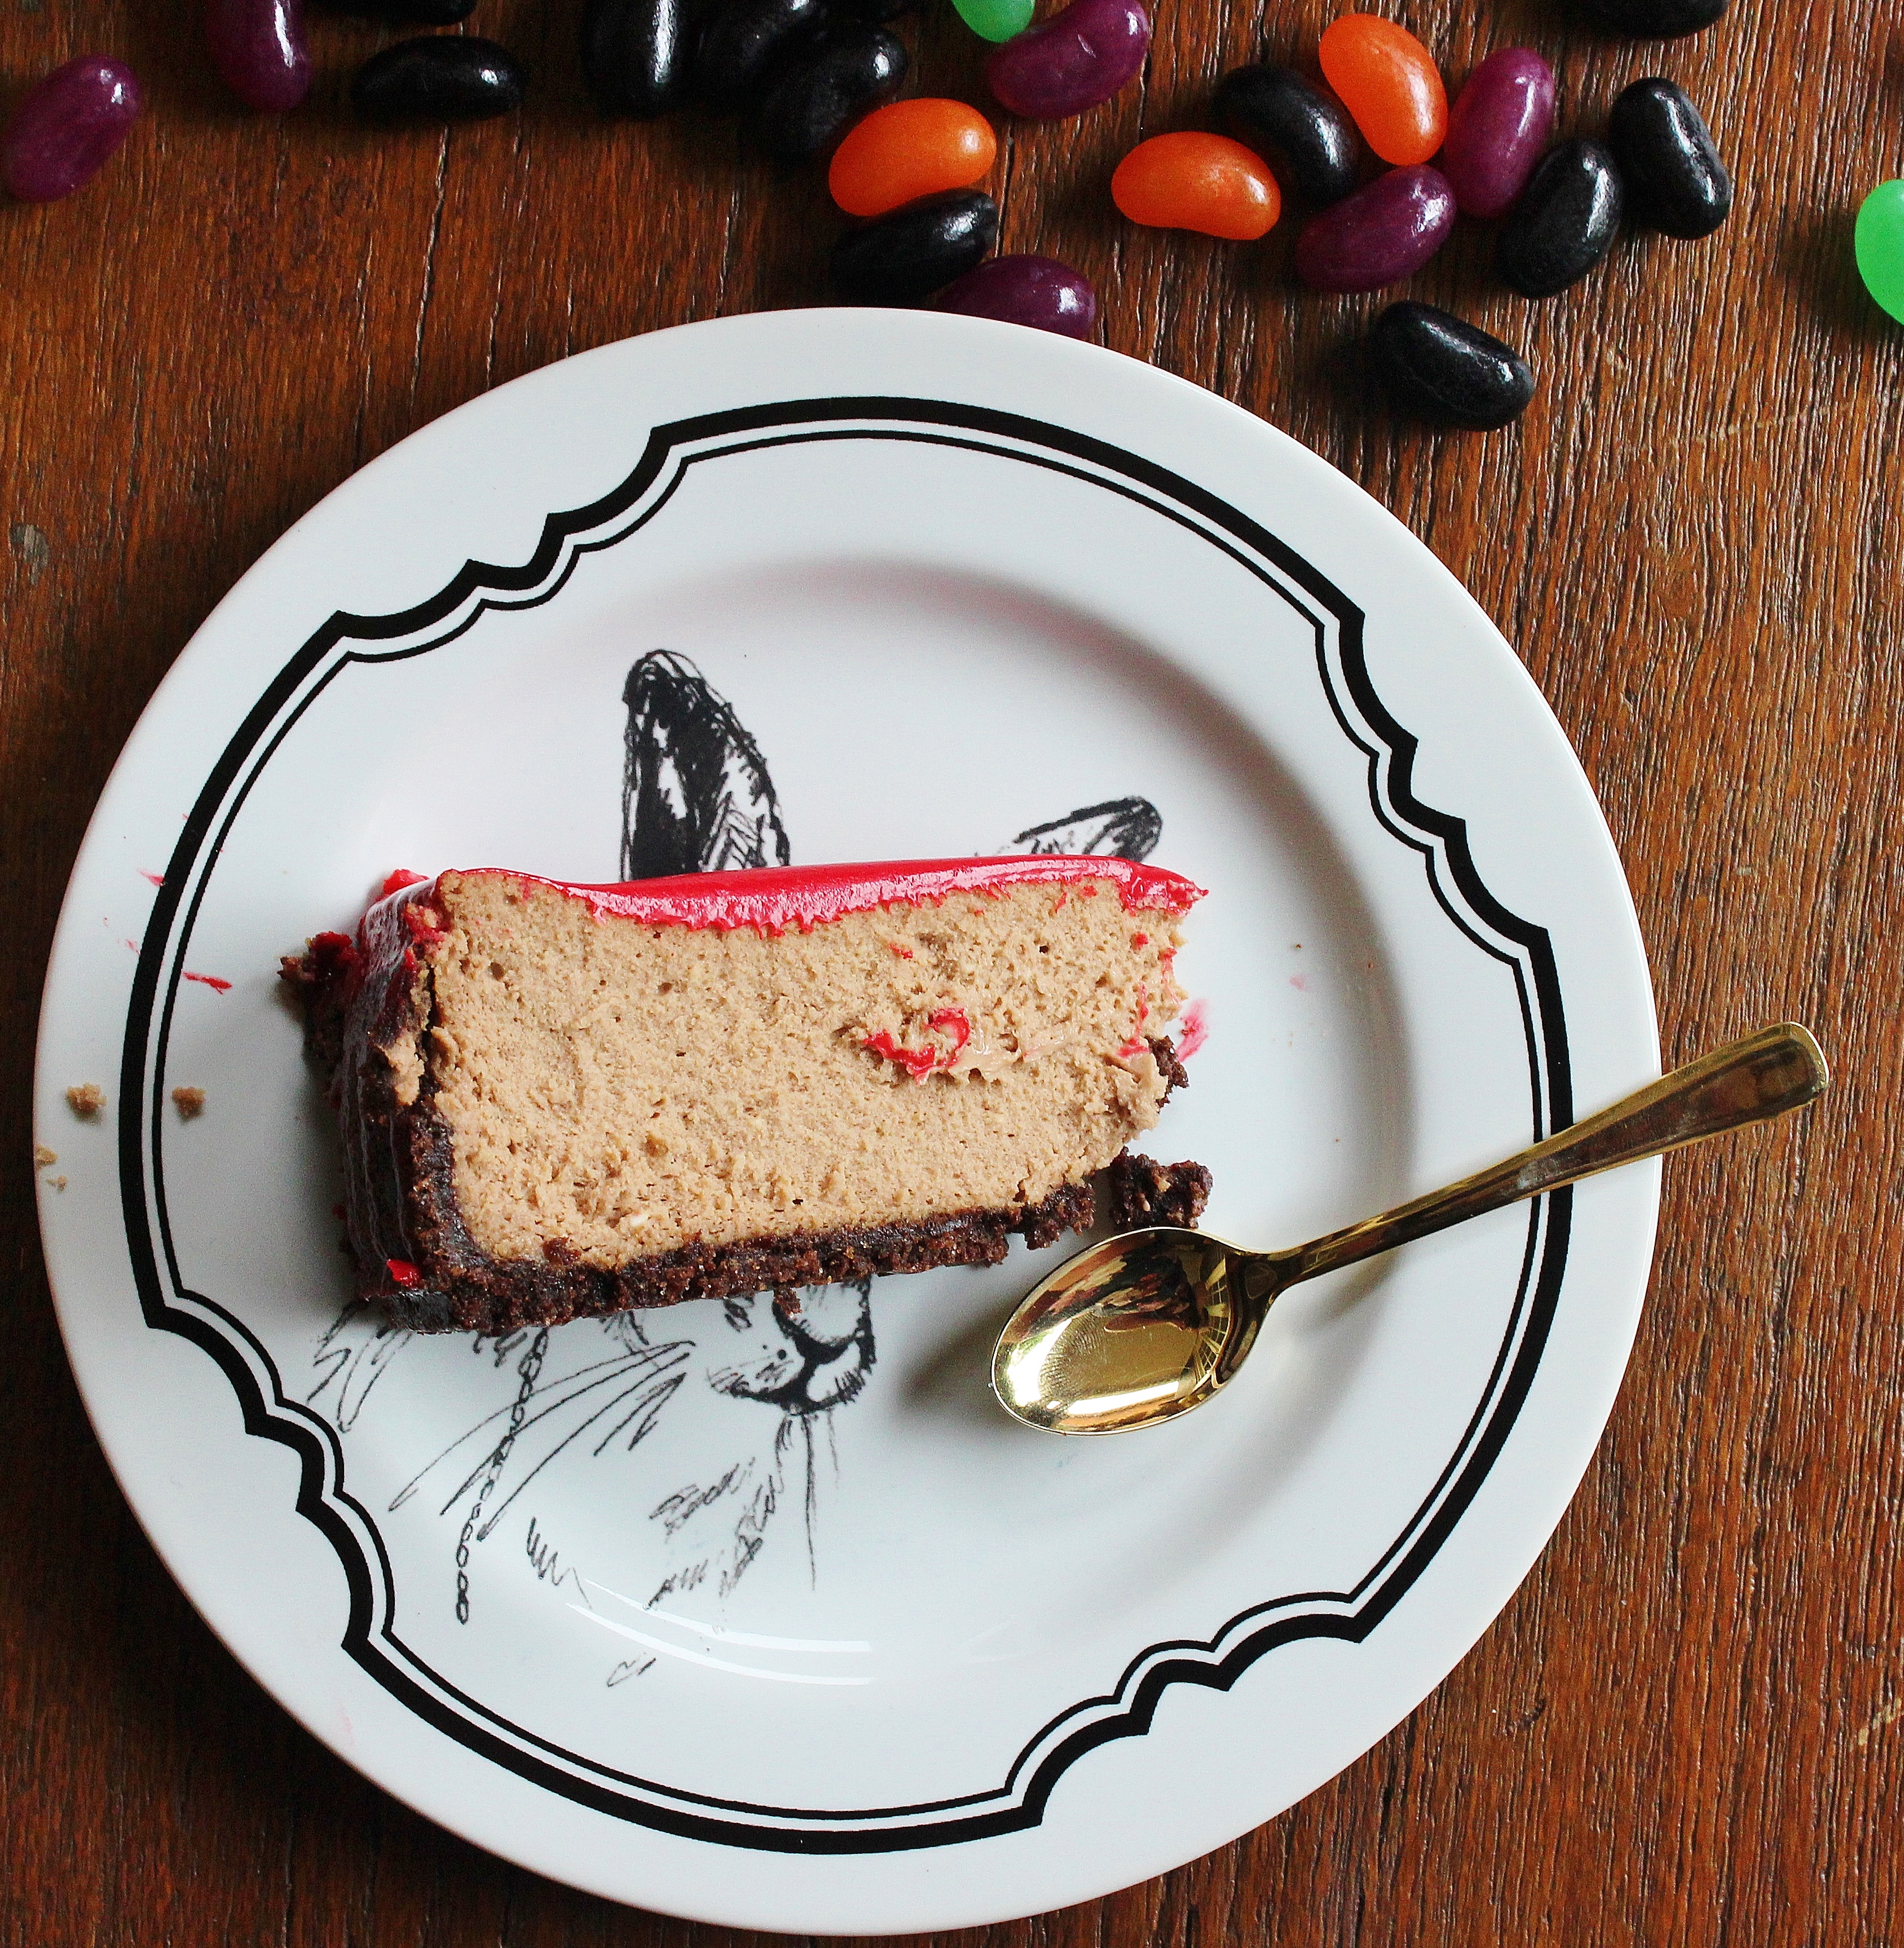
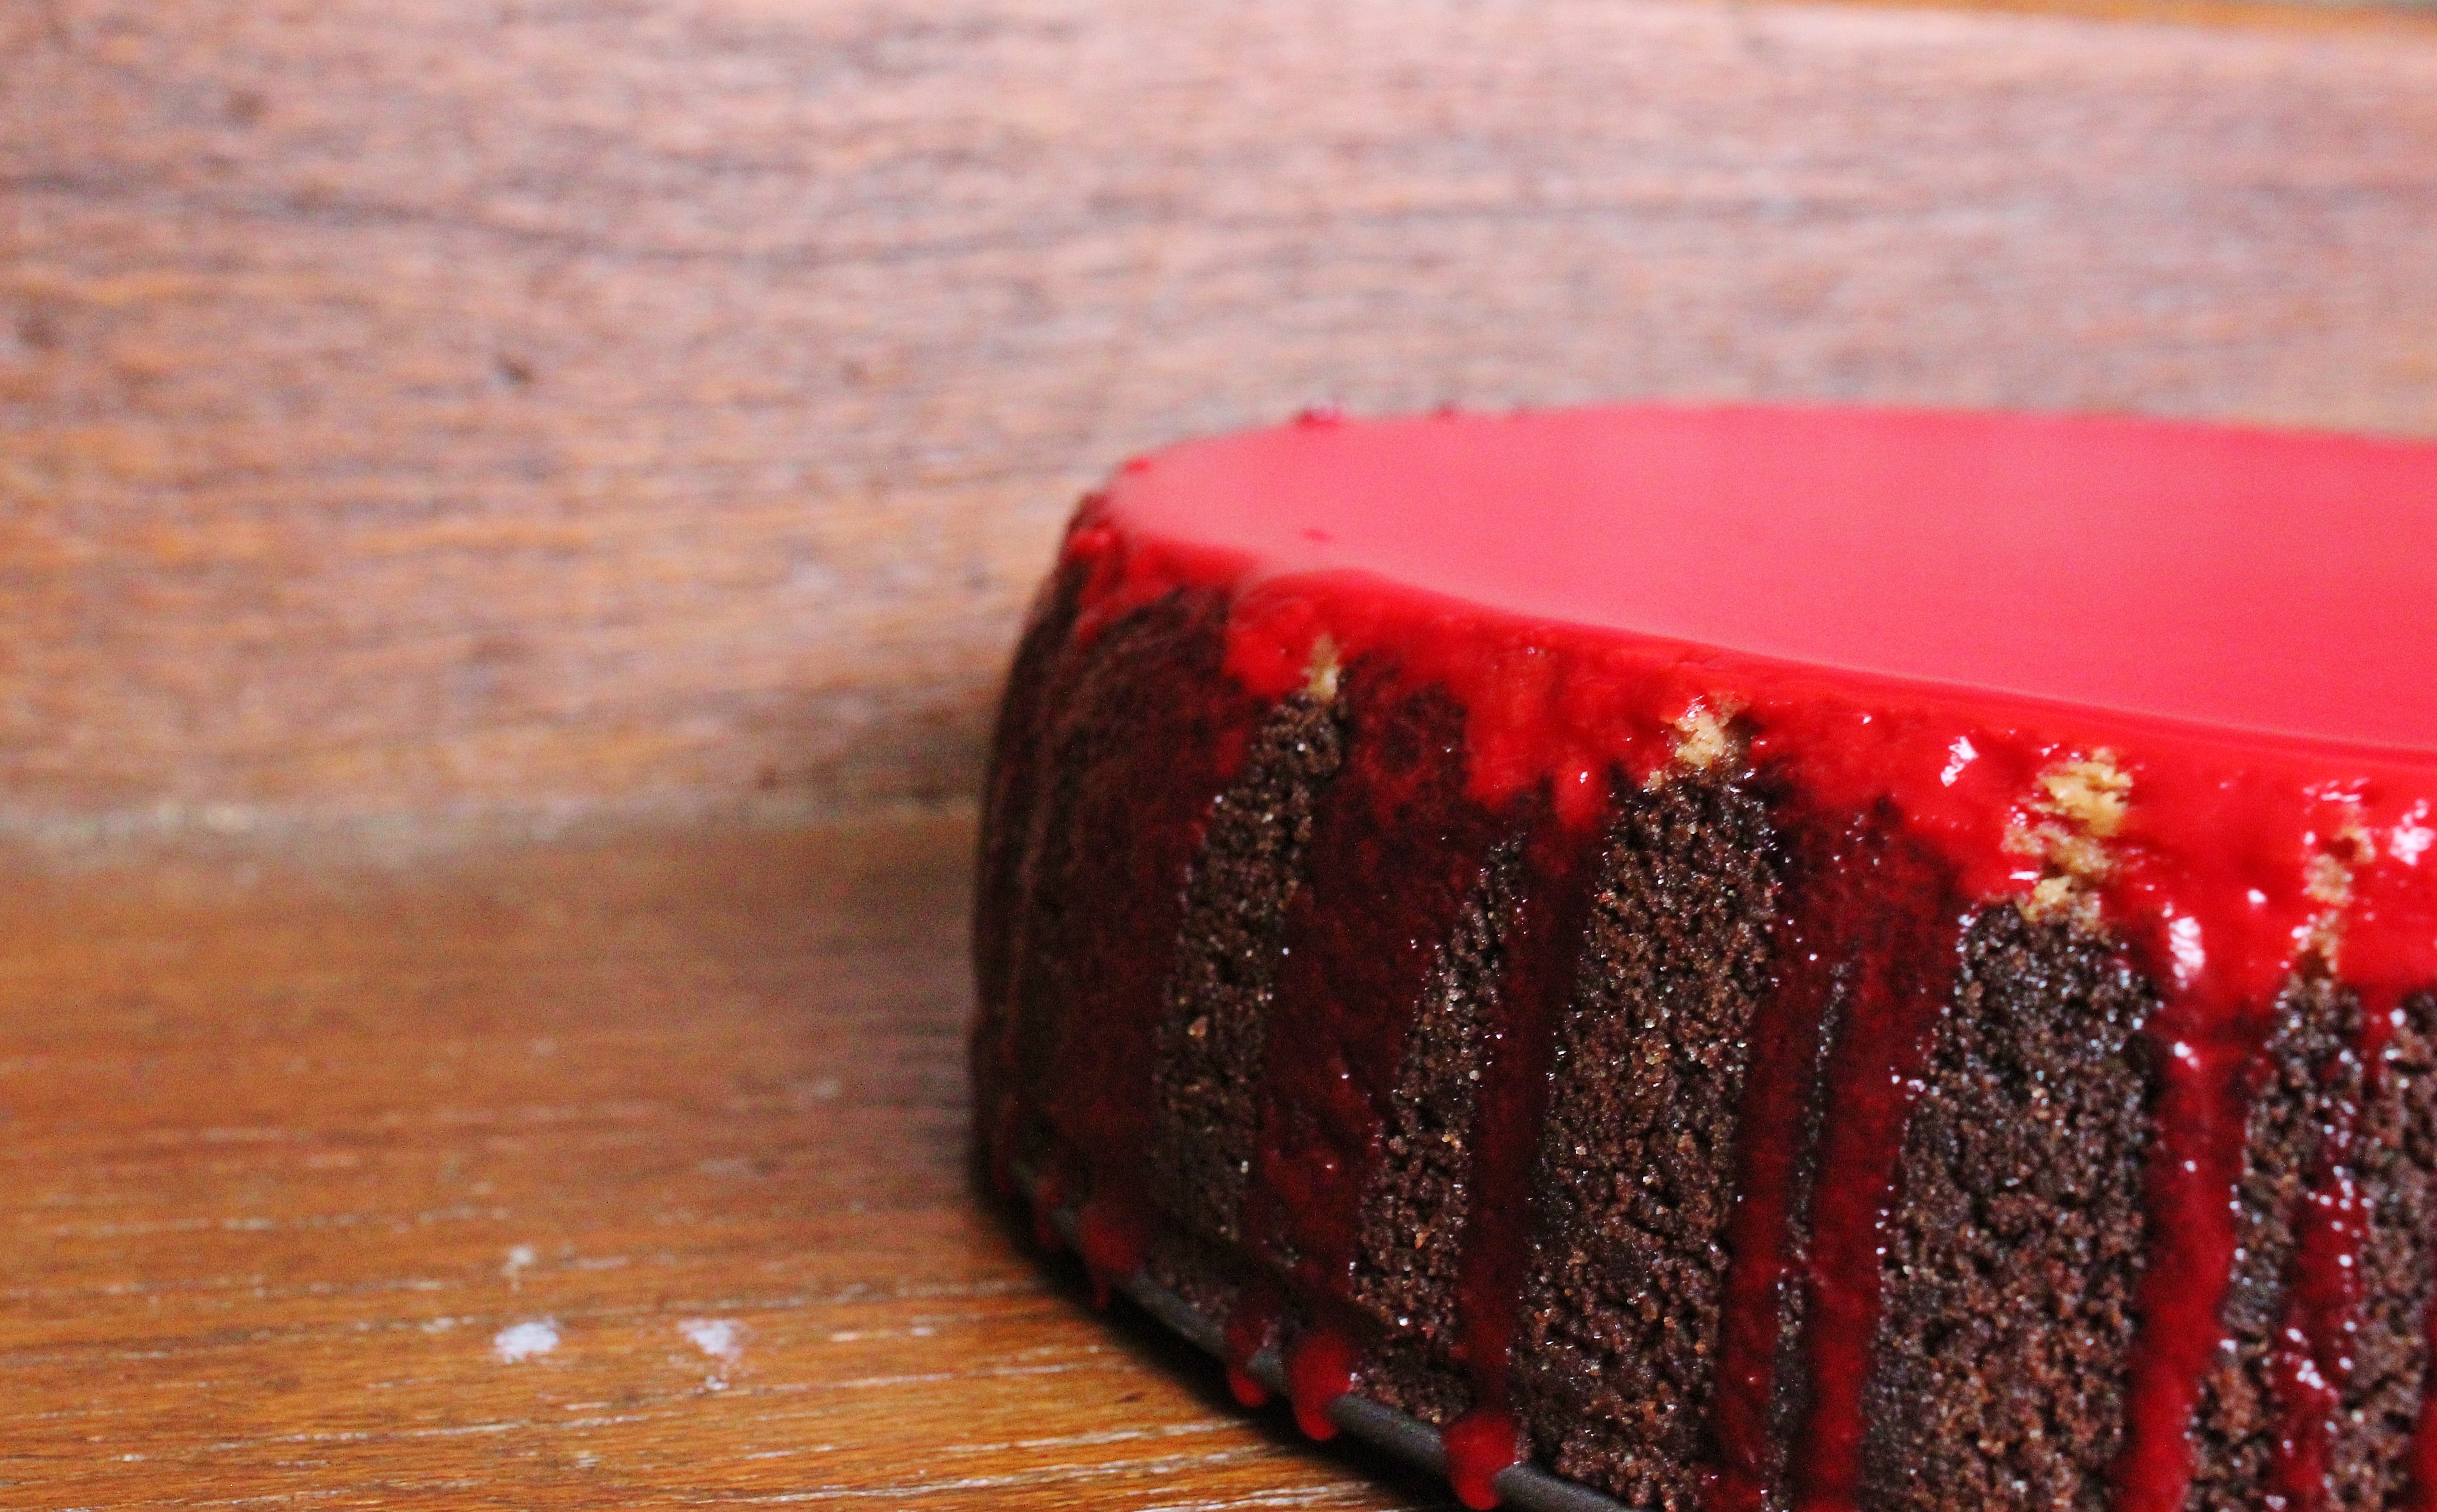
I tried really hard this year though. I wanted to get a little spooky! My Instagram feed has steered away from the usual airiness and into the darkness. And I created this ominous looking beast, which is delicious as well as dripping in chocolate blood!
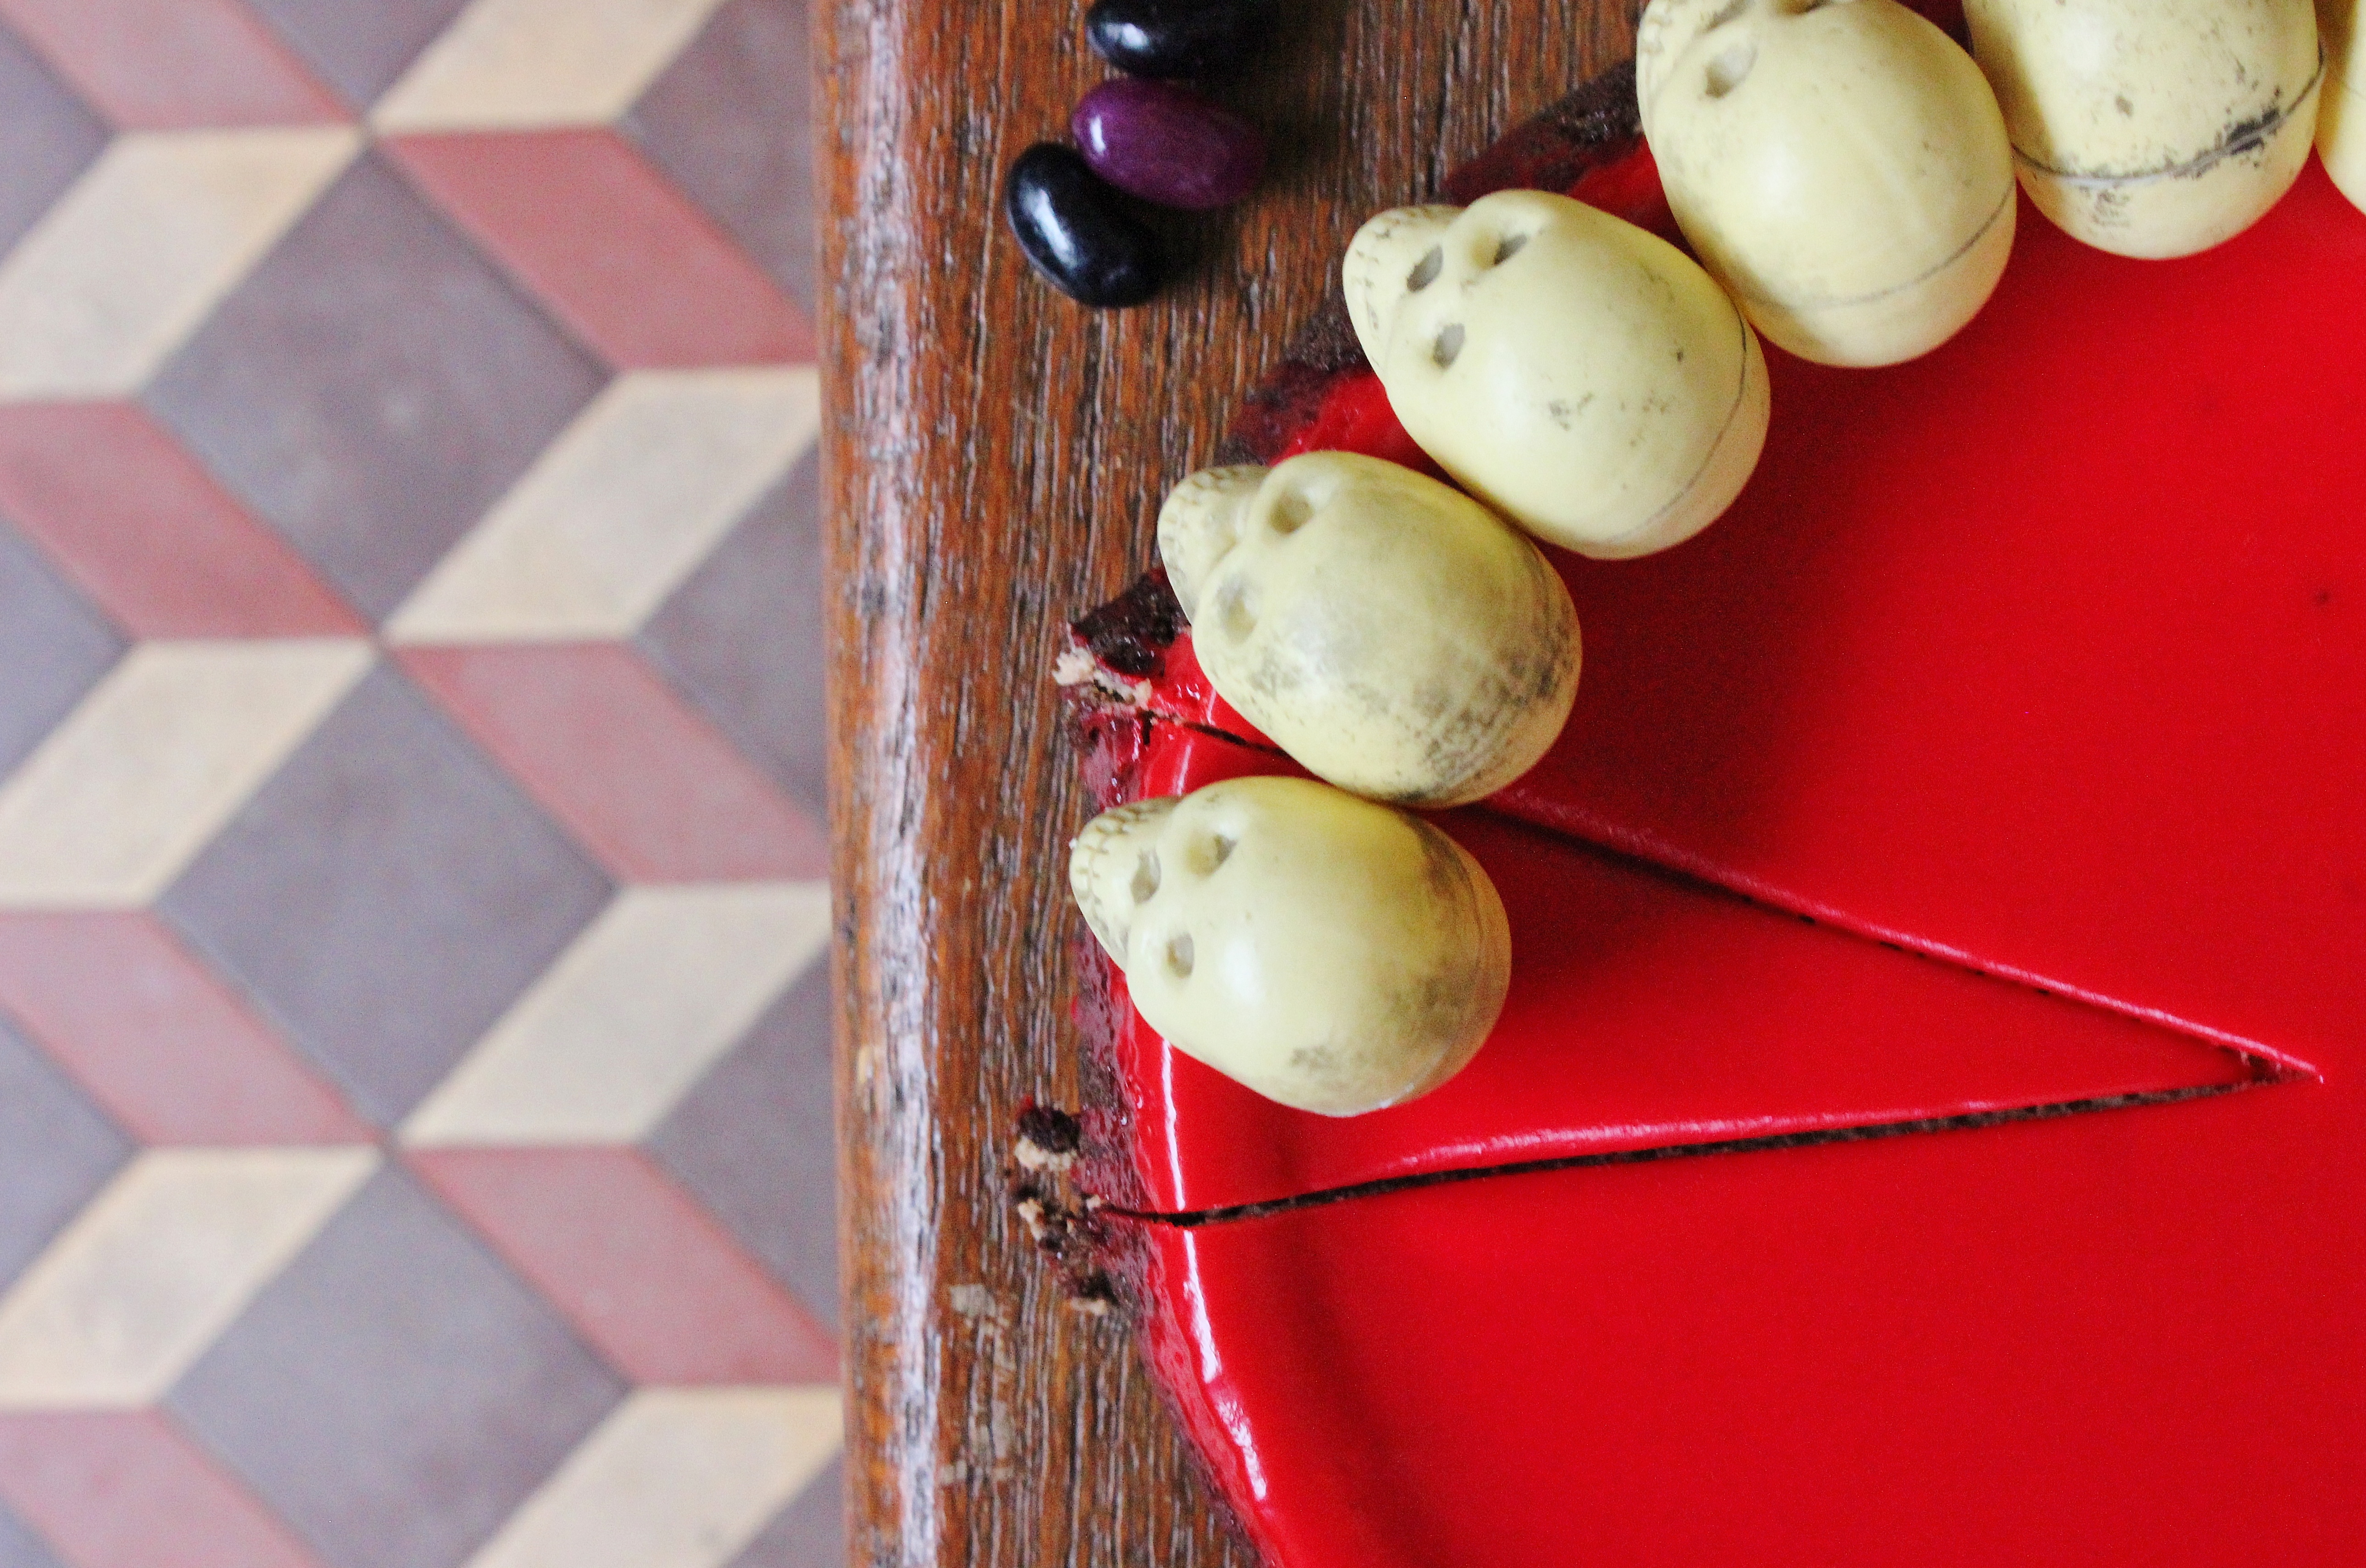
So when I found these little skulls at a two dollar shop near my work, I knew that I needed to use them! They’re the perfect balance of cuteness and creepiness – how great a two dollar shop finds?! If you’ve got skull-shaped chocolate moulds, you could also replace plastic skulls with edible ones.

Base:
- 300g choc biscuits (I used choc ripple)
- 80g melted butter
- 4 tbsp caster sugar
Filling:
- 750g cream cheese
- 1 ¼ cups sugar
- 1 tsp vanilla
- 3 eggs
- 70g dark chocolate, melted
- ½ cup thickened cream
Chocolate blood ganache:
- 120g white chocolate
- 140ml thickened cream
- Red food colouring
Grab a 25cm springform cake tin. Grease it and then line the sides. Set to one side.
Pop your chocolate biscuits in a food processor and whiz them until they’re fine crumbs.
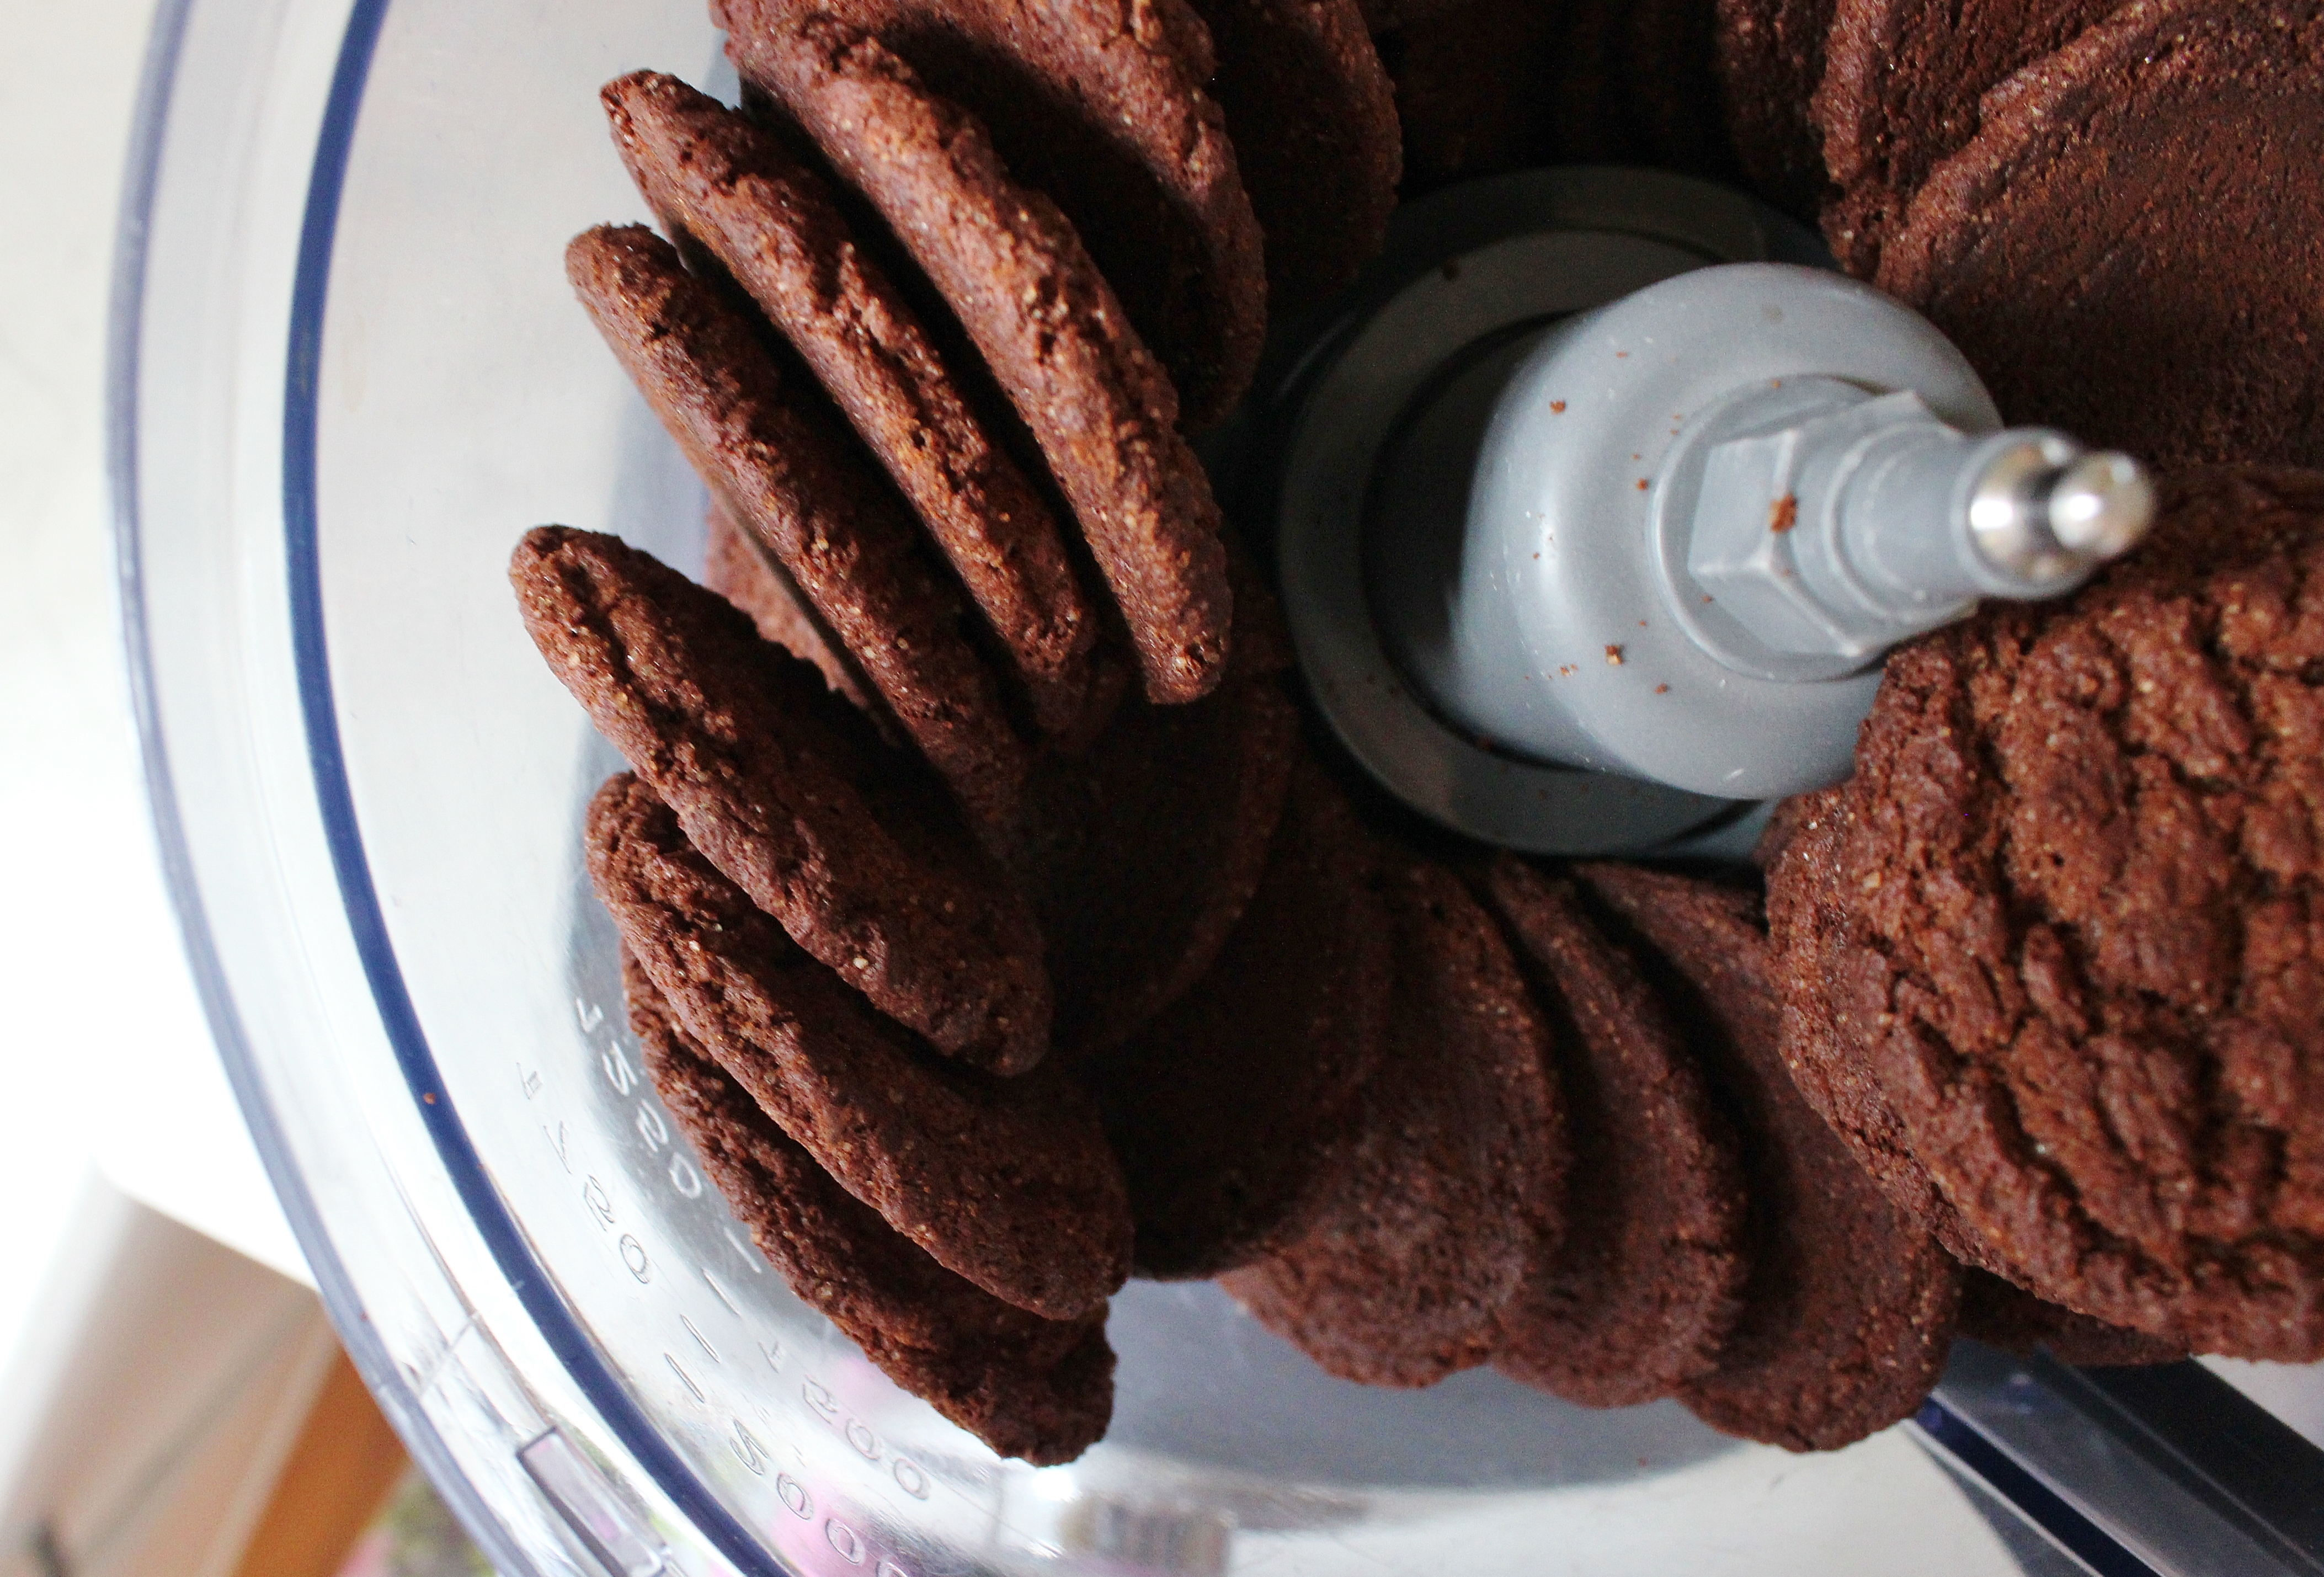
Pour them into a bowl, mix in the caster sugar, and then the melted butter. Scoop this mixture into your prepared pan and use a straight-sided glass tumbler to compact it down on the base and roll it halfway up the sides about. Using the glass makes things a little bit less messy (as opposed to using fingers) and you also get a great, smooth result. Pop this in the fridge while you make your filling.
Once your cream cheese is at room temperature, whisk it together with the sugar. Add in the vanilla and then the eggs, one at a time, mixing after each addition. It should start to look nice and silky. Add in your melted chocolate and mix well.

Preheat your oven to 150°C.
Finally, add in your thickened cream and whip the whole mixture for 3 minutes on a medium speed. This should get rid of any lumps that are remaining and result in a lovely, light cheesecake. Pour your mixture into your prepared tin and give it a bit of a jiggle to distribute it evenly. Pop in the oven for 65-70 minutes until the top of the cake is smooth and is dry to the touch. You should be able to get the centre of the cake to wiggle a little bit if you shake it, but not too much. Set aside to cool for 20 minutes, then pop in the fridge to cool completely.
When your cake is completely cooled, make a start on the “blood.”
Mix your red food colouring into your cream so that you have a vibrant red. Depending on the food colouring you’re using, this could take 3 drops, or 3 teaspoons – play around with it until you’re happy. Mix well.

Put your white chocolate in a glass bowl over a pot of simmering water and stir until just melted. Remove from the heat and mix in your cream, stirring until it is completely red. Set to one side to cool for ten minutes, until the mixture has thickened slightly.
Pour your “blood” into a piping bag (I used a snaplock bag), snip off the end and drizzle the blood in the middle of the cake, working your way out to the edge to get a drip. Check out my Instagram video to see this in action.
Pop in the fridge overnight to allow the blood to set.
Hot tip: this cake will stick to your knife, so have a damp cloth on hand to wipe it after each slice, ensuring you get the best slice each time.
If you want an even better way to cut a cheesecake, use floss or nylon string – it’s clean and will slice through the creamy top perfectly.
