Santa’s cookies and Christmas recipes

Christmas is one of my favourite times of the year. There’s a sense of magic in the air – people are friendlier, smiles come more easily from strangers, and everything smells so ridiculously delicious! Along with the magic, the air is laden with smells like sherry, fruitcake, pine and cinnamon.

For me, Christmas revolves around food and family. In the absence of family this year (the Boy and I are in Sydney while the rest of my family are up the coast), I plan to eat myself into a a food coma – who is with me?

santas-choc-chip-cookies-15-of-18
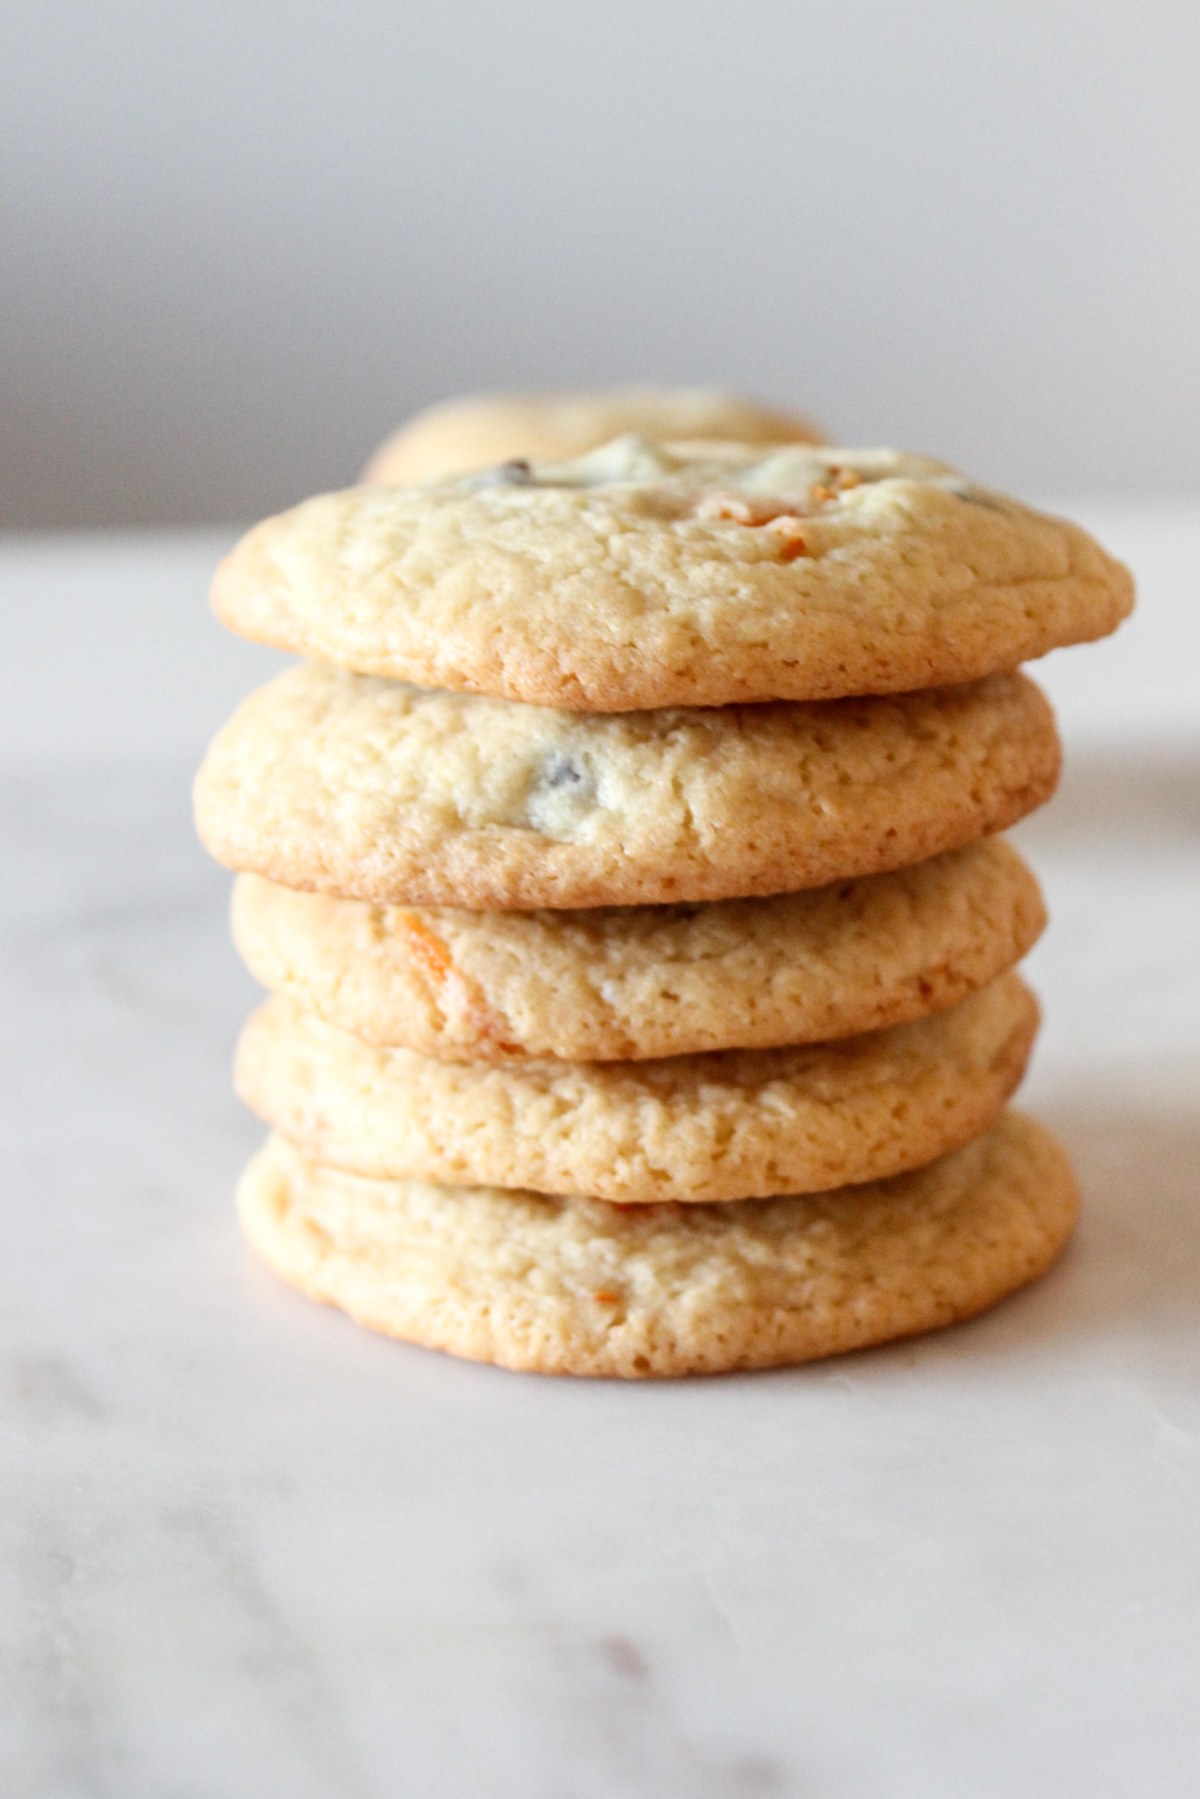
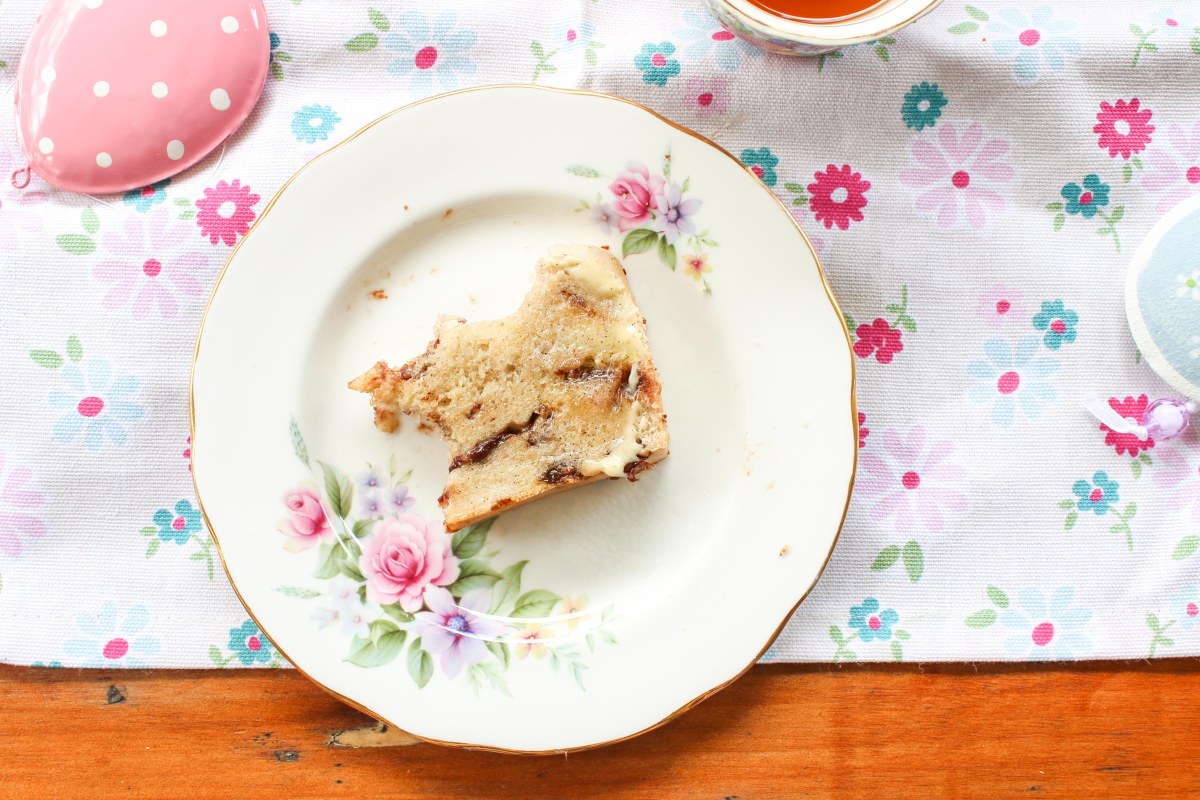
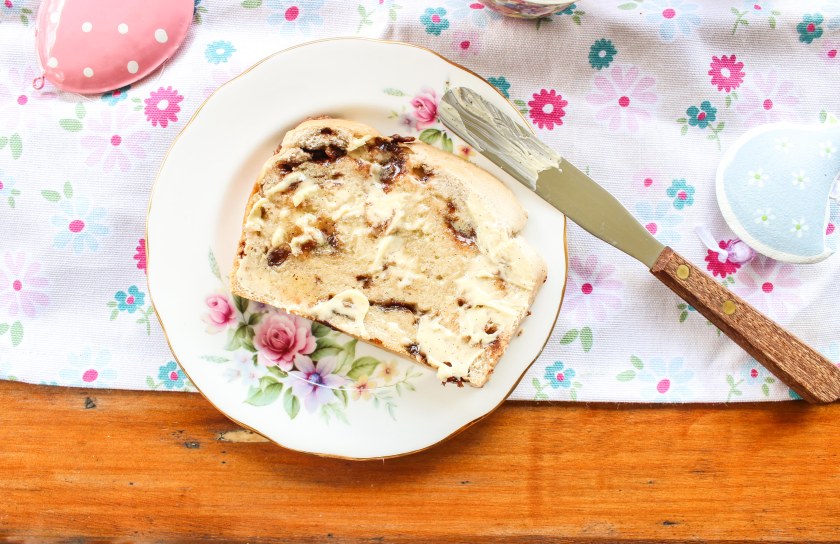
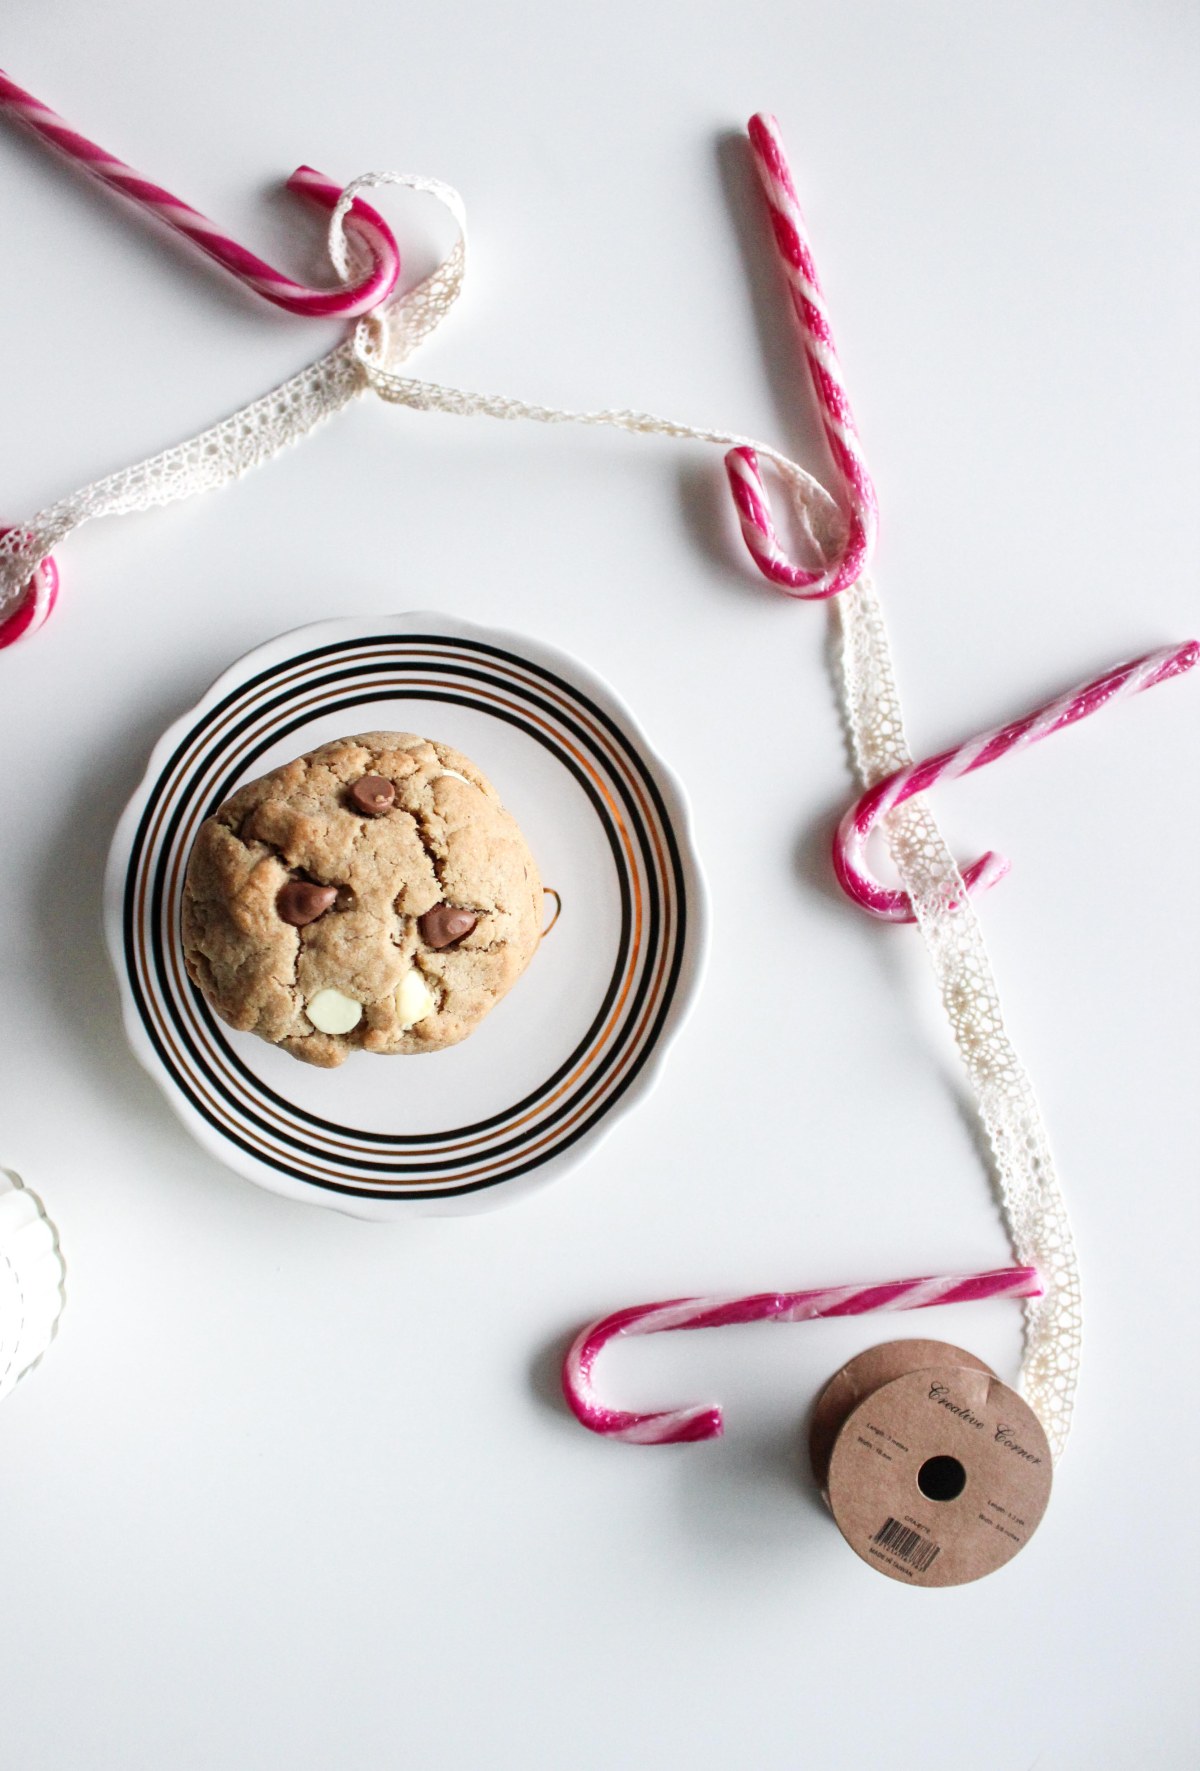
And I’ve already started with these babies! I’ll be putting some out for Santa, but I can’t promise that I won’t nibble on them before he gets to them! They’re soft and moist, and the hint of cinnamon is subtle, but works wonders. Make these, Santa and your stomach will be eternally grateful.

Santa’s choc chip cookies

  • Makes 40 cookies
    1 1/2 cups Nuttelex
  • 1 cup brown sugar
  • 2 1/2 cups granulated sugar
  • 2 eggs
  • 1/2 teaspoon salt
  • 3 teaspoons vanilla
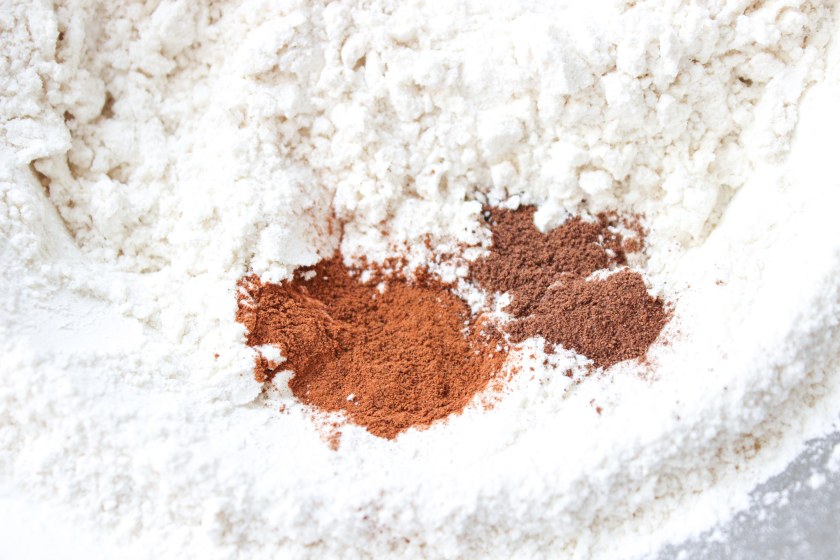
  • 3 1/2 tspns cinnamon
  • 4 teaspoons cornflour
  • 2 teaspoon bicarb
  • 5 3/4 cups plain flour
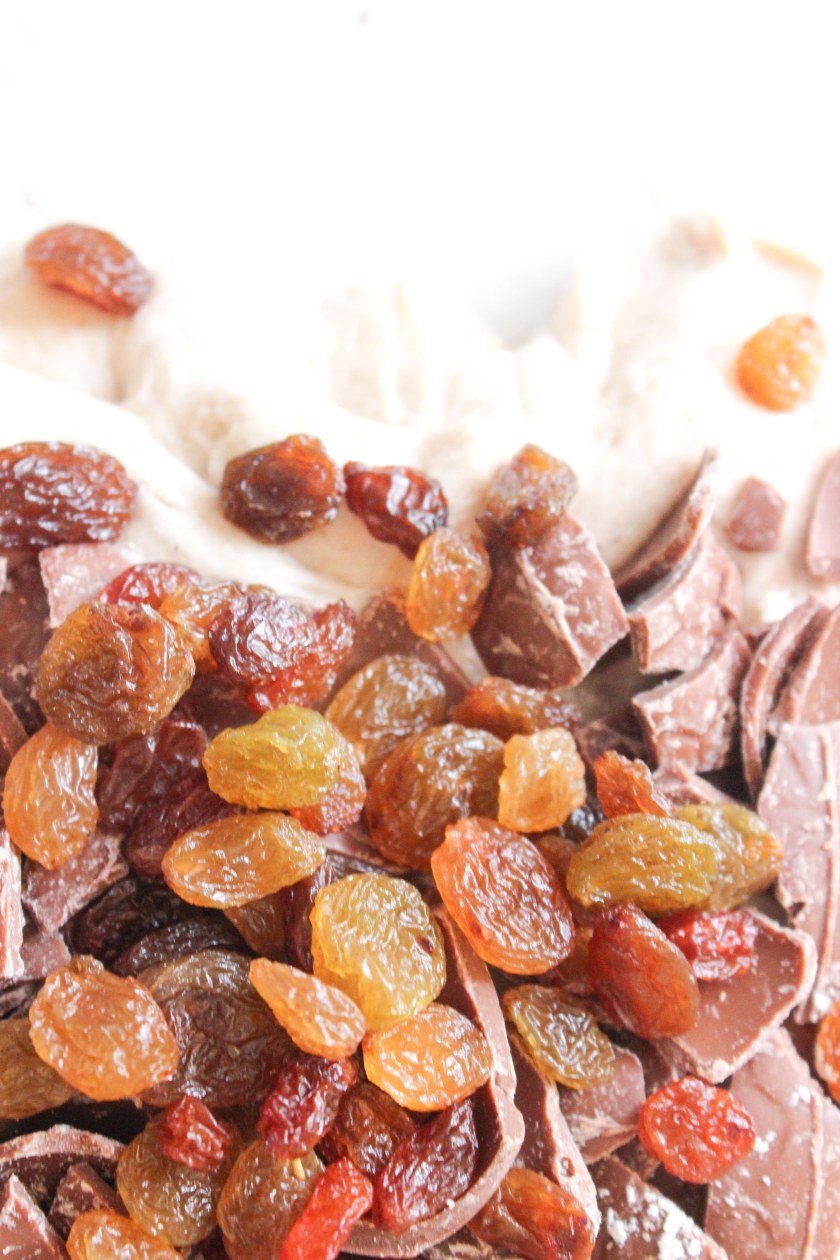
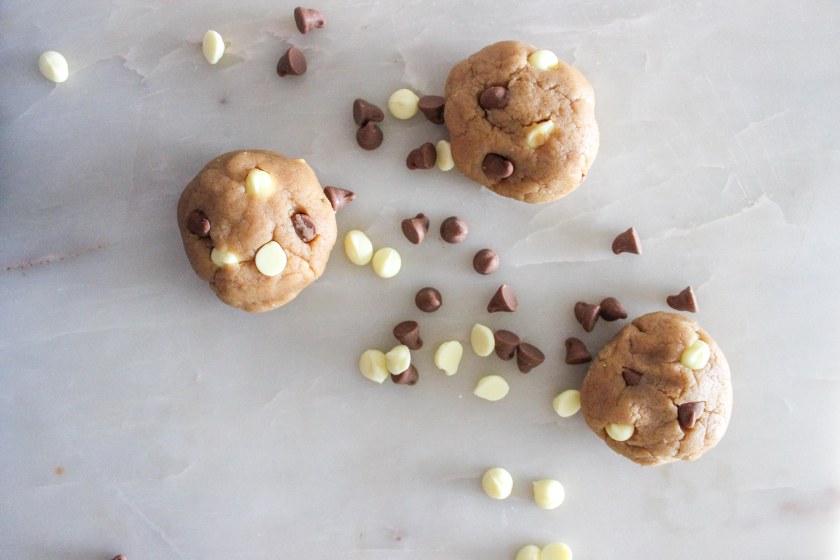
  • 3/4 cup white chocolate chips
  • 3/4 cup milk chocolate chips

Preheat your oven to 180C and line a baking tray with baking paper.
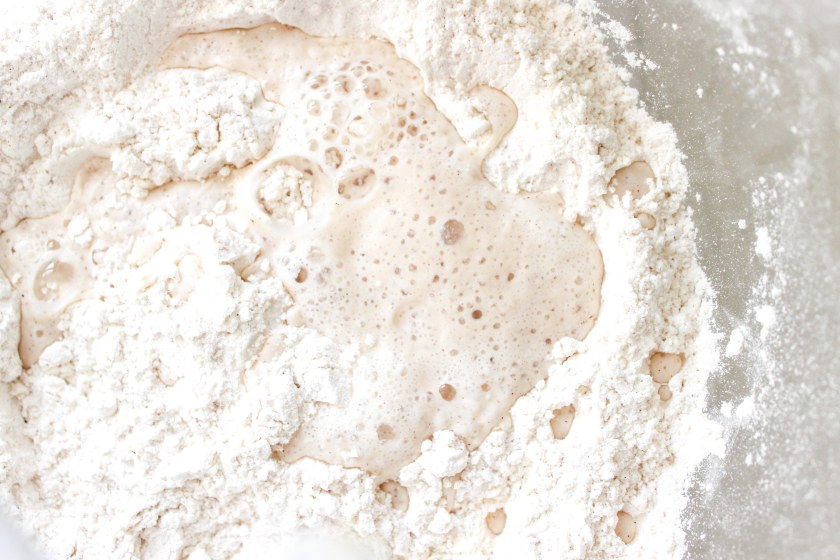
Cream together your Nuttelex and both types of sugar, then add in the eggs, vanilla and cinnamon until just combined.

Pop the cornflour and bicarb in, then add in the flour, one cup at a time, mixing after each addition. Try not to overmix, as this will make your cookies tough.

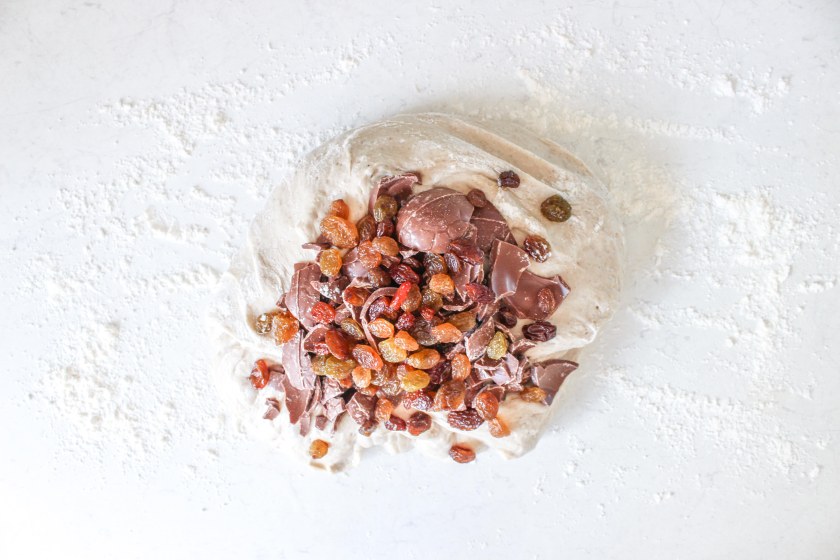
Finally, add in the choc chips, saving a handful of each and setting them to one side.
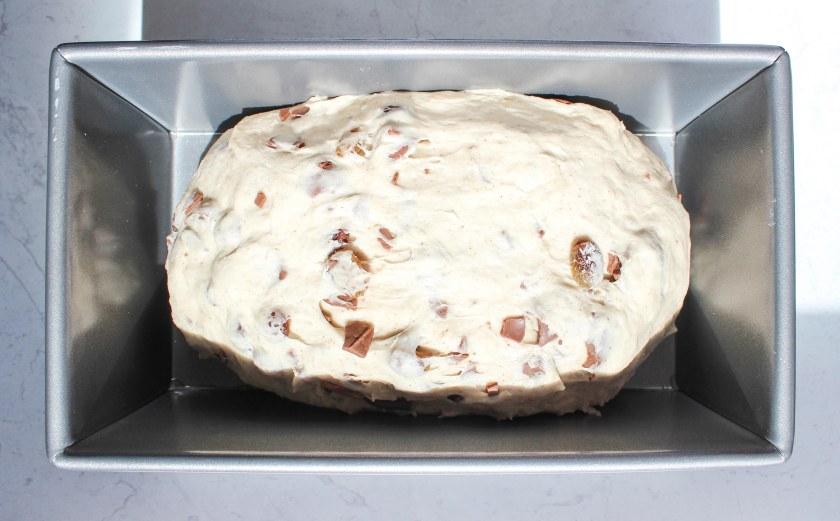
Scoop out heaped tablespoons of mixture and roll between your hands until you have a rough disc, then press some of the remaining choc chips into the discs so that you end up with an appealing mix of chocolate on the top of the cookie.

santas-choc-chip-cookies-1-of-18

Set them on your lined tray about 1cm apart and pop into the oven for 12 minutes, rotating at half way. These cookies are best if you only put one tray in at a time. However, if you decide to put two trays in at once, leave them in for 2 minutes extra, and swap them over at half way so that they cook evenly.

When you remove them from the oven, allow them to cool for two minutes, then transfer them to a cooling tray.

santas-choc-chip-cookies-7-of-18

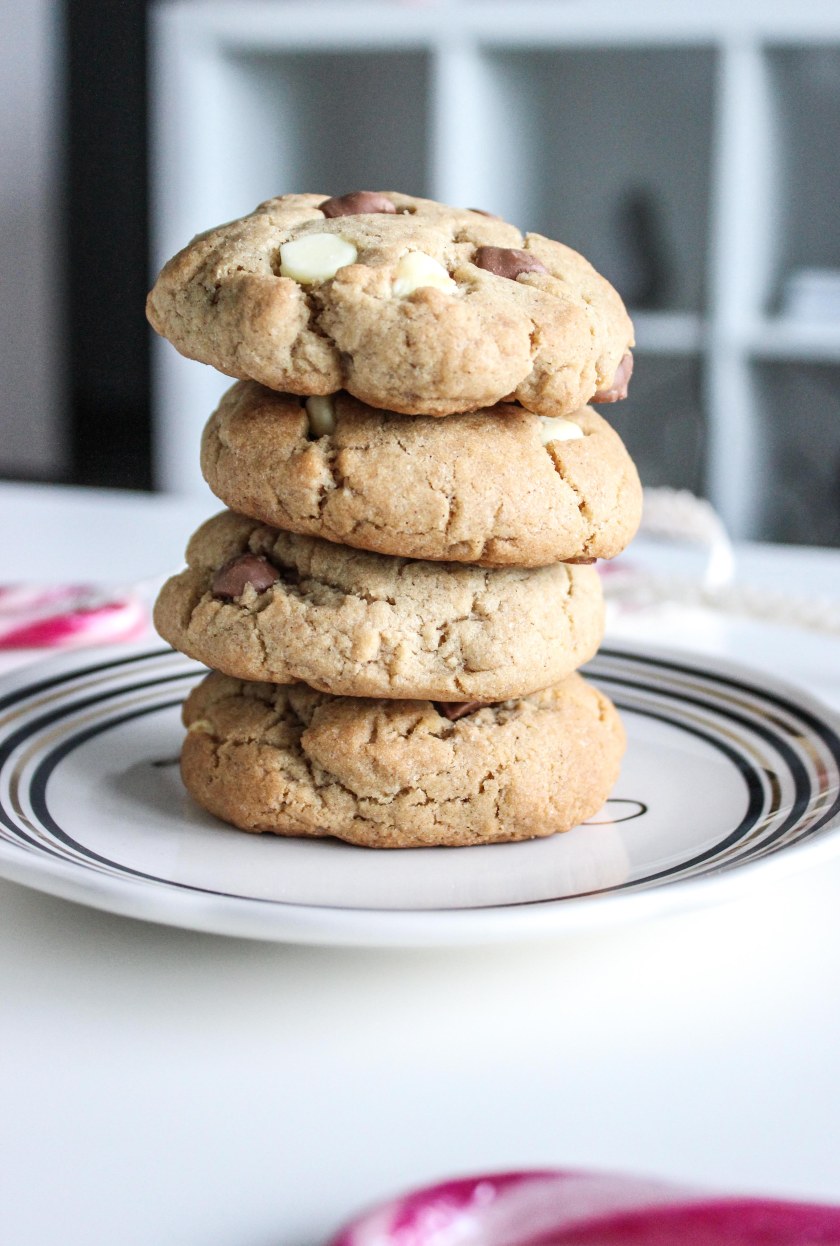
I recommend you devour these babies warm, but make sure you save some for Santa!

If cookies aren’t your thing, here are some other last minute Christmas recipes for you:

No-bake choc mint cheesecake

thumb_IMG_8642_1024

Mint chocolate crackles

single


Cherry syllabub

IMG_8703

Chocolate mud cake and Sweden

November 7 is Kladdkakans Dag!

Or, if you’re not Swedish, Mud Cake Day. I’m not exactly sure why, but those beautiful people have created a day for this delight. After a brief attempt at Googling the day, I believe it has something to do with a memorial day.

Whatever the reason, between my love of Sweden and my love of cake, I couldn’t resist the opportunity to make something delicious! I adapted my recipe very slightly from Kirsten Tibballs’ (she’s an amazing pastry chef and chocolatier, who runs Savour School, and has an absolutely mesmerising Instagram) classic chocolate mud cake recipe.


swedish-mudcake-day-8-of-19

I could not have been more pleased with the results. It’s fudgy and dense, sticky and sweet, completely over the top; what more could you want from a mud cake?!


Chocolate mud cake

  • 200g dark chocolate
  • 310g butter
  • 1 1/3 cups caster sugar
  • 310ml water
  • 1 ¾ cups plain flour
  • 2 ½ tbsp cocoa
  • 1 tsp bicarb
  • 2 eggs


Chocolate ganache (milk, white and dark)

  • 125g white chocolate
  • 90g milk chocolate
  • 90g dark chocolate
  • ¾ cup thickened cream


Grease and line a 20cm round cake tin and preheat your oven to 160°C.

Melt your dark chocolate with the butter, caster sugar and water in a saucepan without bringing to a boil.  Remove from the heat and set to one side.

swedish-mudcake-day-1-of-19

Sift the flour, cocoa and baking powder together, then pour melted chocolate mix over your dry ingredients, mixing until you’ve got a smooth consistency. Add in your eggs and mix until just combined. Pour into your tin (giving the tin a few light taps on the counter to get rid of some of the bubbles) then pop into the oven for 60-70 minutes.

Your cake will still be a bit wobbly when you take it out of the oven, but don’t be tempted to over-bake it – this wobbliness will keep it delectably fudgy. Allow the cake to cool at room temperature*, remove from the cake tin, then pop in the fridge for at least four hours.

*While your cake is cooling, the centre will sink – never fear! You have two options; one, fill the centre with ganache and make it some ridiculously delicious chocolate well, or two, level off the edges (like I have done in these photos) and have a flat-topped cake.

Remove the cake from the fridge just before you start on the ganache – the coolness of the cake will help your ganache set.

Put each type of chocolate into a separate container (Pyrex jugs are great to help you with pouring later) and set to one side. Put your cream in a heavy-bottomed saucepan on a medium heat and bring to a boil – stir it lightly so that it doesn’t catch on the bottom. Leave on the heat until it froths up impressively, then remove from the heat. Pour ¼ cup of the cream onto each of the containers of chocolate, whisking them until the chocolate has melted. Set to one side for ten minutes.

If you’re planning on putting the ganache on the cake at a later time, cover with cling wrap touching the surface so that it doesn’t develop a skin.

Grab an offset spatula (or a spoon will do). Set your cake on a cooling rack and set that cake rack on a tray lined with baking paper – this might get a little messy! Spoon your chocolate ganaches onto your cake in random blobs, covering the top of the cake, then use your spatula to marble them. Smooth the ganache over the edges so so that you’ve got good coverage. Top with fruit and chocolate as desired, then pop into the fridge for at least 20 minutes before serving.

swedish-mudcake-day-13-of-19

Serve slivers of this cake – it’s so decadent that you don’t need big slices. Plus, if you start small, there’s no harm in going back for seconds!


swedish-mudcake-day-10-of-19

swedish-mudcake-day-19-of-19

No-bake chocolate pumpkin cheesecake and Halloween

Halloween is a bit of a funny one this year – it’s on a Monday. Wandering the streets of the city yesterday, I saw the oddest mix of people; regular Saturday shoppers, zombie walkers, Jokers and Harley Quinns, blood-covered doctors or nurses and many bemused onlookers. Australians have mixed feelings towards Halloween, so when it doesn’t fall on a weekend, it seems even further diluted.

chocolate-pumpkin-cheesecake-11-of-21 Continue reading “No-bake chocolate pumpkin cheesecake and Halloween”

Baileys brownies and chocolate

I’m attempting to make healthier food choices to balance out my baking. How is it going, you ask?

Interestingly.

screen-shot-2016-09-29-at-8-13-20-pm

Day one: the earth conspired against me and my delicious berry smoothie to ensure that I didn’t get the clean start I was looking for. And there’s that box of chocolate that Nestle sent me, just sitting there, packed to the brim with tempting goodies.

Continue reading “Baileys brownies and chocolate”

Chocolate cardamom biscuits and a hiatus

I’ve been away for a little while. The Boy and I moved into a new place, which meant uprooting ourselves and our little pupper.

This meant that our already anxious little Daisy turned into a giant nervous wreck. Norman, the most regal dog I have ever met, is remaining at my parent’s place. He’s old and forgetful, so it wasn’t fair to take him with us.

Norman

And this meant that Miss Daisy had to spend long periods of time by herself.

Just. Look. At. This. Face. Continue reading “Chocolate cardamom biscuits and a hiatus”

White chocolate cupcakes and the best white icing

For those of you who missed it, I went to Hawaii recently. Having never been to the States before, I was in awe of most things food-related! I had heard about giant portions and ridiculous amounts of sugar, but the food over there still stunned me. I’m not complaining, but  I think I’m still processing the excessive amounts of sugar that I consumed.

White chocolate cupcakes (11 of 13)

Continue reading “White chocolate cupcakes and the best white icing”

Chocolate peanut butter cookies and Winter recipes

I’ve hit a bit of a wall recently. All I want to do in my spare time is hide under the covers, binge on Netflix series and eat delicious things.

Generally I would have no issue being the person who makes said delicious things, but these past few weeks I haven’t been getting very far. I played around with a delicious earl grey and orange blossom water layer cake (recipe still in the works) and I’ve made litres and litres of soup. I’ve also been really into breakfast smoothies.

The soup and smoothies are testament to how much of a hermit I am recently. I don’t need to expend much energy making them, and all I need to do is blend up assorted food lying around the house.

But no baked goods! Continue reading “Chocolate peanut butter cookies and Winter recipes”

Home made raisin toast and Easter hangovers

Anyone else feeling the effects of Easter still? I know I am! All of that chocolate and merriment! Easter at my house is jam packed with so many people, so much food, and lots of laughs with the kiddy Easter egg hunt that Easter Monday has a hard act to follow. To counter the blues that set in when you realise that Easter is over, and you no longer have an excuse to eat your body weight in chocolate, I recommend straight up denial.

Denial in the form of chocolate spiked raisin bread!

Hot cross bun bread (13 of 18)

It’s basically a giant hot cross bun that you can eat warm out of the oven, cold with a smattering of jam, or piping hot, straight from the toaster and smothered in butter.

Not only is this bread the perfect way to relive Easter at any time of the year, it’s also a great way to use up the Easter eggs that you may have hanging around the house. I don’t know about you, but after Sunday I seem to have about three tonnes of them in various bowls around the house!

How was your Easter? Do you have a tradition of Easter egg hunting like my family does?


Home made raisin toast / hot cross bun bread

  • 2 teaspoons instant dried yeast
  • 1 ½ cups warm water
  • 3 1/4 cups plain flour
  • 1/4 cup white sugar
  • ½ tsp allspice
  • 1 tsp cinnamon
  • 150g milk chocolate easter eggs
  • 1/3 cup sultanas
  • 1 tbsp milk

Vanilla bean butter

  • 160g butter
  • 1 tsp vanilla bean paste
  • 1 tbsp icing sugar

Pour your warm water and yeast into a cup and set to one side for the yeast to do it’s thing for ten minutes.

While the yeast is set aside, sift your sugar into a bowl. Mix in the white sugar, followed by the allspice and cinnamon.

Hot cross bun bread (1 of 18)

Make a well in the centre and mix in your yeast. Pour in your water, about ¼ cup at a time until you’ve used it all and have a cohesive ball of dough.

Hot cross bun bread (2 of 18)

If you’re using a stand mixer, mix on a medium speed for 3-4 minutes. If you’re hand-kneading, do it for about 10 minutes.

Lightly oil your bowl and set the dough back in it, cover the bowl in cling wrap and set to in a warm spot to rise for one hour. For those of you who don’t know, sausage dogs prosper in the heat just as much as rising bread does. Try to keep sausages and dough separate.

Hot cross bun bread (3 of 18)

When your dough has more than doubled in size, lightly flour a surface and scoop your dough out onto it. Put half of your chocolate and sultanas into the middle of the dough and fold the dough in on itself a few times. Put the rest of the chocolate and sultanas in the dough and knead until the chocolate and sultanas are evenly distributed throughout.

Hot cross bun bread (4 of 18)

Pop into your bread tin and set in a warm place to rise again for 15 minutes.

Hot cross bun bread (7 of 18)

Preheat your oven to 180°C. Brush your bread with the milk, then pop your bread in the oven for 10 minutes.

Hot cross bun bread (8 of 18)

Reduce the temperature to 170°C and continue baking for 25-30 minutes. Remove from the oven when the top of the loaf is nicely browned and it makes a hollow sound when you knock the top of it.

Hot cross bun bread (9 of 18)


This bread is great served with regular butter, but I recommend whipping up some vanilla bean butter for an extra tasty slice. Allow your butter to come to room temperature and quickly mix in the sugar and vanilla. I use regular, salted butter as it adds a nice little edge to the otherwise sweet spread. Enjoy fresh from the oven, cooled, or toasted – whichever way you serve it, this bread is scrumptious!

Hot cross bun bread (18 of 18)

Hot cross bun bread (5 of 18)

Hot cross bun bread (16 of 18)

Hot cross bun bread (12 of 18)

Hot cross bun bread (15 of 18)

Planning on making this recipe? Tag me on Instagram and use #bakingwithgab so I can see your wonderful creations!

Mint Chocolate St Patrick’s Day Slice and greenery

I can’t overstate the love that I have for Ireland. The people, the dramatic landscapes, the green, green greenness of every single plant. To say that I love Ireland would simply not do it justice. I visited Ireland in 2010 because I had a cousin there (and because I had always wanted an excuse to go) and it was indescribably lush.

St Patrick's day mint chocolate slice (5 of 9)

And those gorgeous Irish accents, don’t even get me started!

I totally understand why green is associated with St Patrick’s Day, because I had never seen so many shades of green in my life! Which is why I went full cliche with this choc-mint slice and made it a vibrant shade of green. It pained me slightly because I’m so fond of pastel hues, but I’m super happy with the result, so I’m glad I powered through!

Do you celebrate St Patrick’s Day? Maybe you like things a little less hulk-coloured? If that’s the case, check out my Guinness Cake, Baileys Bundt or Baileys Buttercream Biscuits.

St Patrick's day mint chocolate slice (3 of 9)

Base

  • 1 3/4 cups plain flour
  • 1/3 cup cocoa powder
  • 1/2 cup icing sugar
  • 200g butter, melted
  • 1/4 cup coconut

Mint filling

  • 3 tbsp milk
  • 160g butter
  • 3 1/2 cups icing sugar
  • 4-5 tsp peppermint essence
  • 1/2 tsp green food colouring

Chocolate topping

  • 3 tbsp coconut oil
  • 275g dark chocolate
Start with your filling. Put the milk and butter in a heavy-bottomed saucepan over a medium heat until melted. Remove from the heat and sift in the icing sugar. Return to the heat for 3-4 minutes, allowing it to simmer slightly. Make sure you’re mixing continuously so that the mixture doesn’t catch on the bottom. Pour this mixture into a bowl and pop into the fridge to cool for 30 minutes. While the filling cools, make a start on your base.


Preheat oven to 180°C fan and grease a 20cm fluted tart tin with a removable bottom.


Sift together your flour, cocoa and icing sugar into a large bowl. Mix in your melted butter and your coconut until it’s well combined. The mixture should be in large clumps, rather than a giant ball – don’t worry, you’ll flatten them out later. Scoop your mixture into your greased pan and press down with your fists (or a spatula) until you have a smooth, even base. Pop into the oven for 15-18 minutes.


Remove from the oven when the top of the base looks dry – don’t leave it any longer than the 18 minutes, you don’t want it drying out. Plus, it’s actually better when it’s a little underdone. Set it to one side until it is cool enough that you can touch it comfortably.


Remove your green filling from the fridge, pour it out onto the base and smooth it out with a spatula. You shouldn’t need to help it fill out the sides too much, it will spread by itself. Return to the the fridge for another half hour.


While the slice is chilling in the fridge, melt your chocolate in a heatproof bowl set over a pan of simmering water and scoop the coconut oil into it – the heat in the chocolate should melt the coconut oil. Mix until you’ve got a lovely, glossy mixture. Set to one side to cool for 15 minutes.


Remove your base from the fridge and pour the chocolate mixture over the top. If you’ve got any chocolate left over, reserve for drizzling over the edges before serving. Return to the fridge for at least 2.5 hours.


(If you choose to drizzle the extra chocolate over the edges, remove it from the fridge 30 minutes before serving, put the chocolate mixture in a snap lock bag and snip off a small section of the corner and pipe onto each flute indentation, making little wave movements around the circumference of the slice and then return to the fridge.)


St Patrick's day mint chocolate slice (2 of 9)


Allow the slice to rest at room temperature for at least 15 minutes before serving.


Want to know the trick to stopping your chocolate from cracking when you cut it?


Take an extra sharp, thin knife and point the tip into the centre of the slice, then place your hand on the top of the blade and push down gently.  Repeat with each slice to get perfectly straight slices without cracking the chocolate.


St Patrick's day mint chocolate slice (7 of 9)


St Patrick's day mint chocolate slice (6 of 9)


St Patrick's day mint chocolate slice (4 of 9)


St Patrick's day mint chocolate slice (9 of 9)
Are you making this dish of a dessert? Tag me on Instagram and use #bakingwithgab so I can see your bright green creations!

Mini egg Easter doughnuts and a healthy Easter

mini egg doughnuts (14 of 14)
I told people who lingered over the plate of these delights that they were healthy doughnuts – there’s yoghurt in them and they’re baked! Most people laughed at me, so I explained that they’re healthy-ish…healthier than a regular fried doughnut, anyway.

They’re kind of like a little cake doughnut, which you’ll know I’m a fan of if you’ve seen my earl grey or Nutella doughnuts.
I like the idea that you can eat seconds because they’re a tiny bit better for you. I stress teeny tiny. Did I mention that I’ve started a little health kick? Continue reading “Mini egg Easter doughnuts and a healthy Easter”