Brownies and weekends away

I made brownies yesterday in preparation for going away tonight. I’m doubling the recipe and leaving half with the fam and taking half away. The Boy and I are spending a few days in Orange. I’ve got cousins to visit, fresh produce to check out and cafes to explore. There is also a sausage dog pup that I want to steal from said cousins. The Boy doesn’t really have a choice in what we do, luckily he’s fairly compliant when it comes to these things! He’ll busy himself being a country boy for the weekend. He spent the first 20 years of his life in England, but something about leaving Sydney and heading for dirt roads unleashes his inner country boy. When we visit my cousins’ farm he wears plaid and an akubra and busies himself with fencing, quad-biking and burning things.

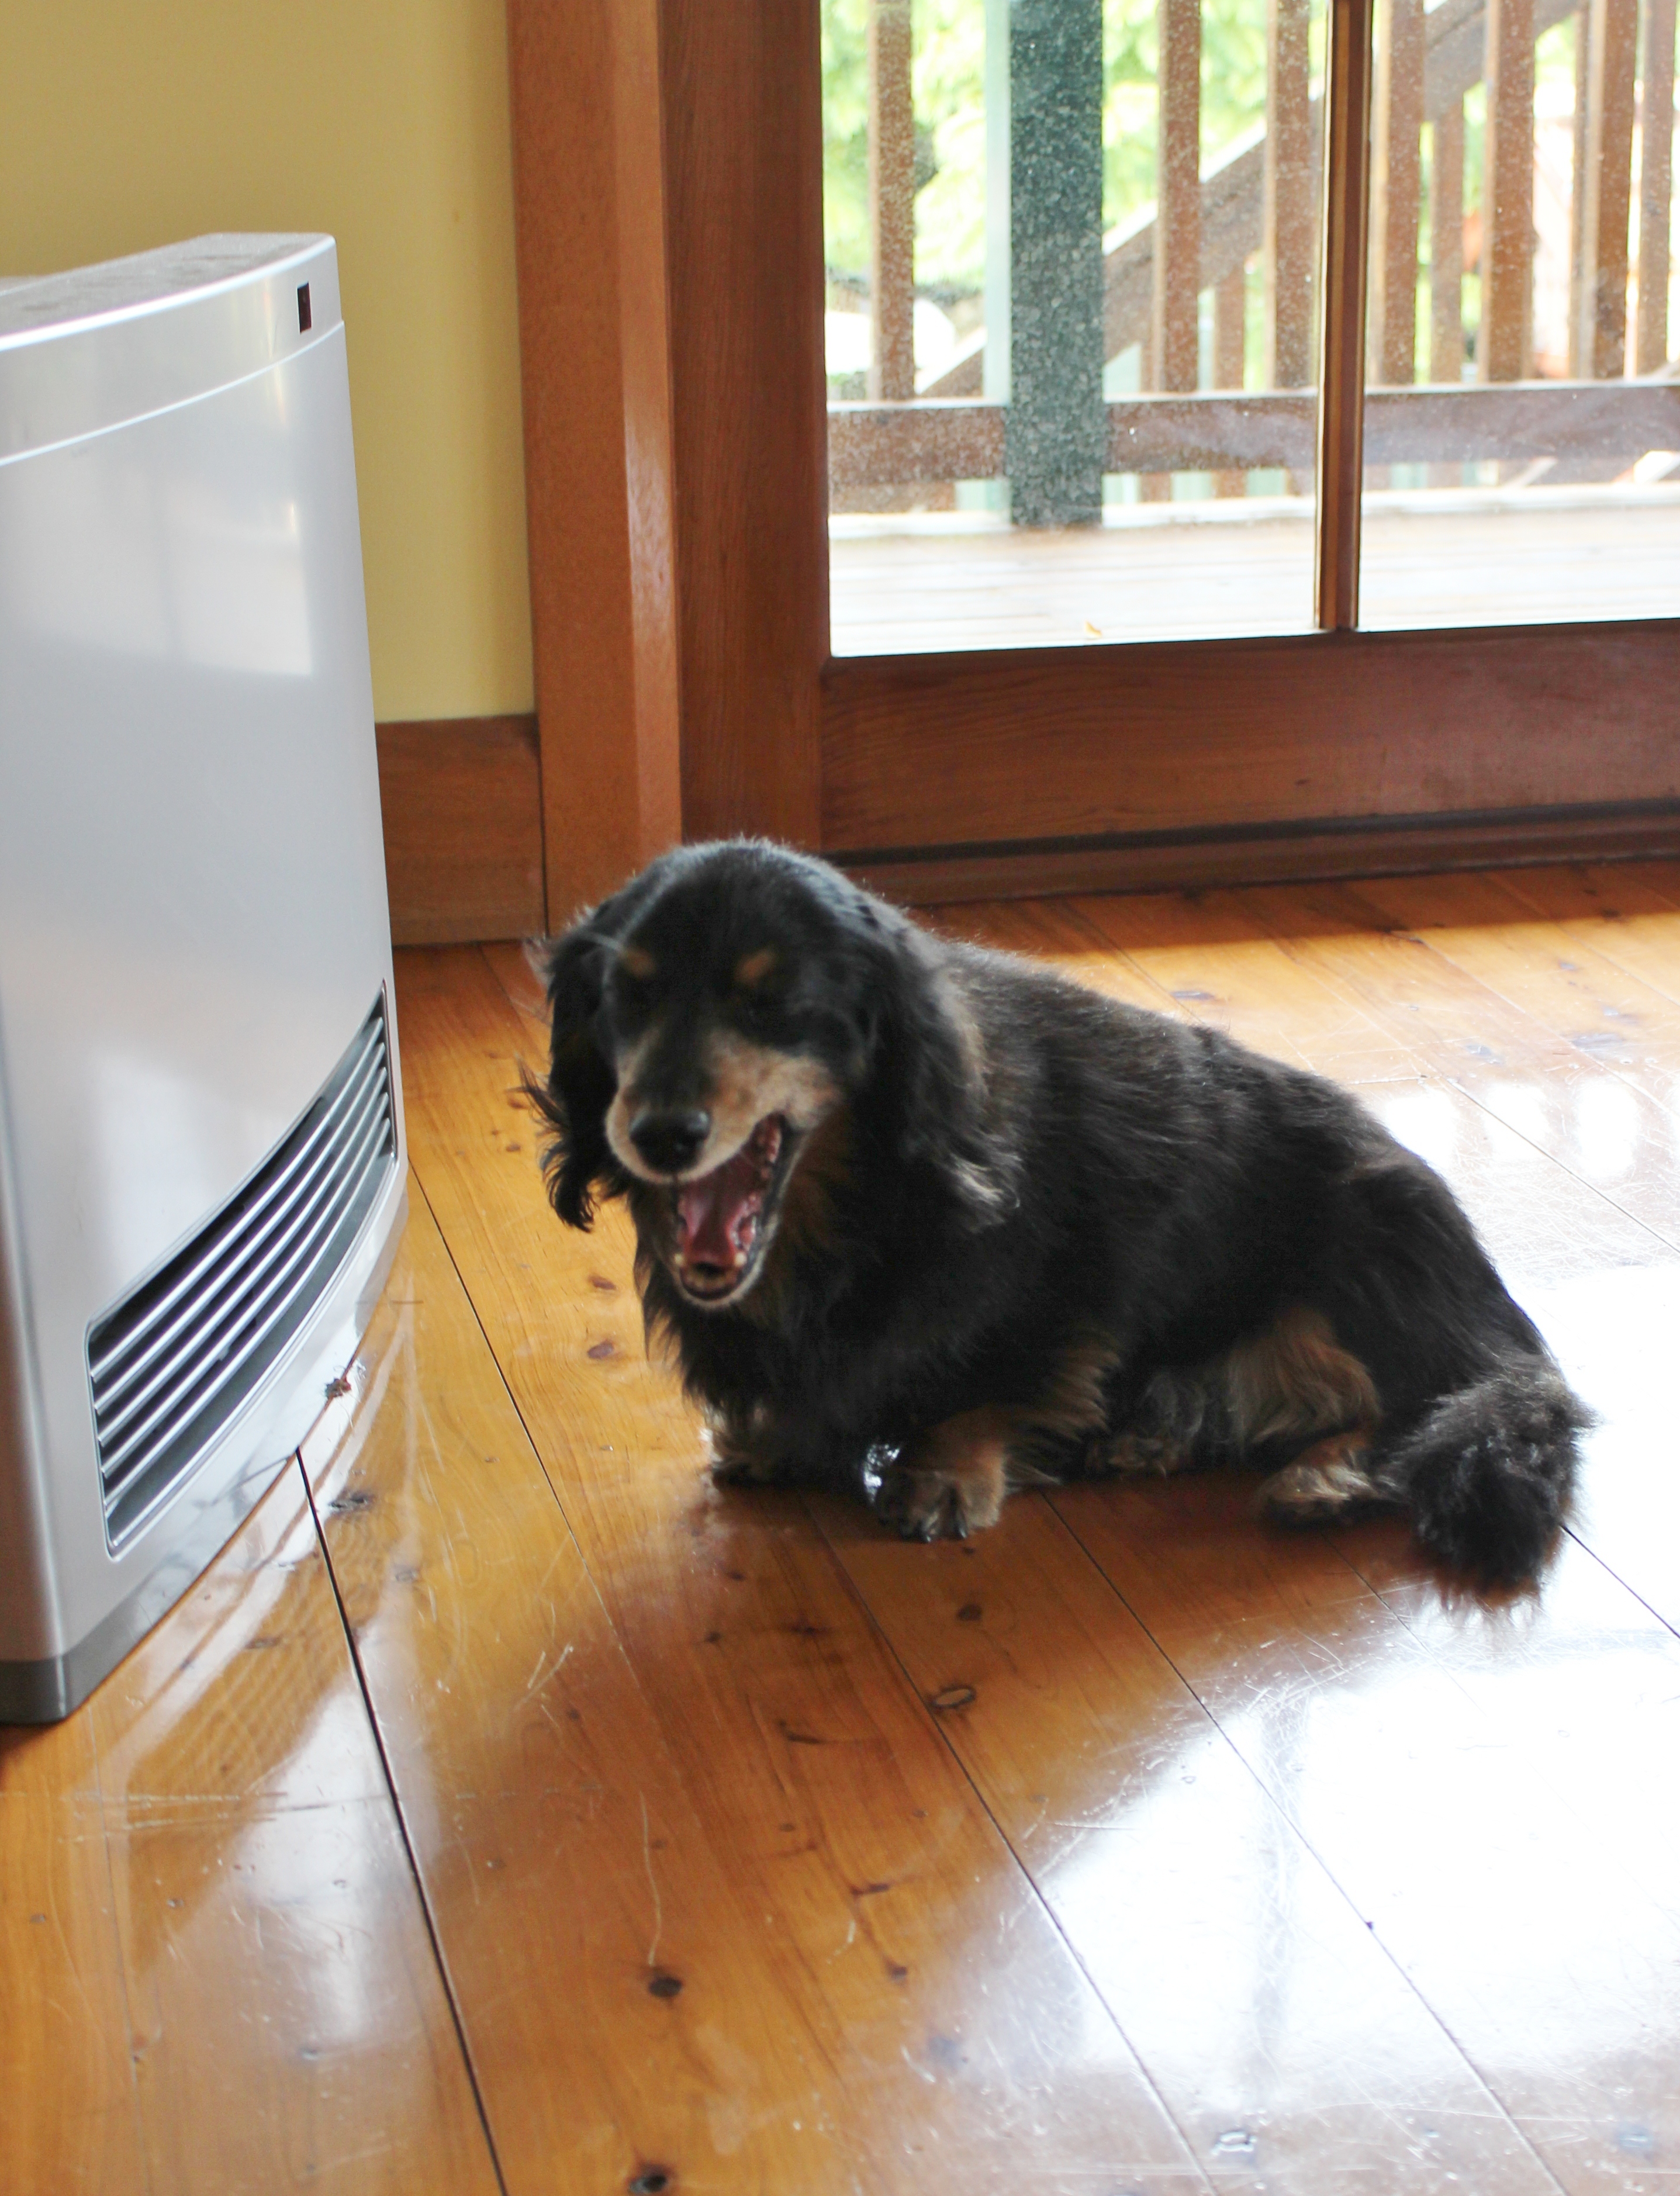
I read, bake and attempt to coax the farm dogs into leaving the country and returning to the city with me. I’m never successful. Sometimes I feel as though The Boy also needs coaxing back home.

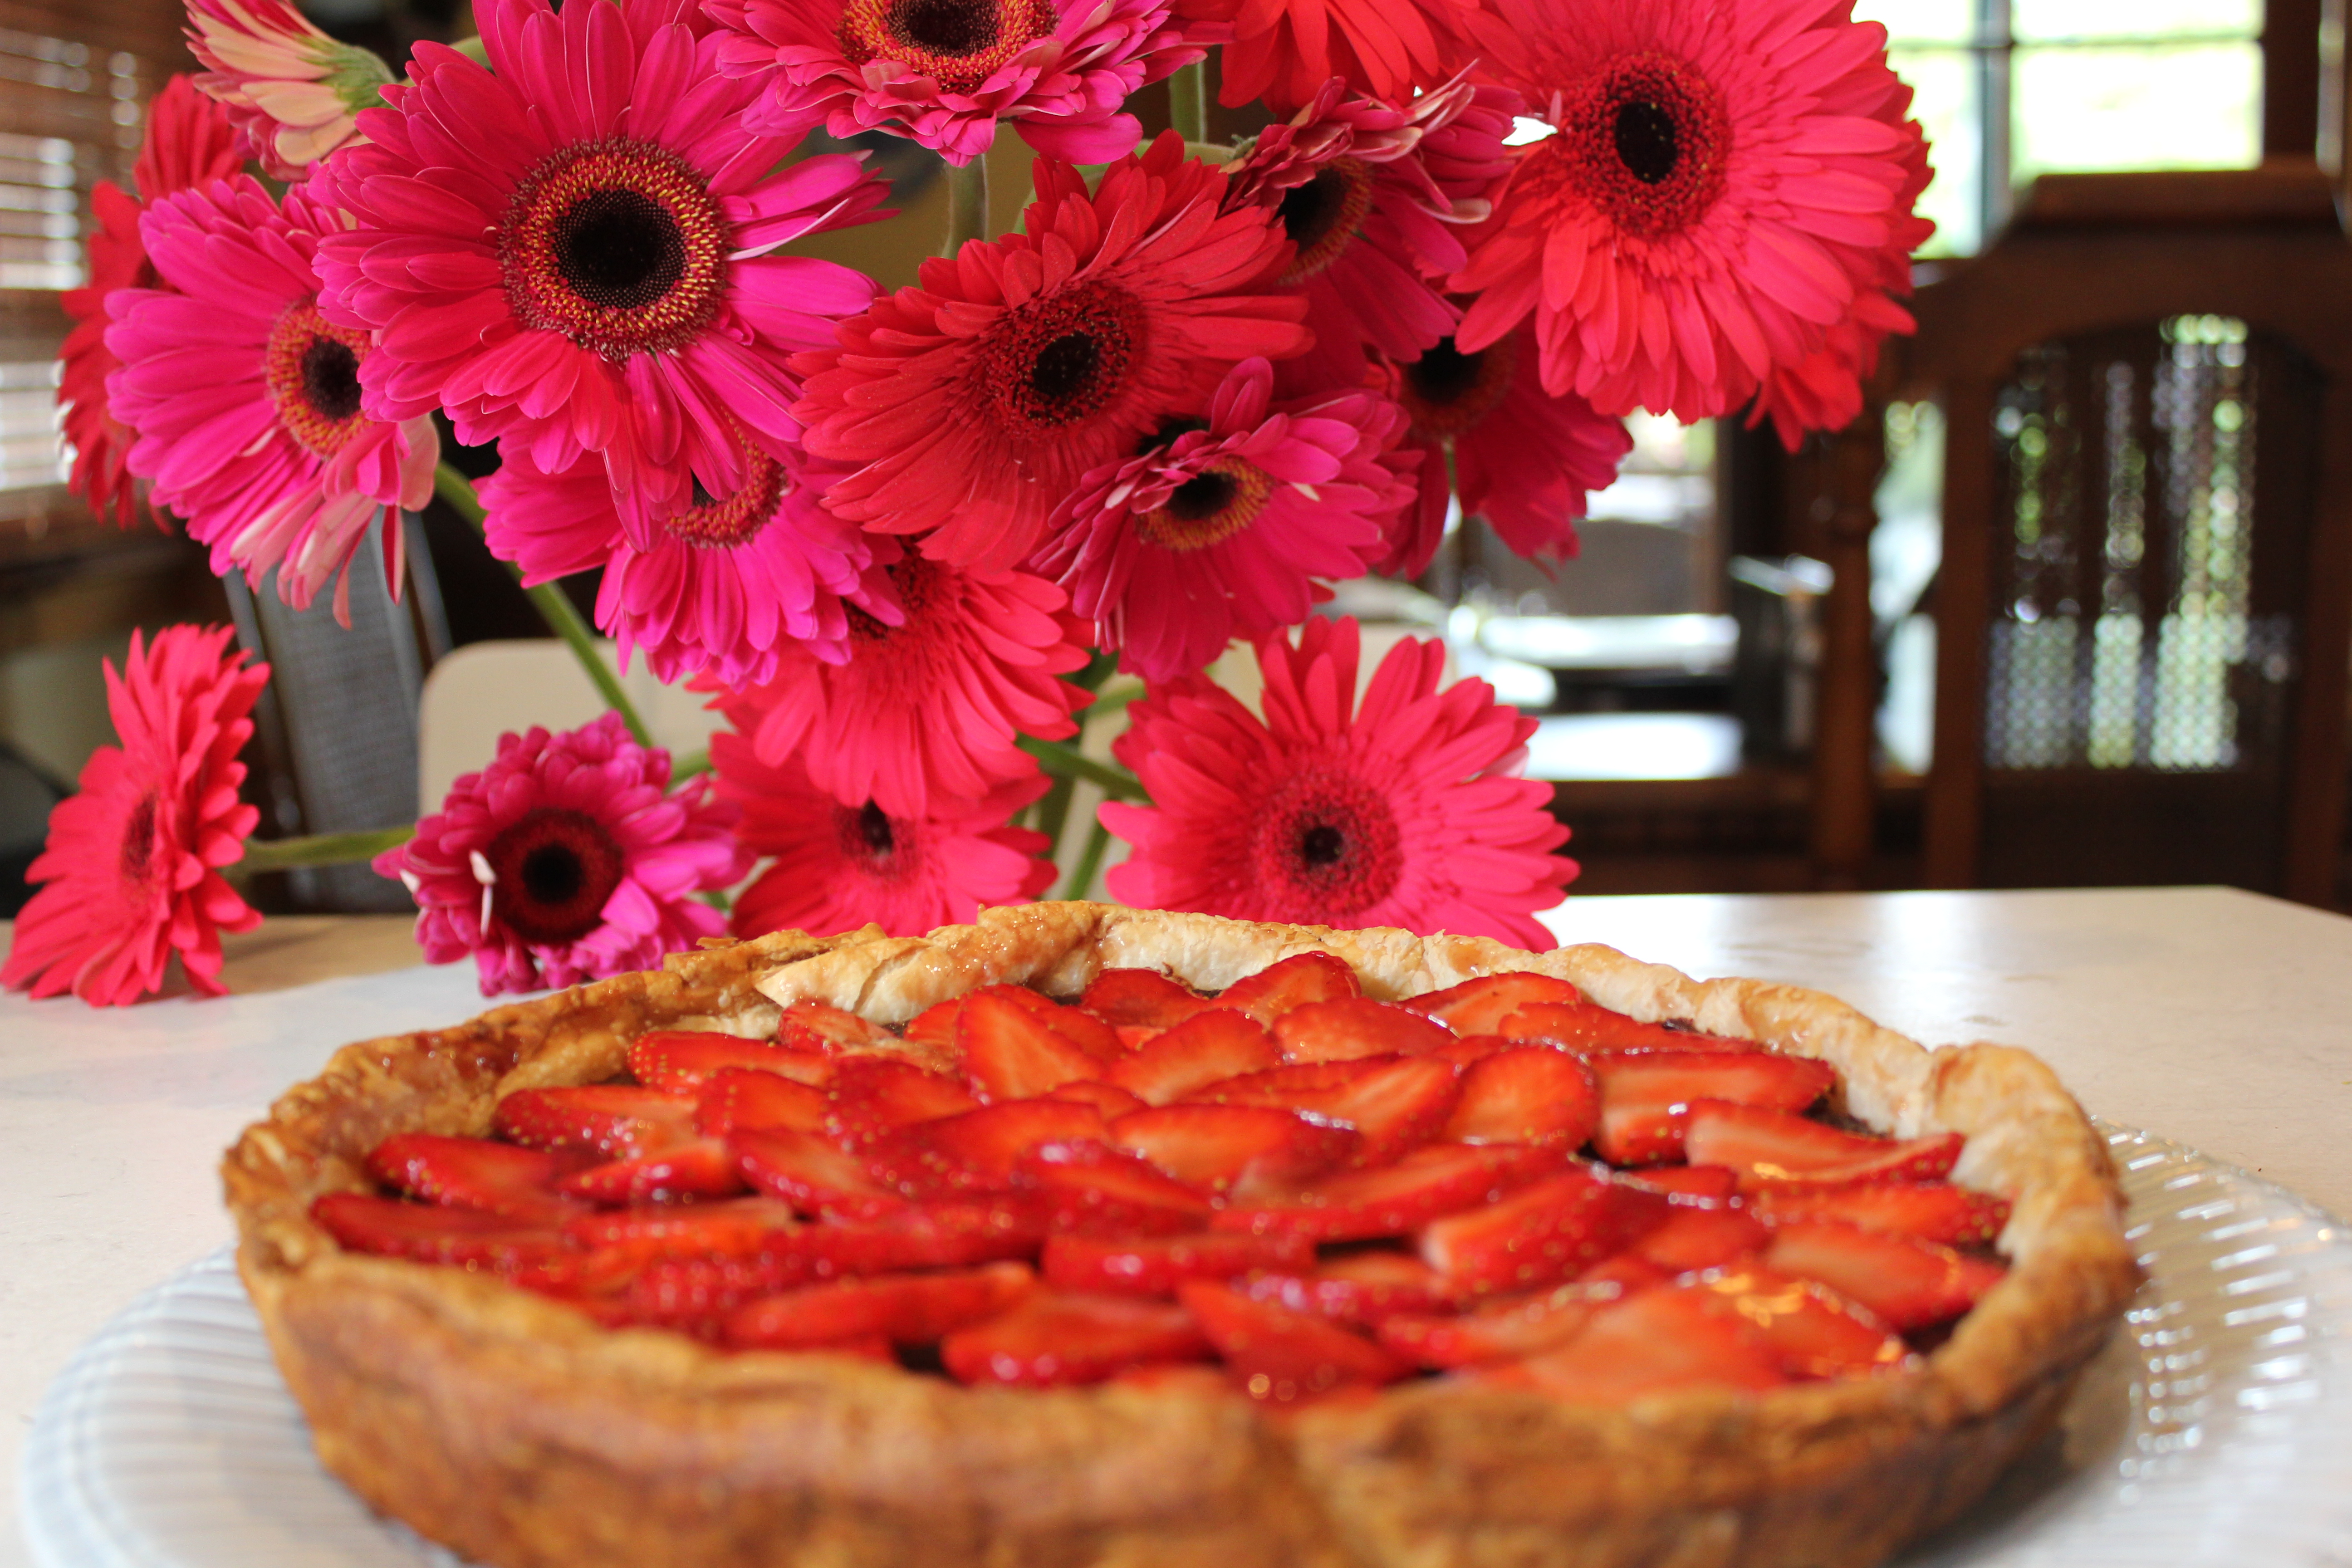
I made this brownie recipe because it just screams homeliness and I think it suits the farm vibe perfectly. It’s cosy and simple. And just delightful.

Just as the farm is escapism from Sydney life, this brownie is escapism from the real world. Put away your diets for a minute, lay down the celery and indulge in a square of escapism.

textureChocolate brownie

  • 200g dark chocolate, chopped
  • 200g butter
  • 1 1/2 cups (310g) brown sugar
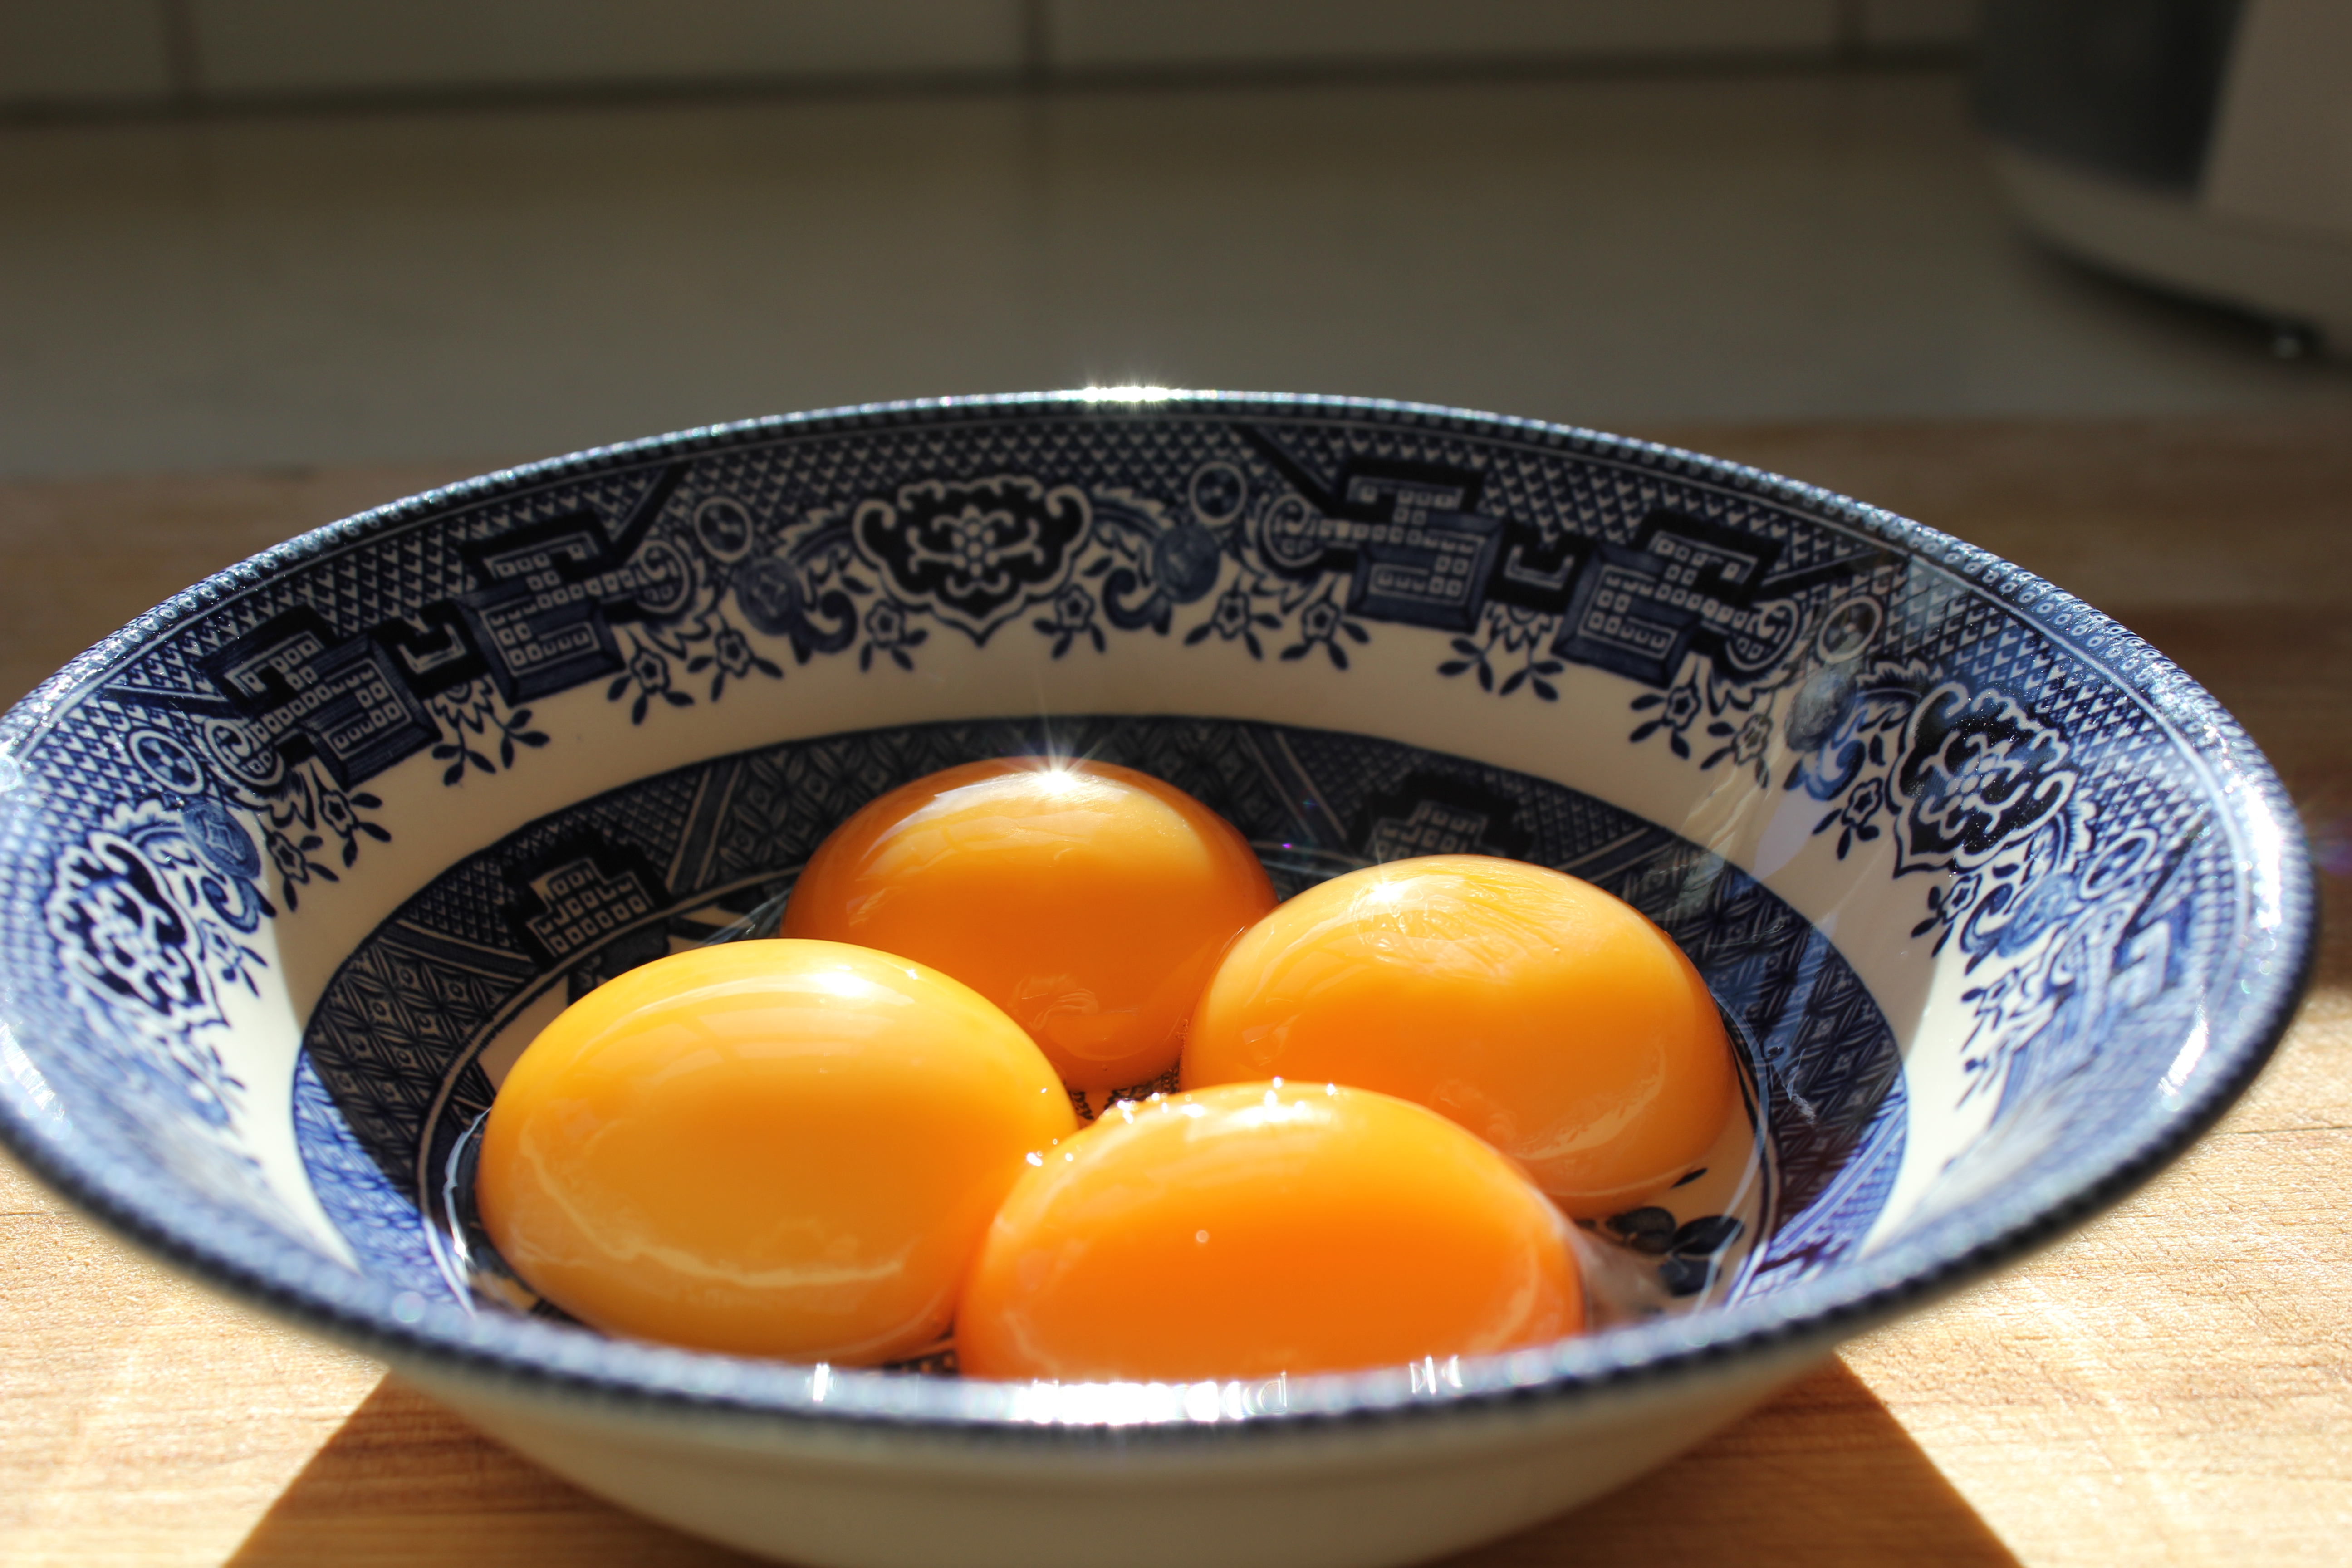
  • 3 eggs
  • 2/3 cup (35g) cocoa powder, sifted
  • 1 cups (185g) plain (all-purpose) flour, sifted
  • 1 teaspoon baking powder
unhealthy
Hello deliciousness!

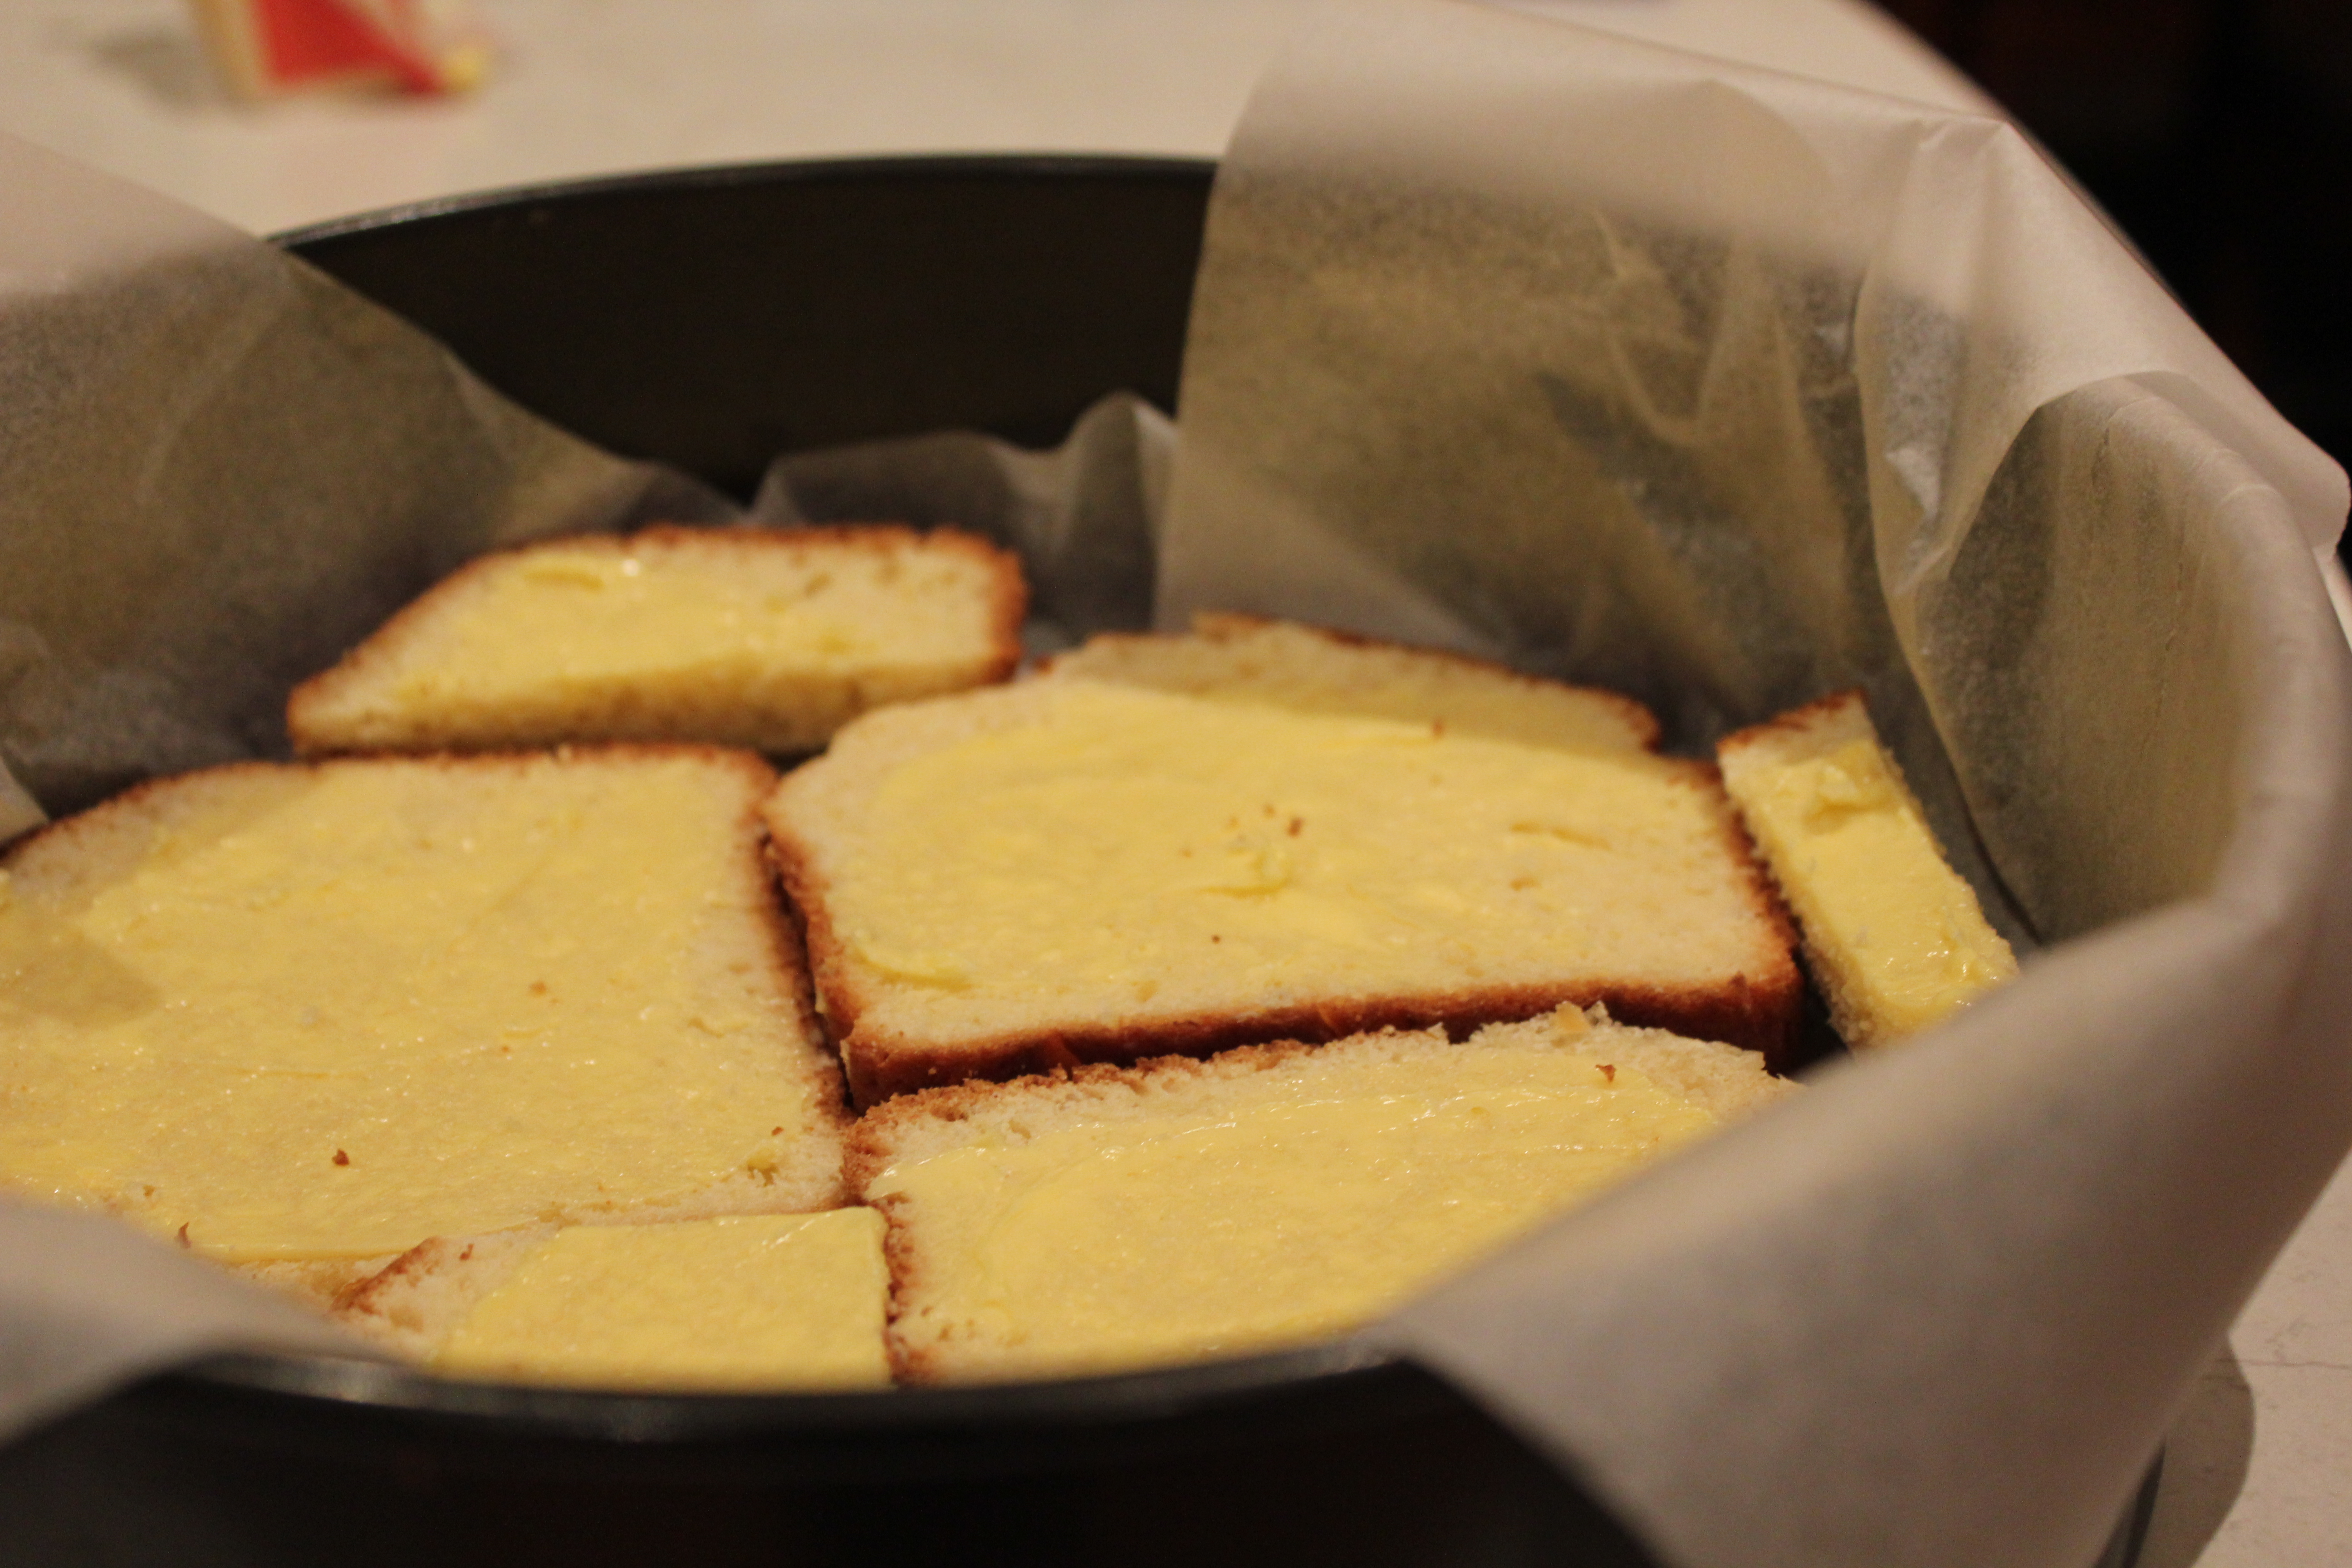
Preheat your oven to 160°C and line a 20cm baking tin. Roughly chop your chocolate and butter and place them in a saucepan over low heat and stir until smooth and glossy. Put this to one side to cool slightly.

eggs
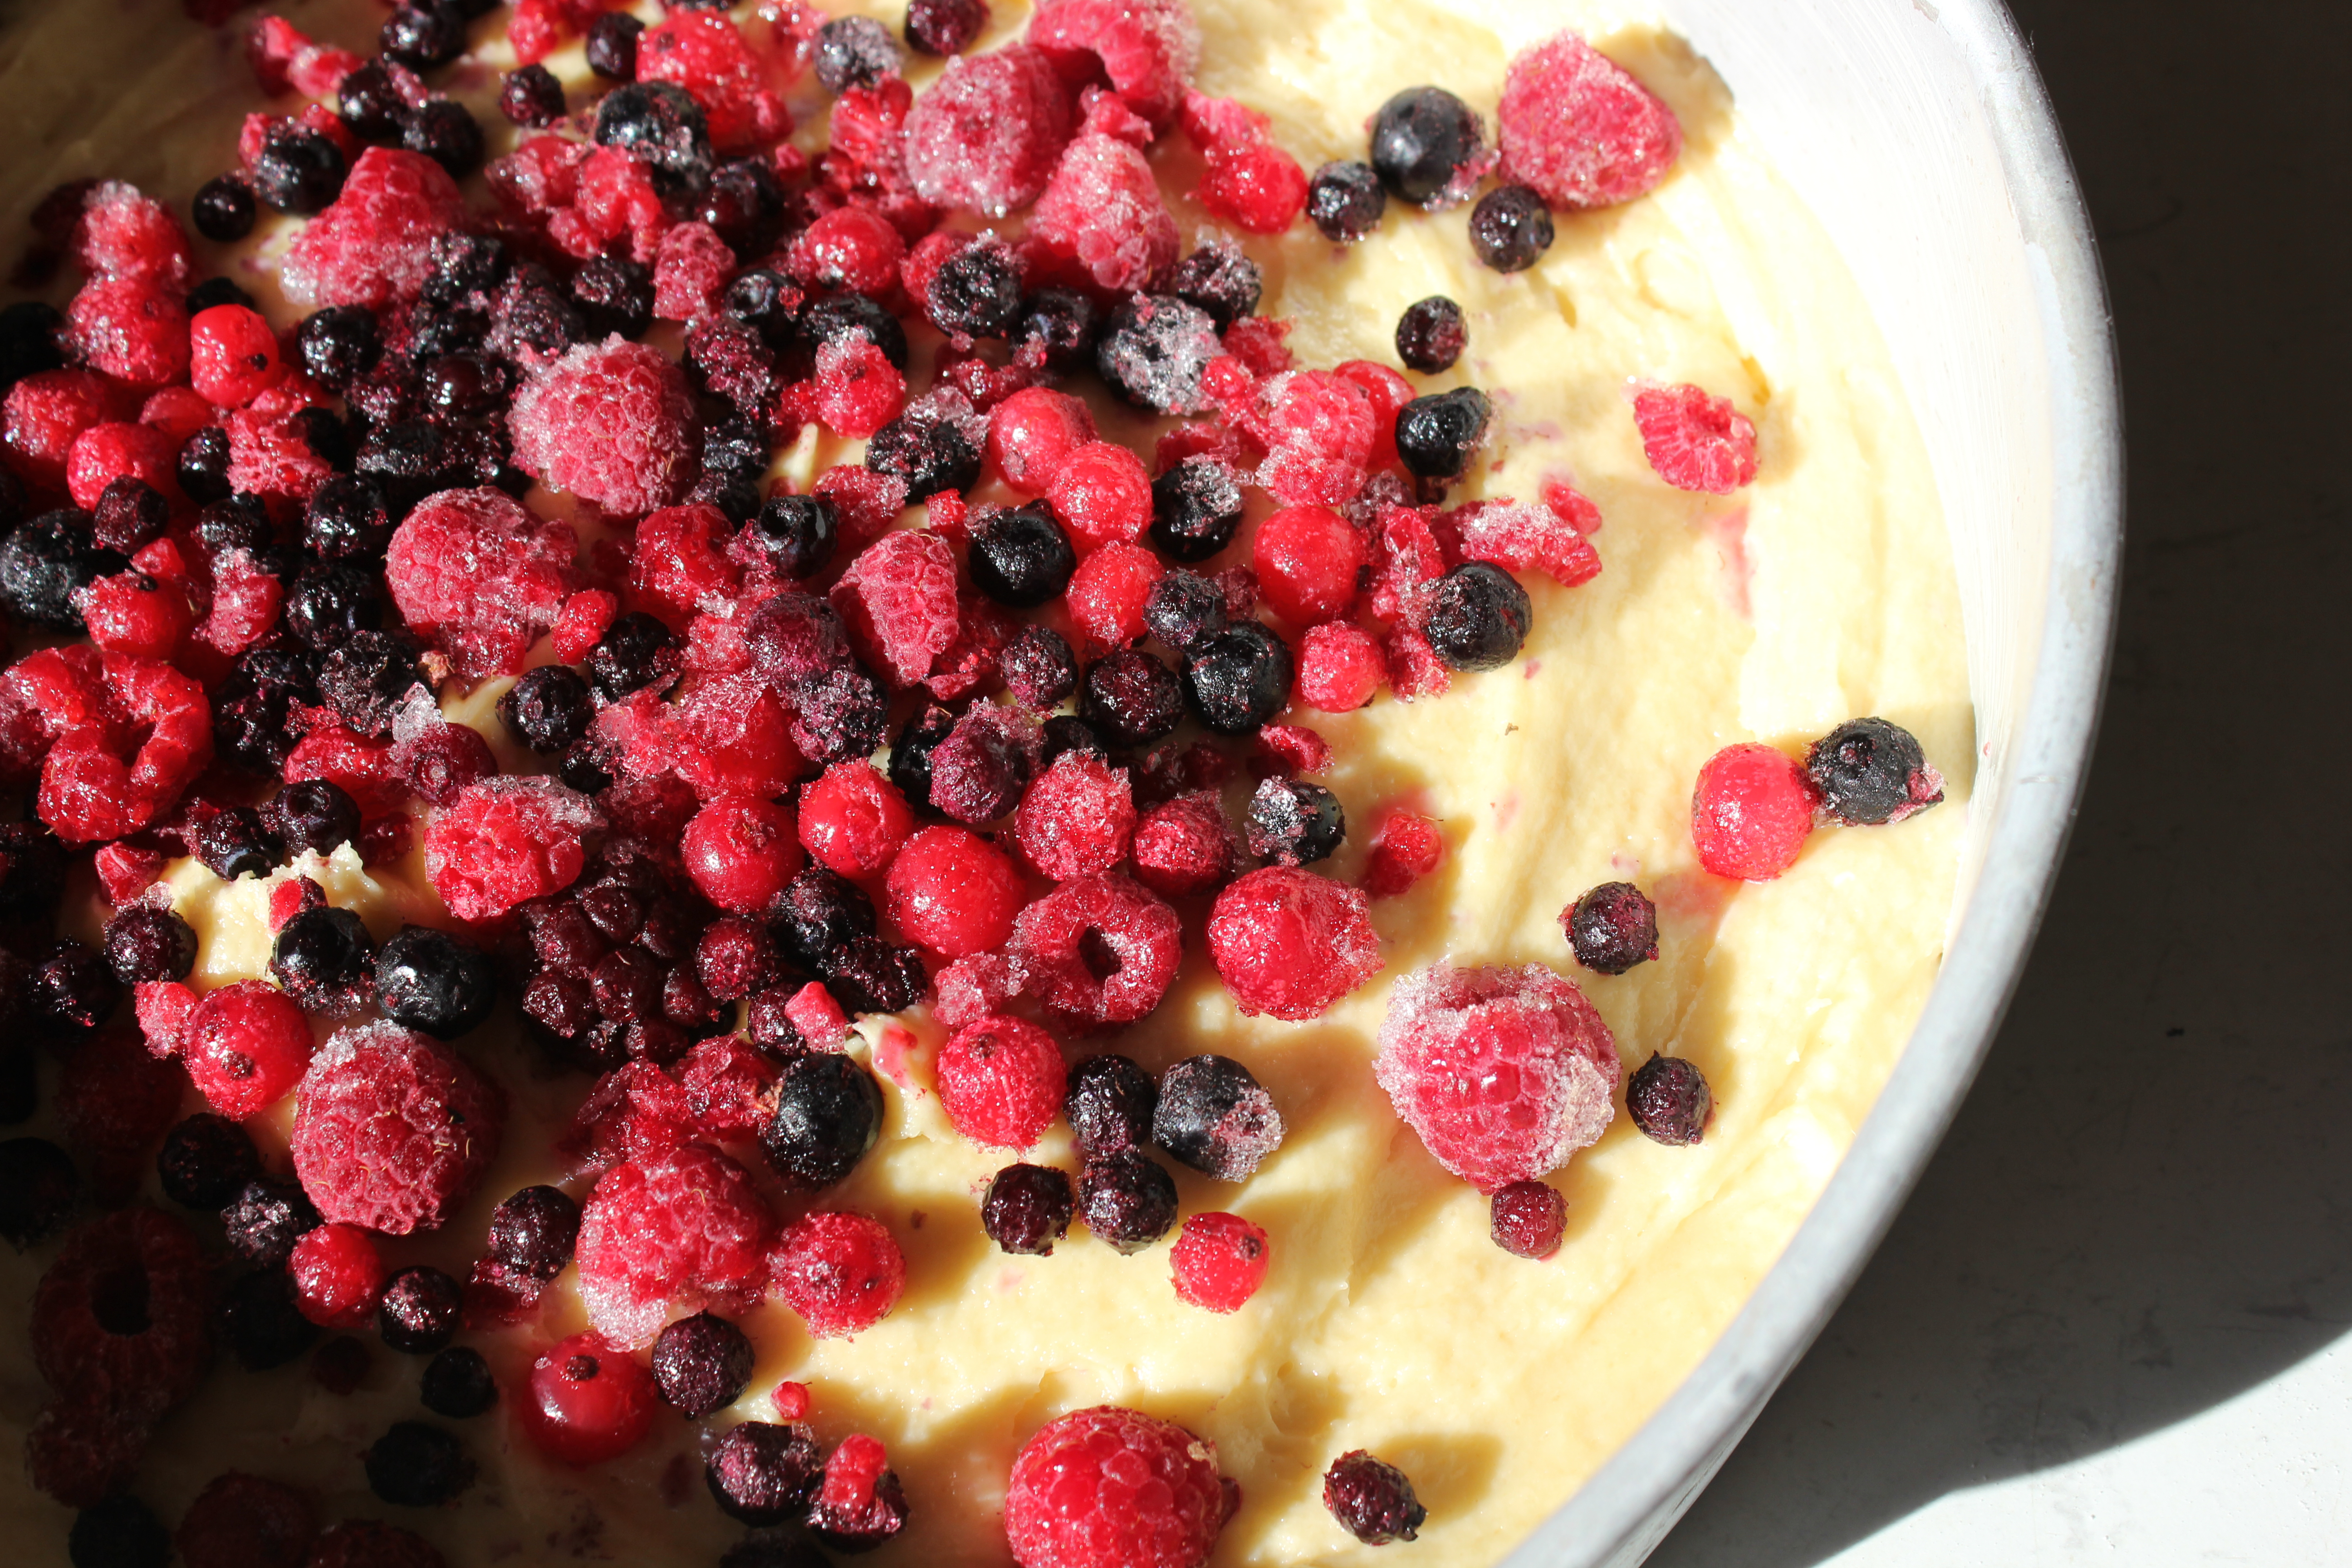
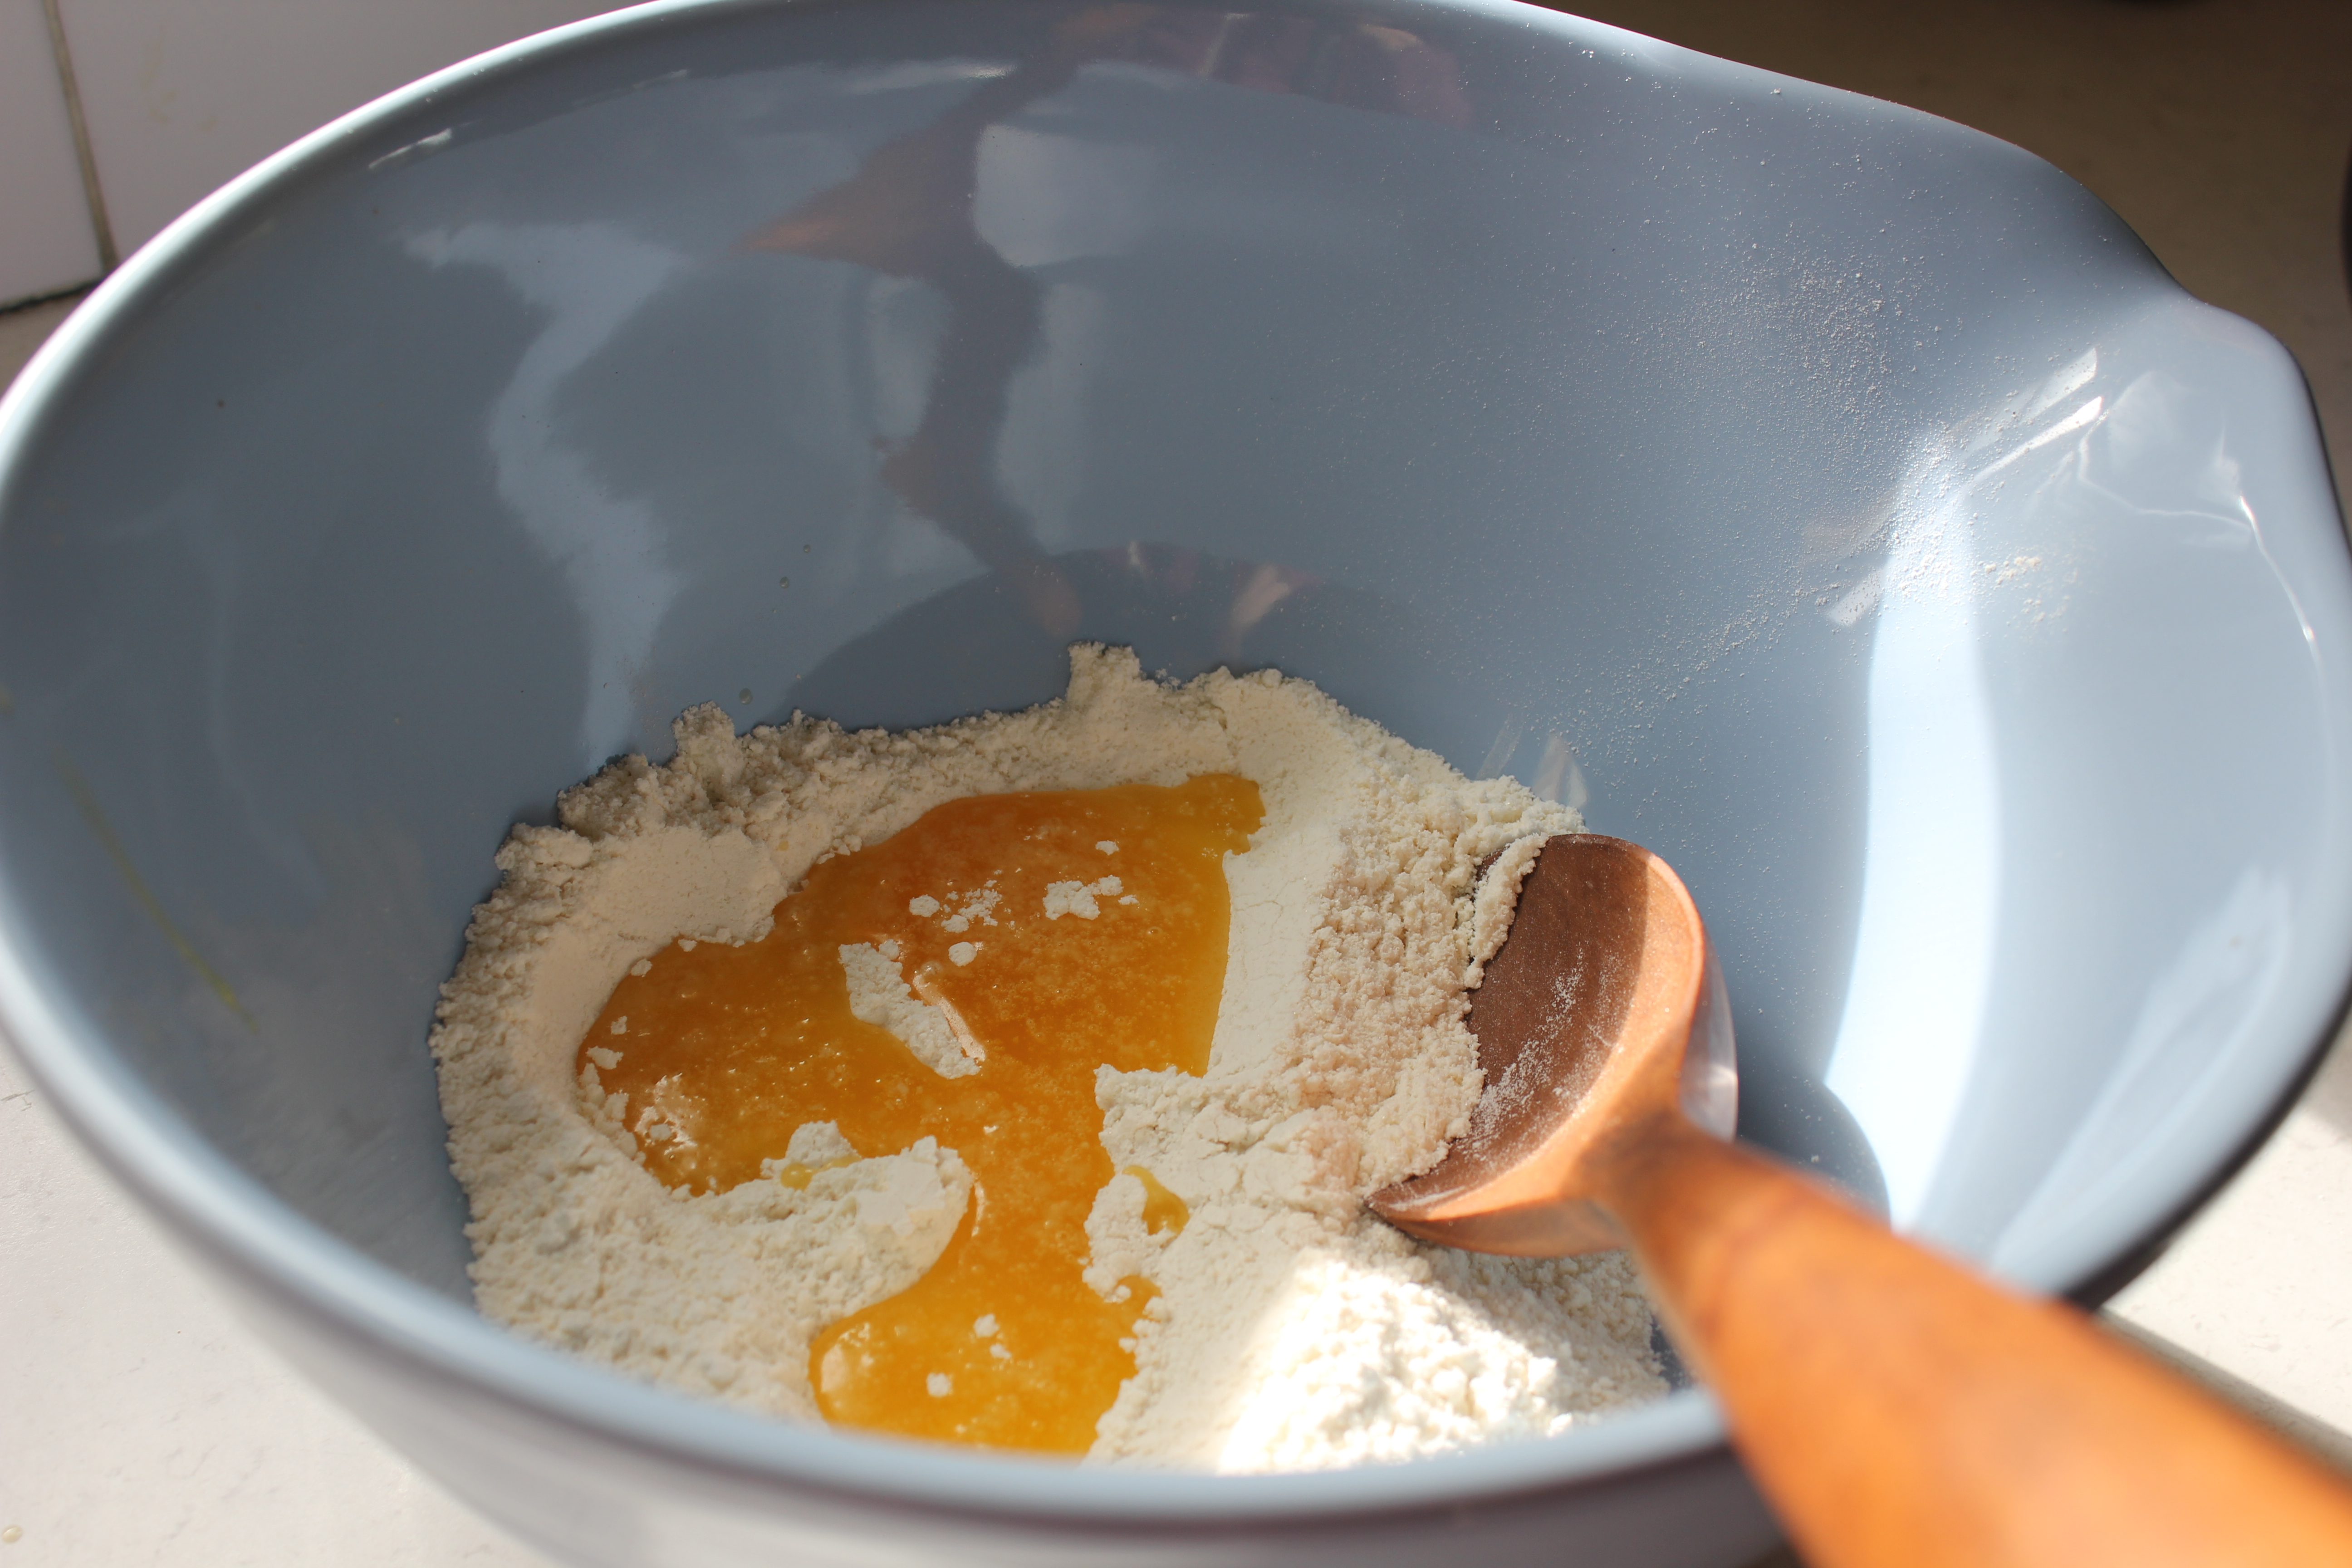
Combine the sugar, cocoa, flour and baking powder in a bowl. Add in the eggs and mix as thoroughly as you can, it will be hard to mix because the mixture is so dry. Add the chocolate mixture and combine. Pour the mixture into your baking tin.

uncooked
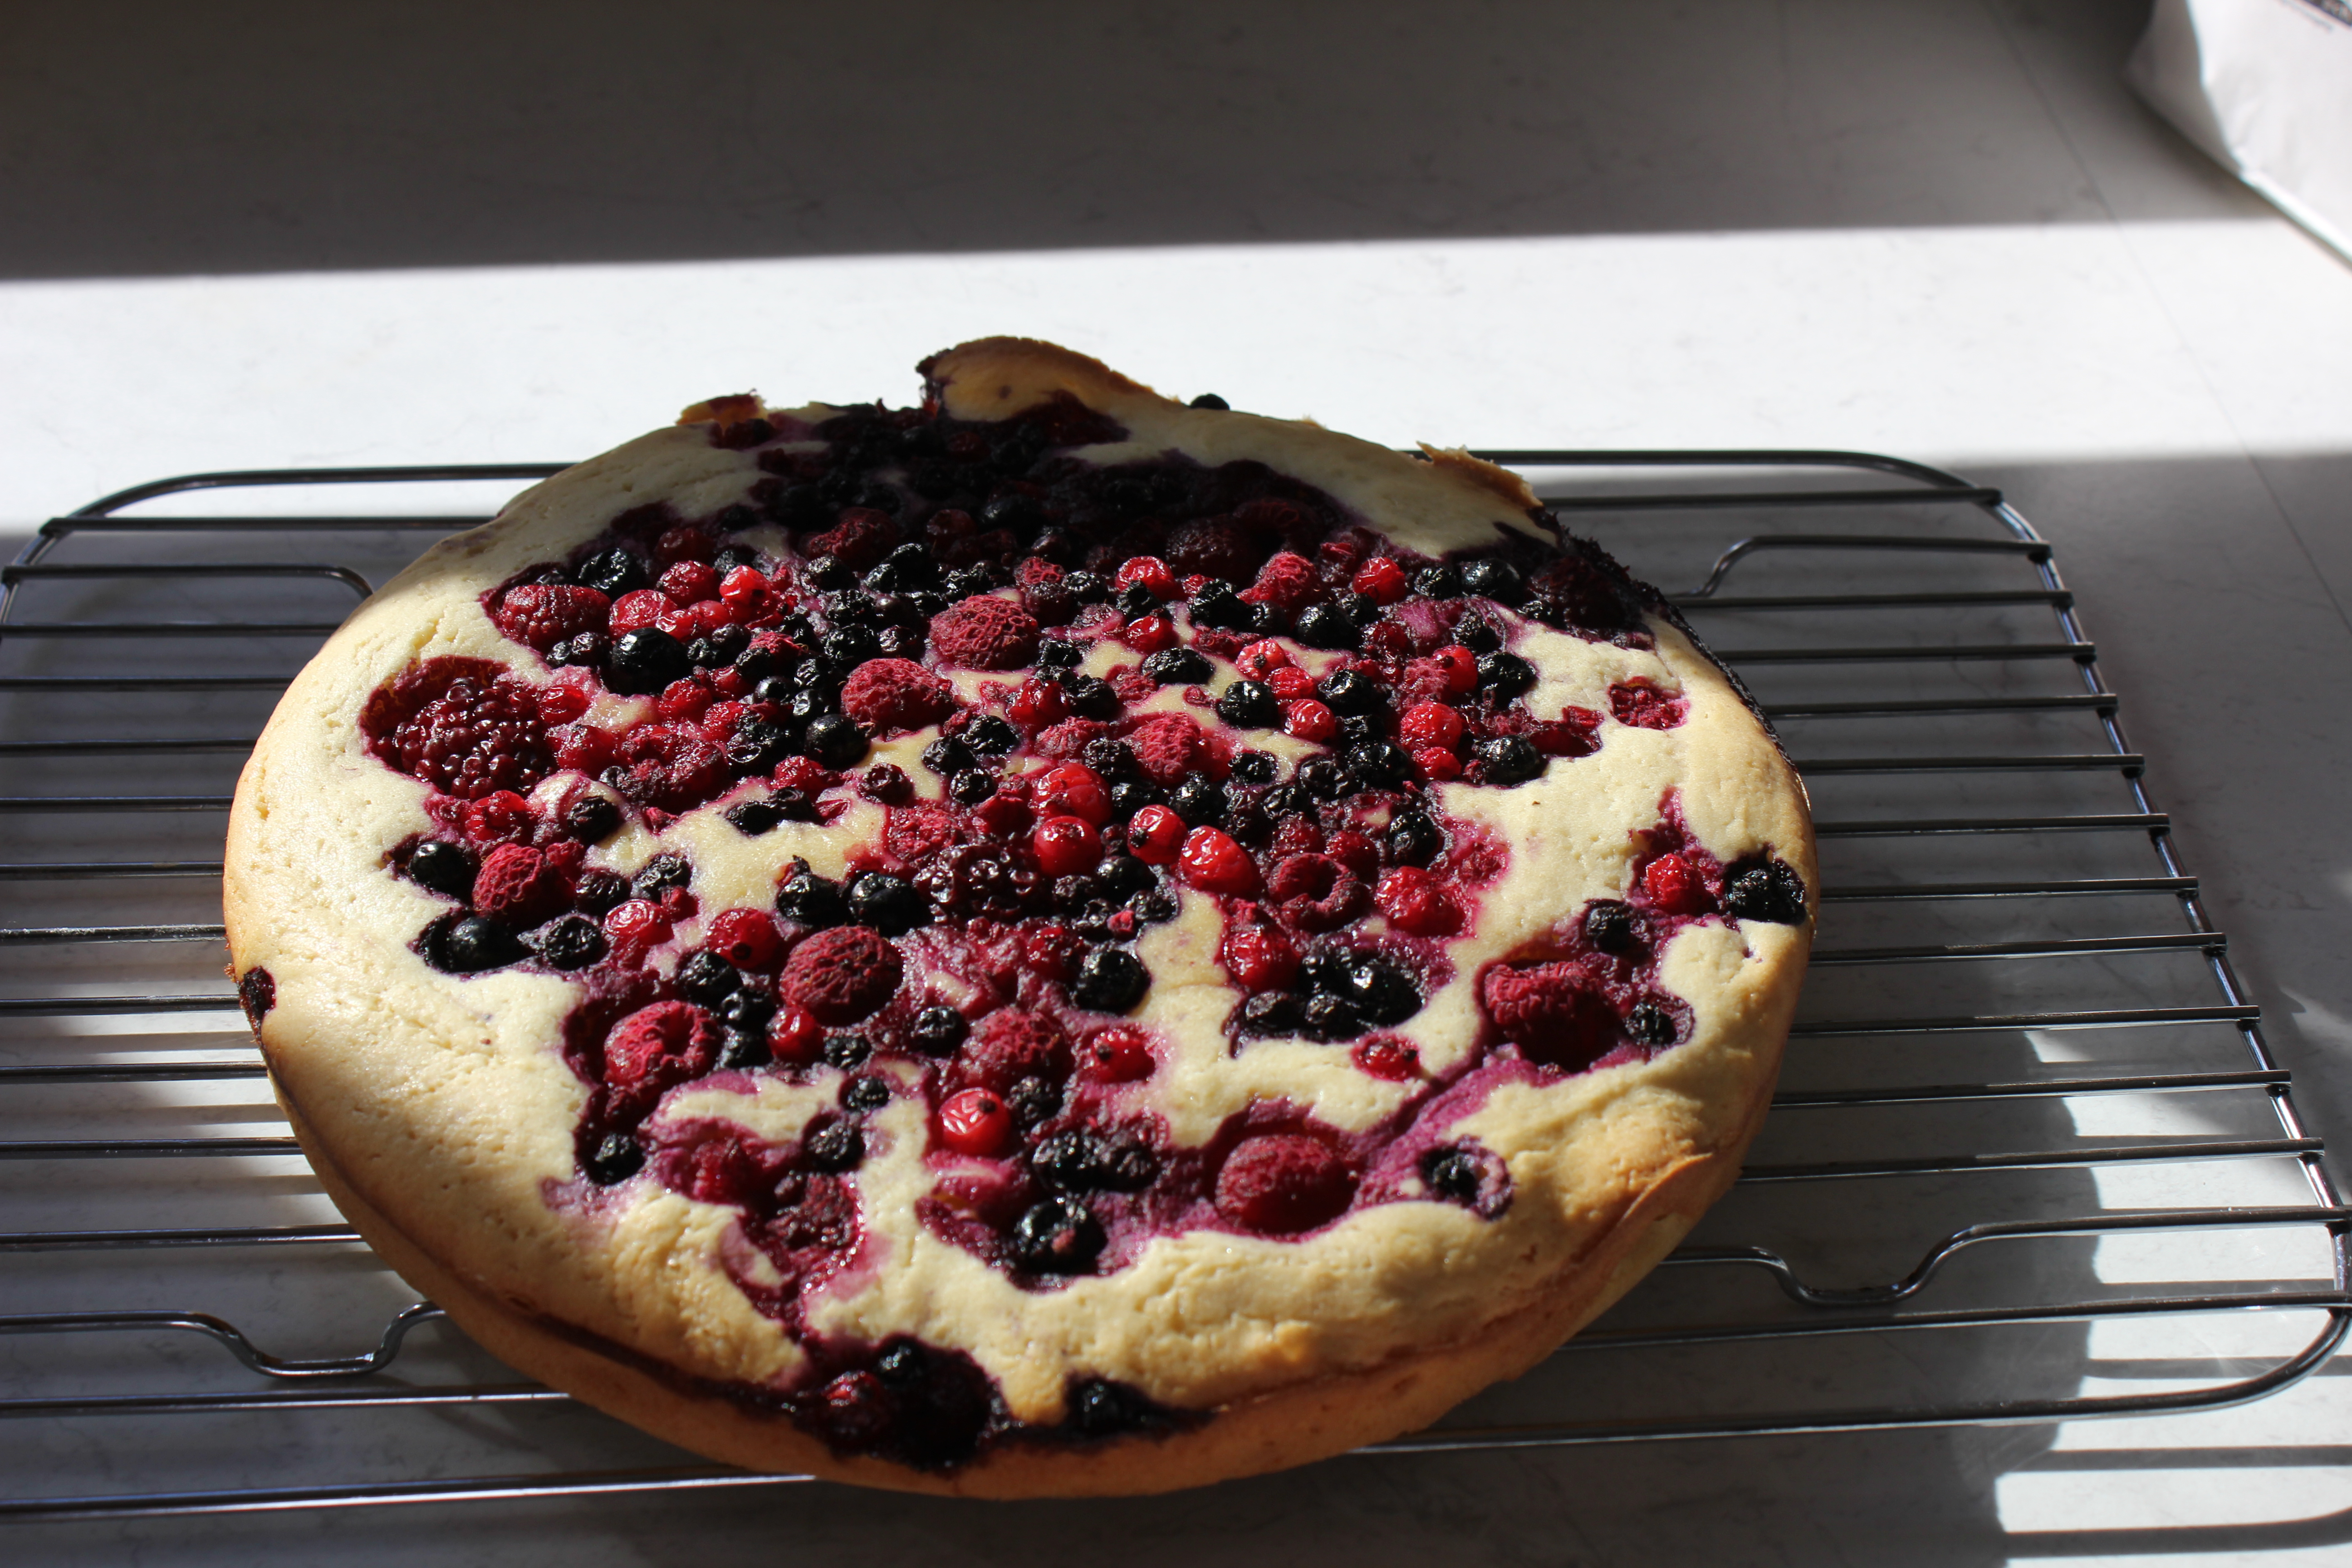
Bake for 40-50 minutes or until a skewer inserted into the middle comes out mostly clean. For me, a perfect brownie should be squidgy in the centre, so I don’t want a completely clean skewer. If the skewer pulls out a whole chunk of mixture, pop it back into the oven, but if there is just a little bit of chocolate on the skewer, I’d say it’s done.

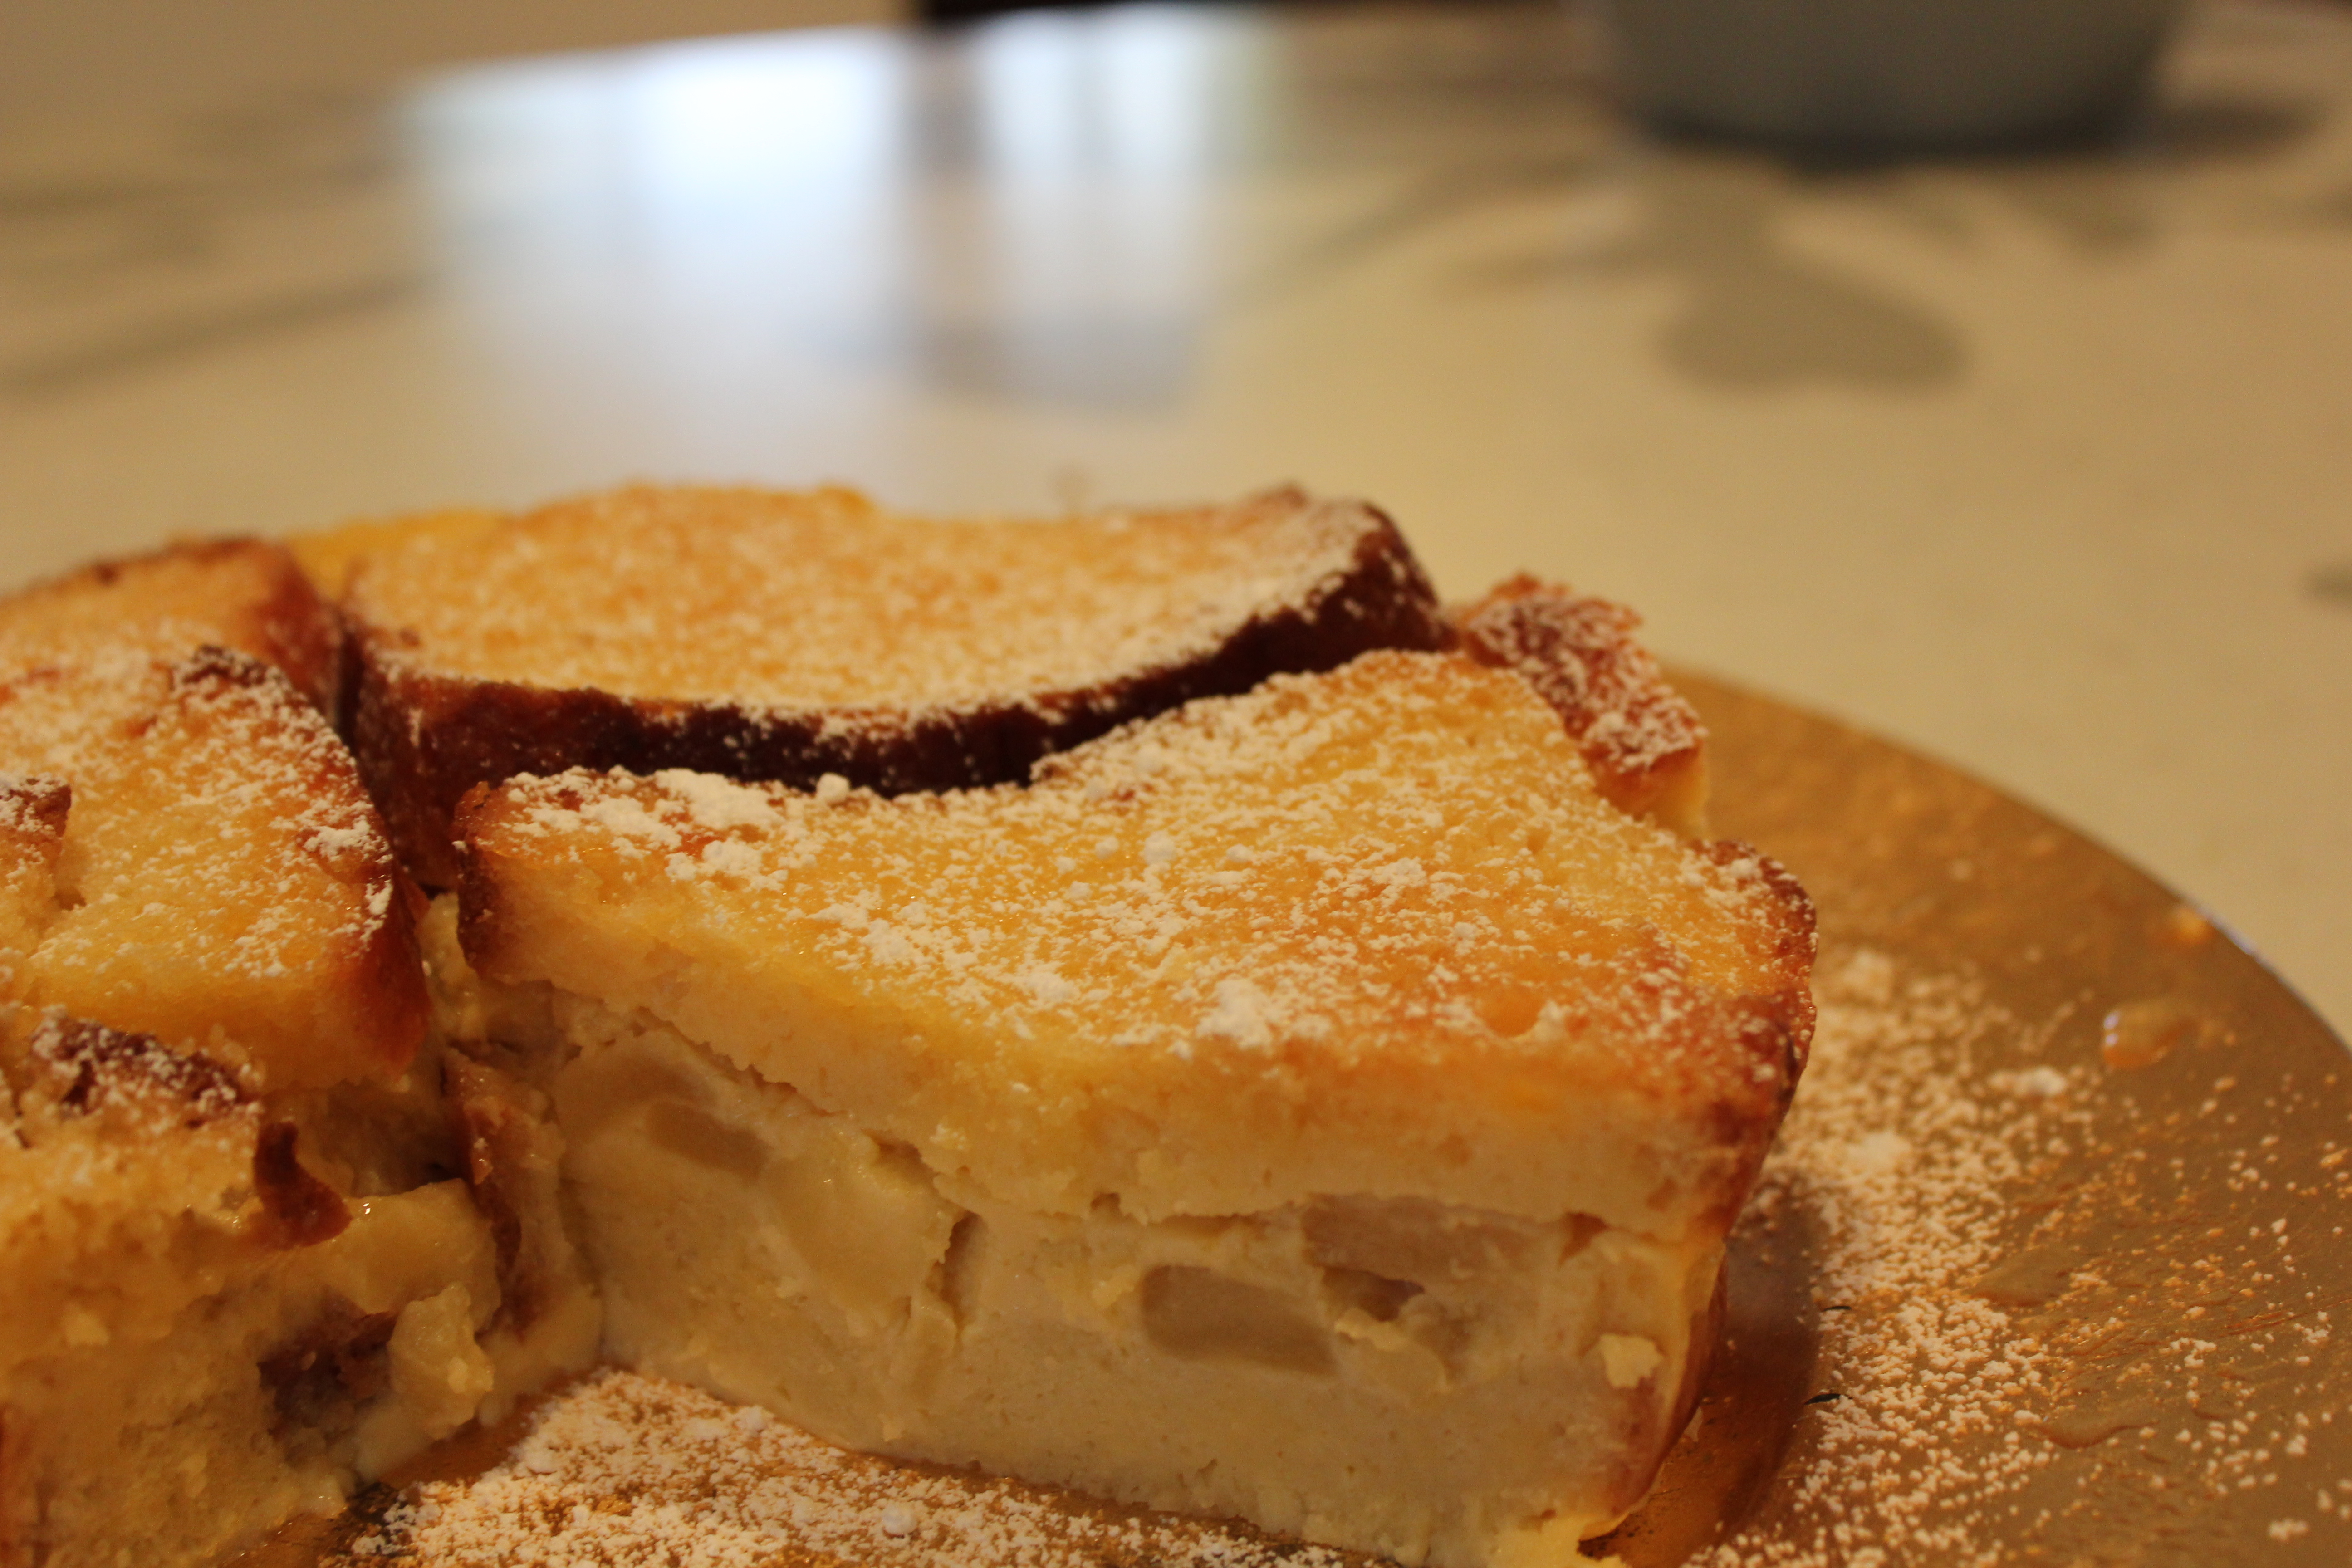
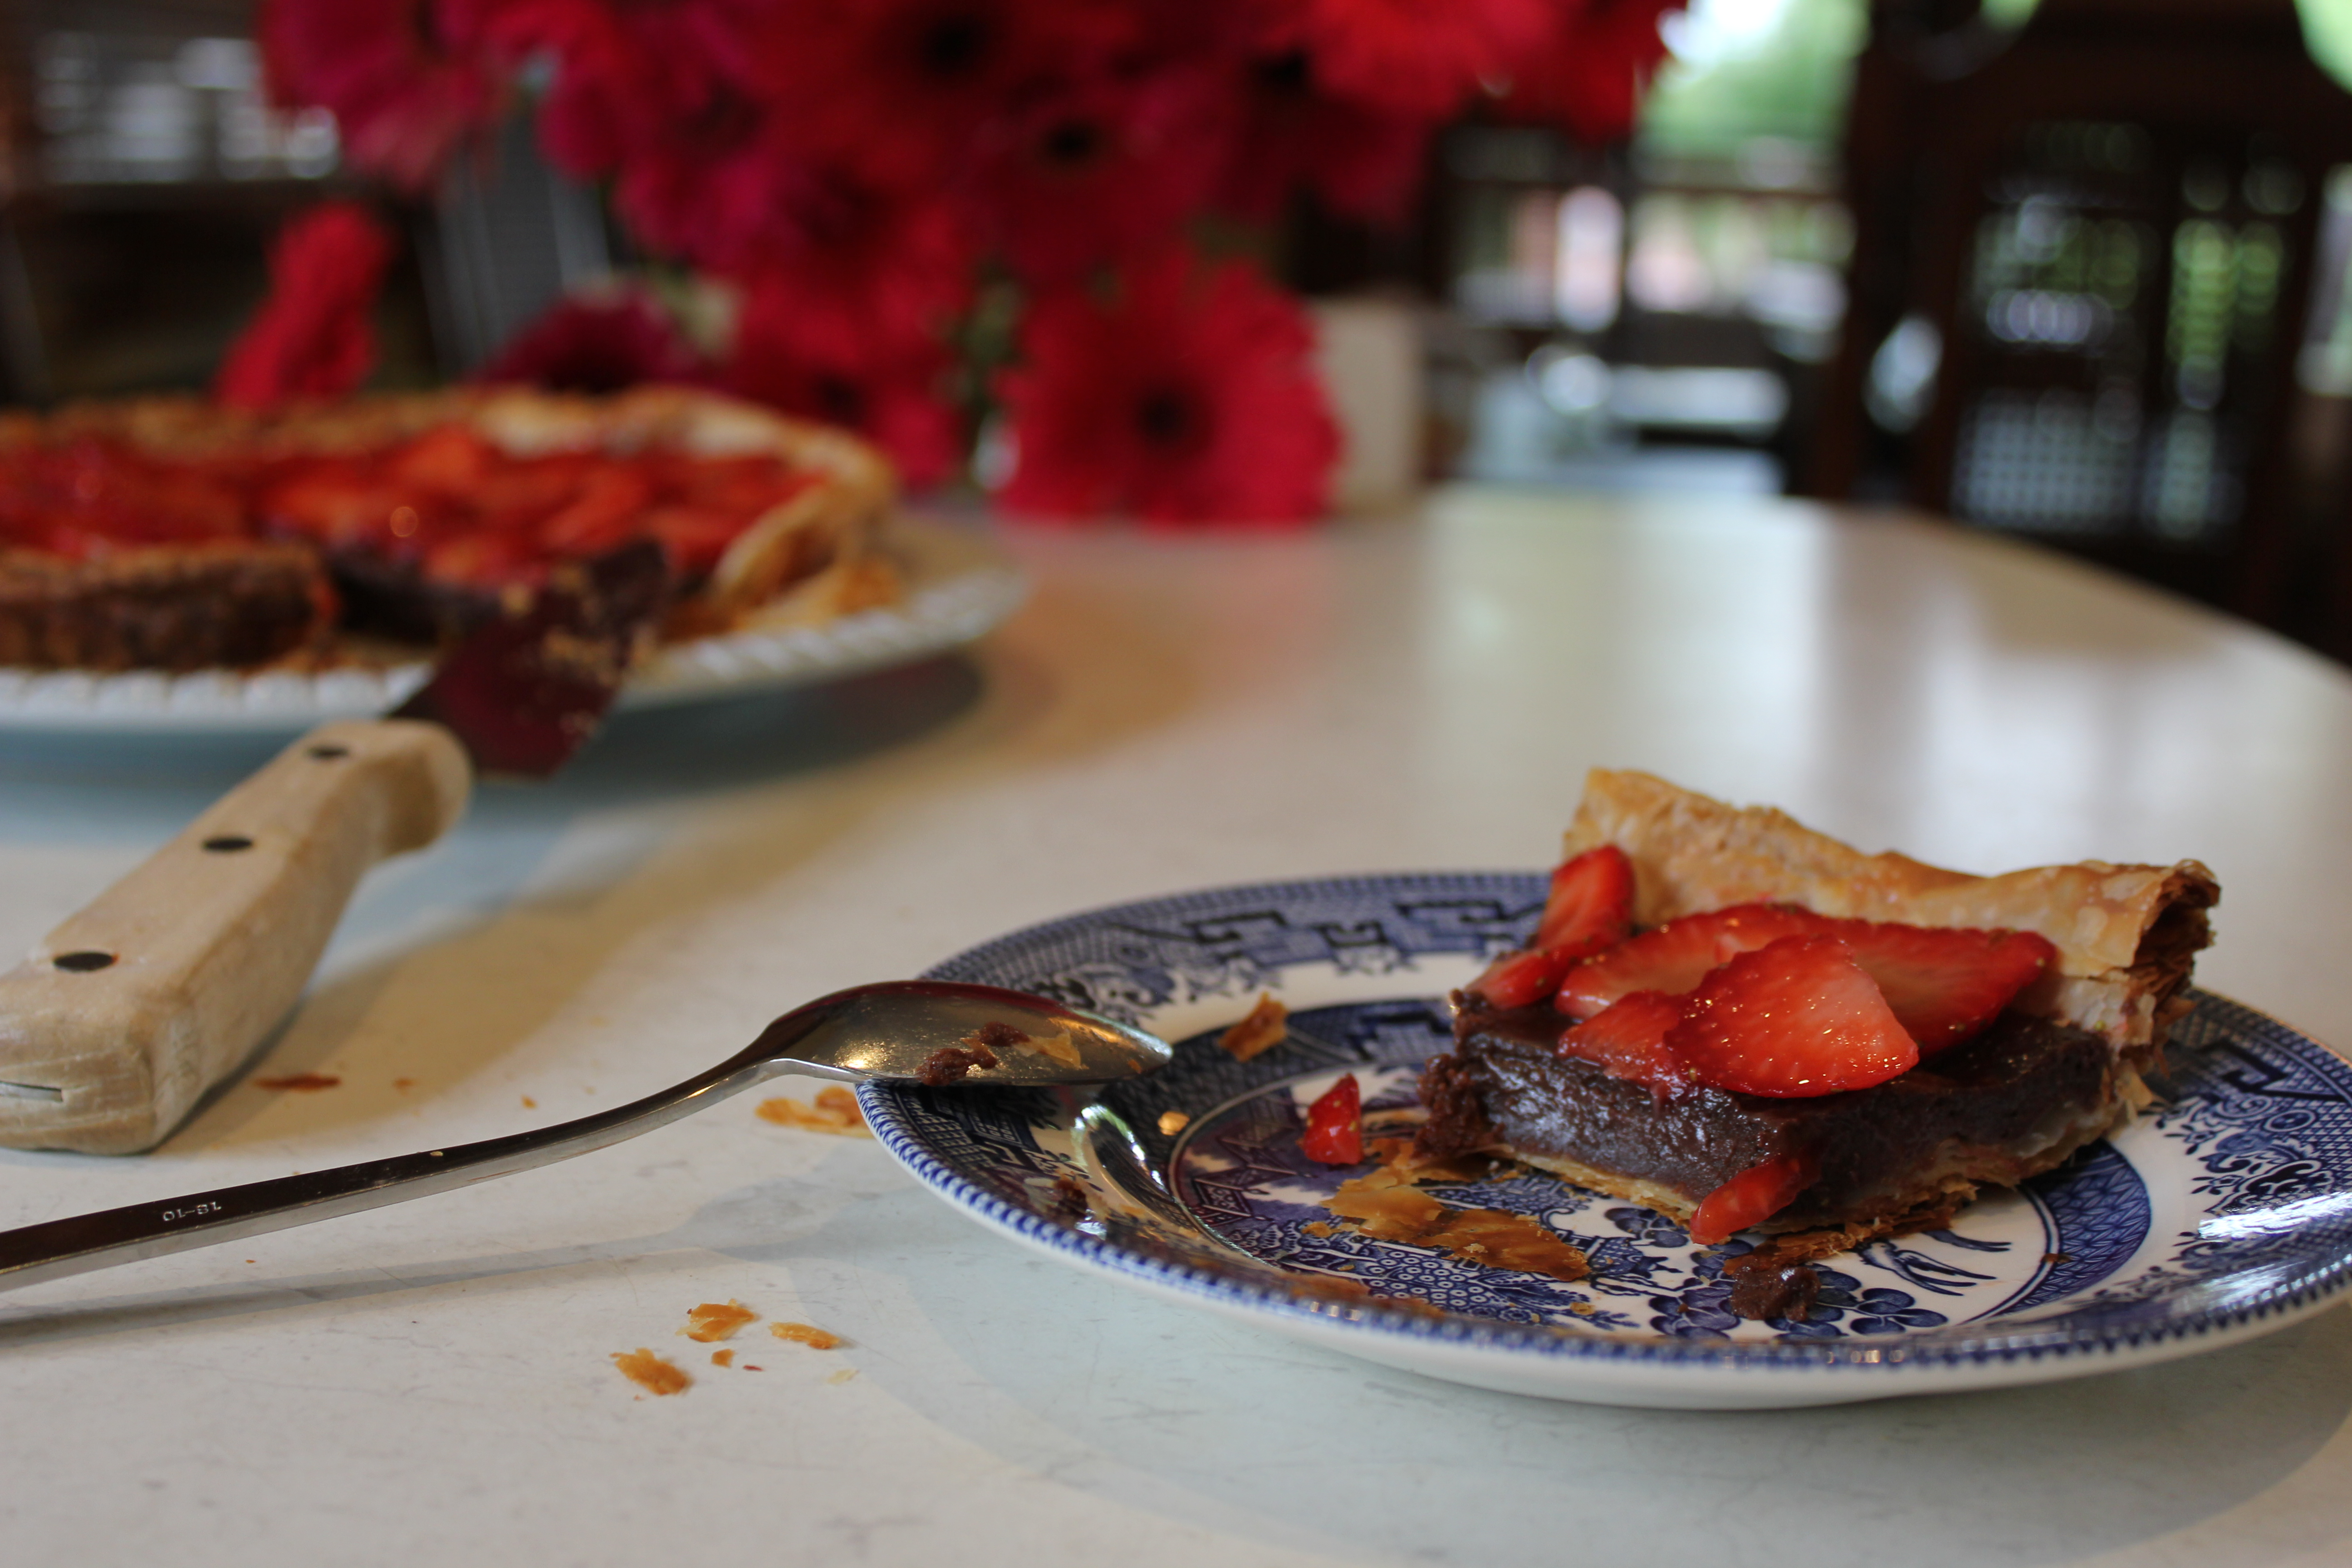
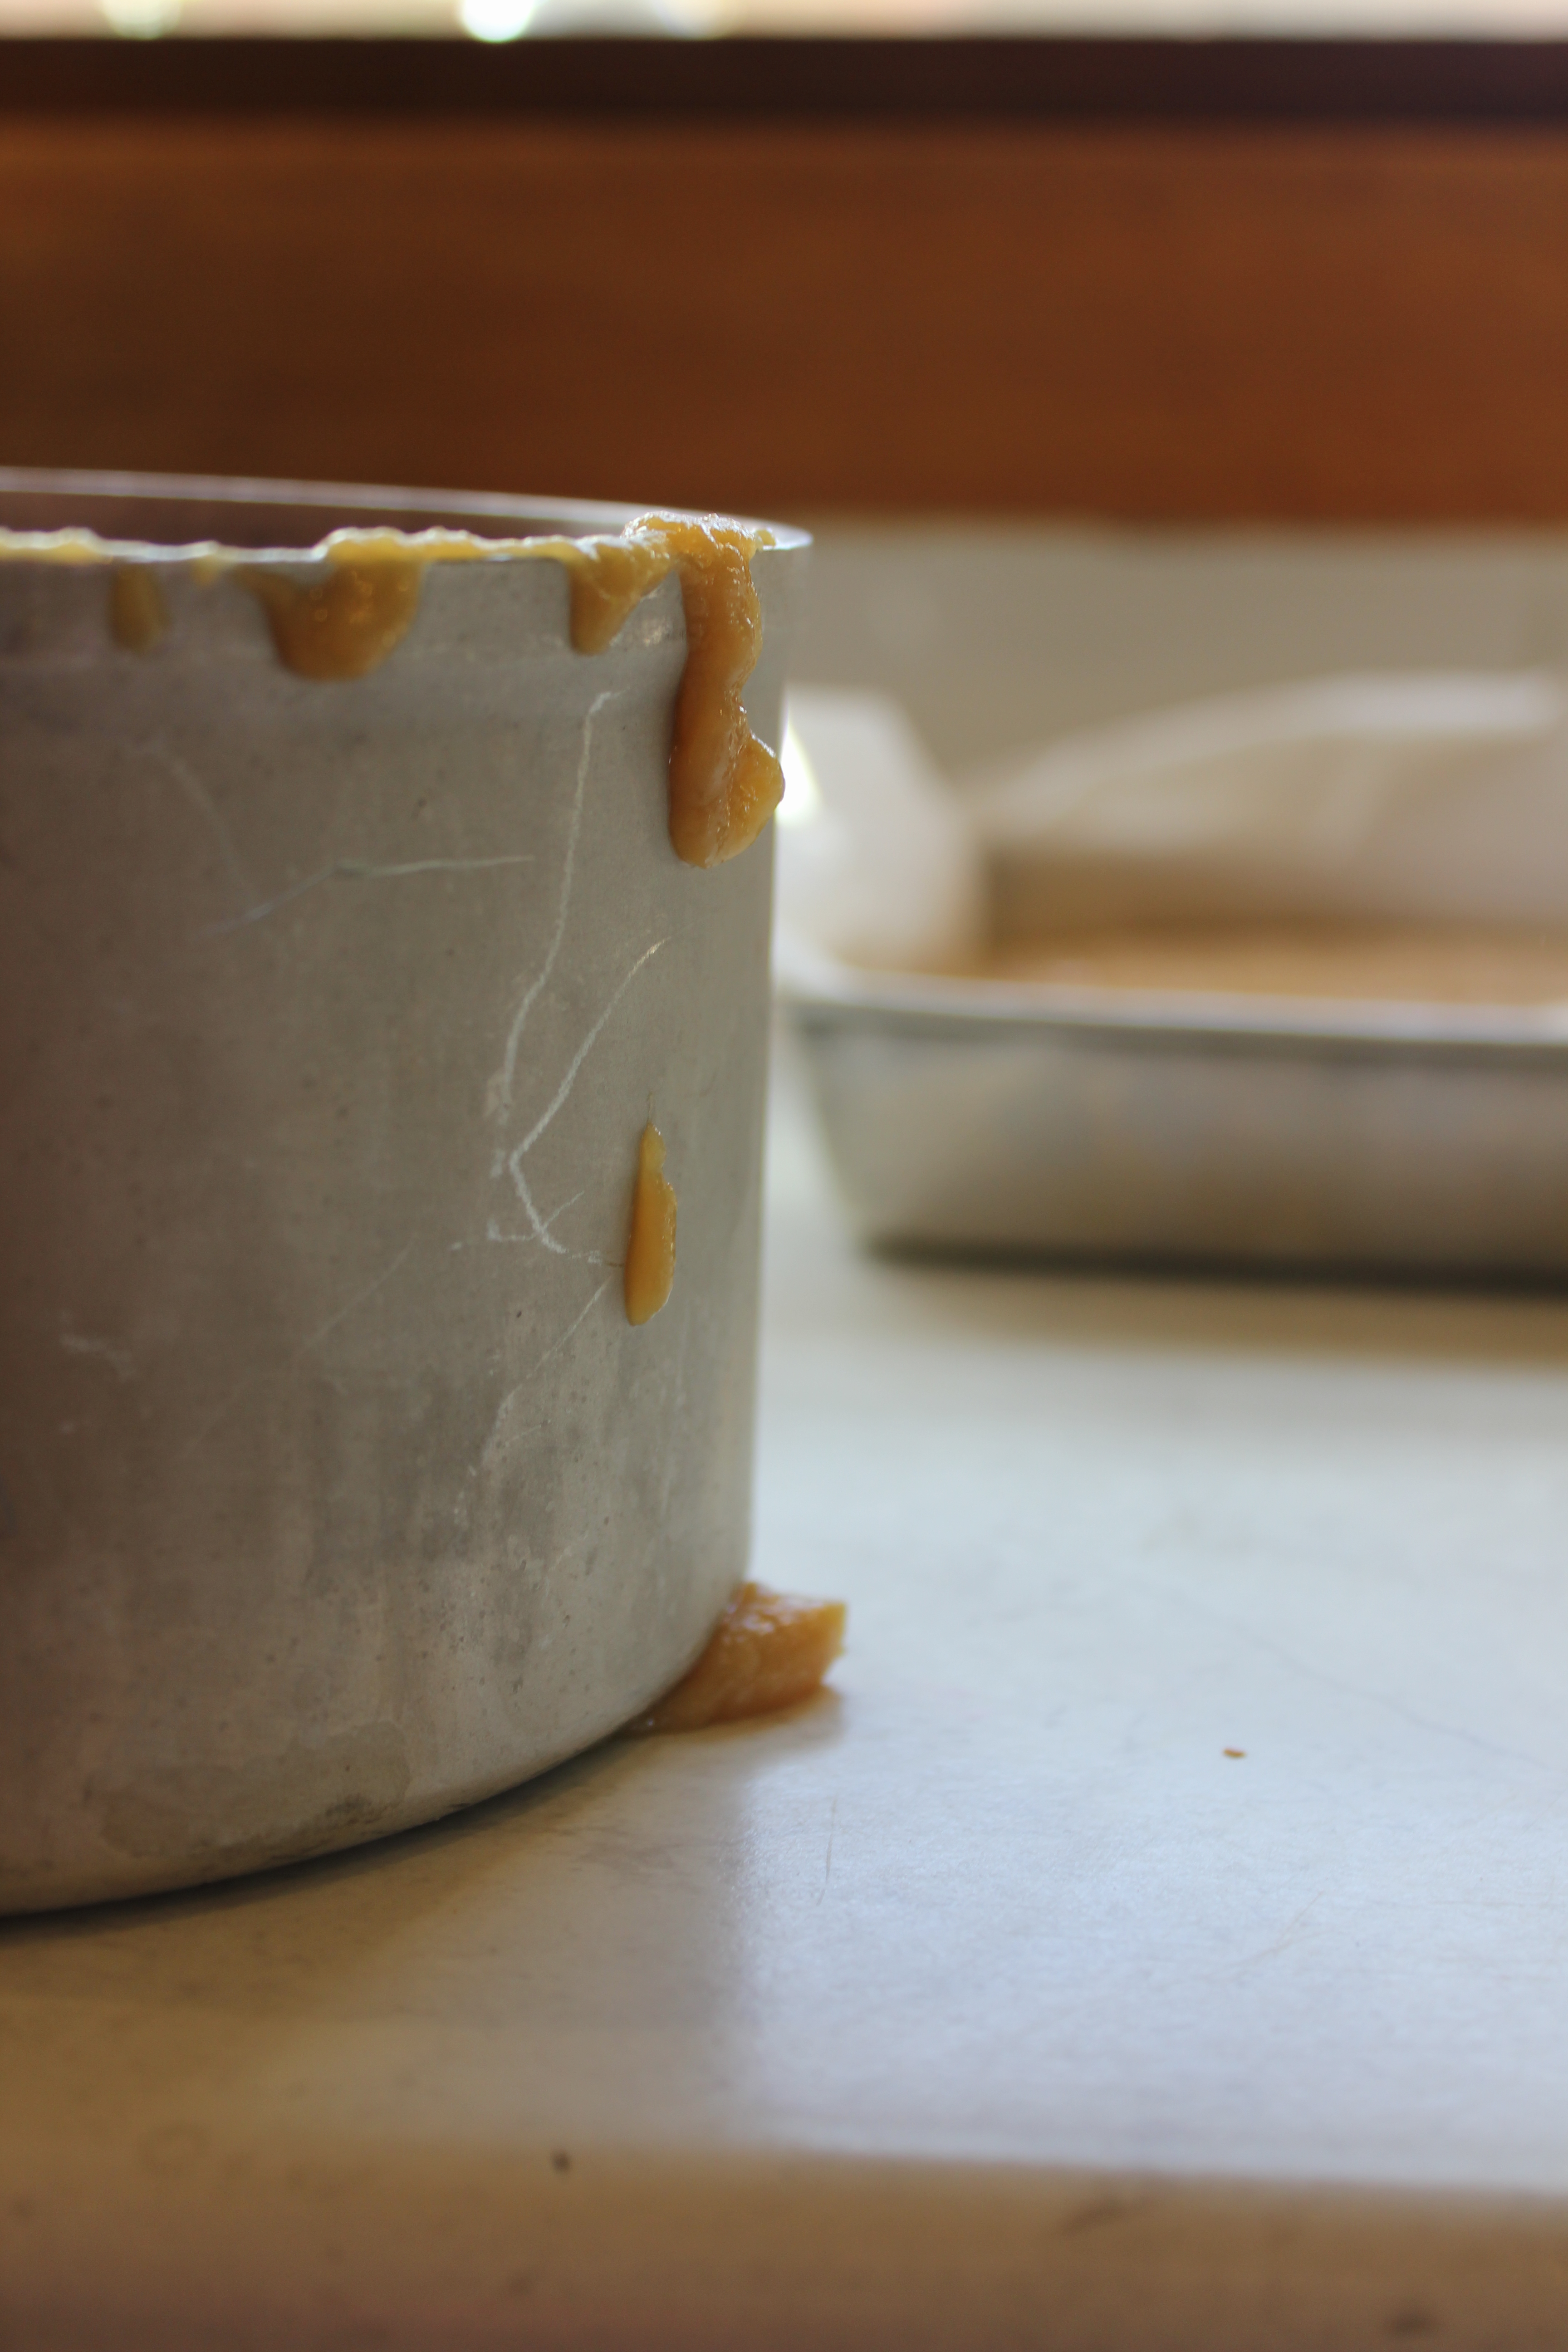
Allow the brownie to cool slightly in the tin before slicing. It will sink. It just will. There is nothing wrong with that – the sides and top will have puffed up more than the rest of the mixture and the centre will be deliciously moist. It’s dense, chocolatey and decadent.

whole
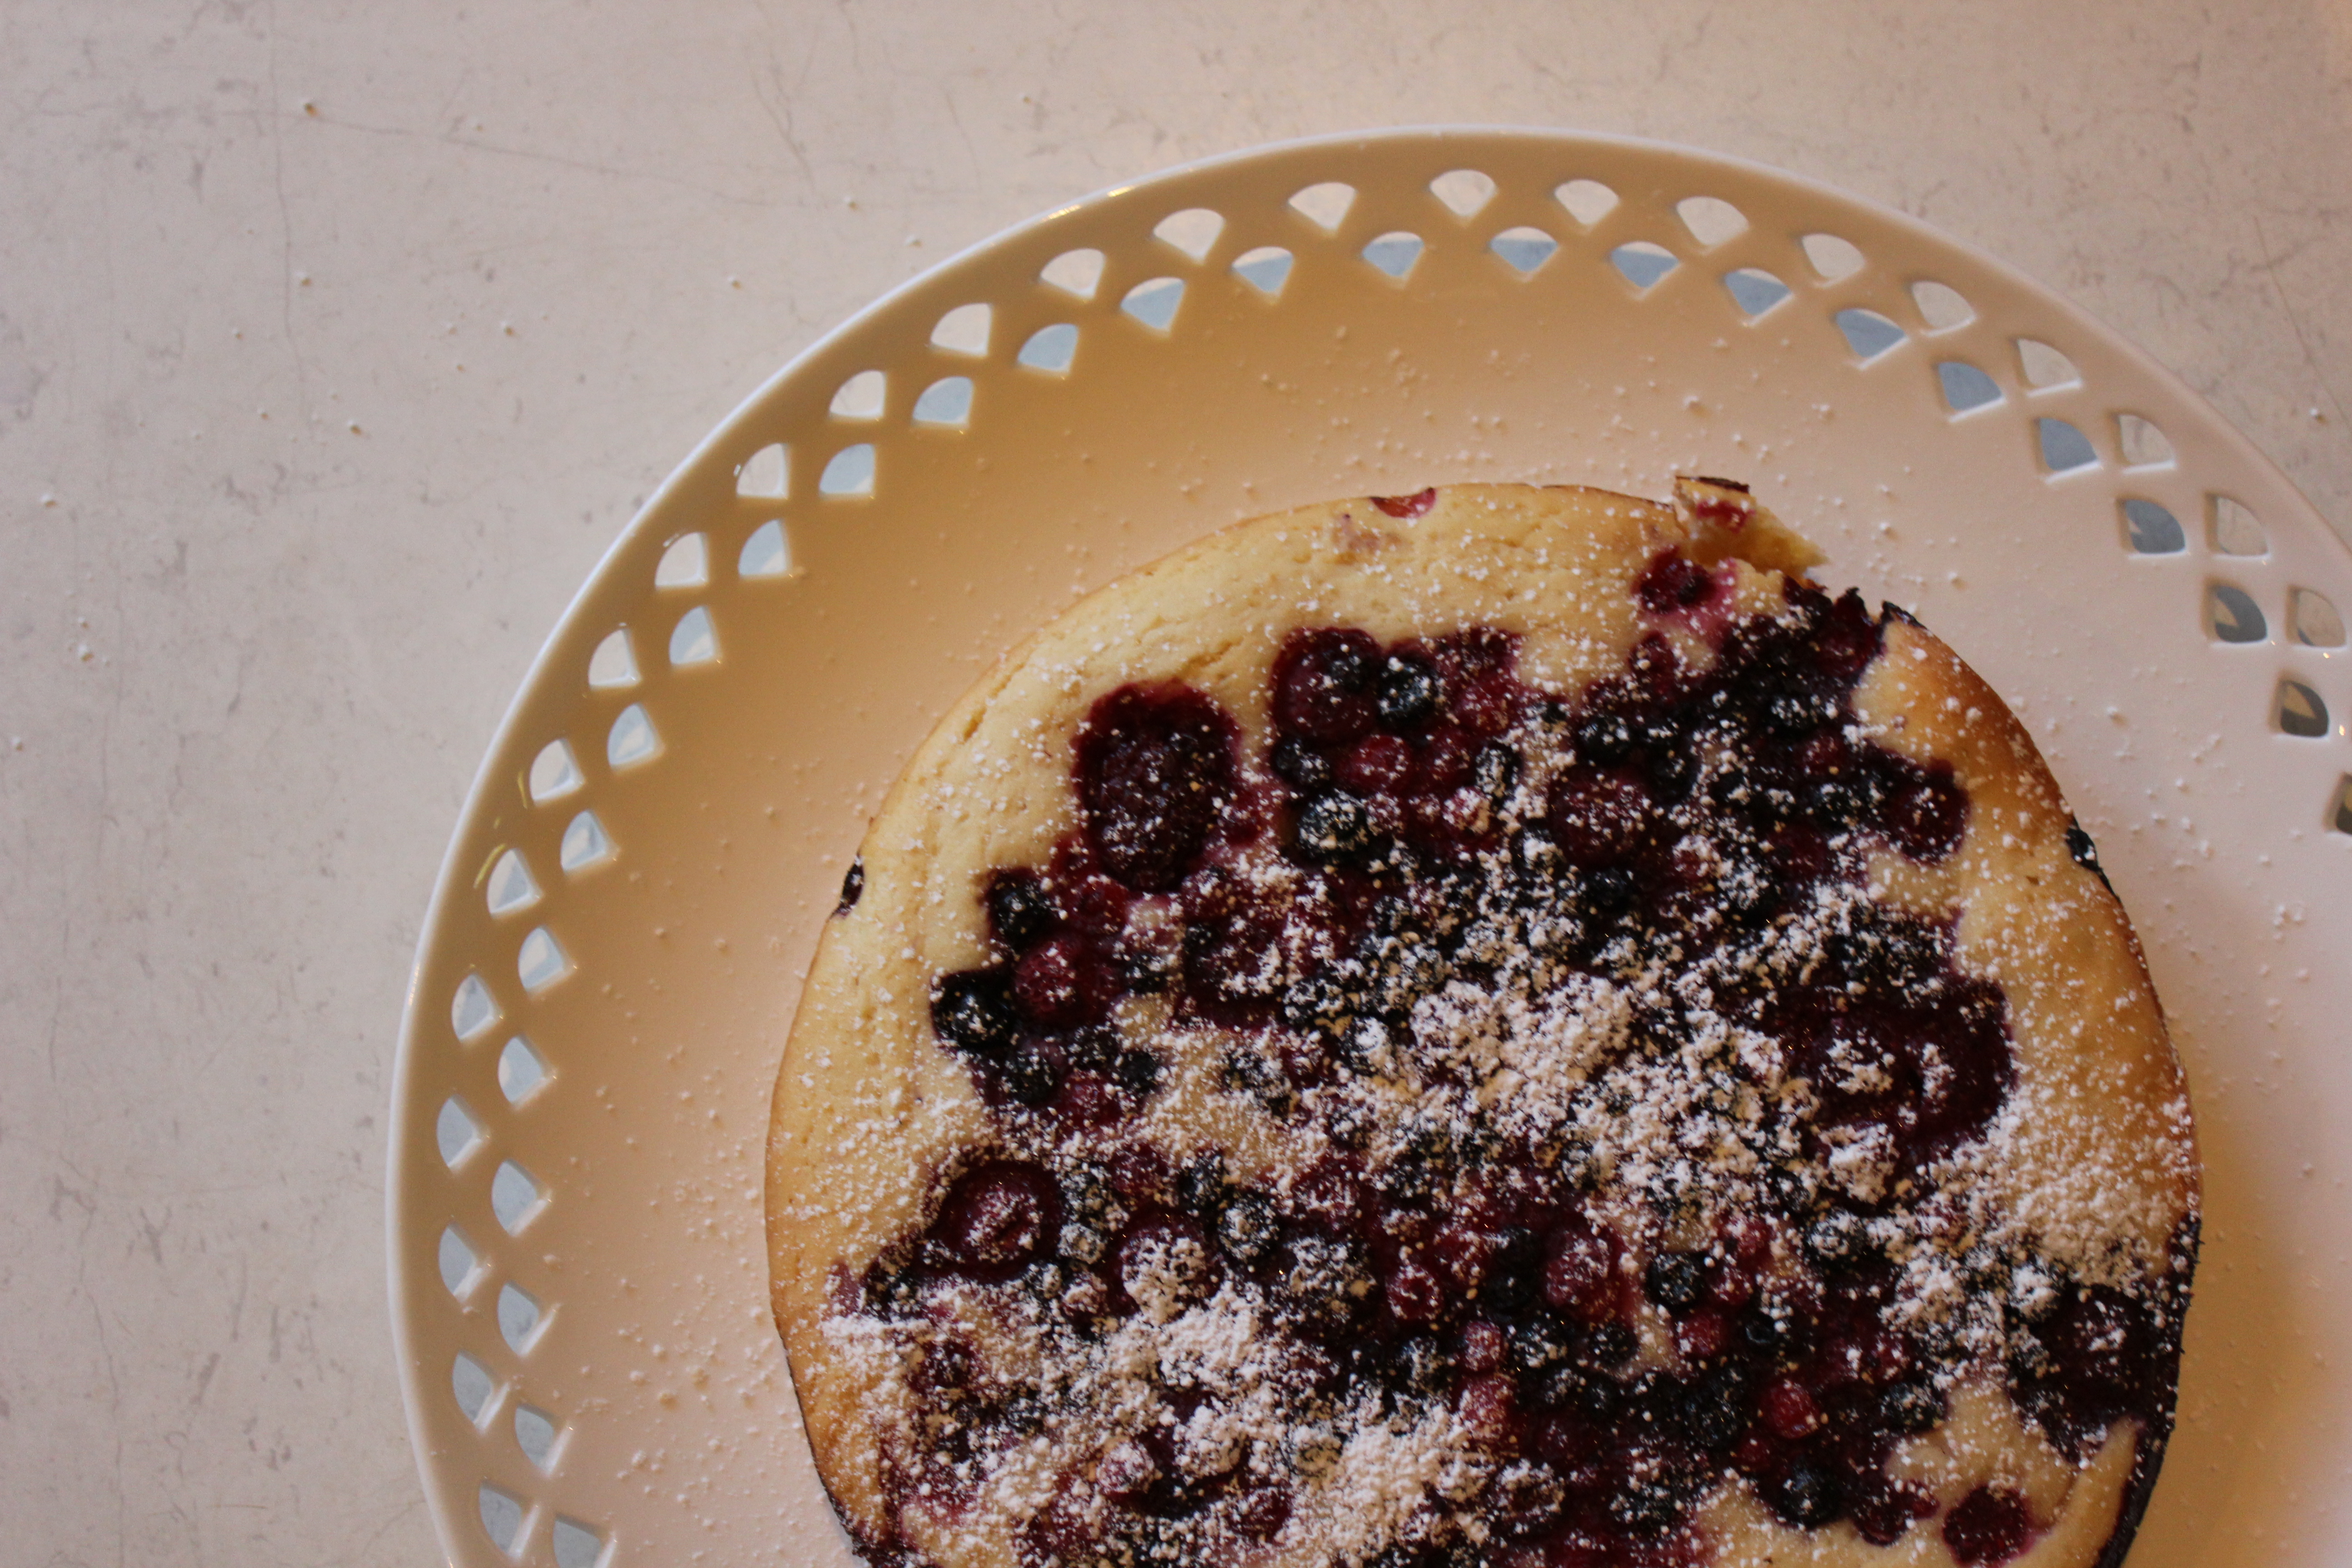
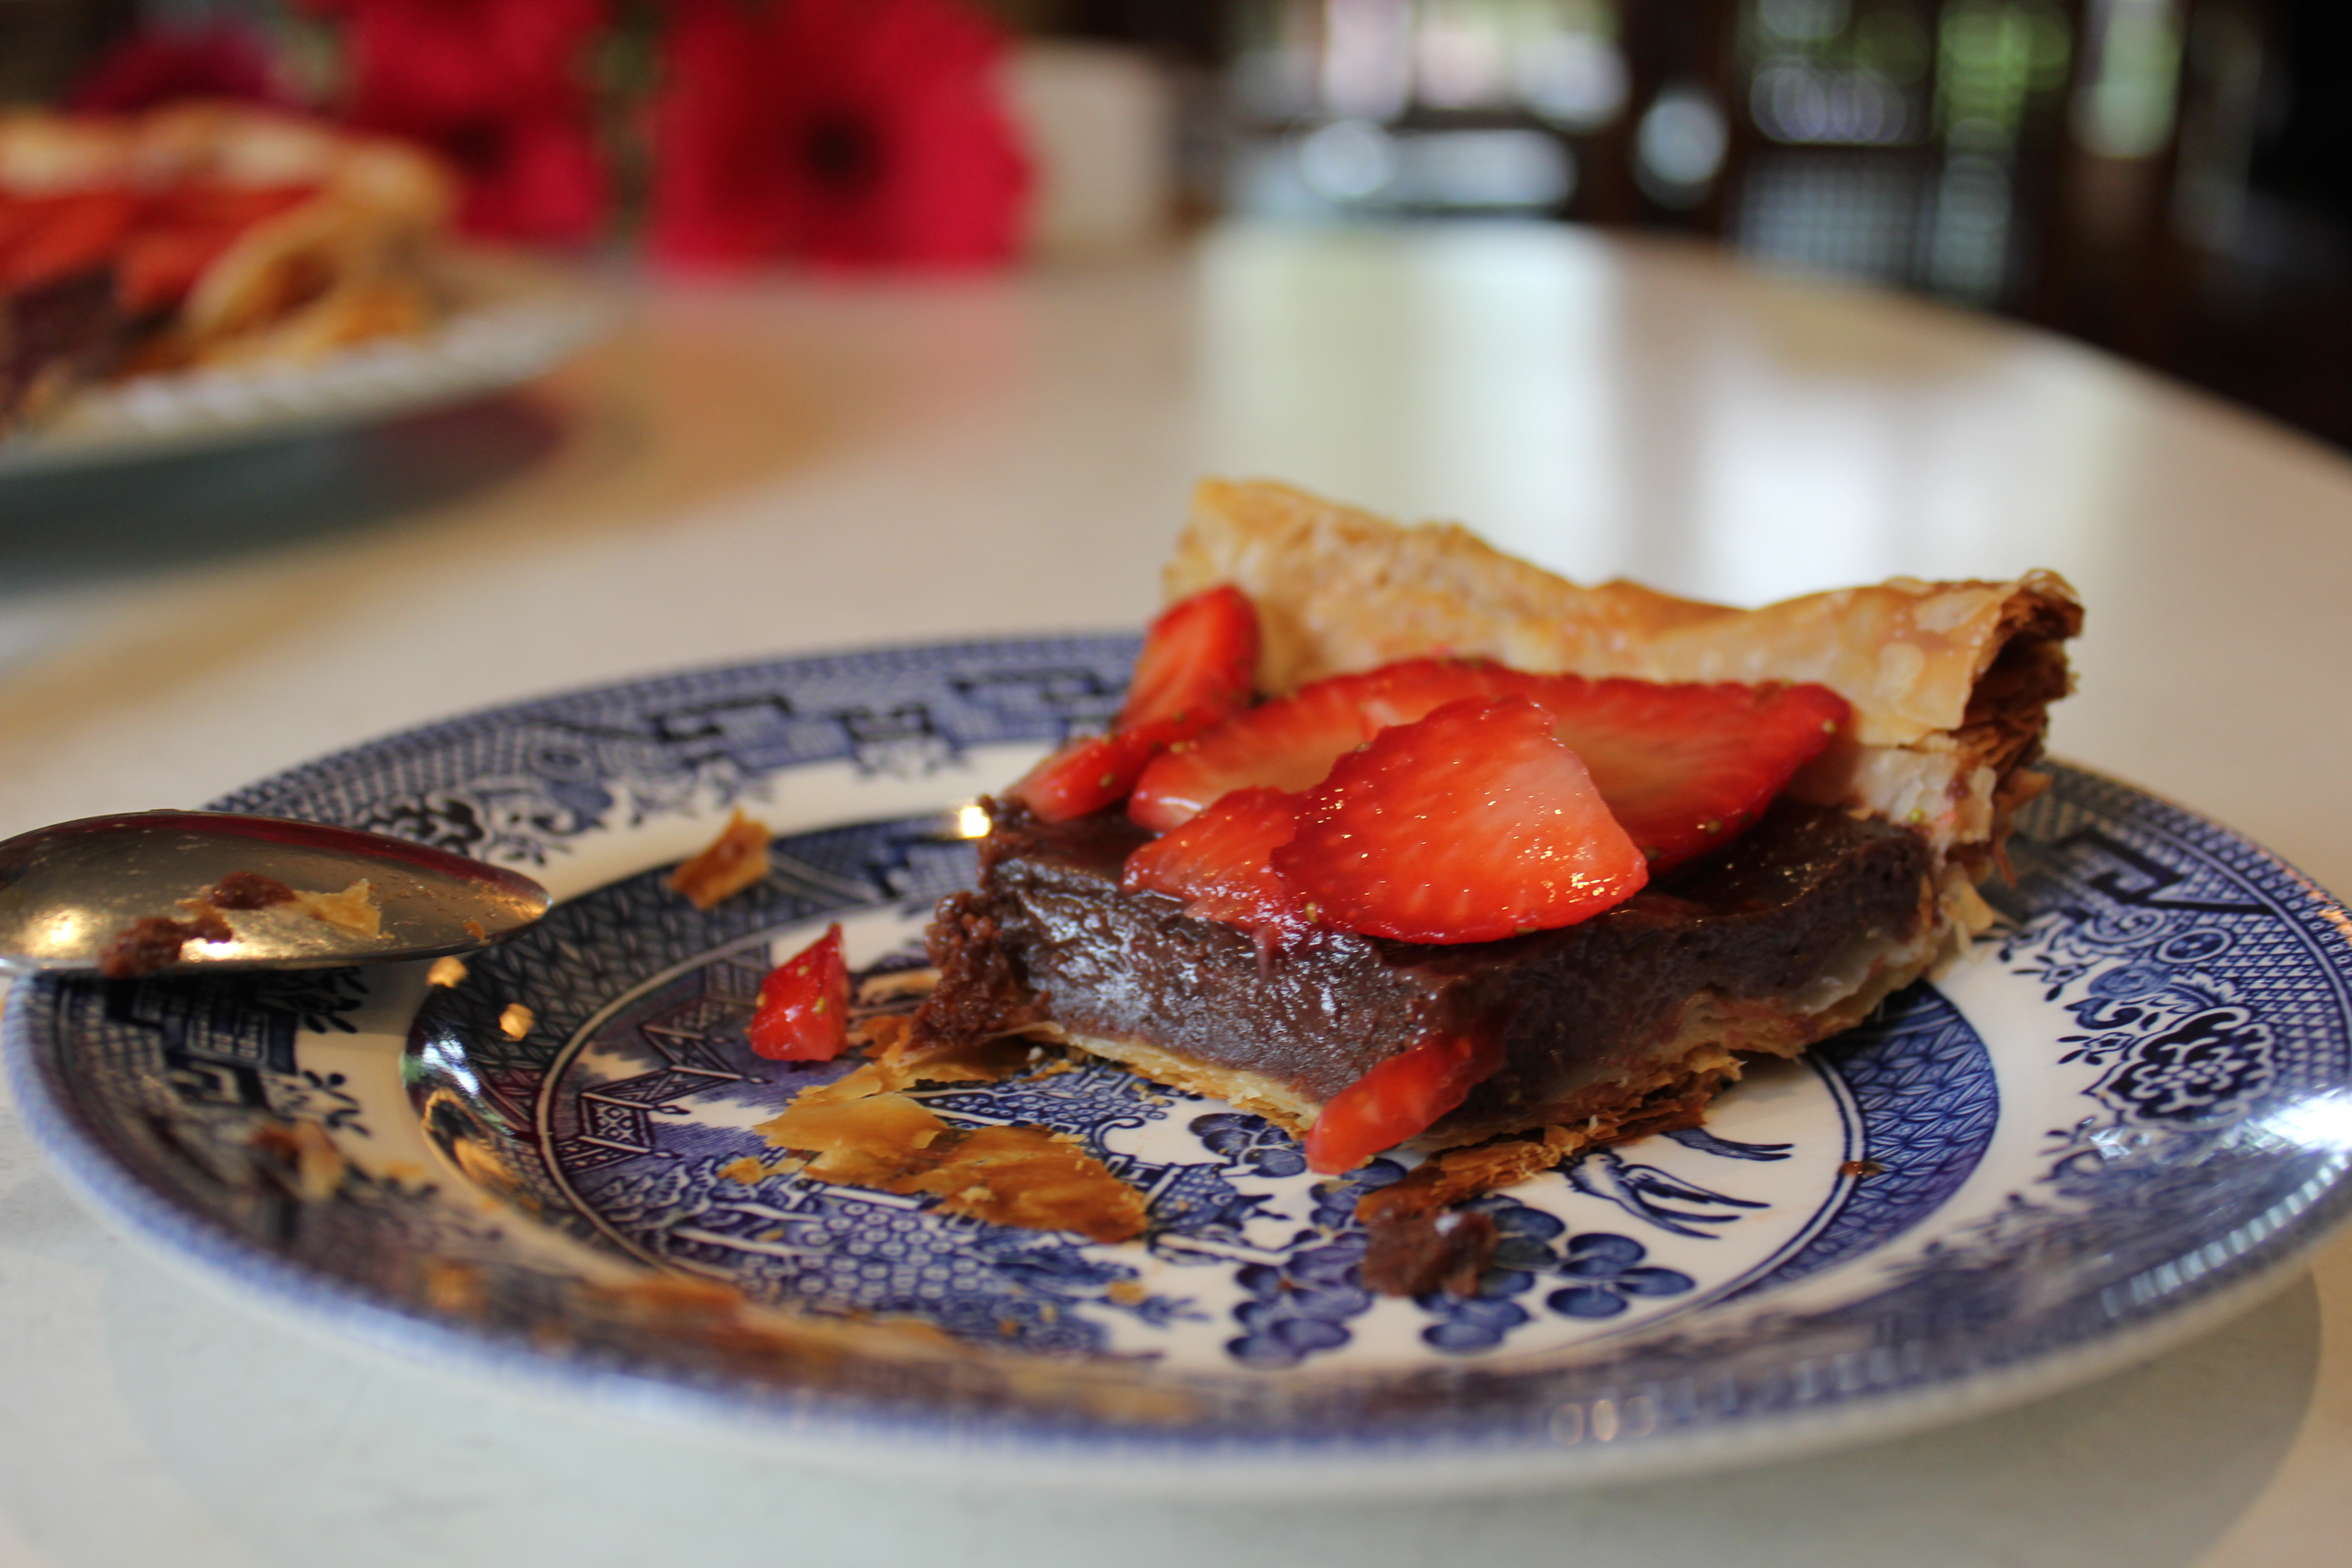
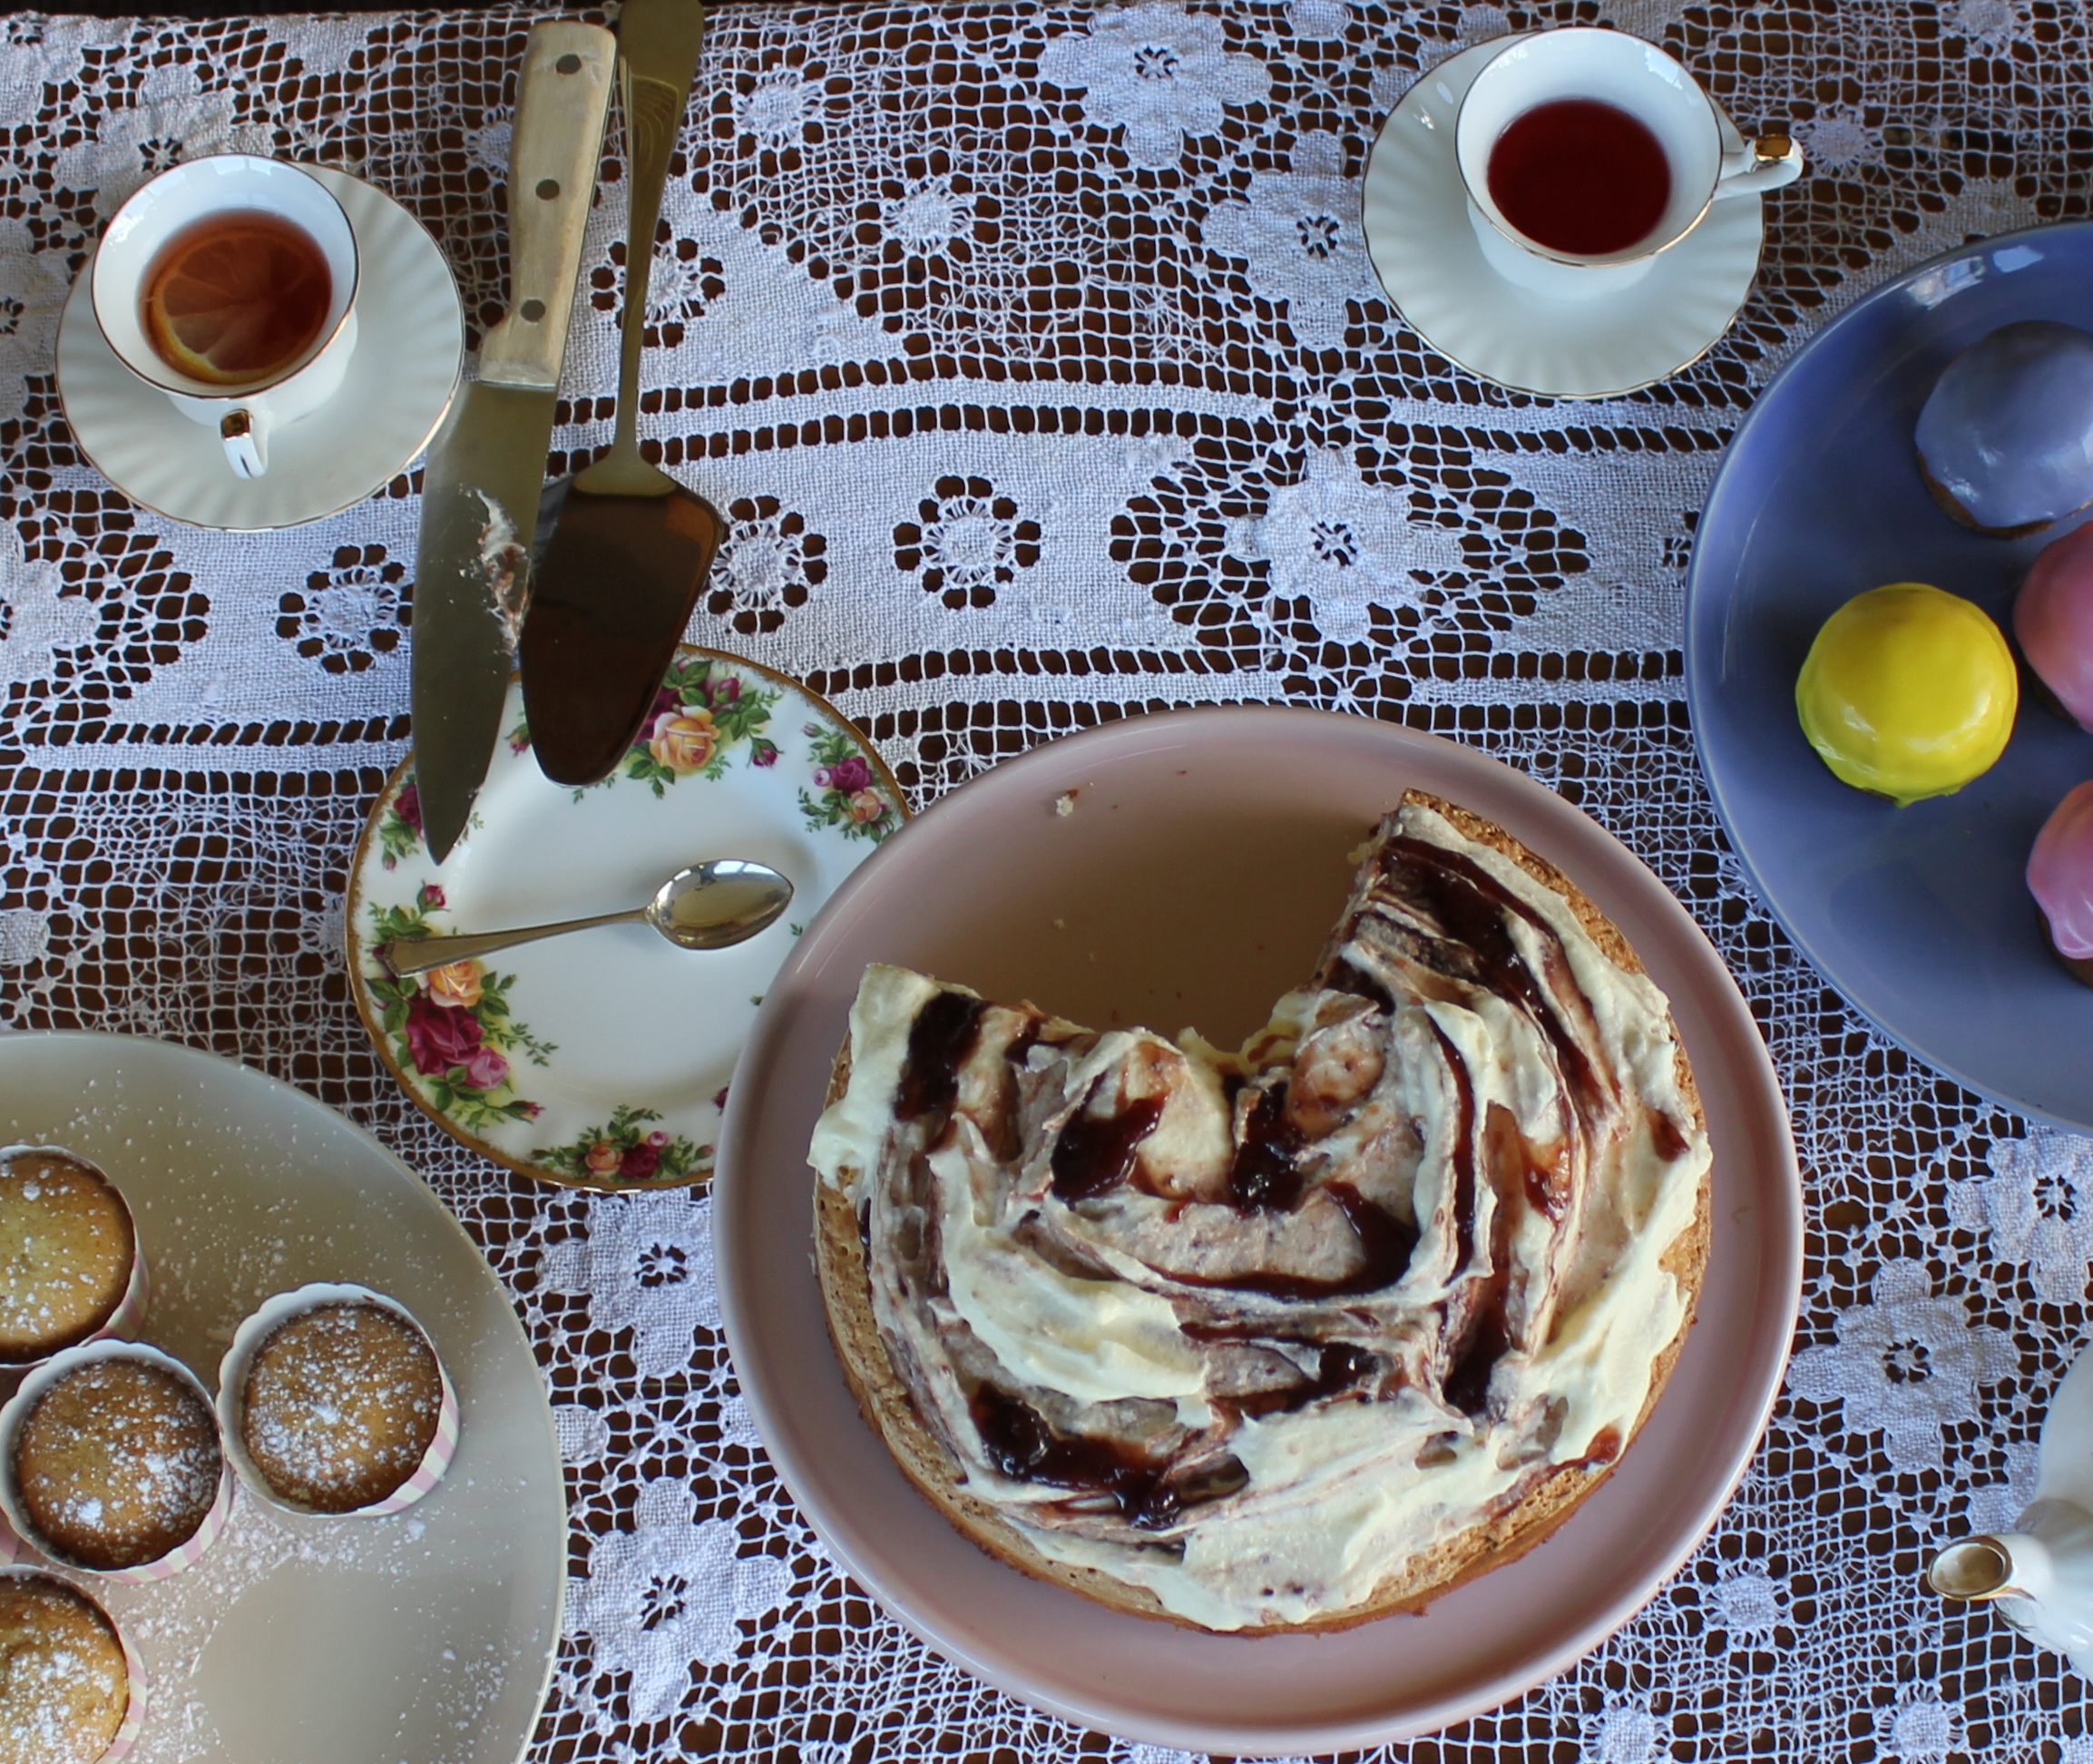
Sprinkle with icing sugar and whip up some cream to serve.

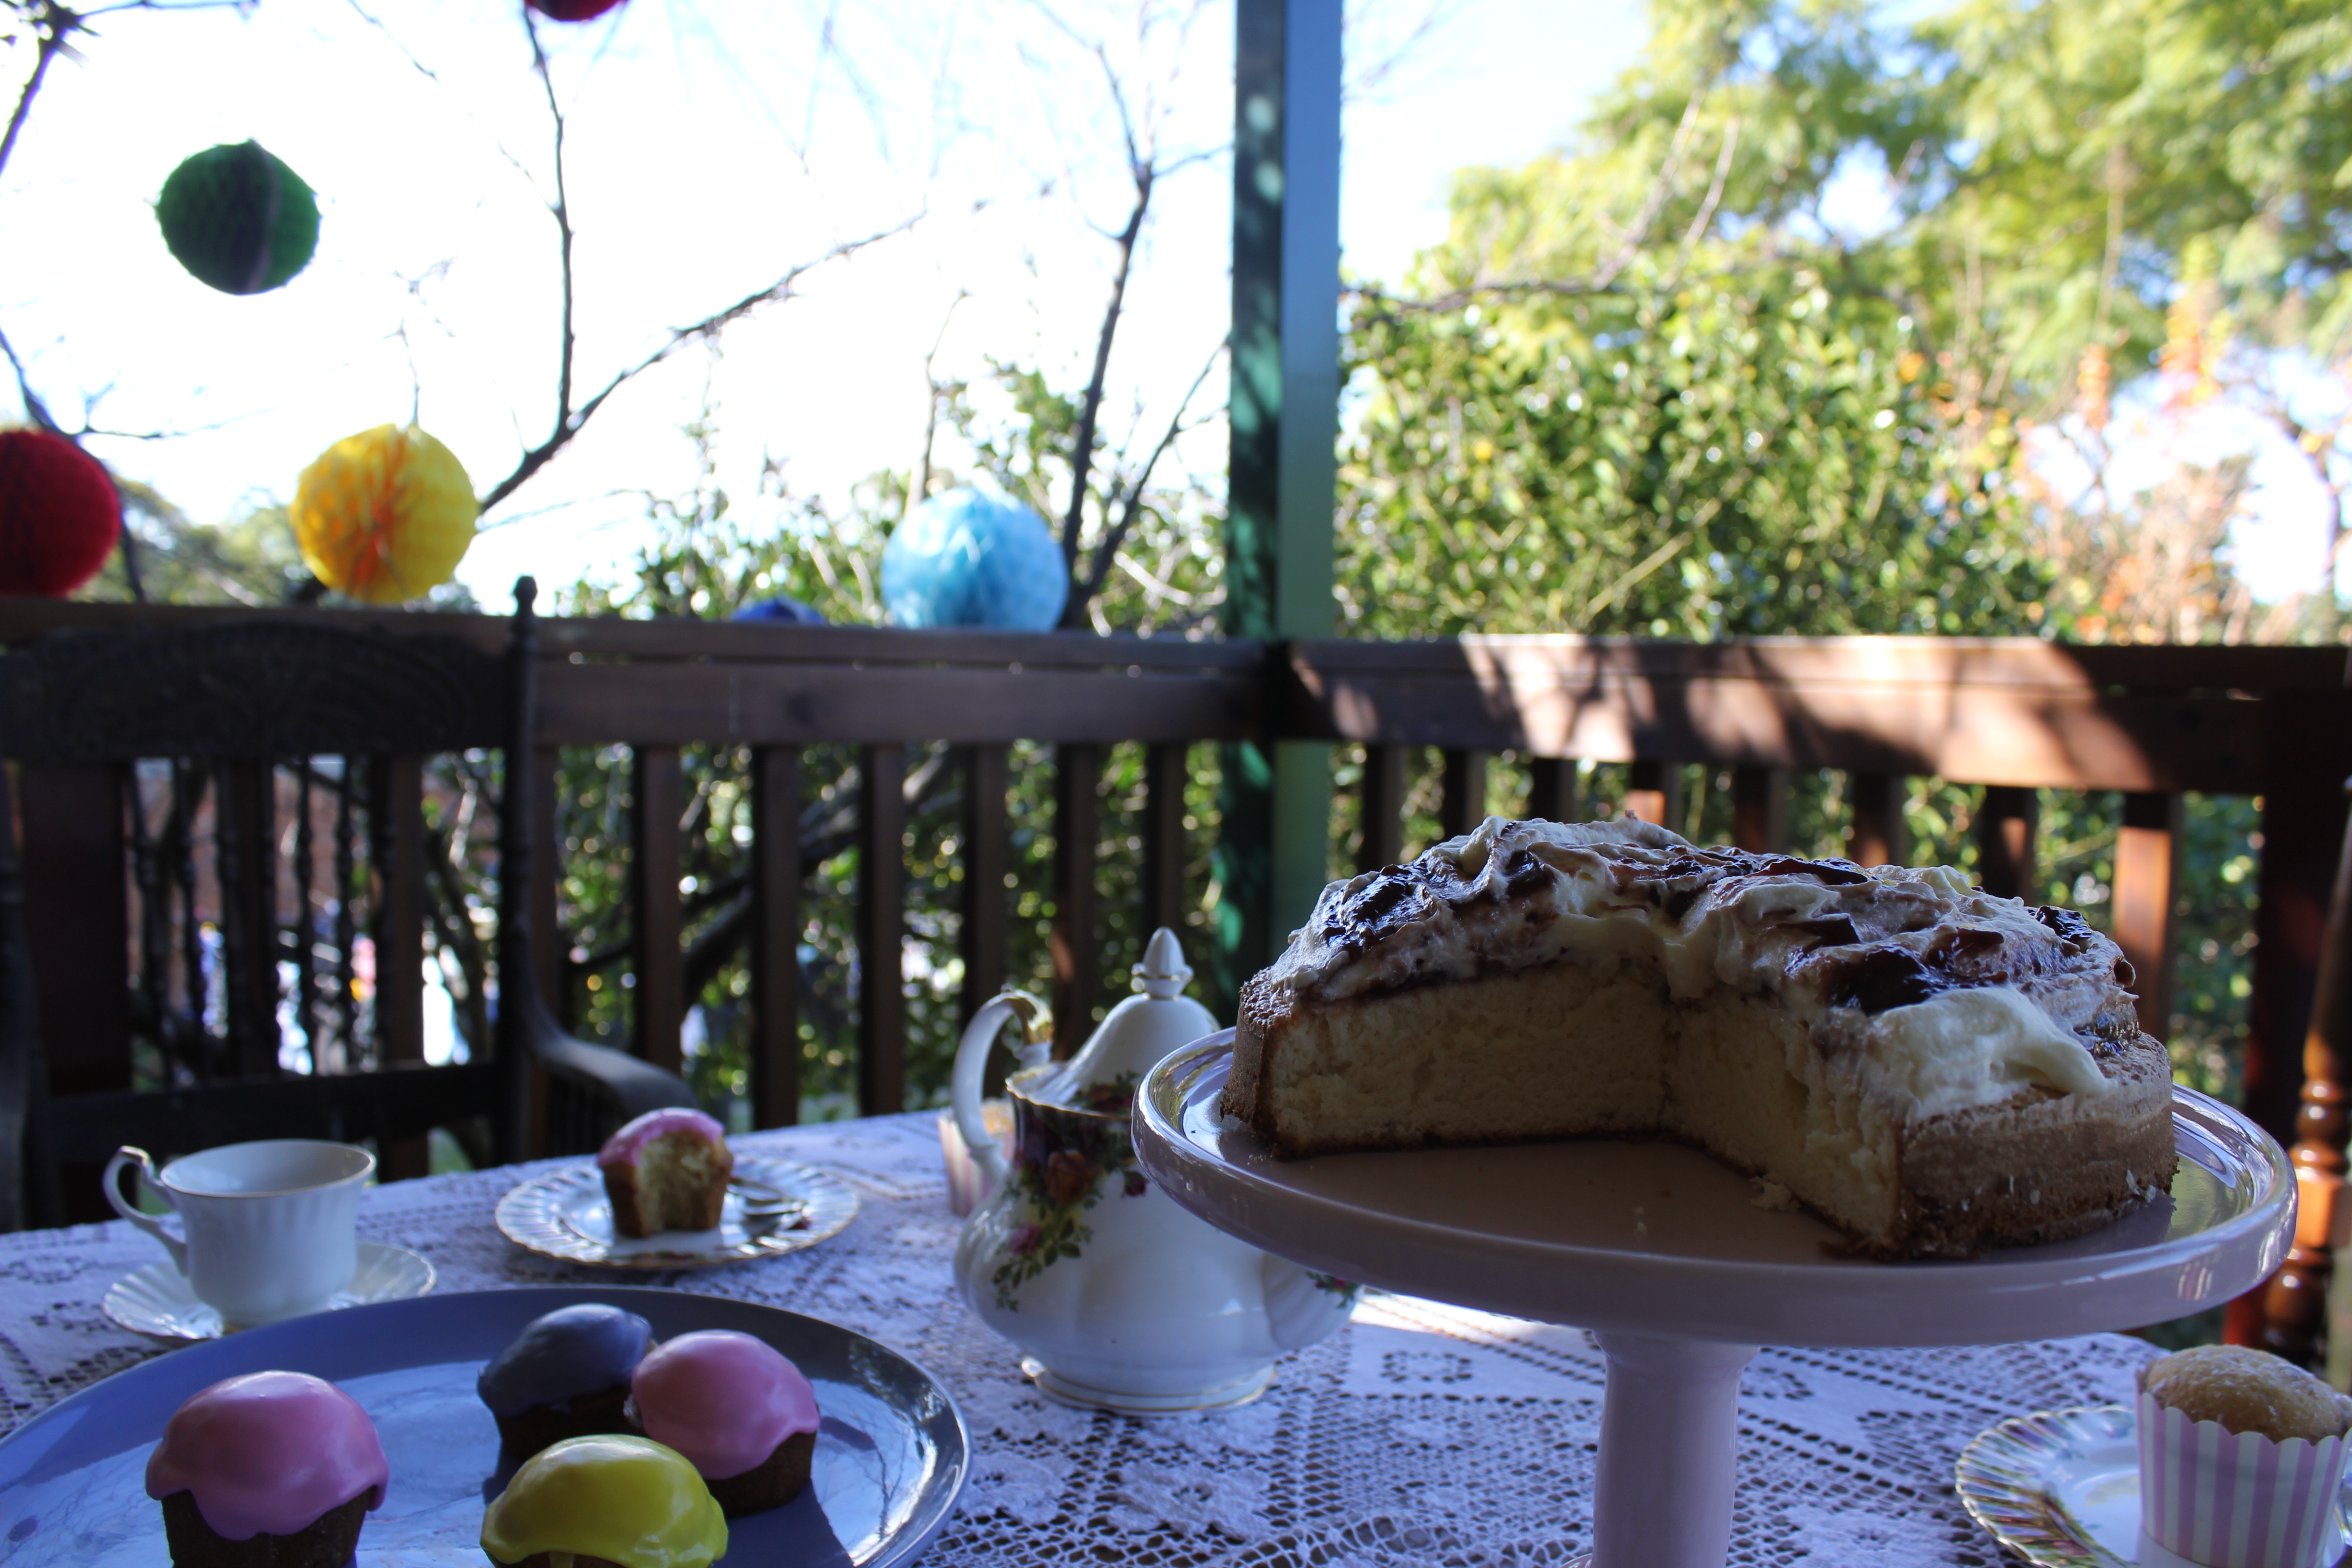
Serve warm or cold. Makes 16 decent slices.

tongue out
Norman got some cream because chocolate isn’t good for dogs!

Yoghurt Berry cake and cooking credentials

You may be reading this blog wondering what credentials I have to be advising people about their cooking (valid question) – the answer is: none. I have no formal culinary qualifications, I just love it. I’m a strong believer in doing what you love – I love writing, pretty things and cooking, so writing a cooking blog seemed like a sensible choice.

flowersWhen I say cooking, I mainly mean baking. I have a near insatiable sweet-tooth, so I gravitate towards cooking things which are sweet (and often visually pleasing!) I will try to blog about savoury dishes as well, but I can’t promise they’ll be exciting – nobody gets excited over spag bol!

Cooking (baking especially) should make you happy. If it doesn’t, you’re doing it wrong. There are always going to be times when you can’t fathom getting home from work/uni/whatever else you do to slave over an oven, but it doesn’t have to be this way.

Find recipes that excite you. Experiment. Make something up! You don’t have to be a professional to make something amazing.

Not everyone gets as excited about cooking as I do, but I like to think that they have it within them somewhere.

A friend of mine loves coming to my house because there are always left overs. She goes crazy over a simple chocolate slice or mashed potato, but refuses to believe that she can replicate them in her house.  She can. I’m going to make her understand this even if it pains me! You can cook as well.

This recipe is super simple and works warm or cold. It’s great for entertaining – it’s quick to make and it makes people happy! It works with most fruits as well. If you don’t have fresh berries, use frozen ones. Nectarines cut into wedges look really effective if you use a lamington tin instead of round cake tin.

sliceSuper simple Berry Yoghurt Cake

  • 125g butter
  • ¾ cup caster sugar
  • 2 eggs
  • 1 cup plain flour
  • 1 cup self-raising flour
  • 3/4 cup vanilla yoghurt
  • 1 cup blueberries
  • Icing sugar, to serve

Preheat oven to 180°C fan-forced. Grease a 23cm round cake tin.

Beat butter and sugar together until light and fluffy.

mixtureAdd eggs, beating to combine. Mix in your plain flour, then the yoghurt. If you only have greek yoghurt in the fridge (like I did), add a teaspoon of vanilla to the mixture as well. Add the self-raising flour and mix until combined. This is quite a thick mixture, don’t worry if it’s a little hard to mix. Spread mixture into your greased cake tin.

tinThe cake tin I’m using has been well-loved. It has held many of my mother dearest’s crème caramels and cakes. As a result, it’s a little worn (that’s being polite) and has a tendency to cling onto cakes when you want to remove them. To combat this I simply trace the base of the tin onto baking paper, cut the round out and place it over the greased base. Problem solved.

frozen berriespressPress a few berries gently into the mixture, but sprinkle most of them across the top of it and then pat them down gently with your hand. If your oven is prone to over-browning things, cover the cake with tin foil two thirds of the way through cooking.

Bake for 50 minutes or until a skewer inserted in the centre comes out clean.

cake
Remove from oven and let it stand for ten minutes before serving. Sprinkle with icing sugar and add a dollop of cream or yoghurt to finish.

off centreDon’t worry if you take this cake out a little too soon, my favourite part of any cake is the squidgy bit right in the centre where the heat hasn’t completely cooked the mixture. I’m a sucker for cake mixture, and the centre of this cake is glorious!

trio


Your finished product should look even better than mine because I foolishly used 2 cups of plain flour instead of one plain and one self raising. It should look more like this (I instagrammed this cake when I made it about a month ago.) We all make mistakes!


Pesto mushrooms and rainy days

birdieThe rain in Sydney at the moment is ridiculous. It’s perseverant, constant, irritating. Patches of blue sky are hard to come by and you can’t help but be a little more sedentary than usual.

Yesterday, out of the blue came a little visitor. He was wet and most perturbed by the rain and sought shelter on our balcony. He was a shock of colour in great contrast to the dreary, rainy weather and had such character that it made me smile. Mother darling and I cooed and found some grain bread for him to munch on, so he stuck around for an hour before flying off.

nom

Lo and behold, today he has returned! I hope this little Rosella continues to visit during this rainy weather, it does you good to be reminded of the brighter things in life when the weather seems hell-bent on making you mopey. Obviously the promise of good food has brought him back (what a clever little birdie), which is quite human of him!

In honour of the little birdie friend, here is a simple but stunning dish. There’s lots of colour, lashings of flavour and a great deal of character. Chase away those rainy blues with some pesto-stuffed mushrooms.

Pesto stuffed mushroomsclose cooked

  • 180g sourdough bread
  • 6 large mushrooms
  • 2/3 cup basil pesto
  • Sprig of basil (optional)
  • 250g cherry truss tomatoes
  • 2 tbsp balsamic vinegar

Preheat oven to 180°C and spray a large baking tray with oil.

tomatoesCut your truss tomatoes into three or four sections, place on the tray and spray with some oil. Pop them in the oven for 10 minutes while you start on the mushrooms.

mushrooms

Give your mushrooms a quick wash to remove excess dirt and remove their stalks. Set them aside to make the pesto filling.

Cut the crusts off your sourdough and discard them. Chop the crust-less pieces into thirds and blitz them in a food processor for about four minutes (or until they resemble bread crumbs.) Season breadcrumbs with salt and pepper, then add in thepesto and mix to combine. If you’re using jarred pesto (like I did), try to get good quality, as this is one of the main flavours! Throw in some chopped basil and give it one final mix before putting it into your mushrooms.

stuffed mushroomsYour mushrooms should be mostly dry now – stuff a generous amount of pesto filling into the mushroom’s hollow and season with salt and pepper. Arrange them in the tray amongst the tomatoes and bake for another 15 minutes.

Remove from the oven and drizzle the tomatoes with balsamic vinegar. To serve, top the mushrooms with parmesan shavings or pine nuts and top the tomatoes with the excess liquid left in the pan.cooked

As well as using up leftover bread from Saturday morning, these mushies are vegan as well…as long as you don’t serve them with parmesan shavings like I did!

ABC Pudding and breakfast

Pudding for breakfast? Don’t mind if I do! This delightful little pudding has the makings of a great dessert (rich egg custard and brioche), but also the potential to be great breakfast fare (brioche and apple). I’m having it as a rather indulgent brekkie this morning and I can highly recommend it. I baked it last night and left the flavours to infuse further in the fridge overnight. It is just as delicious and impressive when it was fresh out of the oven.

Adaptable AND scrumptious – what more could you ask of a recipe?

It also uses up the brioche made with this recipe, so what are you waiting for? Get baking!

ABC* pudding

*Apple, Brioche and Custard, if you were wonderingslice

  • 6 apples
  • 130g butter
  • 2 tsp vanilla
  • ½ cup sugar
  • 1 ½ cup cream
  • ¾ cup milk
  • 350g brioche
  • 50g butter

applesPeel and core you apples, then dice them into 2cm cubes. Put 80g of the butter in a big saucepan over medium heat and add the diced apples. Stir until the butter has dissolved, then cover for ten minutes. Check on them every few minutes and give them a stir.

eggsCombine the vanilla, sugar, cream and milk and set to one side. Take your apples off the heat and allow them to cool. Slice up your brioche and butter the pieces liberally. Cover the outside of a 23cm tin with foil to prevent leakage – if you skip this step the egg mixture will seep out and burn the bottom of your oven! Line the foiled tin with baking paper.brioche


Cover the base of the tin with brioche pieces. You may need to cut them so that they fit better, don’t worry if it looks messy. Pour the apple pieces over the bread, spreading it as evenly as possible and top with more brioche pieces. You essentially have a really large apple sandwich. Spoon the egg mixture over the big sandwich, taking care not to pour it in between the baking paper and the tin. Set the tin to one for 30-45 minutes so the liquid can soak in. The longer you leave it, the softer the bread will be.
layerpour

Once your mixture has soaked sufficiently, preheat the oven to 170°C and pop it in the oven for an hour. The pudding is finished when you press down on the brioche and liquid no longer rises to the top.

Serve with a sprinkling of icing sugar or a dollop of cream.

abc puddingclose up


Chocolate custard tart and winter weather

It is heater weather at the moment, which is a perfect excuse for me to bake; I love filling the house with warm, delicious smells! This custard tart is delicious served warm or cold, and tastes just as delicious one or two days later…if it lasts that long.

The cinnamon in the chocolate custard gives it a little kick of warmth, which is delightful as the need for electric blankets and heaters increases. Norman is relishing the new heater in our house – he stands so close to it that I worry about him singeing his fur! If Norman was allowed chocolate I’m sure he would demolish this custard tart!

eyesyawn

Chocolate custard tart:

  • 2 sheets ready-made shortcrust pastry (even though I used puff)slice
  • ½ cup caster sugar
  • 3 free-range egg yolks
  • 1 tbsp cornflour
  • 250ml/9fl oz whole milk
  • 100g/3½oz dark chocolate
  • 1 tbsp cocoa
  • 1 tsp cinnamon
  • 250g strawberries

Preheat your oven to 200°C and grease a shallow 26 cm pie dish.

pastryDrape your sheets of pastry over your pie dish so that they cover as much of it as possible. This recipe is probably more suited to shortcrust pastry, but I was craving puff pastry! Trim the edges so and use the excess to fill in any gaps that may remain. Press together the pastry at any point where there is a join. Cover the pie with baking paper and pop it into the oven with either baking weights or rice to weight it down for 15 minutes.

I love my baking weights, I think they’re beautiful!baking weights

While the pastry is baking, whisk the sugar, eggs and cornflour together in a bowl and set them to one side.

Put the milk in a small pan along with the chocolate, cocoa and cinnamon over a medium heat. Once the ingredients have combined turn the heat up and bring chocolate mix to boil. Allow to boil for about two minutes, stirring it regularly so it doesn’t burn, then remove from heat.

Take your pastry out the oven and set it to one side to cool.

Allow the chocolate mixture to cool for five minutes before adding the egg mixture to the pan and returning it to the heat. Whisk the chocolate mixture to remove any lumps and allow it to thicken. Remove the custard from the heat and allow it to cool slightly.

chocolatePour the warm custard into your base, (spreading it out as evenly as possible) and return it to the oven for 15 minutes.

Meanwhile, chop the tops off the strawberries and slice them thinly in preparation for when the tart comes out of the oven. When you do remove the tart from the oven, work quickly, fanning the strawberries out around the tart, making sure each slice overlaps the last one slightly.

strawbs

As you’re doing this, press them into the custard lightly so that they stay in place.

overlaptart

To serve you can glaze with a syrup made from 1 tbsp strawberry jam and ¼ cup water heated over the stove and brushed onto the strawberries, or simply sprinkle with icing sugar.

wholeflowers

Baby Baklava Gems

This week I’ve been trying to be super frugal and use up excess ingredients left over from previous baking adventures. I shared my chocolate orange cupcakes to help you use up orange rind left over from the orange and kidney bean salad, I made the bejewelled orange syrup cake after buying too much trail mix, and now I’m combining both to bring you baby baklava gems.

These little gems are perfect for last-minute entertaining. You can make, cook and serve them in about half an hour AND they’re delicious. I like making them in tiny muffin tins because they’re just big enough for one bite, but they can be made in bigger muffin tins as well. They’re a bit of a twist on the normal tray style baklava too.

Mine isn’t a traditional baklava because my trail mix had chocolate and cranberries in it as well as nuts. Experiment – keep the quantities the same, but substitute in different nuts or dried fruits!

Just to add to the hard sell I’m doing, they’re also vegan-friendly! Until about six months ago I didn’t realise that some vegans don’t eat honey (go on, call me ignorant), so I’ve come up with an alternative to the usually honey-laden syrup.

Baby baklava gemsset

  • 130 g trail mix
  • 50g walnuts
  • 1 tsp water
  • 6 sheets filo pastry

Syrup:

  • Juice of one orange
  • 1/4  cup water
  • 1/2 cup sugar
  • 4 chunky strips of orange rind
  • 4 cloves

Preheat oven to 170°C and grease a 24 cup mini-muffin tray with spray oil. Butter works well too, I just find it fiddly when the cups are so small.Mixture

Put your trail mix, walnuts and water into a food processor and blitz them on a high speed for about four minutes until they’re chopped. I like my baklava filling a little bit coarse, but if you want it a finer, keep them in for longer. I add the teaspoon of water because it ensures the nuts don’t fly around the food processor as much. Also, when you’re cooking the baklava, the water keeps your mix from drying out too much. Set your mixture to one side.

Lay out your first sheet of filo pastry on a clean surface and spray it lightly with oil. Place the second sheet of pastry over the oiled one and spray it with oil too. Repeat until you’ve used all six sheets of pastry.

stripsCut lengths of the pastry as long as your muffin tin and lay them over the tin, covering the holes. This helps you get an idea of how much pastry you need per cup. squares

Cut your pastry strips to size, pushing the filo squares into the cups as you go along. Try to push them down into the cup so that you get four points rising from the cup and decent cavity to fill with your nut mixture.

Bake in the oven for 15-20 minutes, or until the pastry is crisp.

syrupWhile the pastry is cooking, juice one orange and put it in a pan with the water and sugar over a medium heat. Make sure you wash your orange skin before cutting the strips of rind, some fruits are sprayed with various chemicals and this can make them give off a bitter taste when boiled. Add in your washed rind and the cloves, stirring them in until the sugar is dissolved.

The mixture of the cloves and orange is delightful, your kitchen will smell delicious! Turn up the heat and bring it rapidly to a boil so that it starts to thicken. Stir the syrup constantly so that it doesn’t burn.

Whip the syrup off the heat, remove the rind and cloves and set it aside to cool for five minutes. In this time, scoop your trail mix into the awaiting filo cups. Now spoon the warm syrup over the baklava gems. If you’ve got the time and patience, you can also brush the edges of the filo with extra syrup.

They’ll be sticky and glossy and fragrant – I cannot fault these beauties.

baklava

baklava 2

Rewards and caramel slice

SpoutAs a little reward for starting this blog I treated myself to a tea set that I did not need. Technically I bought it before I even started posting words on this blog, but I had resolved to finally start it, and I figured that was good enough to deserve a reward. In my defence, I have never owned a full tea set!

And this was a thing of such beauty that after knowing of its existence,  I don’t think I could have survived a single day longer without it.

Aren’t humans funny creatures? I got to wondering whether other species reward themselves like we do. Does a dog ever give itself five more minutes in front of the heater after it feels it has barked sufficiently at a potentially threatening bird? Do birds commend themselves on especially sing-song chirps by finding a new leaf to furnish the nest with?

I don’t think they do. We are unique. And my tea set is a masterpiece.Teacup

How many people can say they drink tea with Monet ladies?

I have no desire to promote the make of the set (because I’m not being paid to do this!), but I will show it off in all of its fabulousness by including it in photos to accompany this week’s recipe.

tea setThis is a food blog, so I should talk about the caramel slice now! I find few things more rewarding than sweetened condensed milk, which is why I consider this recipe a little treat. The Boy’s family call caramel slice Millionaire’s Short Bread, which I just love – it makes it sound like even more of an indulgence!

I like the proportions of this recipe, it’s got similar amounts of base and caramel and just a thin covering of chocolate– this doesn’t mean that yours has to be as well. The Boy likes his caramel slice big on base, some people like lots of chocolate on top. Bake it once and play around with the proportions the next time!

Twice-baked caramel slice

sliceBase:

  • 1 ½ cups plain flour
  • 125g butter, melted
  • ½  cup sugar

Caramel filling

  • 70g butter
  • 400g can sweetened condensed milk
  • ½ cup brown sugar
  • 2 tbsp golden syrup

Topping

  • 200g dark cooking chocolate
  • 1 teaspoons vegetable oil

Preheat oven to 180°C  and line a 20cm x 20cm tin with baking paper.

Place the flour and sugar in a bowl and mix to combine. Melt your butter in the microwave and mix it into your dry ingredients.

Butter

Melted butter

Press the mixture into your lined tin with your fingers, then roll it out flat with a floured glass.

biscuit base

Pop it in the oven to bake for 20 minutes. It’s a pale biscuit, so it won’t brown overly – don’t worry, after 20 minutes it is definitely ready. Remove base from the oven and take it out so that it cools.

As it’s cooling, make a start on the caramel filling.dripPut your butter and sweetened condensed milk in a small pan over a medium flame and allow the butter to melt, stirring regularly. Add in the golden syrup and brown sugar. Once the sugar has dissolved turn up the heat so that the caramel comes to a slow boil. Stir consistently for 6-8 minutes as it bubbles away – mind it doesn’t burn. Take it off the heat and allow it to cool before pouring it over the cooled base.

Ensure that your base has cooled sufficiently before pouring the caramel over, otherwise it will seep into the base and ruin the layered effect that you want!

Spread the caramel evenly over the base and return it the oven for 15 minutes so that the caramel will set properly. When you remove it from the oven the caramel should have formed a skin – it’s ready to go into the fridge now.

Pop it in the fridge while you melt the chocolate in the microwave. Put it in for 20-30 second intervals and give it a stir after each time so that it doesn’t burn. Once its completely cooled add the oil and give it a good stir. The oil gives it an extra glossy finish and also makes it a little easier to cut.
fridge

Spread the chocolate over the caramel and return it to the fridge for about an hour. 

This rich little slice should give you about 16 serves, depending on how generous your slices are! Beware, it’s sickeningly good!

Gatsby-inspired sponge

I saw Gatsby last weekend. And I was inspired.

Brace yourself for part one of my Gatsby posts.

It was beautiful and opulent and slightly magical. The dresses were all over-the-top and the settings were too fabulous to be real. And I loved them for that.

Nick Carraway is idealistic, Jordan Baker is marvelous and Gatsby is a dreamer. The film is full of people who would make fabulous dinner guests – they’re flawed and impulsive, but imagine the stories they could share! Daisy appears to have no opinion on anything, but at least she added to the beautiful scenery. As long as she’d agree to just sit there and bat her eyelashes, I’d let her partake in our dinner soiree.

I’d never read the book (I know, judge me as you see fit), but I think that doing things in excess is a good mantra to live by!

I’m all for simple recipes usually, but for two posts you’re going to have to allow me a bit of opulence. This sponge is easy AND it looks fabulous – what more could you want? It’s my nanna’s recipe, so it’s tried and tested. Unfortunately the sponge didn’t turn out as big as it should have because of my impatience – I like to think that it was slightly to do with the humidity in the air today though.
Cake

Don’t be disheartened by its flatness, when you do the recipe right, this cake IS old-school glamour.

Gatsby-inspired sponge

  • 4 eggs
  • 1 cup flour
  • ¾ cup sugar
  • 1tsp baking powder
  • 3tbsp water
  • 3 tbsp of lemon juice


Preheat oven to 180°C.Table view

Grease cake tin and sprinkle with sifted icing sugar.Eggs

Separate egg whites and put the yolks to one side. Beat the egg whites in an electric mixer until they’re stiff. Don’t get impatient like I did, this leads to flat sponges! It should take about 8 minutes at a high speed on your mixer. Persevere!

Add the yolks to the stiff whites mixture and continue beating until the mixture thickens.

Add your sugar and allow it to just combine then sift in the flour and baking powder. Squeeze in the lemon juice and mix it in gently – try to let as little air out of the mixture as possible.

Cream shadows

Pour the mixture into your prepared tin and bake for 45 minutes or until a skewer inserted into the centre comes out clean. What I would normally do with a sponge is cut it in half and then fill the middle with copious amounts of jam and cream. Being unable to cut my pancake of a sponge in half, I whipped up the cream, added 1/2 a cup of icing sugar to it and then folded some watered down jam into it to make icing.


So put your flapper dresses on, buy some fake diamonds and drink everything out of a champagne flute – Gatsby makes his own reality more fantastic through his imaginings, and so should we!

Host an afternoon tea and add a little sparkle to it.

partyIMG_3986


Lemonade scones and sharing

tea for two

I’m enjoying putting my thoughts down as much as sharing my recipes! For me, food is best when shared. I have a large extended family, so food has always been a social occasion.

I cook for those I love. The Boy often jokes that I’m trying to give him diabetes with all my baking. I like to think that I bake cakes of appreciation or puddings of love. He just thinks I’m fattening him up.

Regardless of what you make, the act of producing something for someone is special. It’s really rewarding as well!

One of my favourite (and simplest) things to share with people is scones. I have made and shared more scones than any other food. They’re just delightful. And always appropriate – stressed out? Scones will help. Should be doing an assessment? Scones will distract. Sick pet? Scones will calm. New friendship? Scones will seal the deal.

Lemonade scones:
Scone

  • 2 cups self-raising flour, sifted
  • 1/4 cup caster sugar
  • ½ tsp salt
  • 1/2 cup thick cream
  • 1/2 cup lemonade
  • 2 tbs milk (for brushing)

Preheat the oven to 220°C and lightly grease a baking tray.

Combine flour, sugar and salt in a large bowl. Add the cream and lemonade. Mix to form a soft dough.

Pre mix

Using floured hands, transfer dough to a lightly floured surface and knead gently. Press the dough to a thickness of 2-3cm…nobody likes a flat scone, be generous!

Use a scone cutter to cut out as many scones as possible. If, like me, you’ve misplaced your scone cutter, flour the edges of a thin-rimmed glass to cut out your scones instead. Re-knead scraps gently and repeat.

Raw scones

You should get six generous scones.

Bake for 10-15 minutes until lightly browned.Brush the tops with small amount of milk to help them brown then transfer to your baking tray.

While the scones bake, whip up some cream and find your jam. I’ve chosen blueberry jam, you can never go wrong with blueberries.
These scones are so easy, you can whip them up in under ten minutes and serve them piping hot within half an hour.spoons for two

Share with whoever you choose – enjoy!


Add a handful of choc-chips, sultanas, blueberries or some lemon zest to change the dynamics of your scones.

The Ultimate Crowd-Pleasing Sticky Date

After a good many months contemplating this blog, I’ve finally started. It’s been so long coming that I’m slightly worried it won’t live up to the blog I’ve got going in my head.

IMG_3401

Insecurities aside, I’ll start here.

I’m a 23 year old, third year literature student. I’m a keen baker, tea connoisseur, dachshund lover. Who knew I could be summed up in so few words? It’s probably better, people aren’t going to read this to find out about me, they want recipes!

And recipes I shall provide…hopefully. Continue reading “The Ultimate Crowd-Pleasing Sticky Date”