Perfect Chocolate biscuits and bargains

tinIt’s no secret that I love biscuits. I also happen to love the English language. So when I saw this super nerdy cute biscuit tin on Sunday, I knew that I had to have it. I was willing to pay $10 for it, but it turned out it was on sale, so I got it for $5!!

Needless to say,Sunday was a great day. On top of my bargain, I also received an abundance of pears (which you’ll notice in the next couple of recipes that I post) and I came up with a simple, fail proof chocolate biscuit recipe. I have posted other chocolate biscuits, but none are this basic. Continue reading “Perfect Chocolate biscuits and bargains”

Chocolate swirl meringues and sweetness

sceneI cannot get enough of meringues. Before I was given my gorgeous mixer, Penelope, I found meringues really challenging. Now that I have her, however, they’re a cinch. They’re so simple to whip together (although it does take some patience) and everybody loves them.

Top them with sprinkles for a touch of nostalgia – this addition will make them irresistible for adults and children alike.

I made these meringues as an accompaniment to a super sweet treat for you all to make this Valentine’s day. I’ll post the recipe that goes with these meringues tomorrow, but here’s a sneak peak of the romantic dessert…

Chocolate meringues:tea

  • 2 egg whites
  • ½ cup sugar
  • 100g milk chocolate


lemonBefore you start making your meringues, wipe your whisk attachment and bowl down with half of a lemon. Just swirl the lemon around and then wipe off the excess. This will remove any residual fats that may be lurking, and could flatten your meringues!

whiskWhip your sugar and egg whites together – I’d recommend using a stand mixer or a hand mixer because it’s far more efficient! Start on a lower speed (I went for 3 on my stand mixer) and speed it up a notch at a time (up to about 8) over the course of a minute; I find that this method gets the most air into the meringues.

While the egg whites whip up, preheat your oven to 120°C and line two baking trays with baking paper.

swirlKeep whipping until the sugar has dissolved and the mixture turns white, thick and glossy. This should take about ten minutes. Your mixture should hold soft peaks and should stay in place if you turn the bowl upside down.

candlesMelt your chocolate and spoon it into the meringue. Give it a quick swirl (literally, like one swirl, if you want veins of chocolate through the meringues) and spoon the mixture into a piping bag fitted with a star shaped nozzle.

Pipe onto your lined baking trays bake for 50-60 minutes – you’ll know they’re done when they’re dry to touch. Transfer to a cooling rack and devour once they’re cooled!


Vegetarian baked eggs and perfect breakfast

paprikaEver since I went to Fairford Street Social for breakfast a few weekends ago I have been craving baked eggs. I didn’t re-create them exactly (I chose to opt out the eggplant and I toned down the spice because I’m chili-sensitive), but they were still delicious.

There is nothing more comforting than a good pot of baked eggs. I know that it’s the height of Summer in Australia at the moment, but it’s been pretty windy and overcast recently, so these baked eggs were perfect; served with toast, they are the ultimate stay-indoors food.

They’re also a really delicious Valentine’s day brekkie if you’re spoiling your better half on February 14th. The Boy was sceptical of the concept of baked eggs at first, but from the minute I started cooking up the peppers, onion and garlic, he was super keen on the idea.

Vegetarian baked eggs

Serves 4

  • 2 banana peppersabove
  • ½ brown onion
  • 3 cloves of garlic
  • ½ tsp paprika
  • ¼ tsp chili flakes
  • 6 roma tomatoes, sliced into wedges
  • ¼ cup basil, roughly chopped
  • 1 tbsp oregano
  • 1 zucchini
  • 4-8 eggs

ingredientsDe-seed your peppers and roughly chop your onion. Put them in a heavy based pan with a slosh of oil, and heat over a low-medium flame for 8 minutes until they soften and brown. Mix intermittently.

peppersChop up your garlic roughly (trying not to leave big clumps of it) and add that in the pan, allowing the flavours to develop for two minutes, stirring as you go.

coloursAdd in all the remaining ingredients – the paprika, chili flakes, tomatoes,  basil and oregano – and give it a good mix. Turn the heat down to low and let the mixture reduce away for 15 minutes.

ribbonsWhile the tomato mixture bubbles away, use a vegetable peeler to create ribbons of zucchini. Peel right over your ramekins so that the ribbons fall unevenly into the ramekins.

Preheat your oven to 200°C.

spoonPour the hot tomato mixture straight over the zucchini in the ribbons, distributing it evenly amongst the ramekins. Give the ramekins a shake to spread the mixture out evenly. Crack your eggs straight into the ramekins and pop them into oven for 20-23 minutes.

eggsThe number of eggs you use will depend on whether your baked-egg-eaters want one or two eggs – I opted for one, but my fellow diners opted for two. Ramekins with one egg in them should be done 2-3 minutes before the others; keep an eye on this, as you want the yolk to remain runny!

cookingServe with a freshly toasted slice of bread, for dipping.

serve

Honey jumbles and celebrating food

closeI’ve had one of those weeks that really inspire you to love food. I had fabulous breakfast with a friend (which I couldn’t help myself but Instagram, check it out!), I reminisced about chocolate milkshakes, I watched my mother darling throw together an amazing meal to entertain a crowd and I had an unexpectedly delicious meal last night in Newtown.

I feel as though there are times in your life where you’re more appreciative of food than others. And seeing as I’m in this deliriously food-focussed mood, I picked out a jar of honey I’ve had sitting in my pantry for months and decided to make the most of it. Continue reading “Honey jumbles and celebrating food”

Nutella sponge cake and being let go

It’s not you, it’s me.

Today I was on the receiving end. Unexpectedly too.

The probationary period at my fab new job came to an end and that was it. I’m not as experienced a worker as she needs – and that’s okay. Small businesses need to be as efficient as possible and I’m not the right employee for the company. There are no ill feelings, no bitter words.

It just sucks slightly.

Re-evaluation will start tomorrow. A call to Centrelink may or may not be on the cards. But today I’m embracing the change.

I cried in the car (that was a first), I went to the supermarket in my pretty work dress with my stripey orange runners on (hopefully that’s a first and a last) and I bought a tea set that was irresponsibly expensive given that I started being unemployed this afternoon. And I felt slightly better.

I moped about the house and watched Gossip Girl to escape, but I decided that wasn’t enough.

So Mother and I took Norman for a drive…and I can thoroughly recommend this is treatment for sadness.

Feeling blue? Force your dog to go for a drive with you. I promise it is an instant mood lifter.

We drove to a local park where the wattle is overgrown. And we stole some.

Norman 3Norman 2 Continue reading “Nutella sponge cake and being let go”

Danah’s Red Bull Doughnut Cake and Surprises

During the week it was a friend’s birthday. Danah is tiny, but has an insatiable appetite for sweet things – she eats like a fat person, but never shows it! As a fat skinny person, one of her favourite things in the entire world is Red Bull. When I asked her what kind of cake she’d like, she said a dessert based around Red Bull.

You can imagine my face – it was something like this =S

But then I thought it might not be too crazy an idea. I’d heard of cola cakes before, which are apparently moist and delicious, but Red Bull? For those of you unacquainted with it, Red Bull is an energy drink which is weirdly sweet and sour at the same time…kind of like drinking sour gummy worms. It’s a toxic-looking, intense yellow liquid that should only be consumed (in my opinion) when you require a ridiculous hit of sugar.

I had reservations about putting it in the cake, but I’m glad I did.
cake

I liked it.

It made a thick but well aerated cake that was surprisingly floral in taste. The sourness of the energy drink was taken away in the baking process, leaving a delicate sweetness to the cake which is unlike any other I’ve tasted before. I thought the Red Bull would overwhelm the cake, so I made a heavy chocolate icing in case the taste needed masking! Next time I would serve the cake with a dusting of icing sugar and cream, or with an orange syrup drizzled over the top.

I am thoroughly impressed. And utterly surprised.

Danah’s Red Bull Doughnut Cake:

  • 1/2 cup caster sugarslice
  • 80g butter
  • 1 teaspoon Vanilla
  • 1 teaspoon bicarb soda
  • 2 eggs
  • 2 cups plain flour
  • 1 ¼ cups Red Bull 

Preheat oven to 180 degrees. Grease your cake tin and line the base with a circle of baking paper.

Mix the butter and sugar together until pale and creamy. Add in the vanilla and bicarb, followed by the eggs. The mixture will be pretty sloppy at the moment, so add half of your flour and give it a good mix. Add ¼ cup of Red Bull, the final cup of flour and then the final cup of red bull, stirring in between each addition. The cake batter will smell very strongly of Red Bull, and I don’t advise eating the batter (which is unusual for me), but persevere, it can only go uphill from here!

slicedThis cake was intentionally flat so that it resembled a doughnut, but you could add another teaspoon of bicarb to give it some height.

The final product was perfect for Danah, a  fat skinny person’s dream!

To create a cake exactly like the one pictured, top with a chocolate buttercream and soft sugar pearls (try them, they’re great!) or experiment with other syrups/icings – tell me what you think!


Red Bull cake – great or gross?

Lemon Raspberry Meringue Pie and Craziness

Today’s post is going to start at the end. I had made Lemon Raspberry Meringue Pies and they were a little bit crazy. The recipe worked perfectly and cooked without a hitch, but I got the feeling that the beautiful bright colours were a little unusual for the humble lemon meringue pie.

doneI took a sample down to my neighbour. She’s lived one house away from me for my entire life and always played a bit of a cameo role in my life. I used to play with her grandchildren, see her at church and bump into her on my morning walks. Since I started Baking With Gab I have had so much excess food that I take her some every now and then.

Walking through her dining room I was struck by how beautiful her tea set was. Six cups, plates and saucers were out on the table, each with its own character and story. She explained that she’d been given them all individually and it was known as a ‘crazy tea set.’ Being born in 1989, I had never heard this phrase before, but I’m now completely in love with the idea of it. She told me a little history about each and I marvelled at how beautifully they worked as a set.

My lemon raspberry meringue pie is crazy in its own way. I piped the meringues onto each one differently – they all match, but they’ve got their own little bit of flair. This was done intentionally because:

  1. I don’t have the patience to agonise over perfect meringues and
  2. I’m not really that skilled a piper.

This whole thing takes about an hour, provided you time everything right. It could easily take you about half an hour if you cheat and use lemon curd from a jar and frozen puff pastry. I wouldn’t even tell anyone you cheated! I would usually cheat as well, but I had to use up excess lemons from my nan’s tree and surplus eggs that I had in the fridge. This is perfect for using up lemons and eggs!

Crazy Lemon Raspberry Meringue Pie:

pastry cutShortcrust pastry:

  • 150g butter
  • 1 ¾ cups plain flour
  • ¼ cup icing sugar
  • 1 egg
  • 1 tsp cold water


Lemon curd:

  • 3 lemons
  • 1 cup sugar*
  • 100g butter
  • 3 eggs + one egg yolkcurd*you can cut this back to ½ a cup if you want it to be super tart!

Raspberry meringue:

  • 3 egg whites
  • Juice of half a lemon
  • 2 cups sugar
  • 200g frozen raspberries

breadcrumbsDice up the butter and put it in a bowl with the flour and sugar. Grab a butter knife and cut through the butter to mix the flour and sugar into it (I use this method because my hands don’t get as dirty.) When the butter is in small pieces and covered in flour, use your fingertips to rub the mixture together until it resembles breadcrumbs. Add in your egg and teaspoon of water so that the breadcrumbs combine to make a pastry. Try not to knead, but gently squash it into a ball. Cover the bowl with cling wrap and pop it in the fridge for about 20 minutes while you make the lemon curd.

lemonsZest and juice your lemons. Or juice then zest them – whatever works for you. Put the lemon juice, zest, sugar and butter into a pan over a medium heat. Stir the mixture until the butter is melted. Whisk the eggs and egg yolk together, then add it slowly to the lemony mixture. Turn the heat up to high and allow it bubble quite fiercely. Whisk it for about five minutes (making sure it doesn’t burn) until it starts to thicken. You can also use your whisk to fish out any chunky bits of lemon that may have snuck through when you juiced the lemons. Take off the heat and transfer into a cool bowl so it can cool.Curd making

Grease two 12 cup muffin moulds and preheat the oven to 180 degrees. Take the dough out of the fridge and spread flour over a clean surface. Spread your rolling pin with flour too to stop the dough from sticking to it. Roll your dough out very thinly and use a cutter that is bigger than your muffin cups. Press the circles of pastry into your greased tins. Prick each circle at least three times and then pop them into the oven for ten minutes.

prickYou’ll have one egg white left over from making pastry, use this and two extra egg whites for the meringue while the cases cook.
Whip up your egg whites with half a cup of sugar and the lemon juice. In a separate bowl, pour one cup of sugar over your raspberries and mix to combine them. Set them to one side so that they make a raspberry-sugary mush. Once the meringue
whipforms stiff peaks, add the final half cup of sugar to the mixture. Mash the raspberry and sugar together so it’s smooth  and spoon it gradually into the meringue mixture.

pipe

Take the muffin cases out of oven and let them cool for five minutes. Spoon two tablespoons of lemon curd into each pastry case and pop them back into the oven for ten minutes. When they come out of the oven set them to one side and turn the oven up to 240 degrees. Pipe or spoon the raspberry meringue onto the lemon curd (be generous!) and then put them in the middle tray of the oven with the door open for 10-15 minutes.

bunchedAllow them to cool before serving. Sprinkle them with icing sugar and serve with raspberries on top!

*I doubled the lemon curd recipe that I listed in this recipe to use up the ginormous lemons that had come from my nan’s tree, but also because it means I have some ready for the next time I want to make this! Home made lemon curd is worth the extra effort, it’s tart and zesty – far superior to even the best store-bought stuff. Plus there are no preservatives or sneaky additives, just sugar, butter, lemons and eggs!

Rewards and caramel slice

Spout
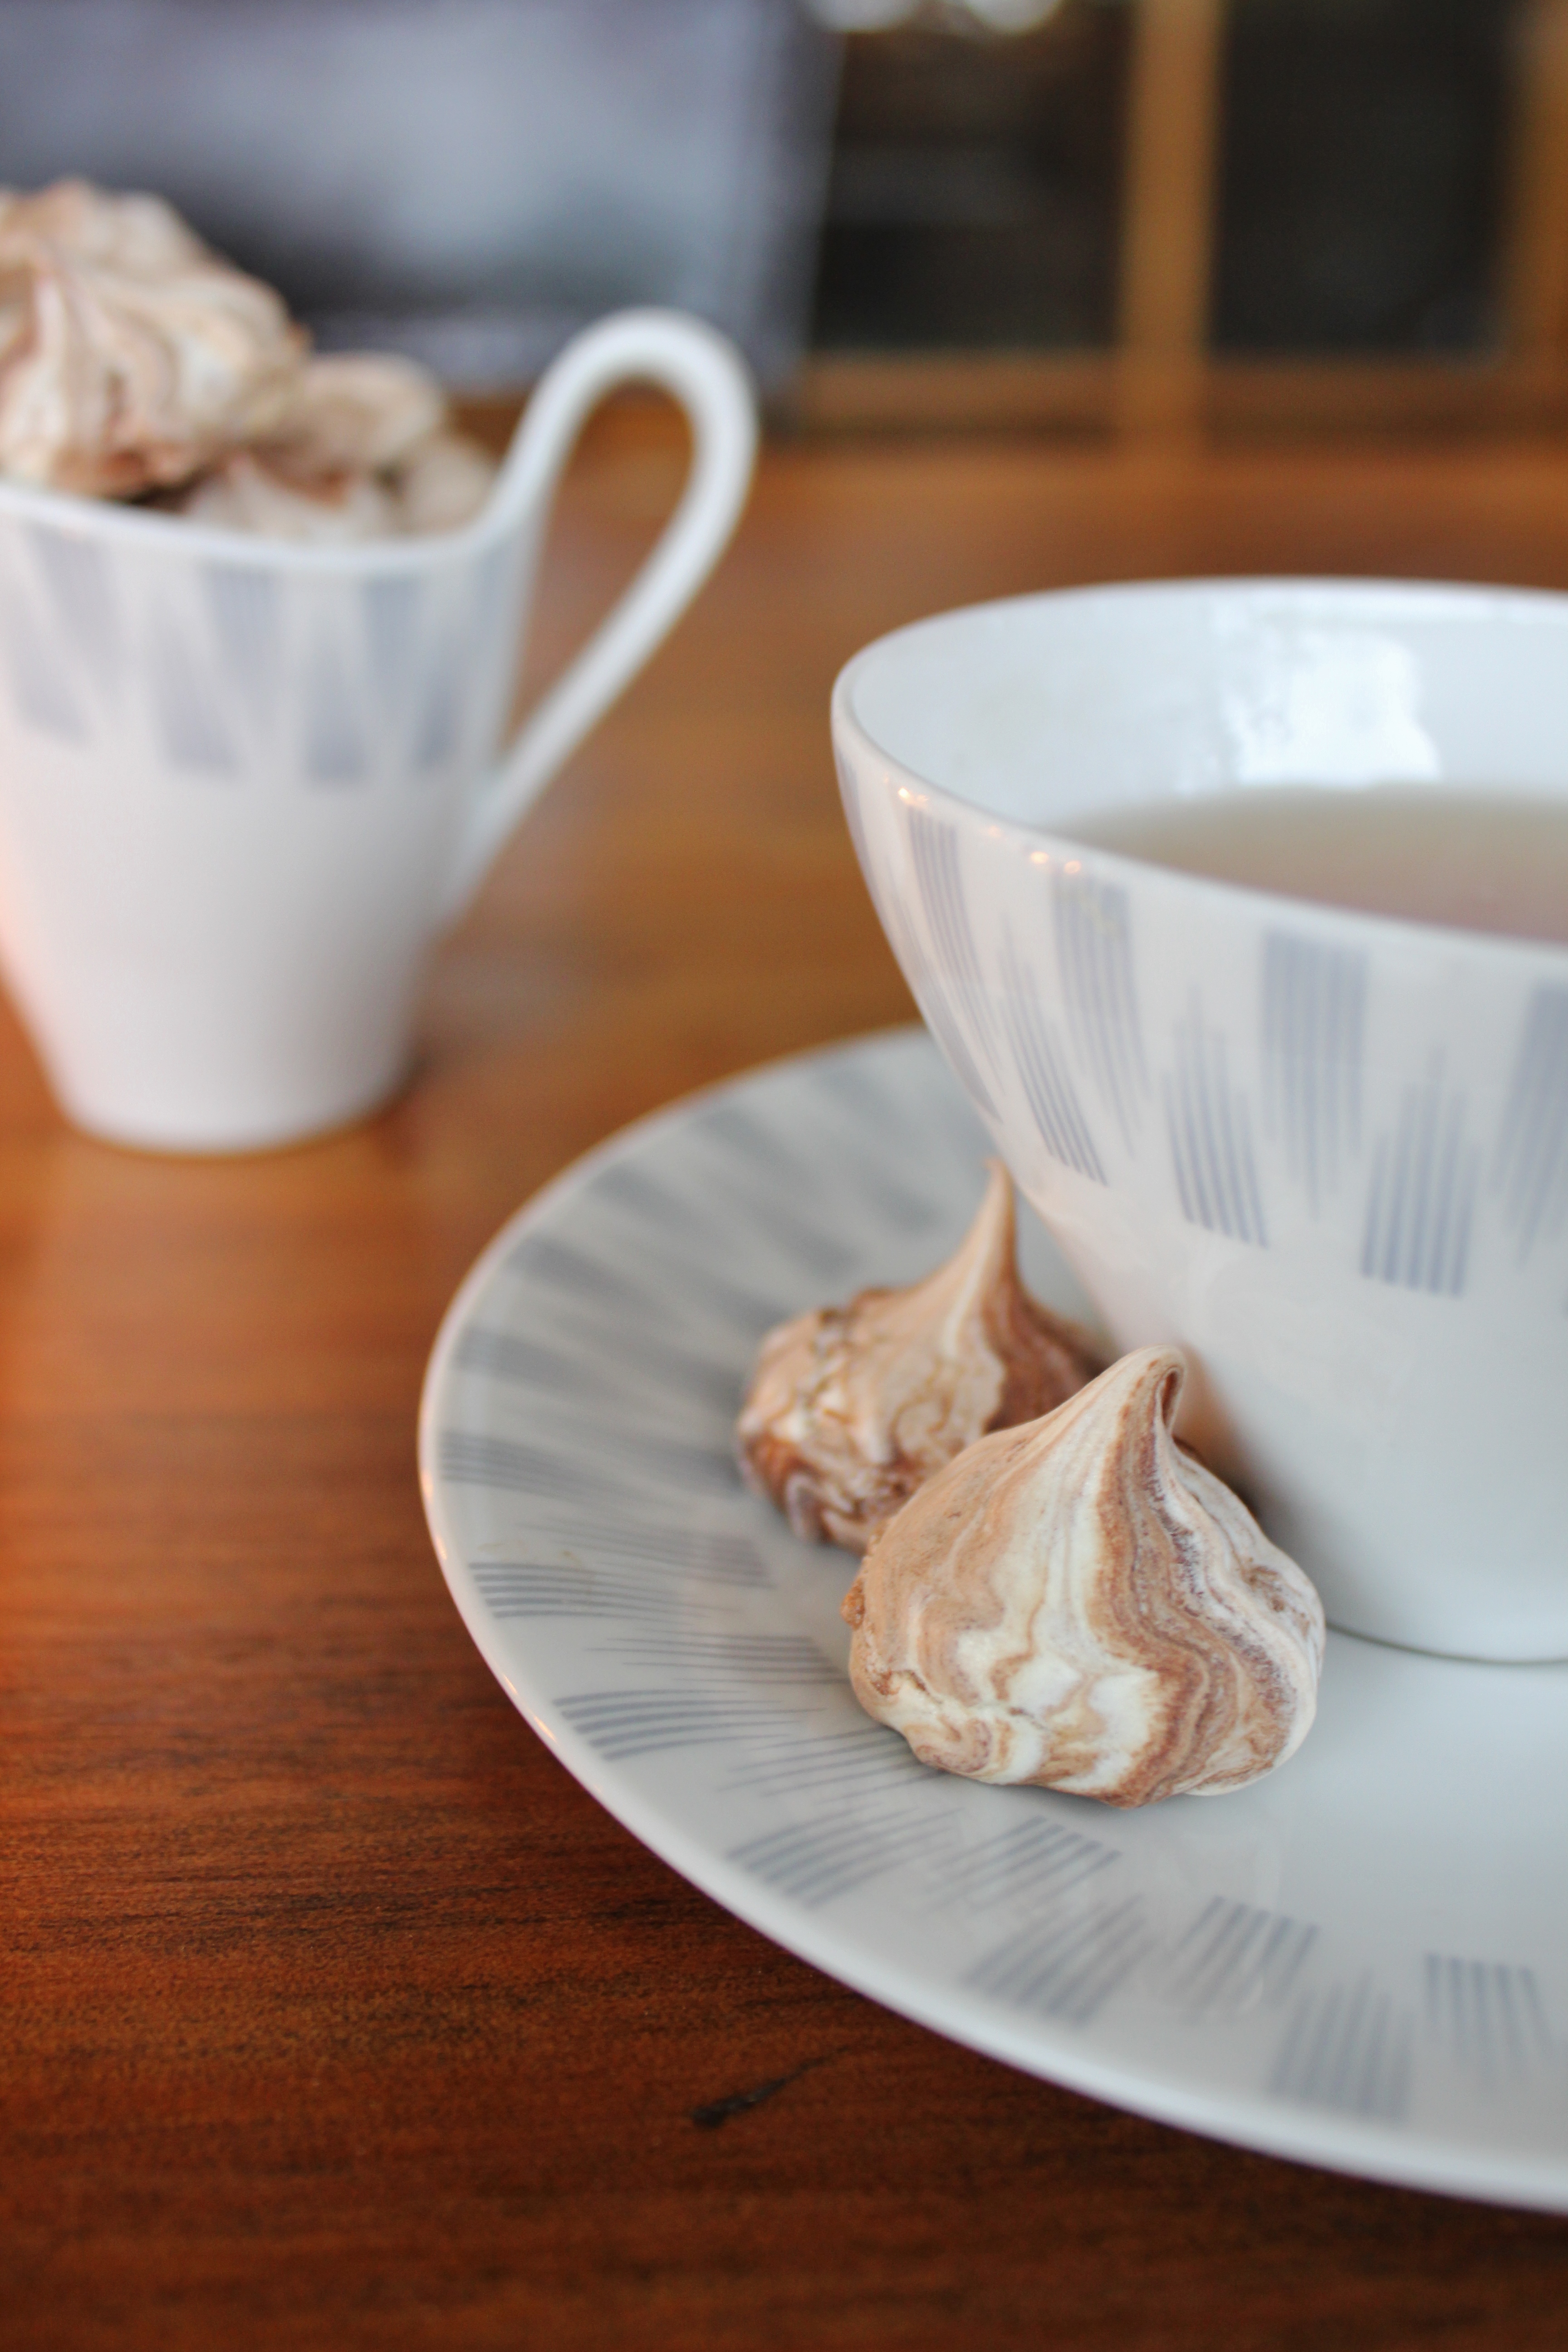
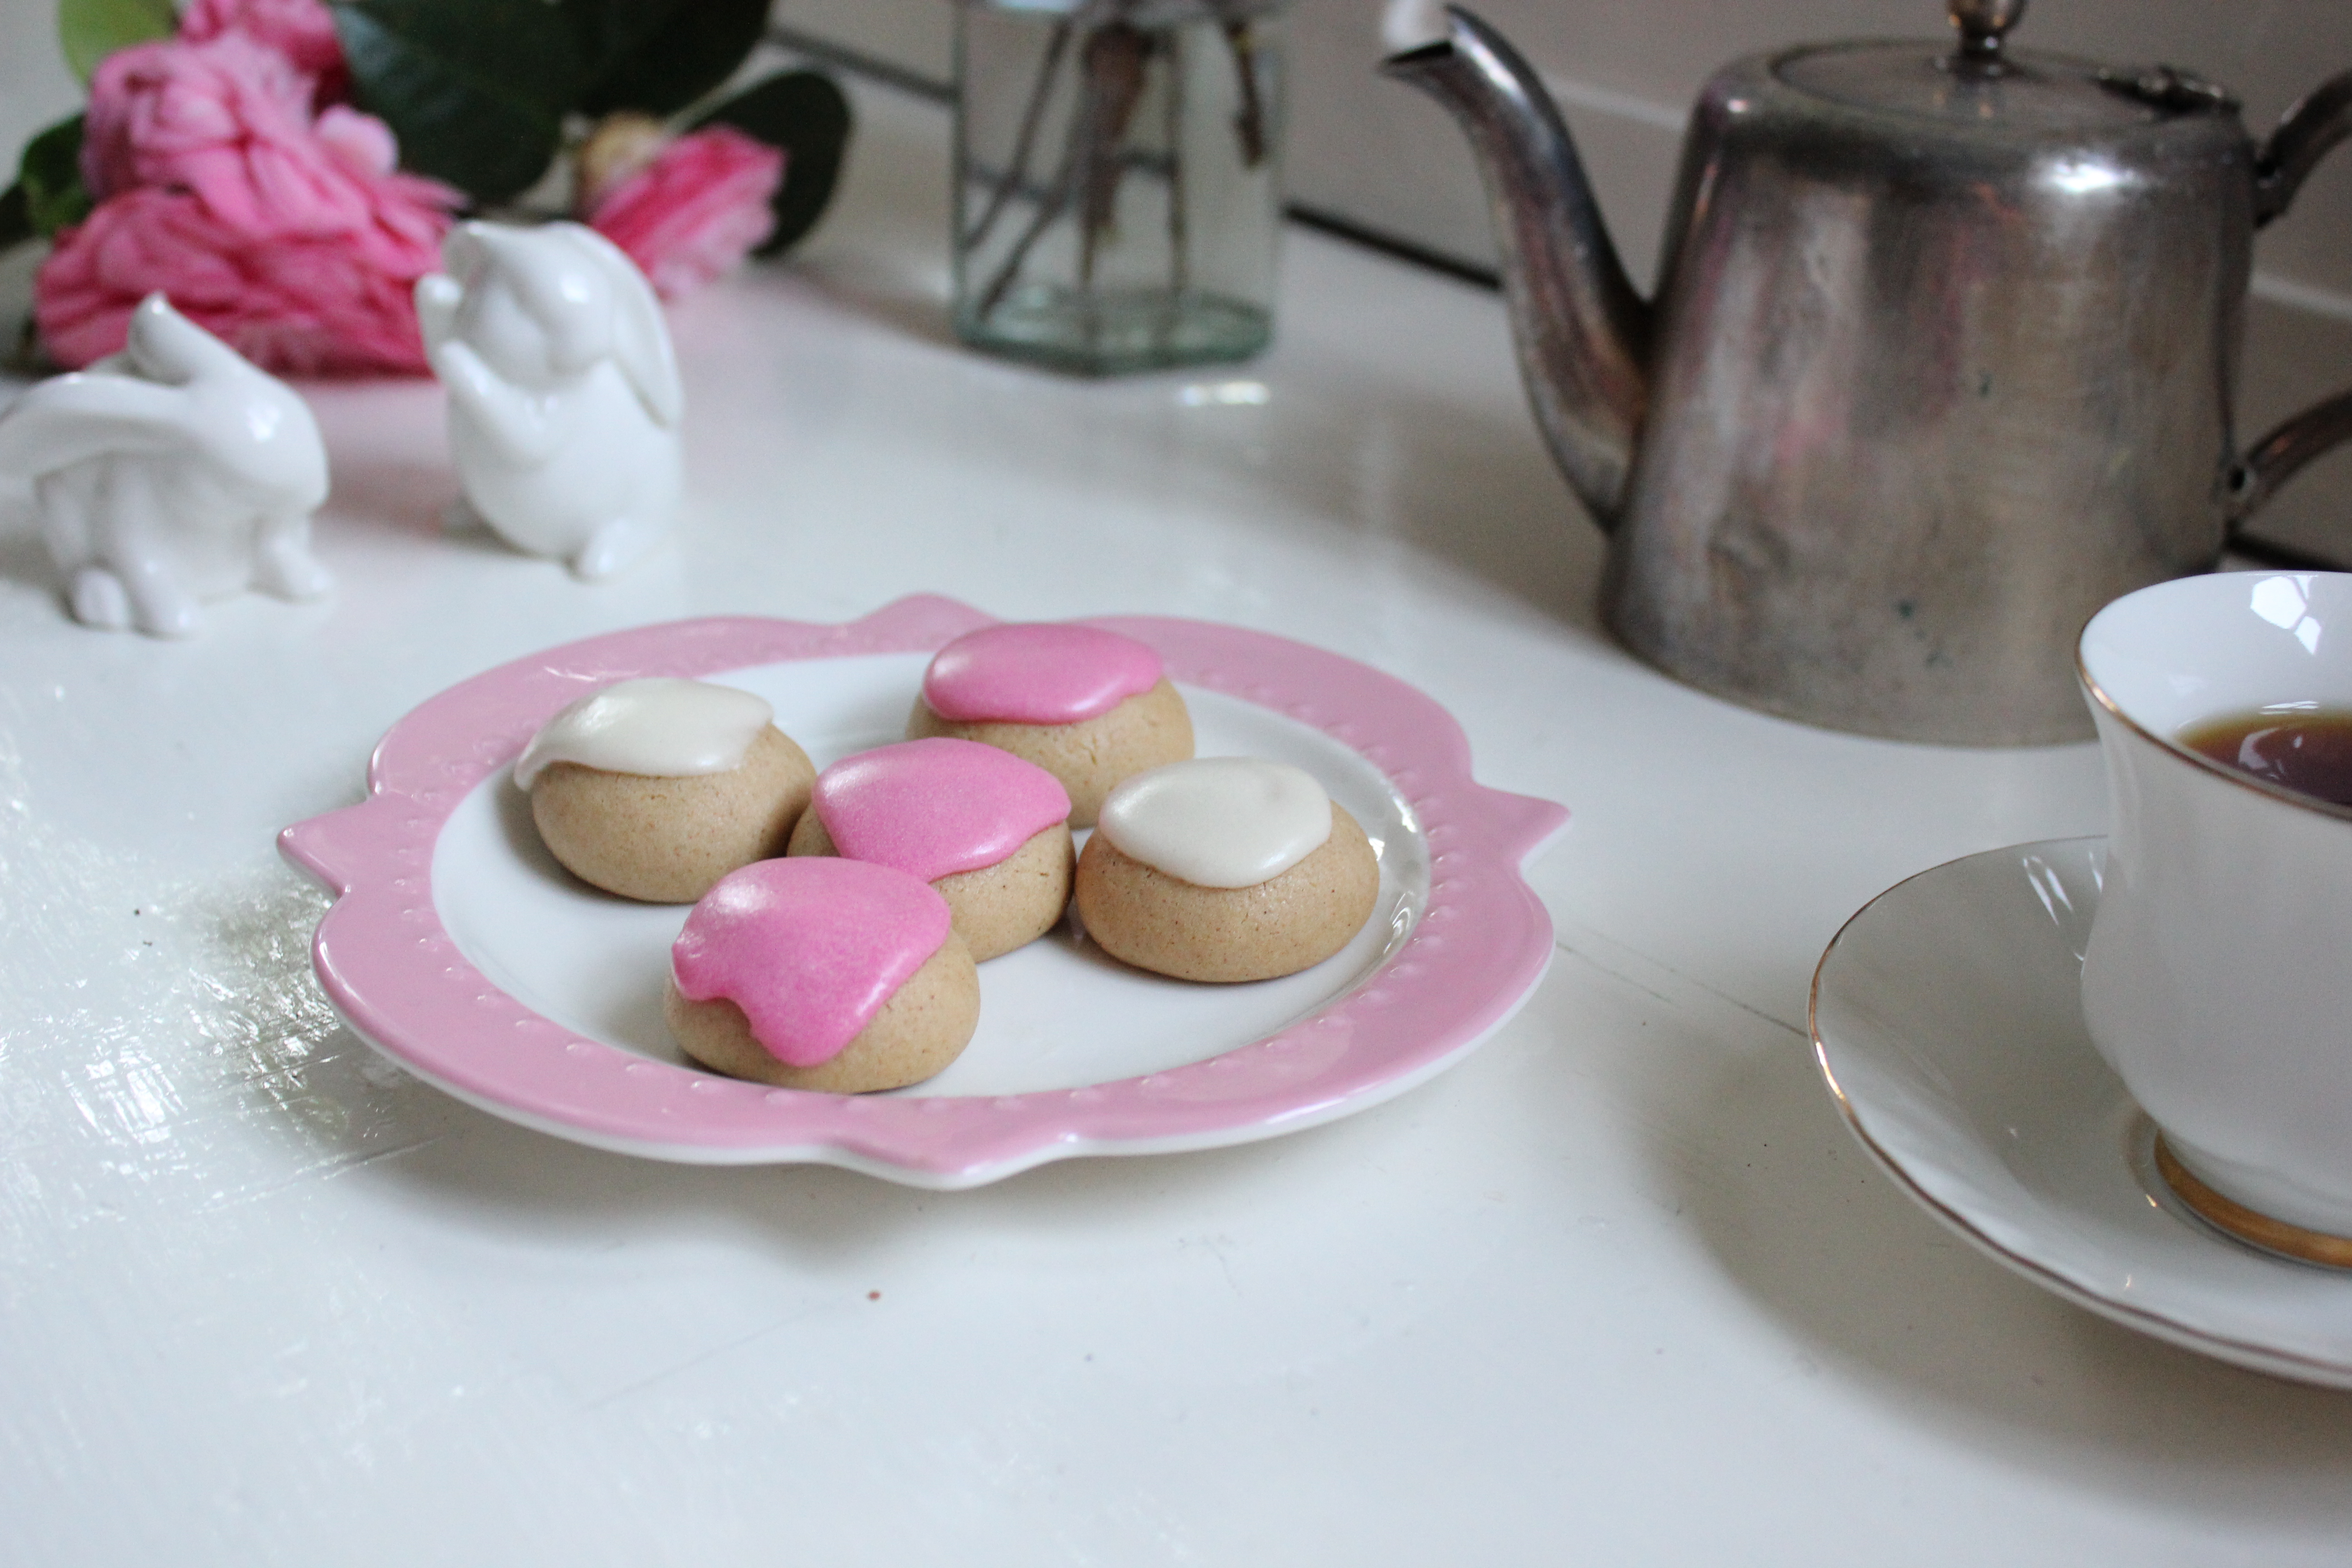
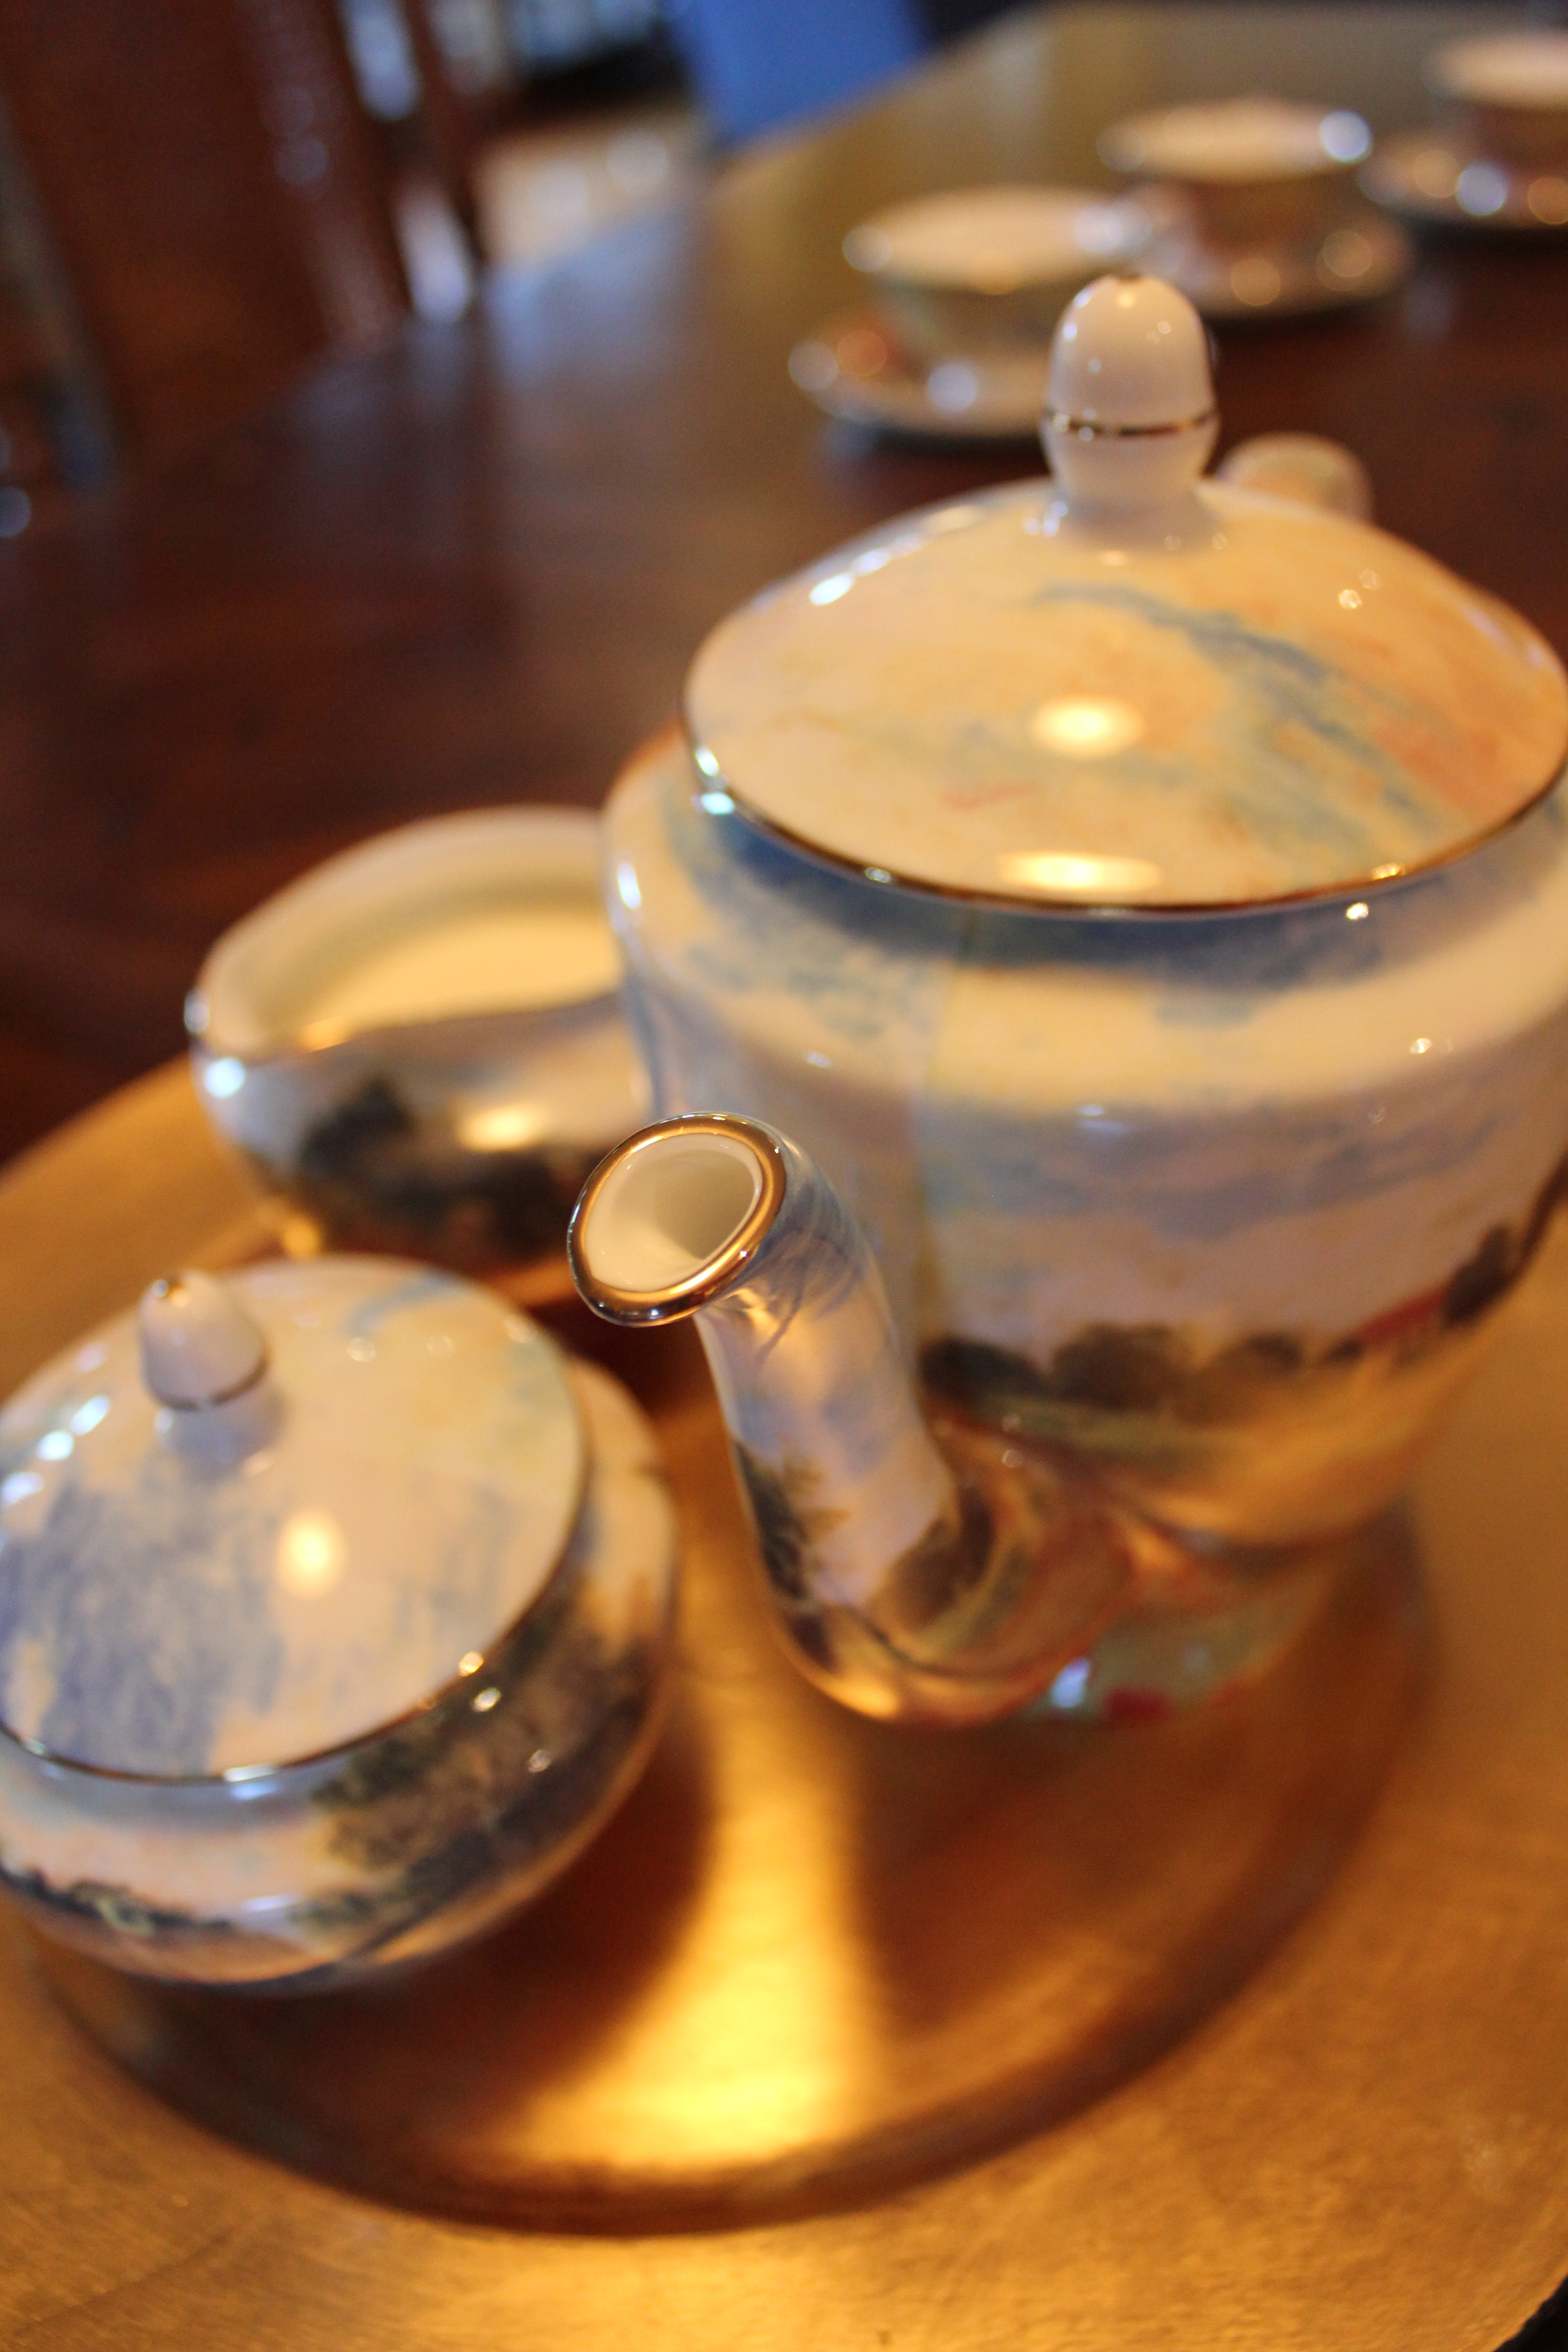
As a little reward for starting this blog I treated myself to a tea set that I did not need. Technically I bought it before I even started posting words on this blog, but I had resolved to finally start it, and I figured that was good enough to deserve a reward. In my defence, I have never owned a full tea set!

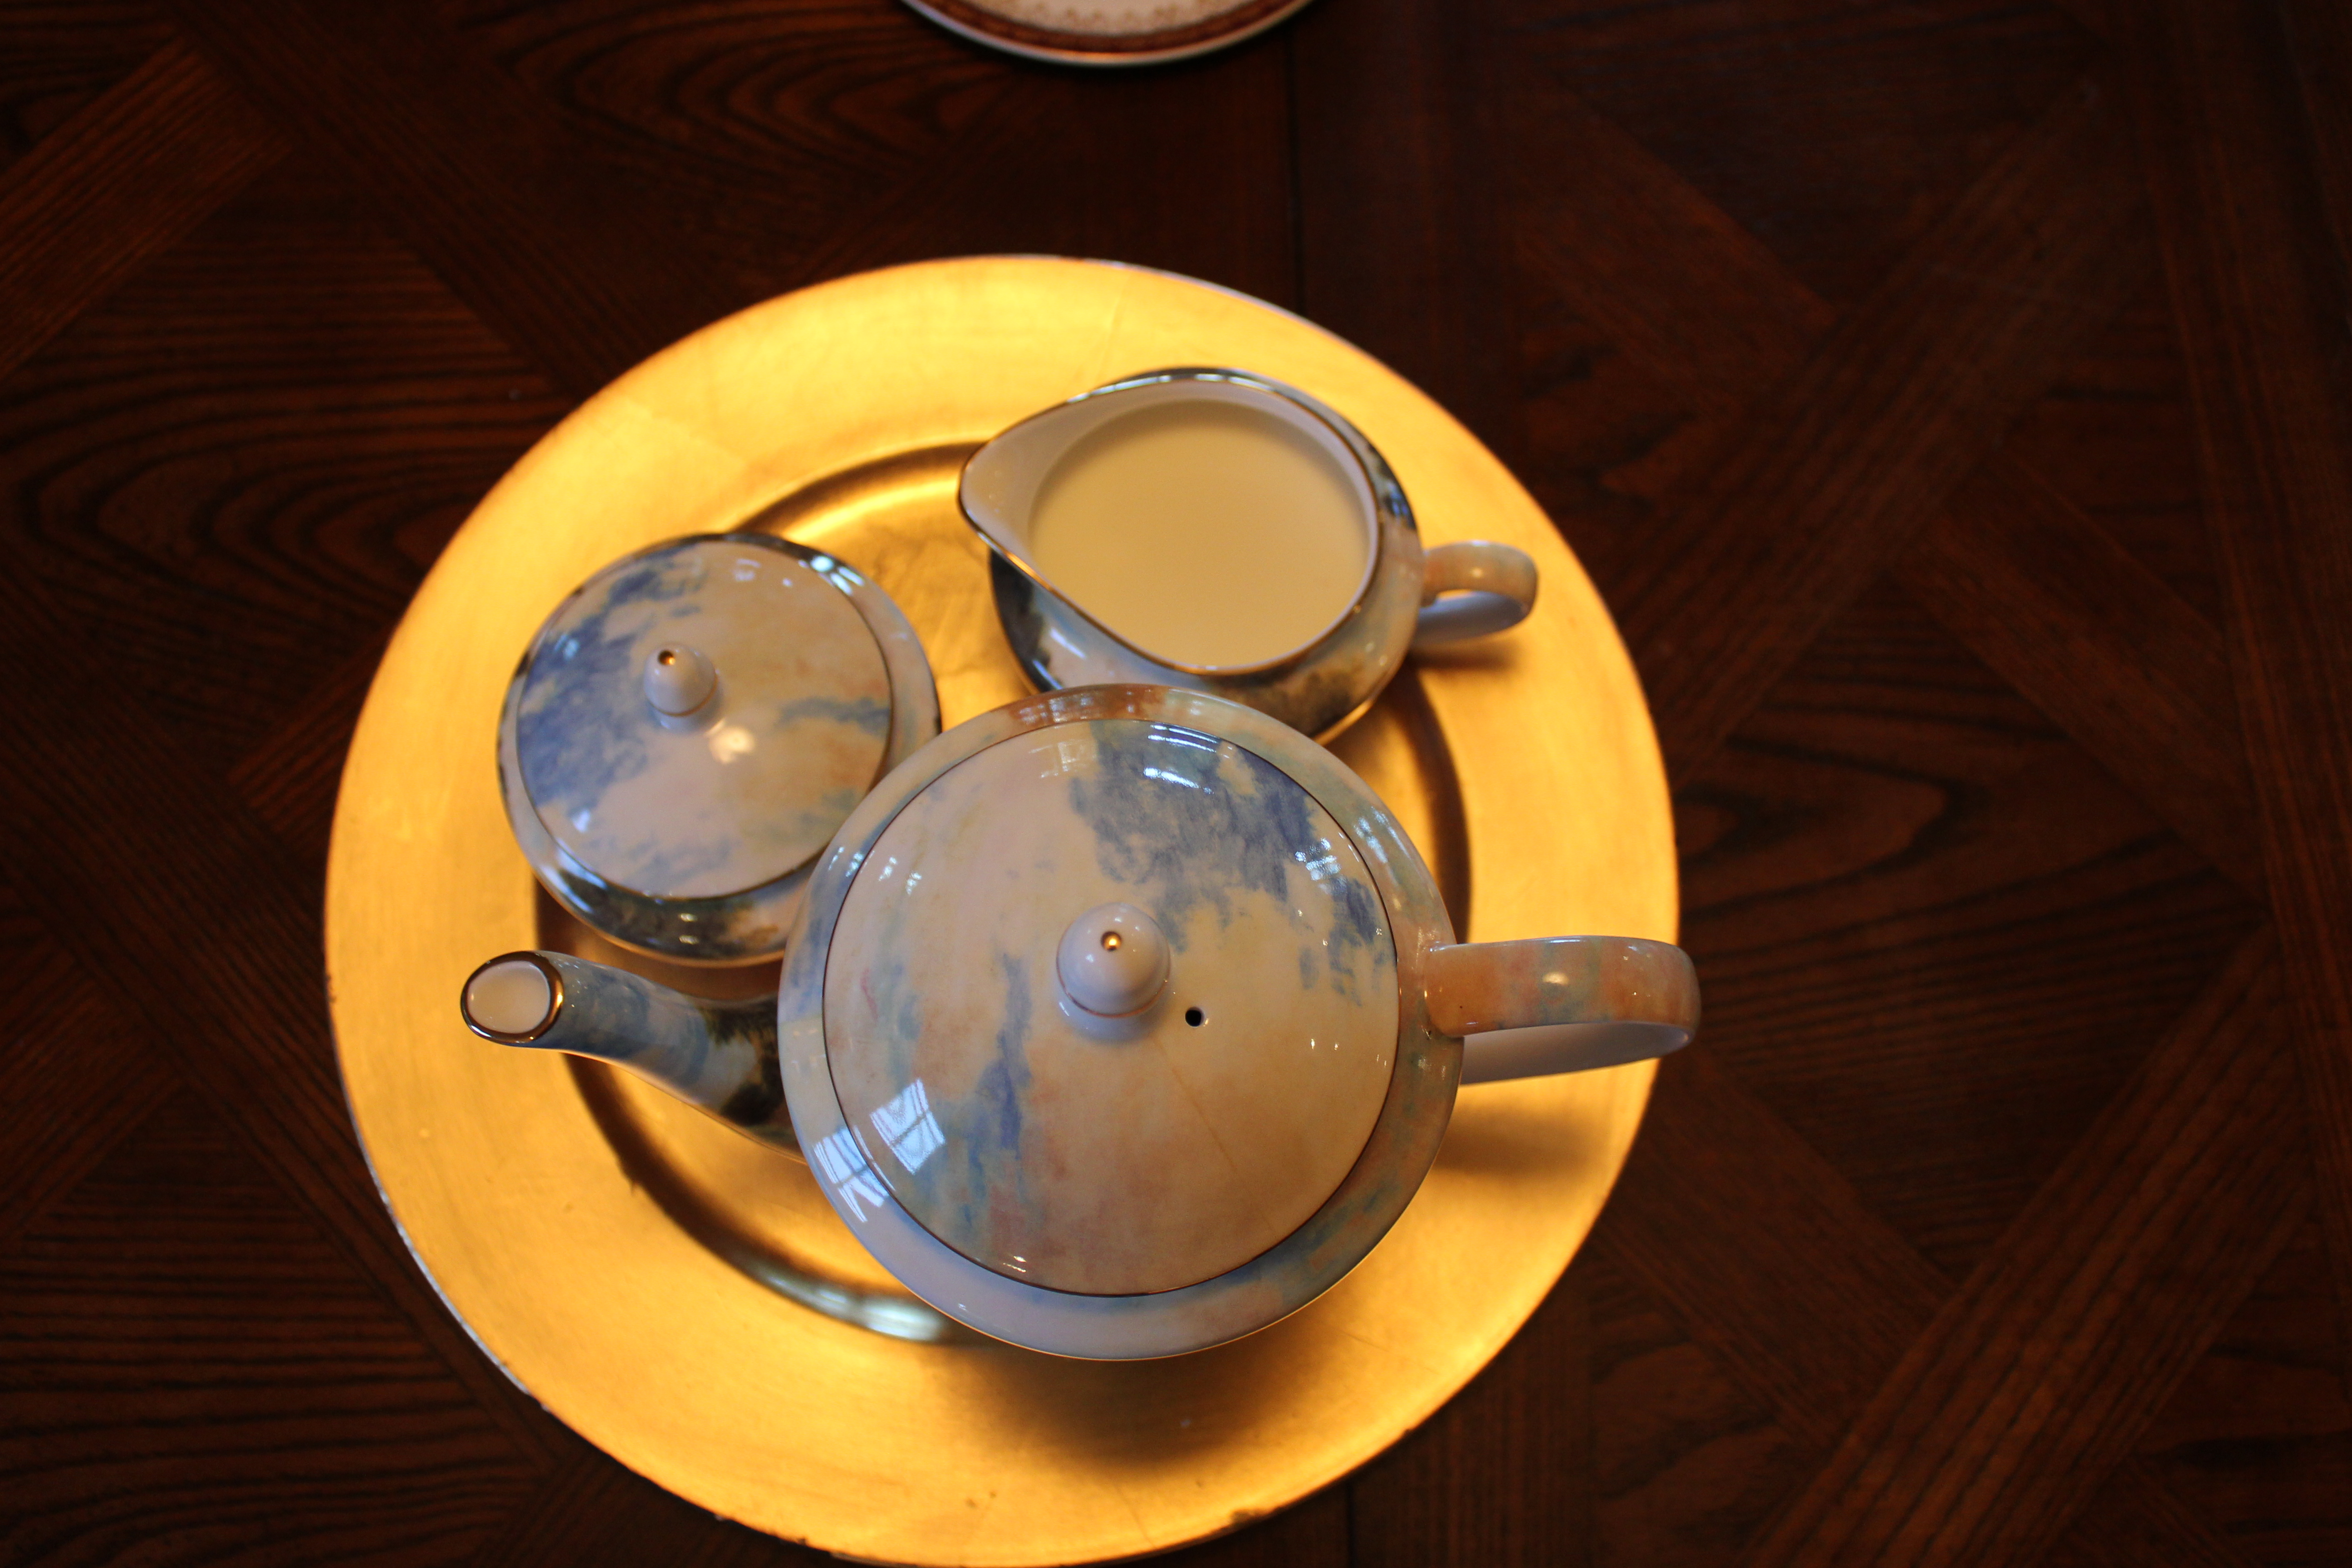
And this was a thing of such beauty that after knowing of its existence,  I don’t think I could have survived a single day longer without it.

Aren’t humans funny creatures? I got to wondering whether other species reward themselves like we do. Does a dog ever give itself five more minutes in front of the heater after it feels it has barked sufficiently at a potentially threatening bird? Do birds commend themselves on especially sing-song chirps by finding a new leaf to furnish the nest with?

I don’t think they do. We are unique. And my tea set is a masterpiece.Teacup

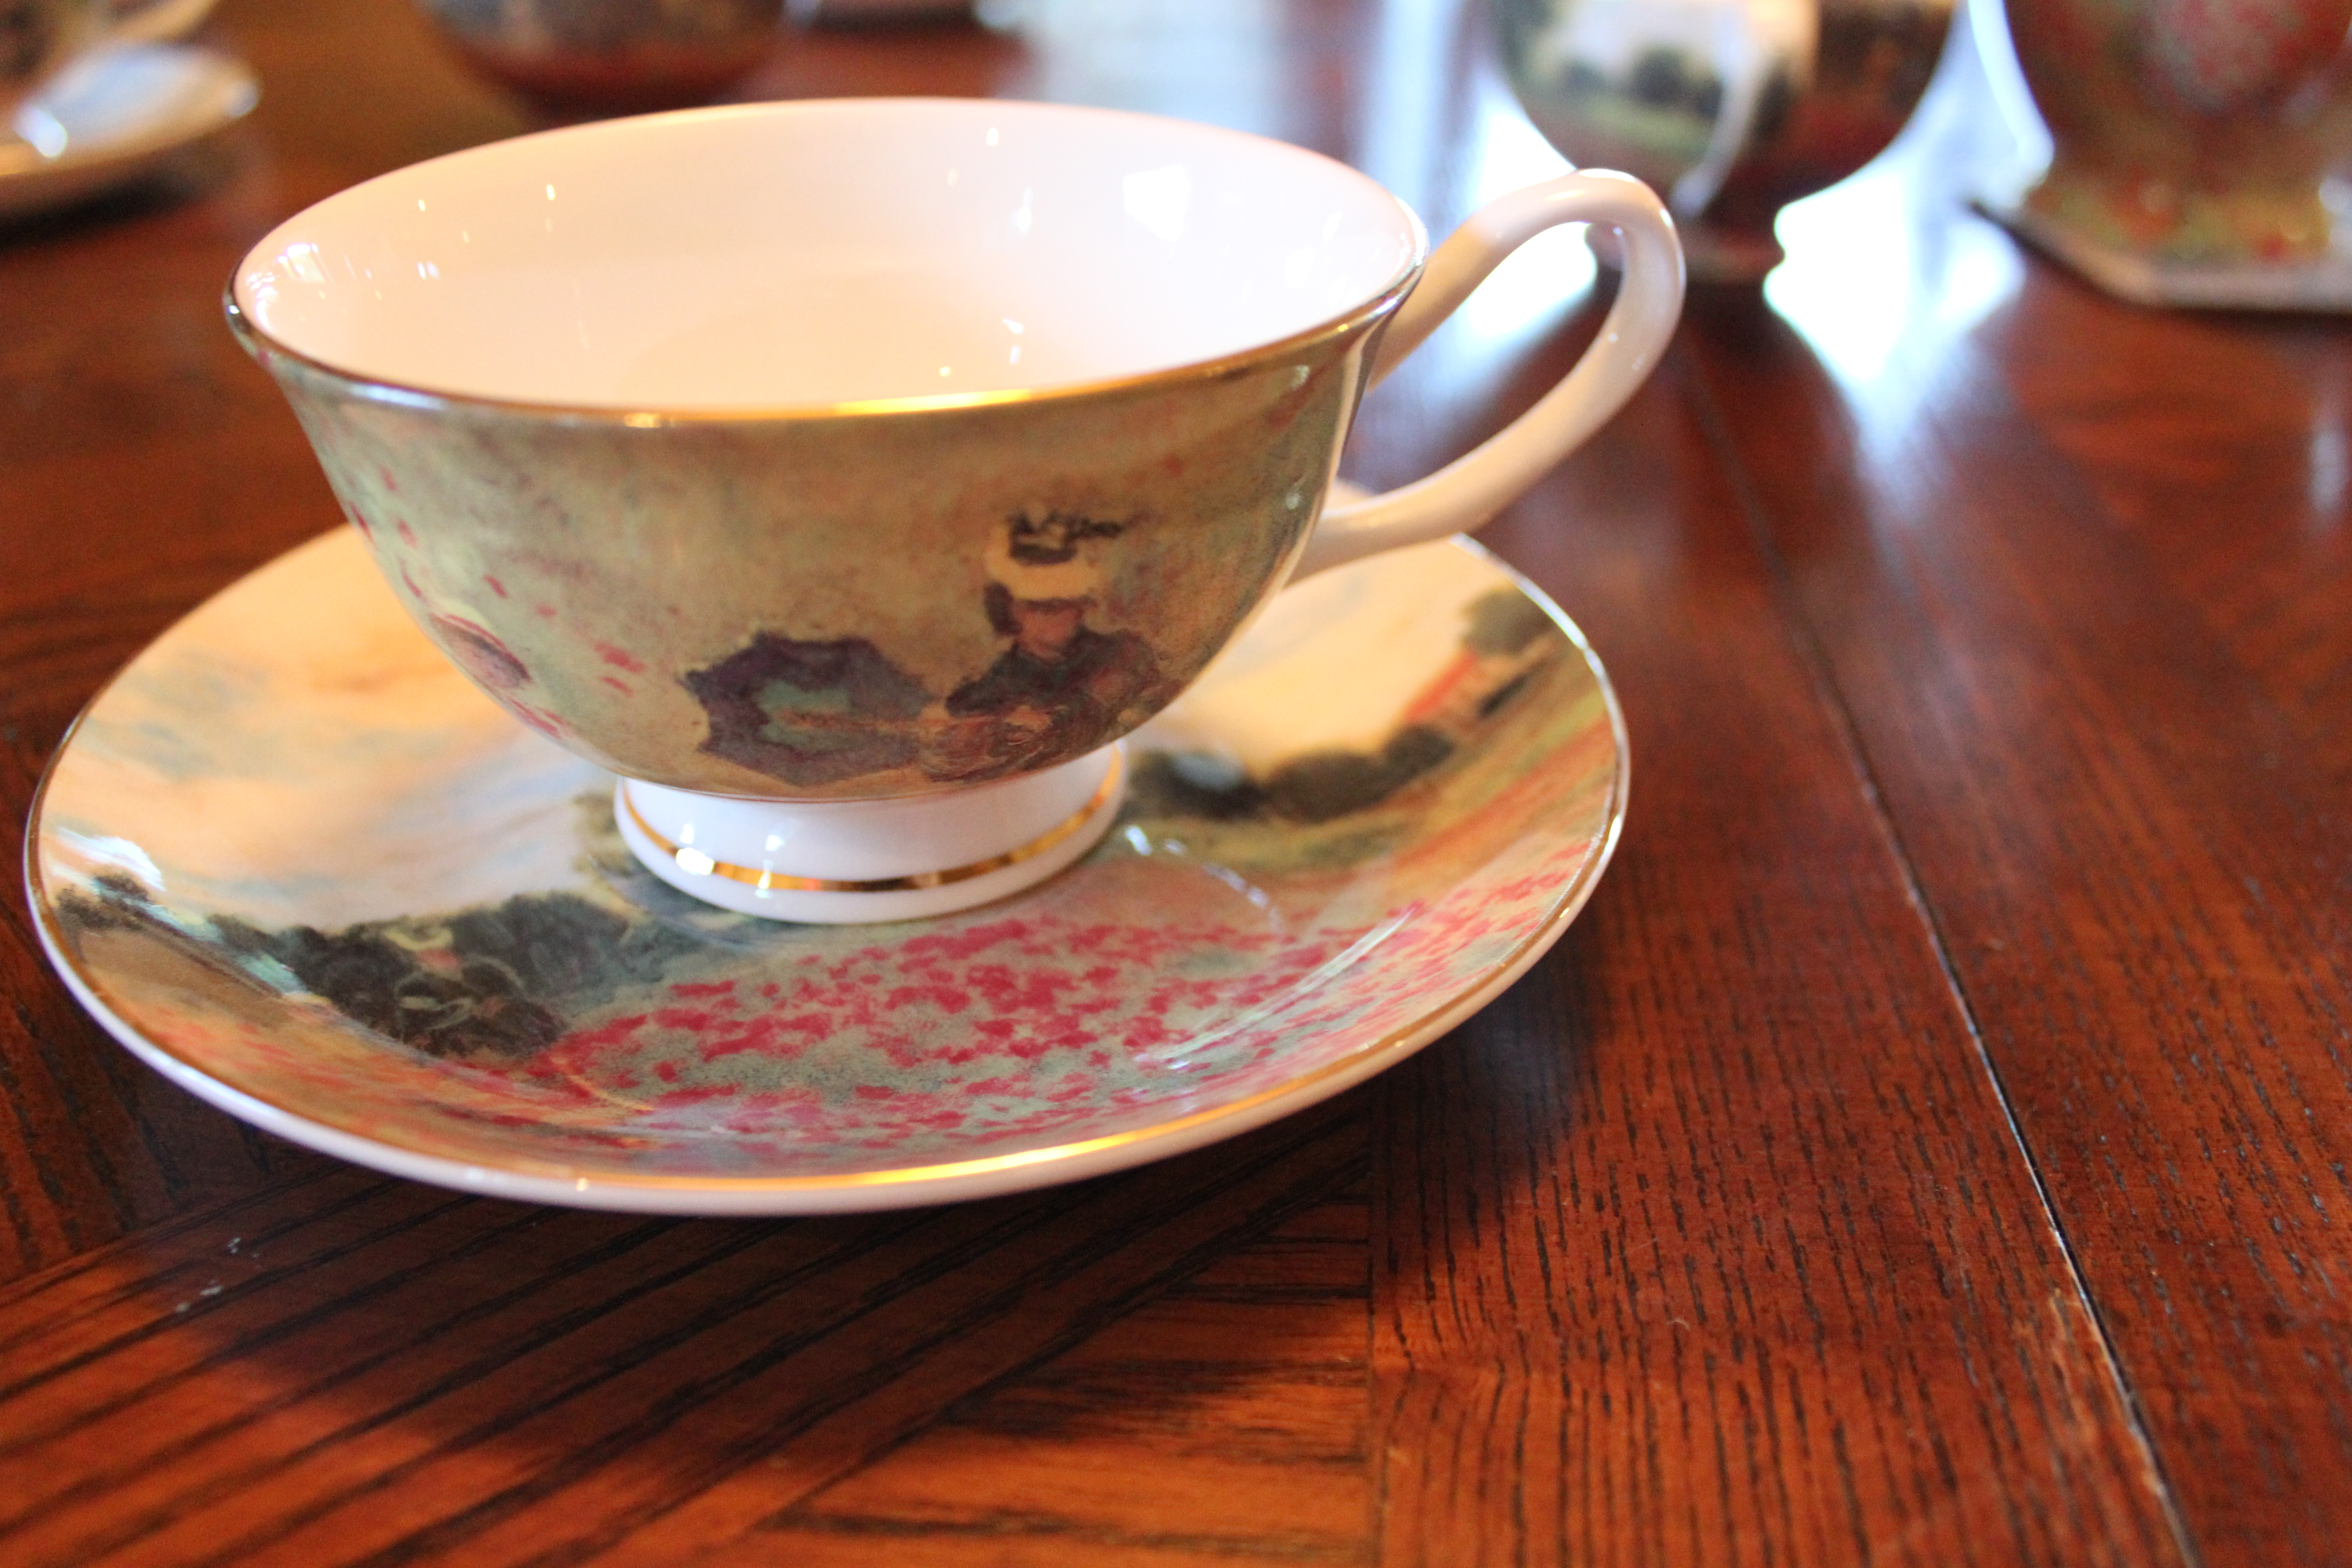
How many people can say they drink tea with Monet ladies?

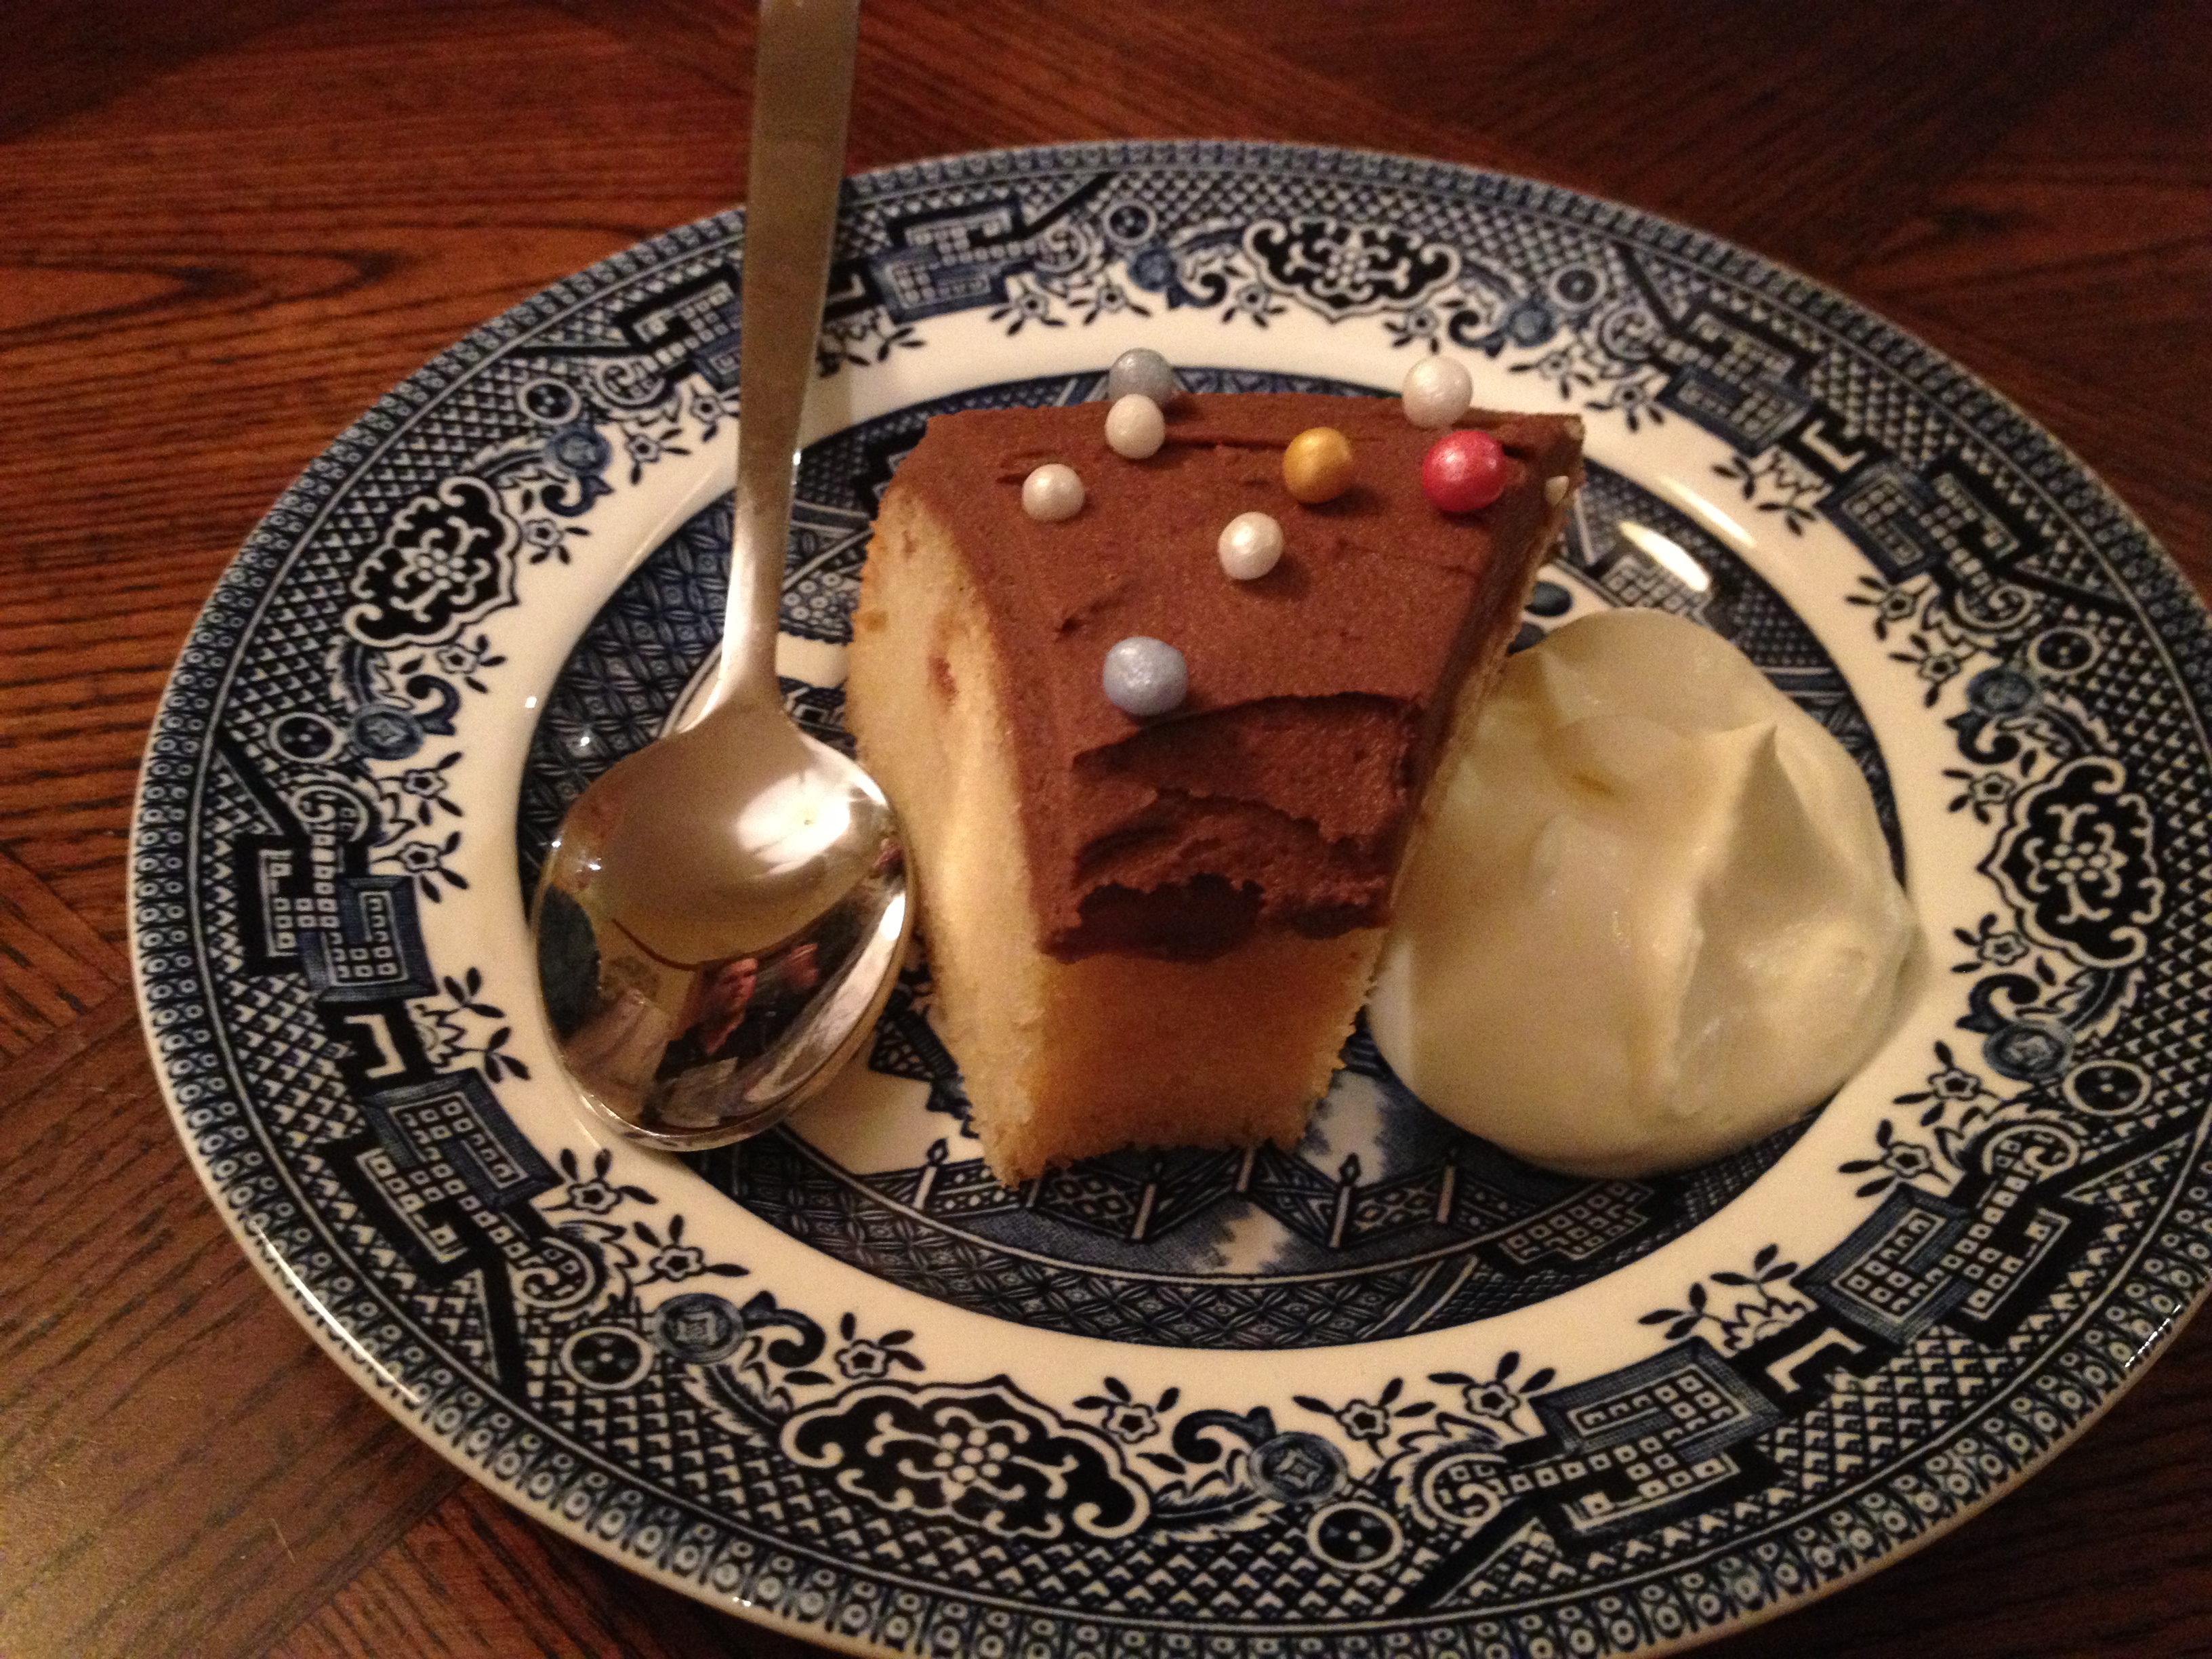
I have no desire to promote the make of the set (because I’m not being paid to do this!), but I will show it off in all of its fabulousness by including it in photos to accompany this week’s recipe.

tea setThis is a food blog, so I should talk about the caramel slice now! I find few things more rewarding than sweetened condensed milk, which is why I consider this recipe a little treat. The Boy’s family call caramel slice Millionaire’s Short Bread, which I just love – it makes it sound like even more of an indulgence!

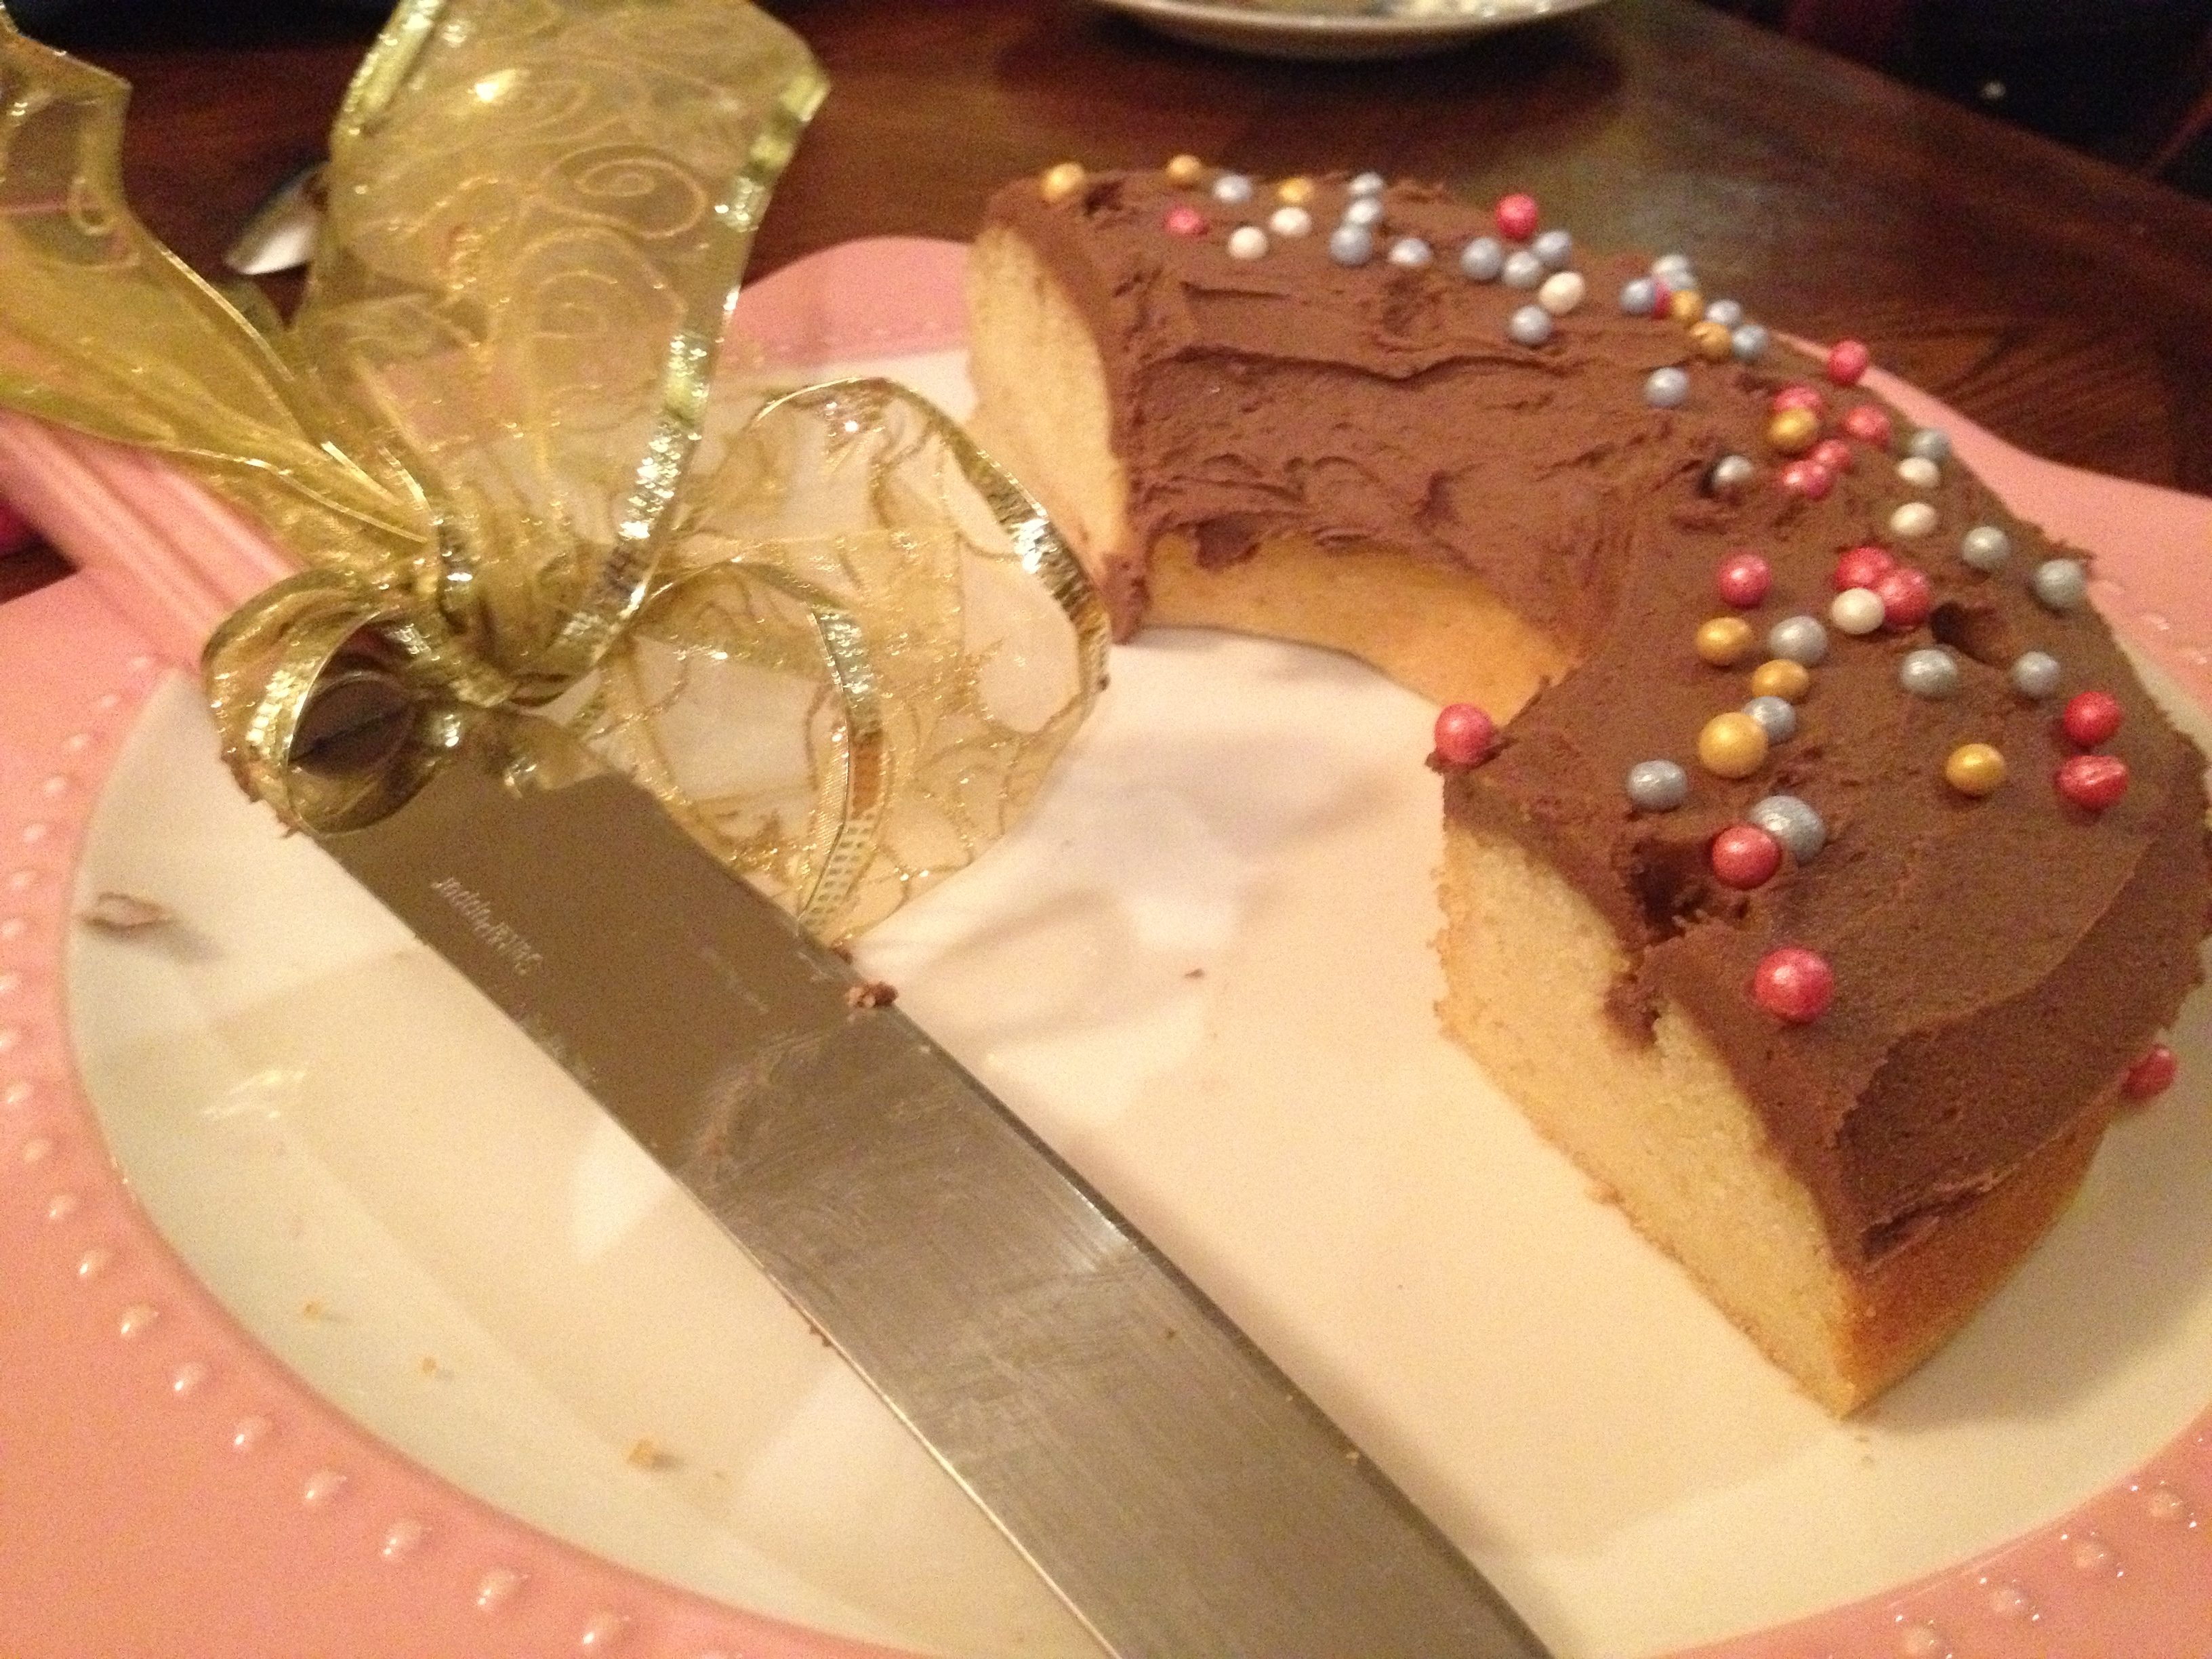
I like the proportions of this recipe, it’s got similar amounts of base and caramel and just a thin covering of chocolate– this doesn’t mean that yours has to be as well. The Boy likes his caramel slice big on base, some people like lots of chocolate on top. Bake it once and play around with the proportions the next time!

Twice-baked caramel slice

sliceBase:

  • 1 ½ cups plain flour
  • 125g butter, melted
  • ½  cup sugar

Caramel filling

  • 70g butter
  • 400g can sweetened condensed milk
  • ½ cup brown sugar
  • 2 tbsp golden syrup

Topping

  • 200g dark cooking chocolate
  • 1 teaspoons vegetable oil

Preheat oven to 180°C  and line a 20cm x 20cm tin with baking paper.

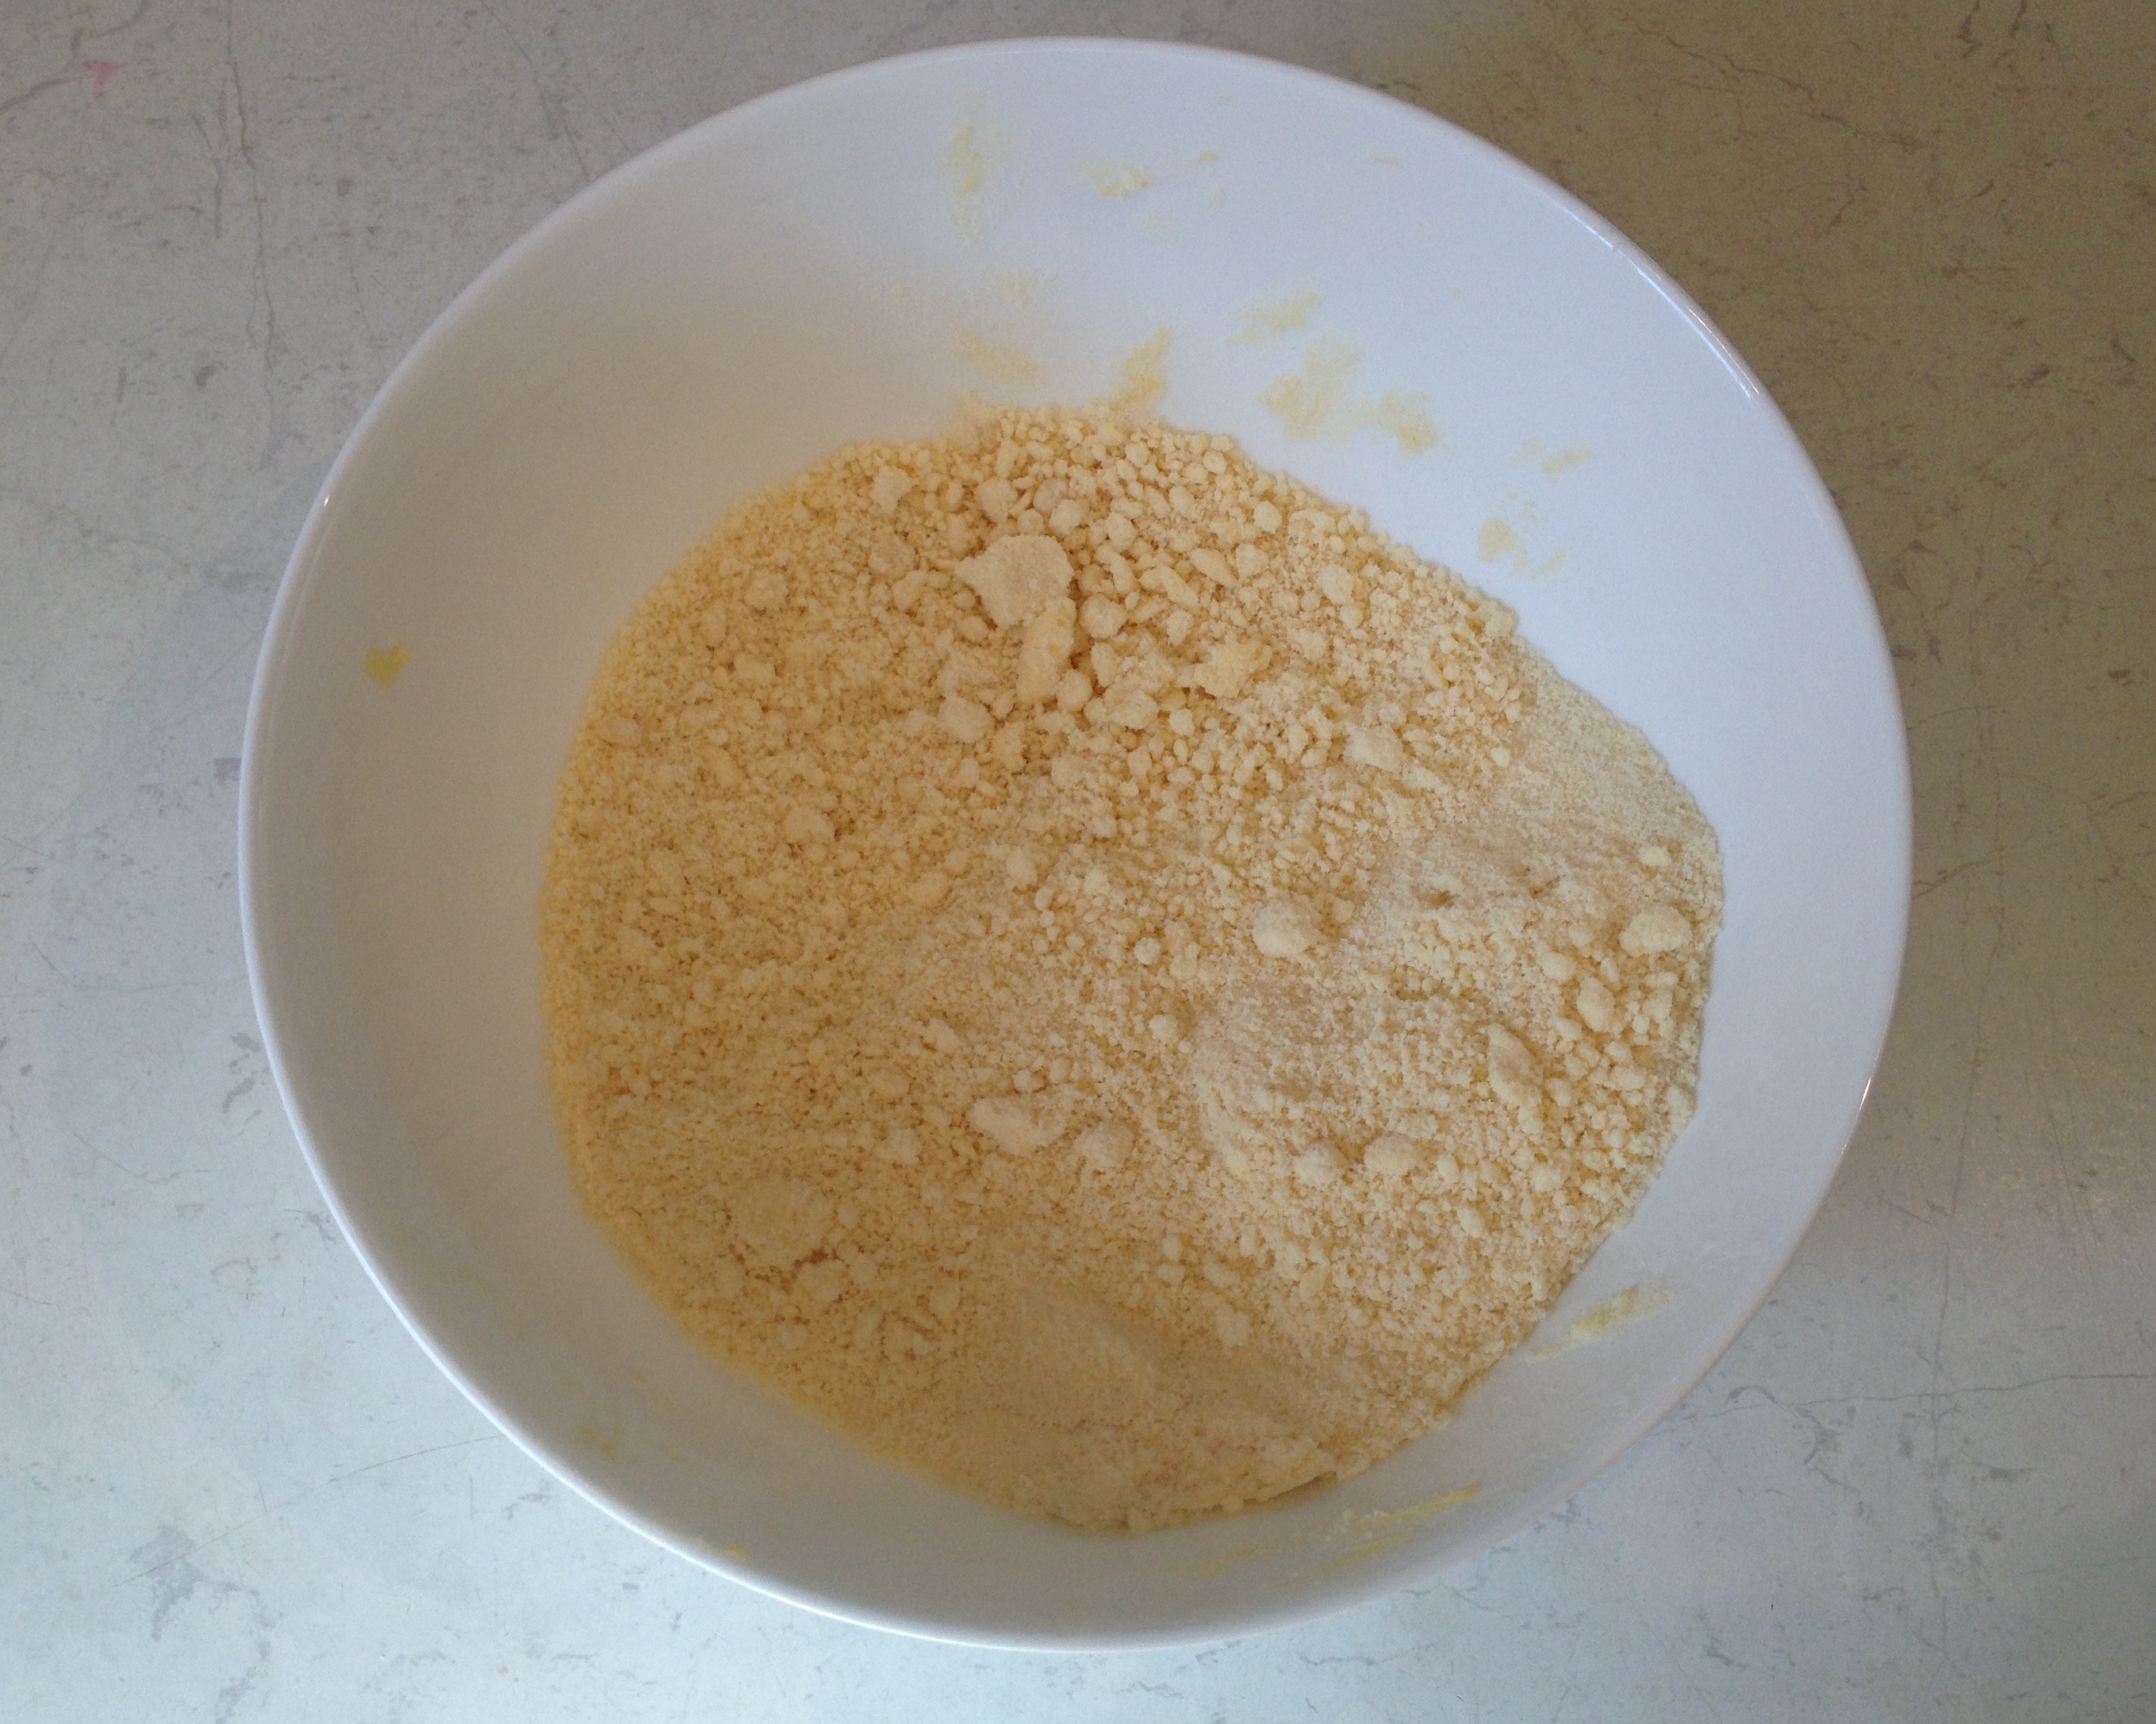
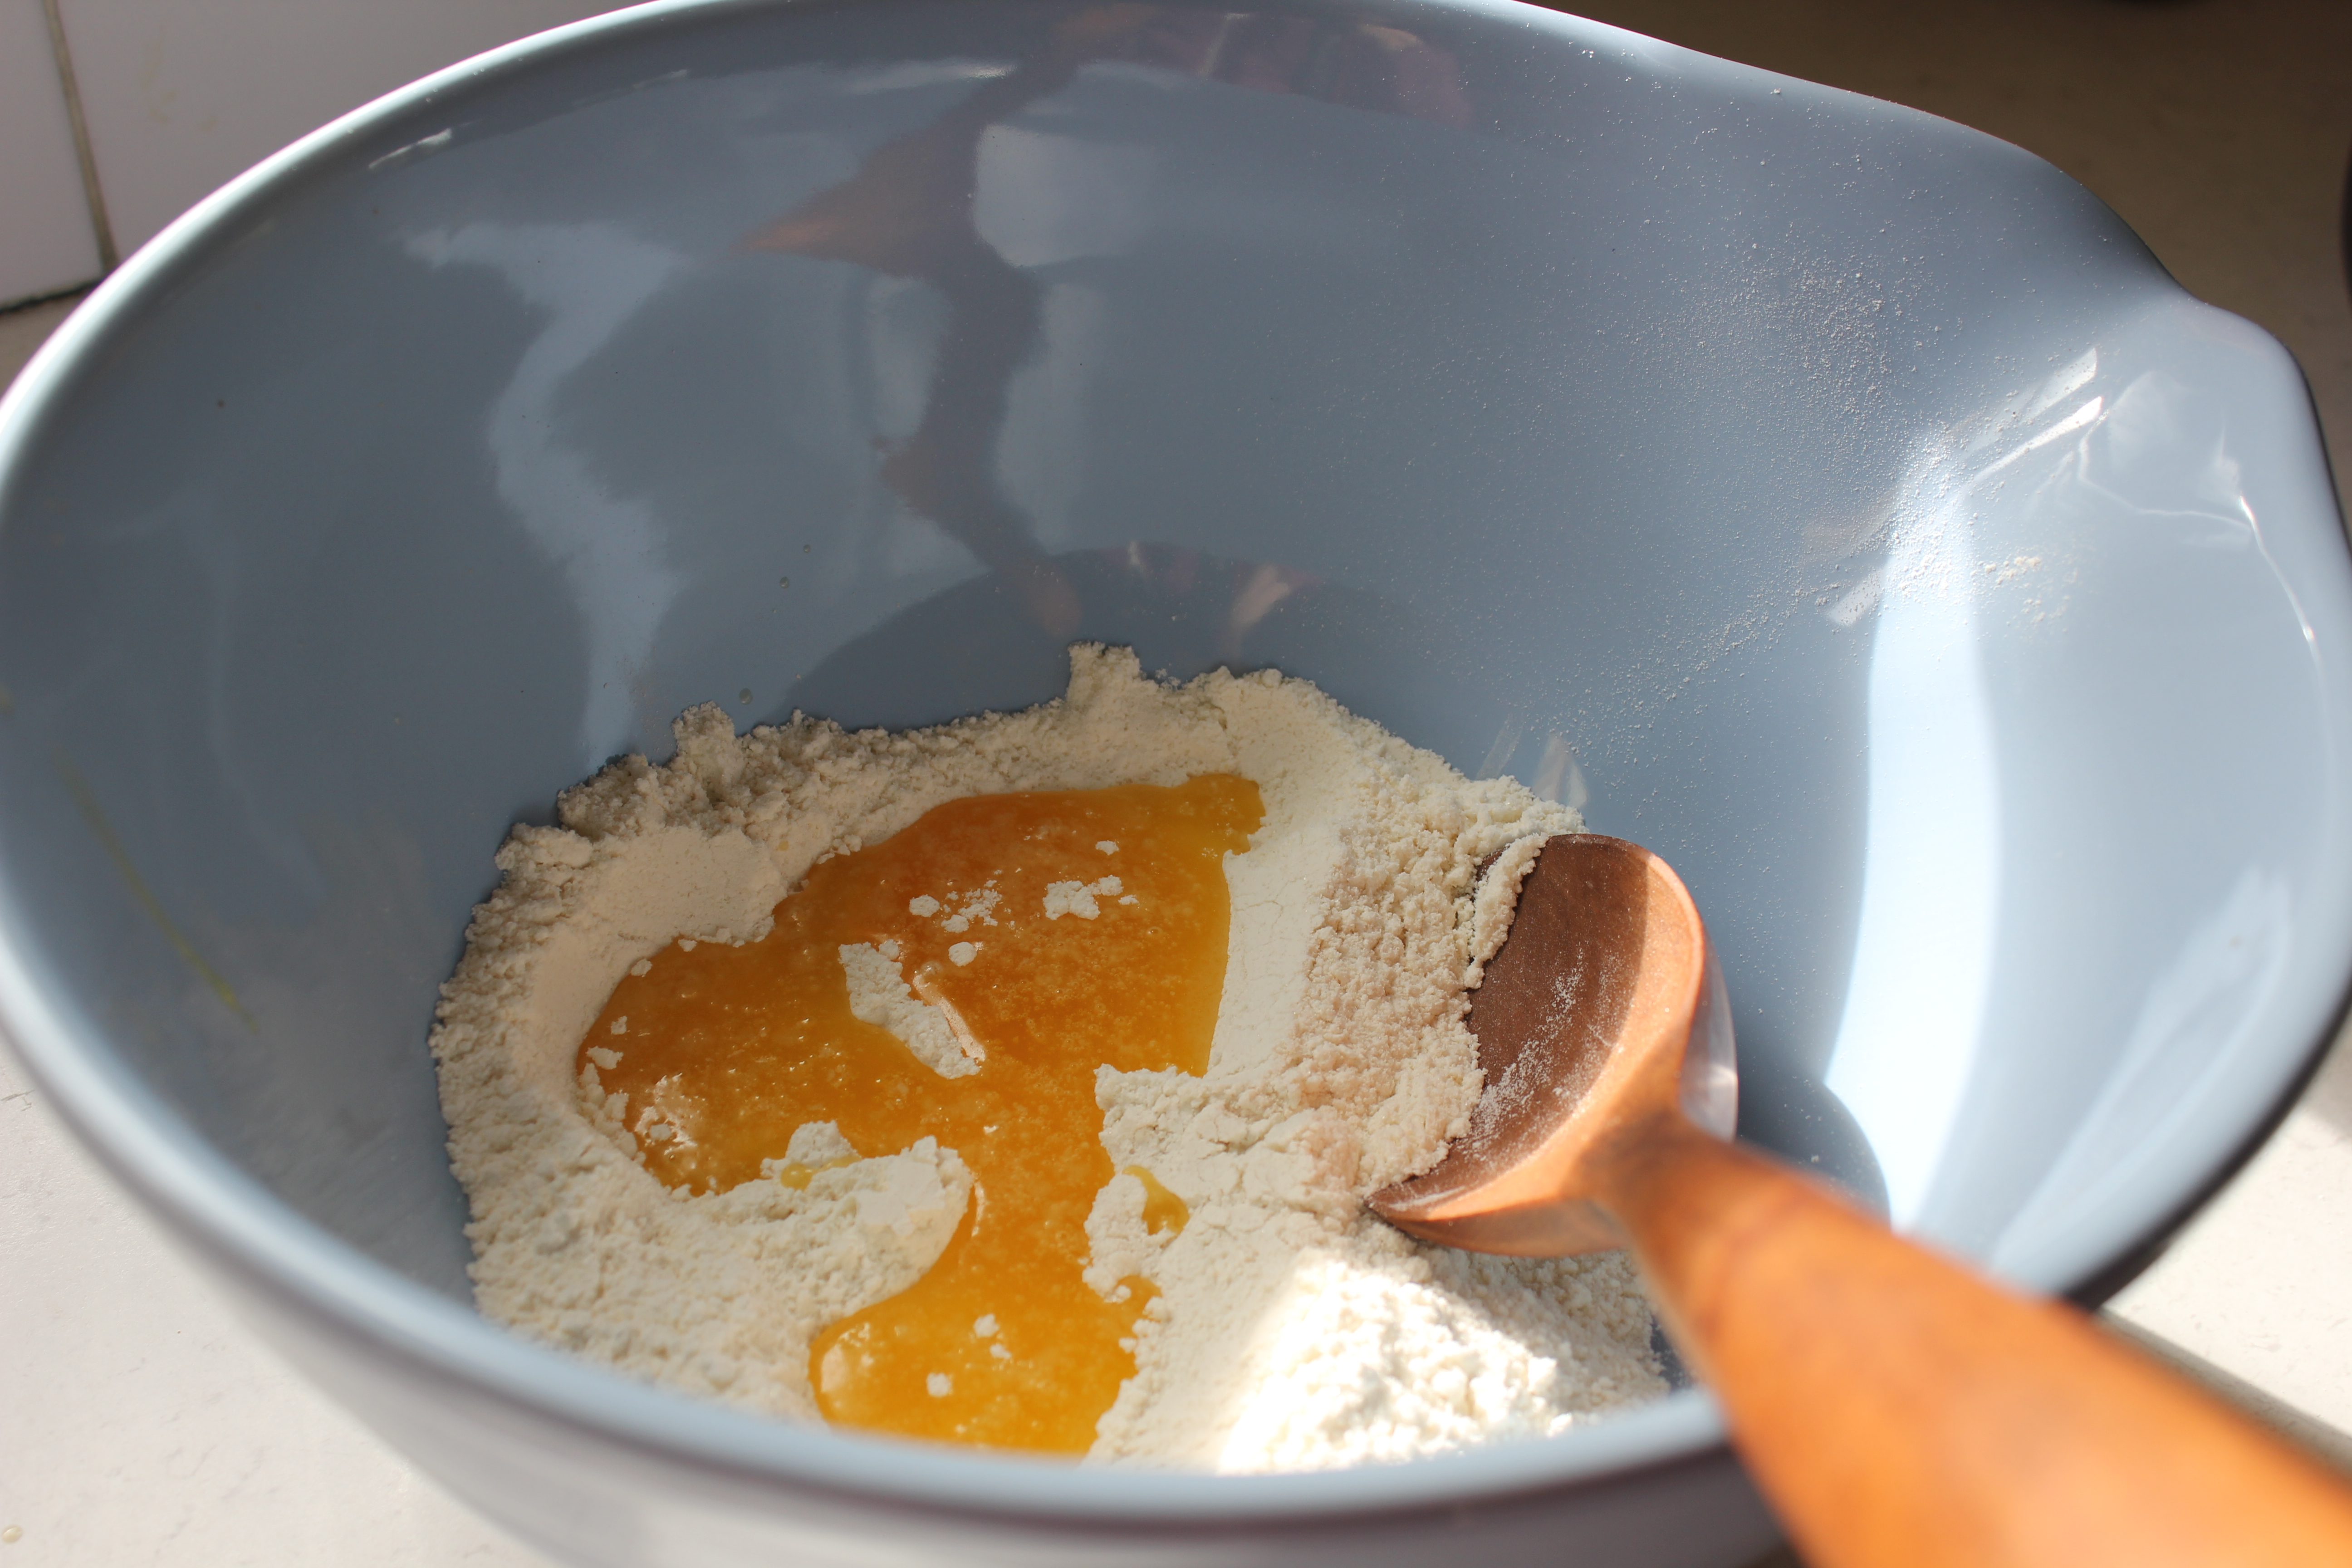
Place the flour and sugar in a bowl and mix to combine. Melt your butter in the microwave and mix it into your dry ingredients.

Butter

Melted butter

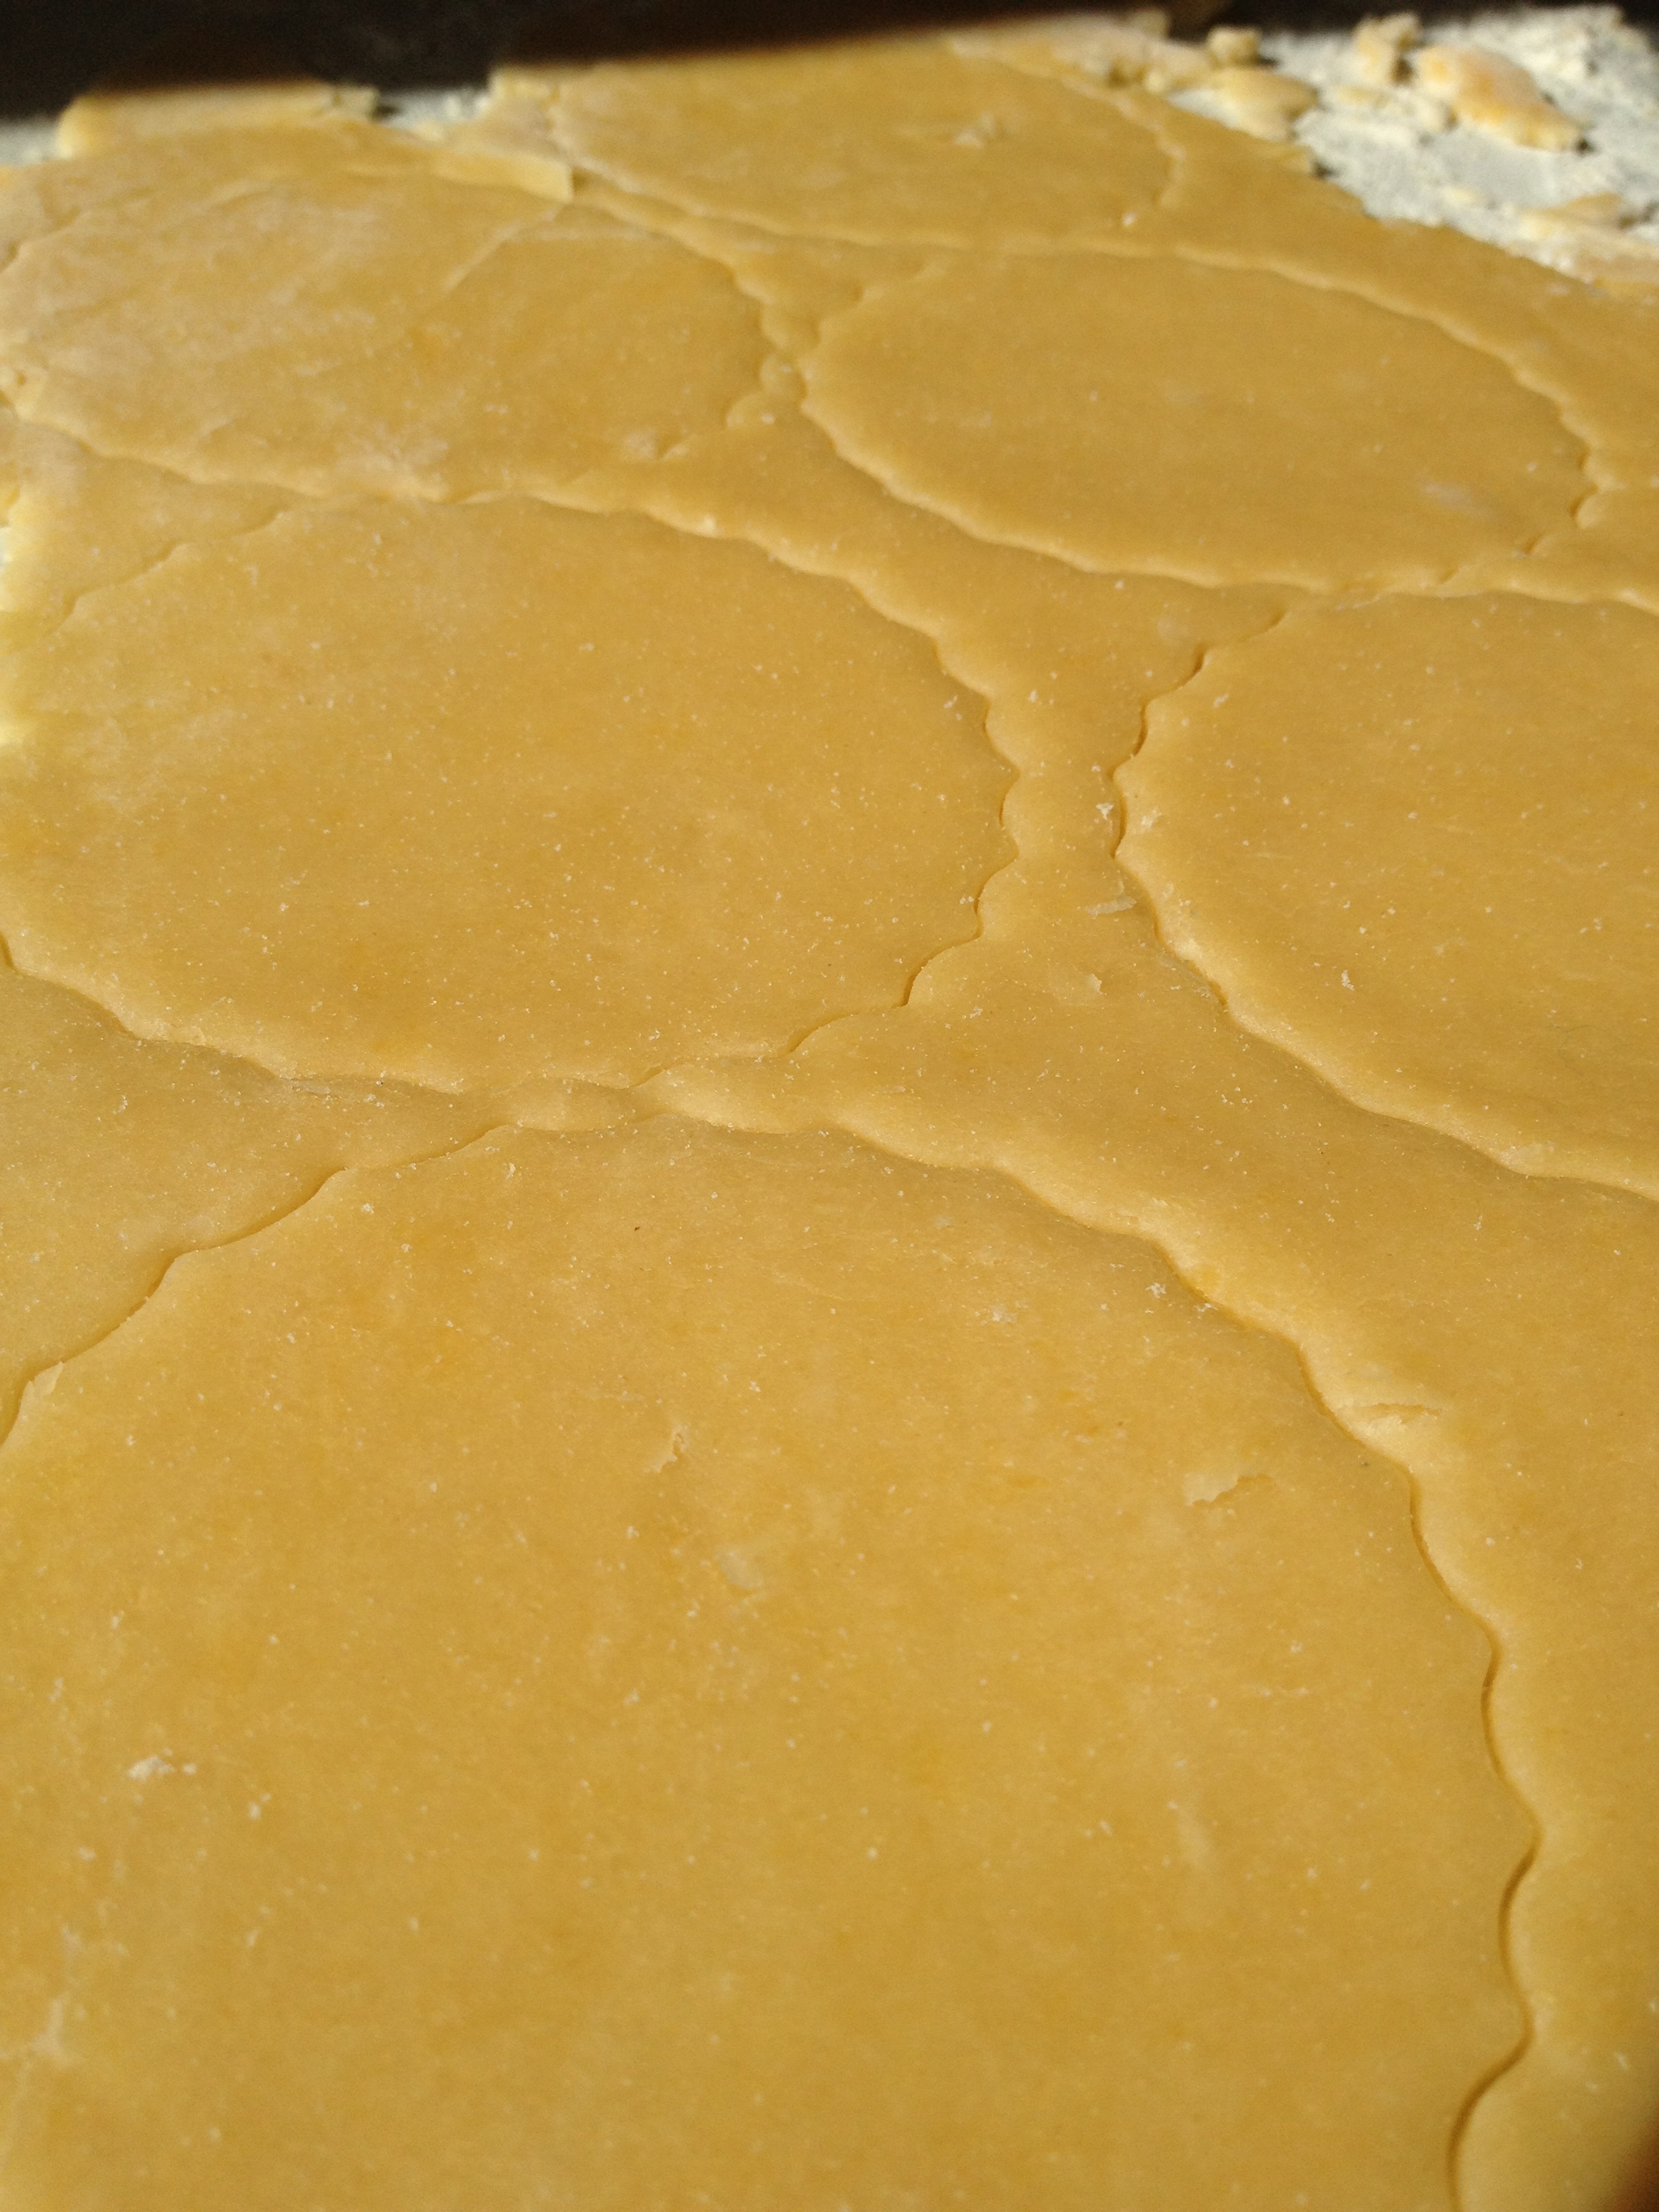
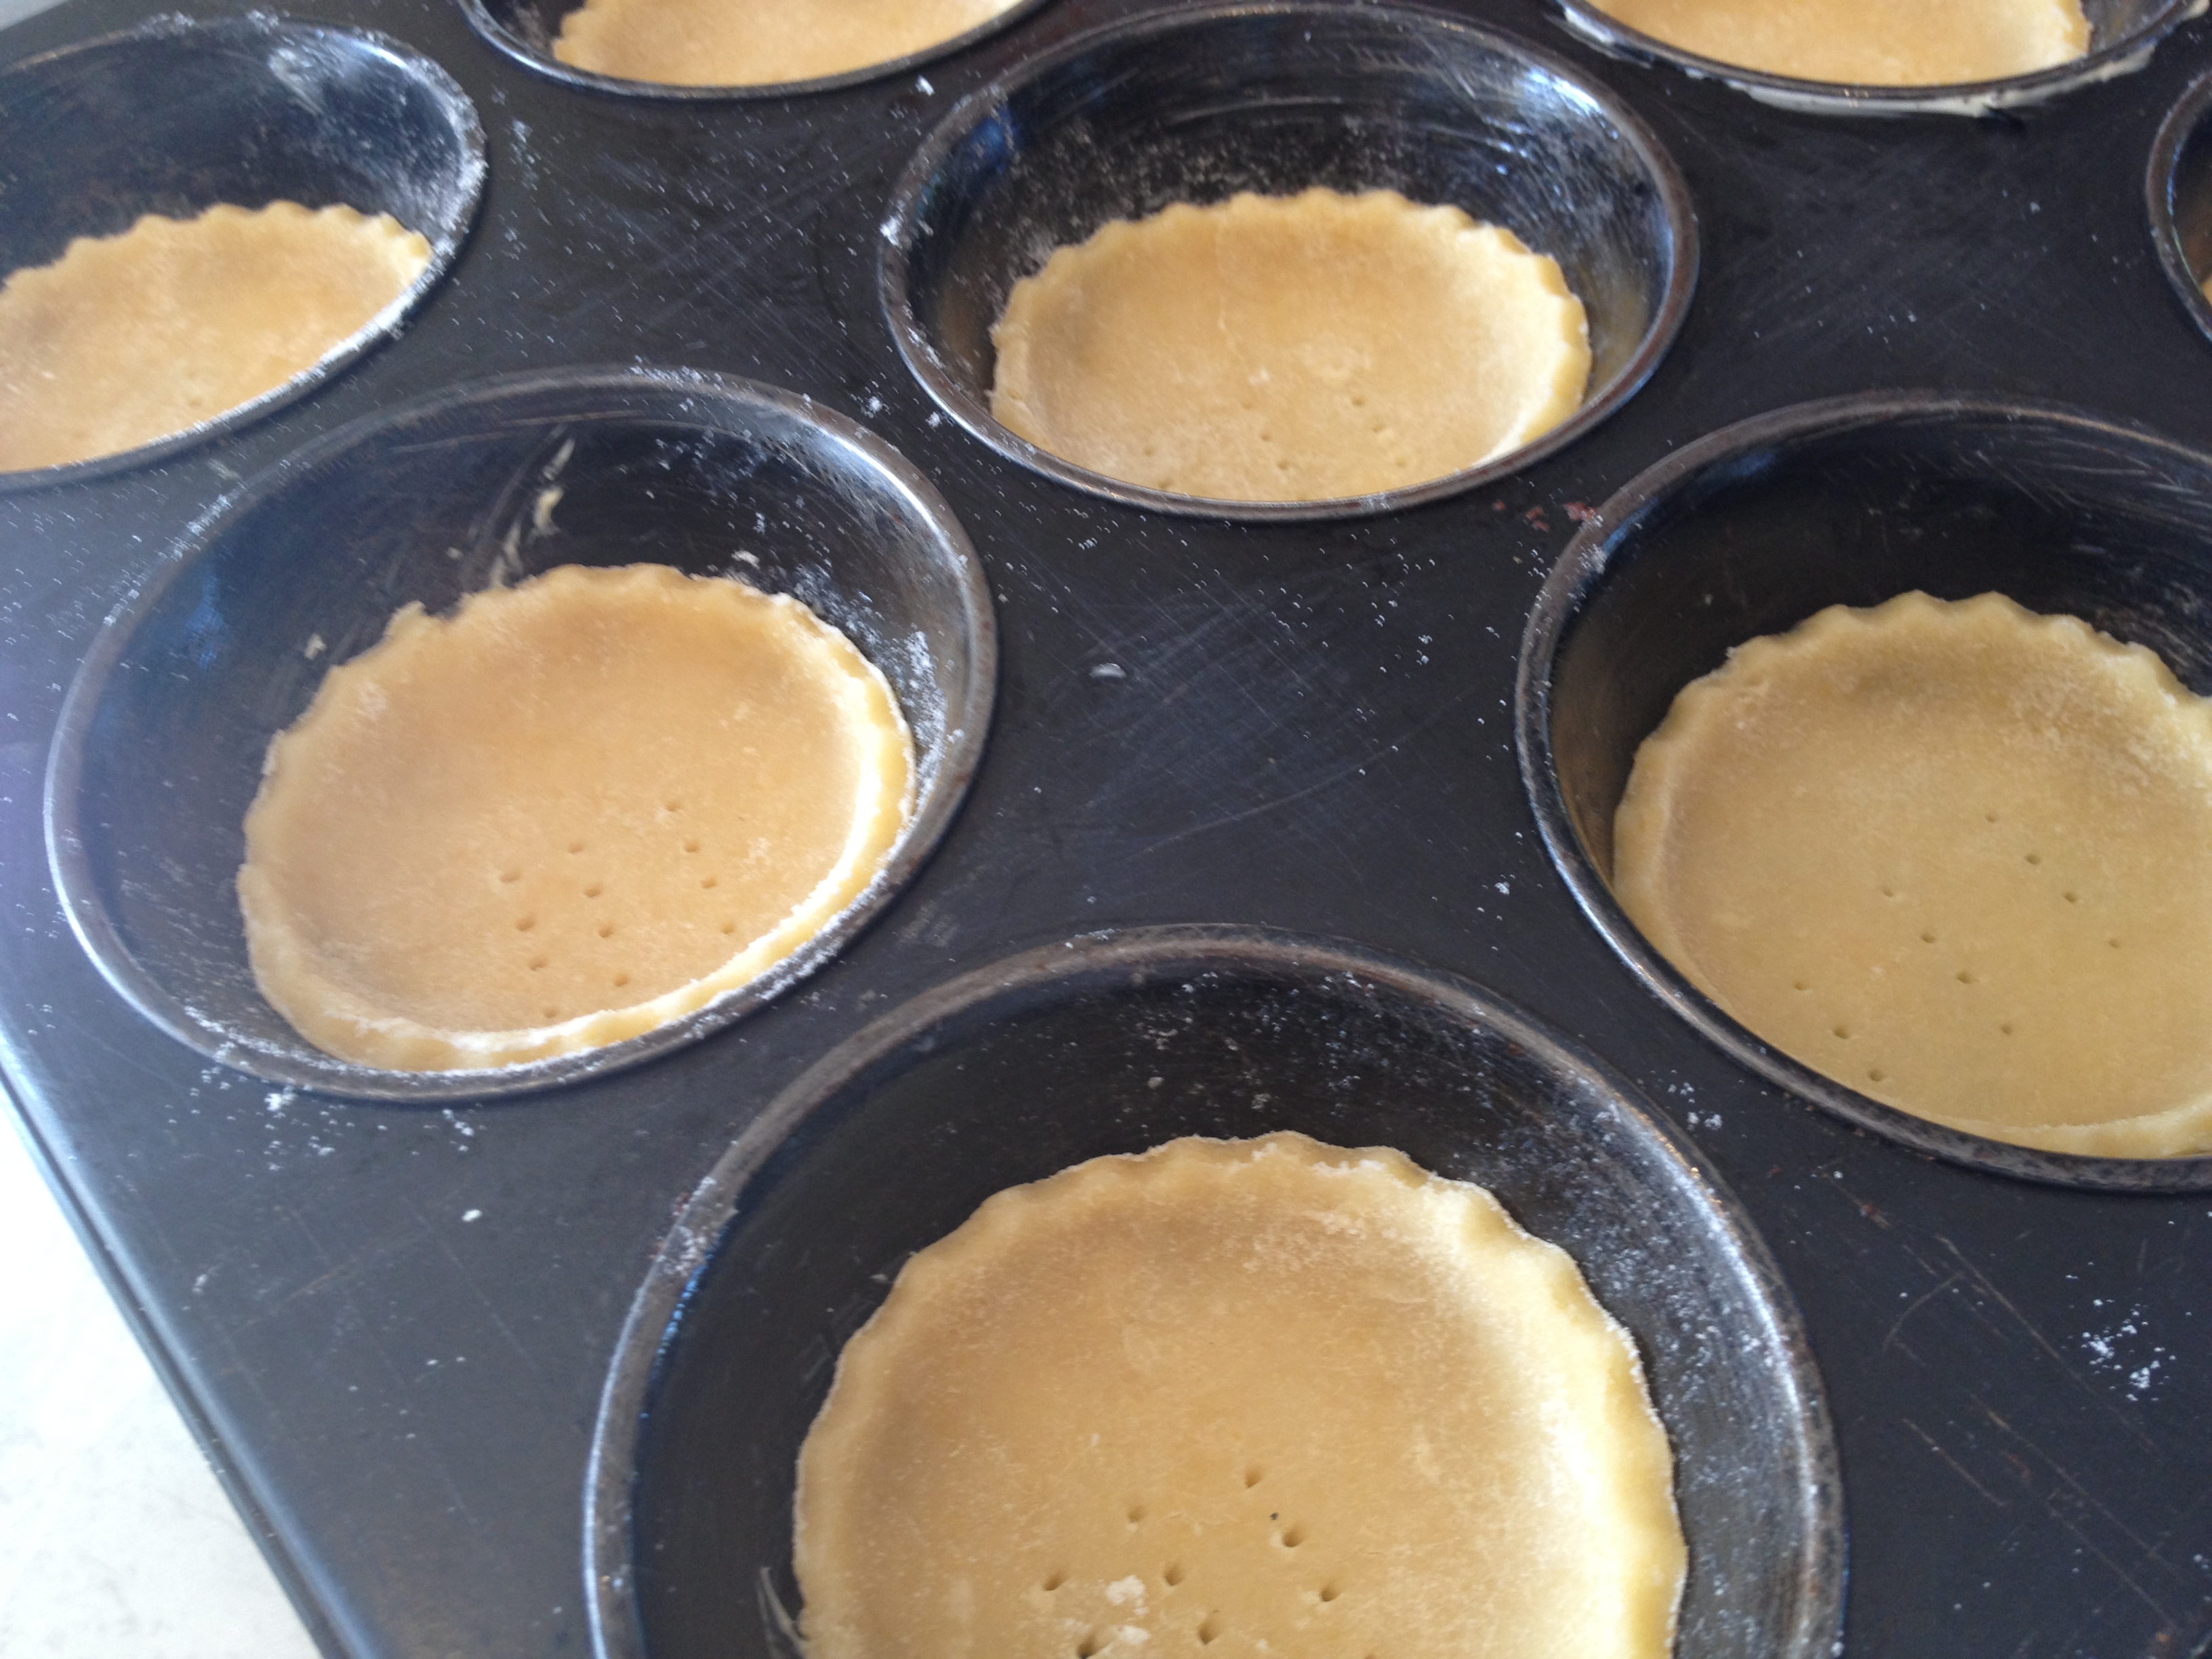
Press the mixture into your lined tin with your fingers, then roll it out flat with a floured glass.

biscuit base

Pop it in the oven to bake for 20 minutes. It’s a pale biscuit, so it won’t brown overly – don’t worry, after 20 minutes it is definitely ready. Remove base from the oven and take it out so that it cools.

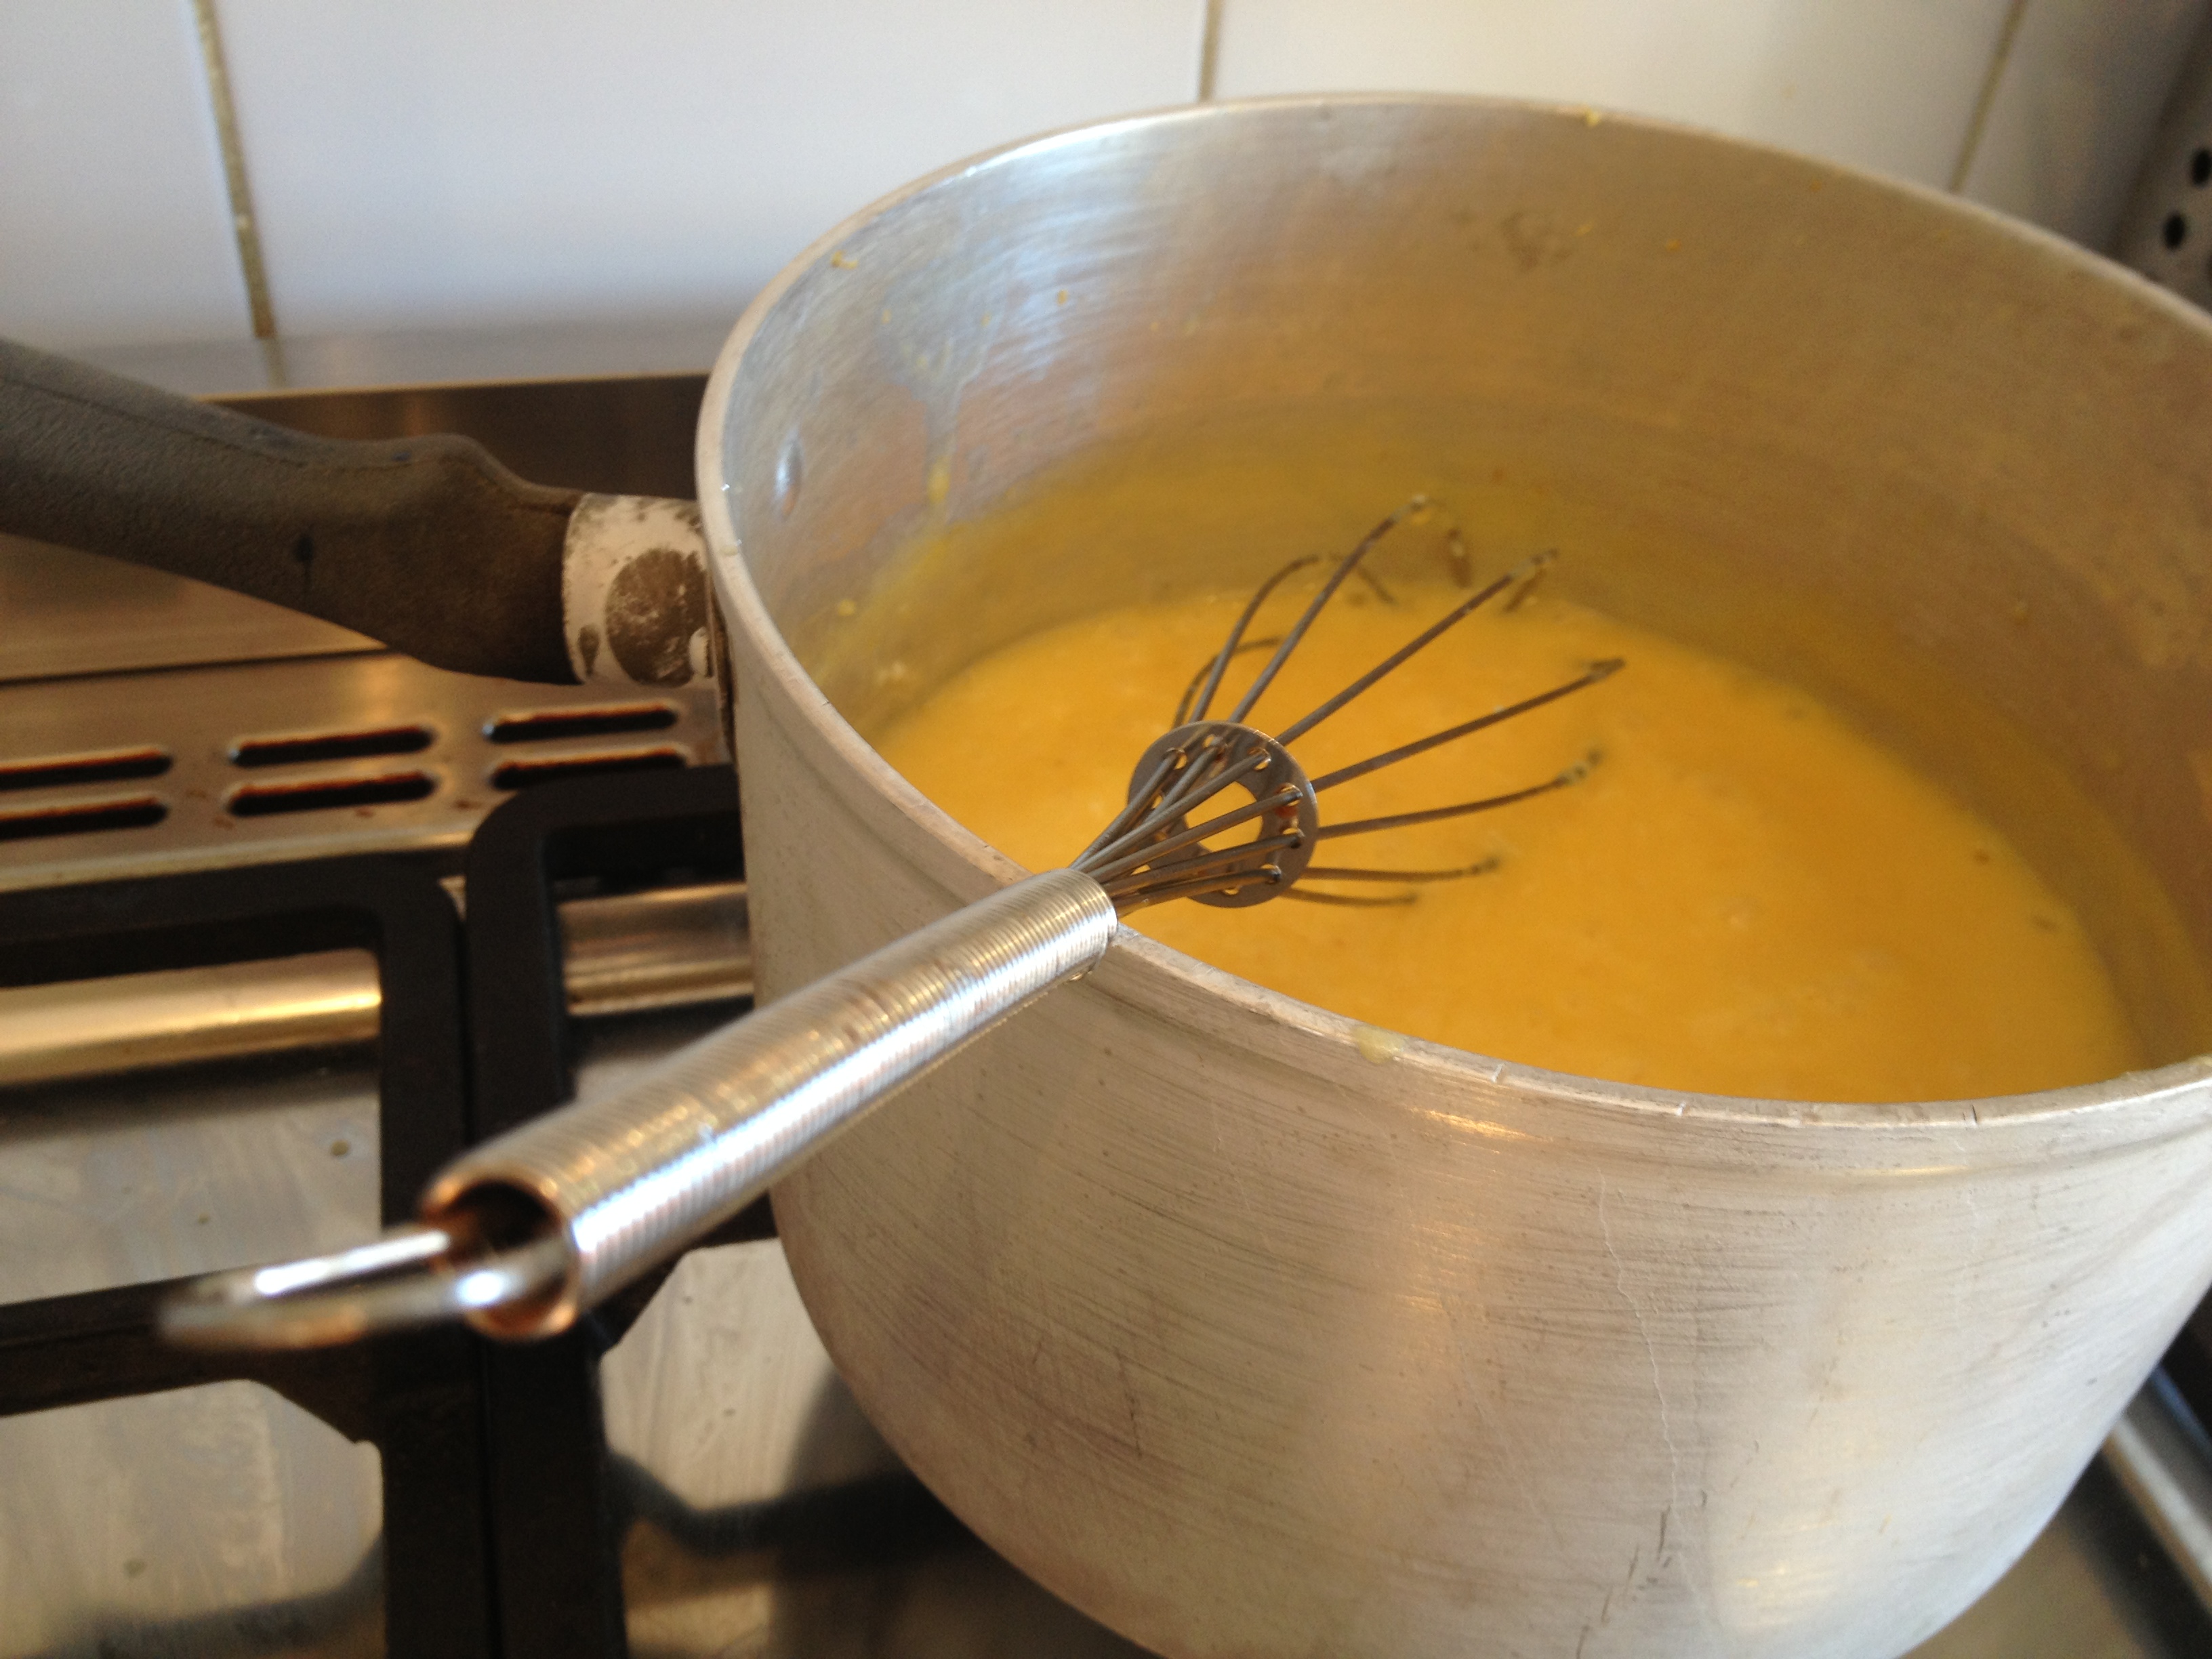
As it’s cooling, make a start on the caramel filling.dripPut your butter and sweetened condensed milk in a small pan over a medium flame and allow the butter to melt, stirring regularly. Add in the golden syrup and brown sugar. Once the sugar has dissolved turn up the heat so that the caramel comes to a slow boil. Stir consistently for 6-8 minutes as it bubbles away – mind it doesn’t burn. Take it off the heat and allow it to cool before pouring it over the cooled base.

Ensure that your base has cooled sufficiently before pouring the caramel over, otherwise it will seep into the base and ruin the layered effect that you want!

Spread the caramel evenly over the base and return it the oven for 15 minutes so that the caramel will set properly. When you remove it from the oven the caramel should have formed a skin – it’s ready to go into the fridge now.

Pop it in the fridge while you melt the chocolate in the microwave. Put it in for 20-30 second intervals and give it a stir after each time so that it doesn’t burn. Once its completely cooled add the oil and give it a good stir. The oil gives it an extra glossy finish and also makes it a little easier to cut.
fridge

Spread the chocolate over the caramel and return it to the fridge for about an hour. 

This rich little slice should give you about 16 serves, depending on how generous your slices are! Beware, it’s sickeningly good!