Fairy bread biscuits and brightness

This week has been a bit of a crazy one! Sydney (just in case you missed it) has been absolutely hammered with rain. Train lines flooded, businesses closed, broken umbrellas were strewn about the city; nothing remained dry.

single

It was actually kind of ridiculous. On the second day of ridiculous rain, I decided to bake away the grey. These fairy bread biscuits were the perfect counterbalance to the bleakness. This is such a simple recipe, but it gives such consistent, delicious results. Continue reading “Fairy bread biscuits and brightness”

Chocolate Raspberry Cupcakes and Tea Parties

skyI felt like it had been a while since I’d held a tea party, so I set about fixing that today. I had a beautiful table runner that I’ve been wanting to use, and I didn’t just want to use it in any old run-of-the-mill photo shoot. I received the runner from Ria from Zambella Gifts, and she’s so passionate about her beautiful linen that I couldn’t help but get excited about it too. The runner has the recipe of a chocolate cupcake on it written in a beautiful script, so it didn’t take much for me to be in love with it! (Ps. You can buy Ria’s linen here.)

Ria is currently offering my readers a free gift with purchase (I’m not sure what, it’s a surprise!) just enter “Baking with Gab”into the comments section when you checkout…get shopping!

This recipe is a cupcake version of the rich chocolate cake that I posted here – the sheer amount of cocoa and the addition of milk and coffee make it decadent and dense, but smooth at the same time. Continue reading “Chocolate Raspberry Cupcakes and Tea Parties”

Smarties cupcakes and nostalgia

This evening’s post was prompted by a request. And I’m so happy that I made them! I’m a solo worker; I choose my own recipes and prefer to make them in a kitchen with as few people around as possible. I love company, just not when I’m bustling about in my own world in the kitchen. My baking is for sharing, always, but the process is a personal one.

So when it was suggested that I make Smarties cupcakes I wondered whether I should acquiesce or not. I hadn’t had a Smarties cupcake since my childhood.

And therein lies their brilliance.

The colouring of Smarties may be less intense than it used to be, but their flavour is still the same. Complemented by a soft vanilla buttercream and chocolatey cupcake, these concoctions just work.

They taste of childhood and nostalgia. I half wished I’d made up lolly bags to go along with these cupcakes, it felt wrong to serve such festive cupcakes without a lolly bag for people to take home!

tiny teddiesSome teddy bears joined me for the photo shoot because it had been a while since they’d been played with. They enjoyed the trip back to childhood and what appeared to be a child’s birthday party.

Cook them for their colour, their easy charm and the memories they’ll bring back for you.

Just make sure you buy extra Smarties.

teddy bear picnicChocolate cupcakes

  • 1 ½ cups self raising flour
  • ½ cup cocoa
  • 100g butter
  • 3/4 cup sugar
  • 2 eggs
  • ½ cup milk
  • ½ tsp vanilla

Vanilla butter cream

  • 1 ½ cups icing sugar
  • 100g butter
  • 3 tpsb milk

Preheat your oven to 190°C. Grease your muffin tins, or use cardboard cupcake cases like me if you’re feeling lazy.

Cream your butter and sugar together until pale and fluffy. Add your eggs and vanilla, mixing them well.

cookFold in the cocoa and half of the flour flour, adding your milk when it gets too hard to mix. Fold in the next half of the flour and make sure everything is combined.

Scrape the sides of the bowl down regularly so that the cocoa reaches every part of the mixture, nobody likes streaky cupcakes!

Fill your cupcake cases or muffin tins about 3/4 full and try some of the mixture, it’s delish!

Norman

Pop them on a baking tray (or not, if you’re using a muffin tin) and bake for 16 minutes or until you can insert a skewer into the cupcake and it comes out cleanly.

smartiesWhile the cupcakes cool, beat the butter until it’s pale and soft. Add the icing sugar and milk and mix until it is smooth. Wait until the cupcakes are completely cook to ice them, you don’t want the icing sliding off.


Toss a handful of Smarties over the cupcakes and feed the waiting children (or sentimental adults.) The Smarties packet had a chef on it – I appreciated the appropriateness of the character on the box!spotty cupcake

bunting

These little gems are perfect for a child’s party – no child is going to turn down a smarties covered cupcake! Add some bunting for decoration if you’re feeling especially fun – mine was made by stringing coloured triangles in between a skewer cut into halves. A little bunting makes a big difference to presentation!

pink cupcake


* I doubled this recipe to make a cake – results are here.

Chocolate Nutella pots de crème and chilly weather

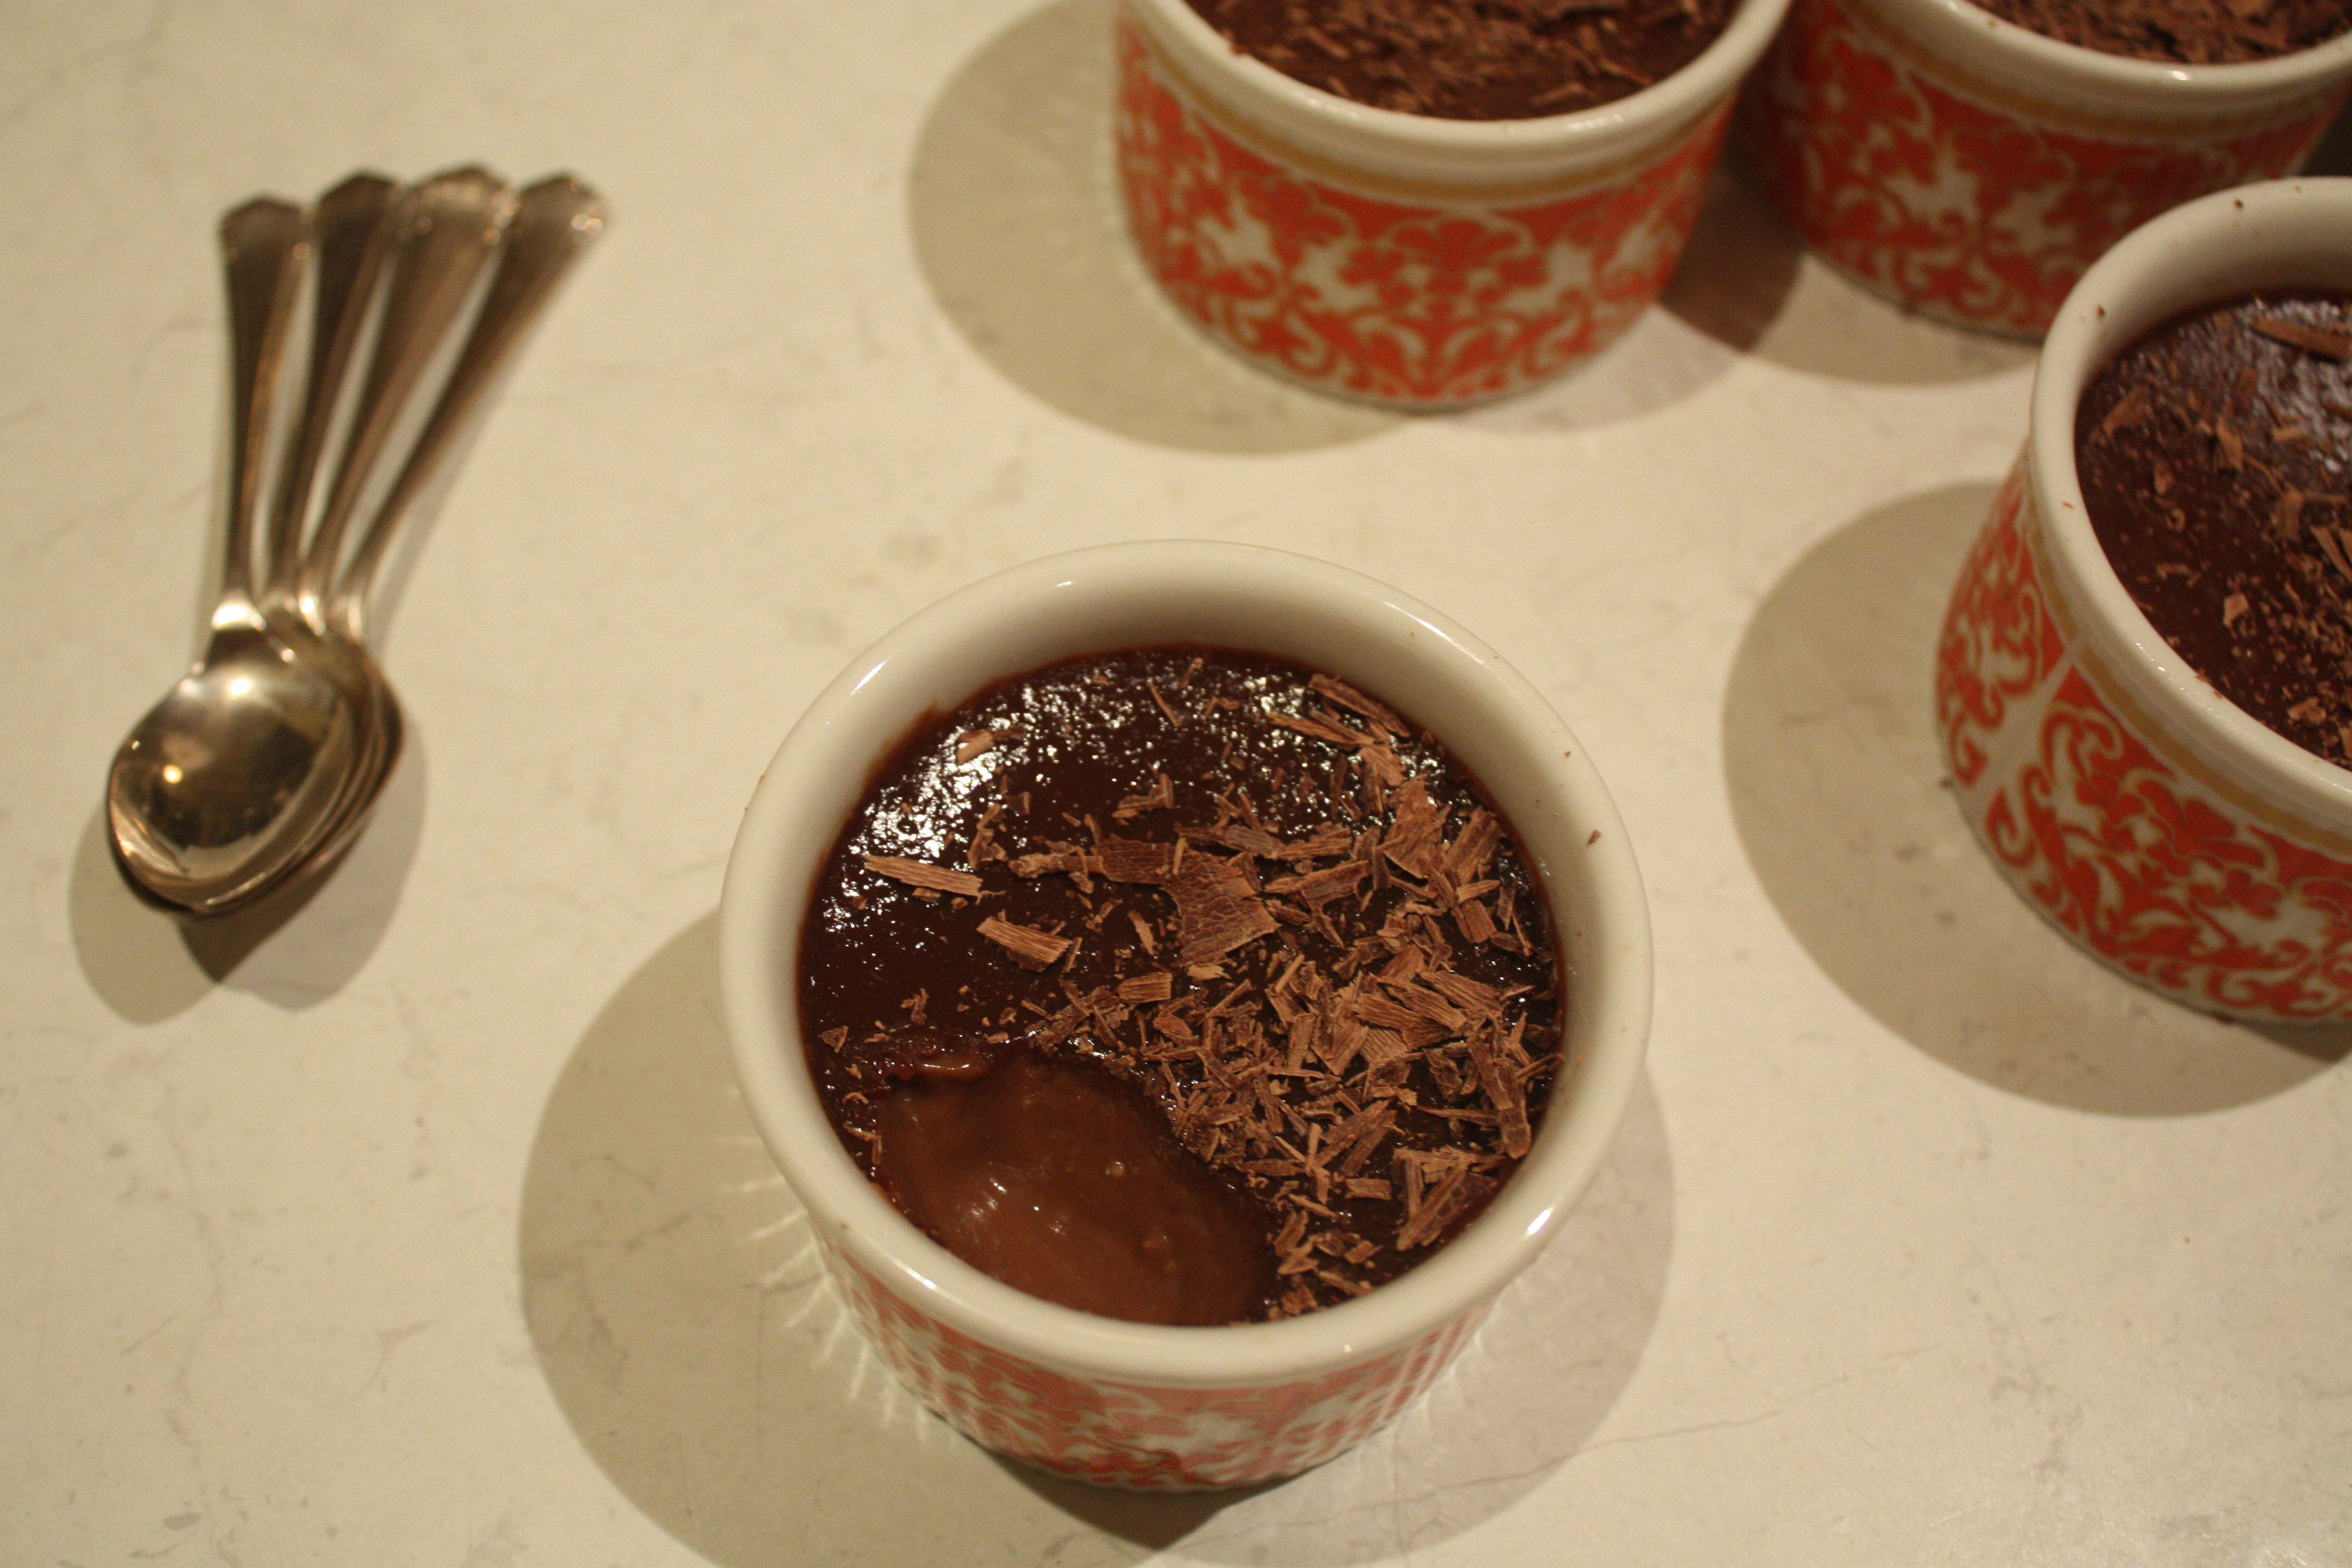
Chilly weather is making me fat. I’m staying indoors, seeking out sugar and becoming too attached to the heater. Luckily, chocolate Nutella Pots de crème are not as indulgent as you would imagine. Below a dark layer of chocolatey thickness is a paler, lighter substance…I feel less bad about eating them because they’re not too rich, they’re just right.

These little devils are less posh than they sound. The French vibe they give off is enough to wow dinner guests, but they’re super simple…not to mention delectable! They’re basically a chocolate custard pudding thing – do labels matter? If people ask, just say they’re made entirely of delicious ingredients, they don’t need a name.

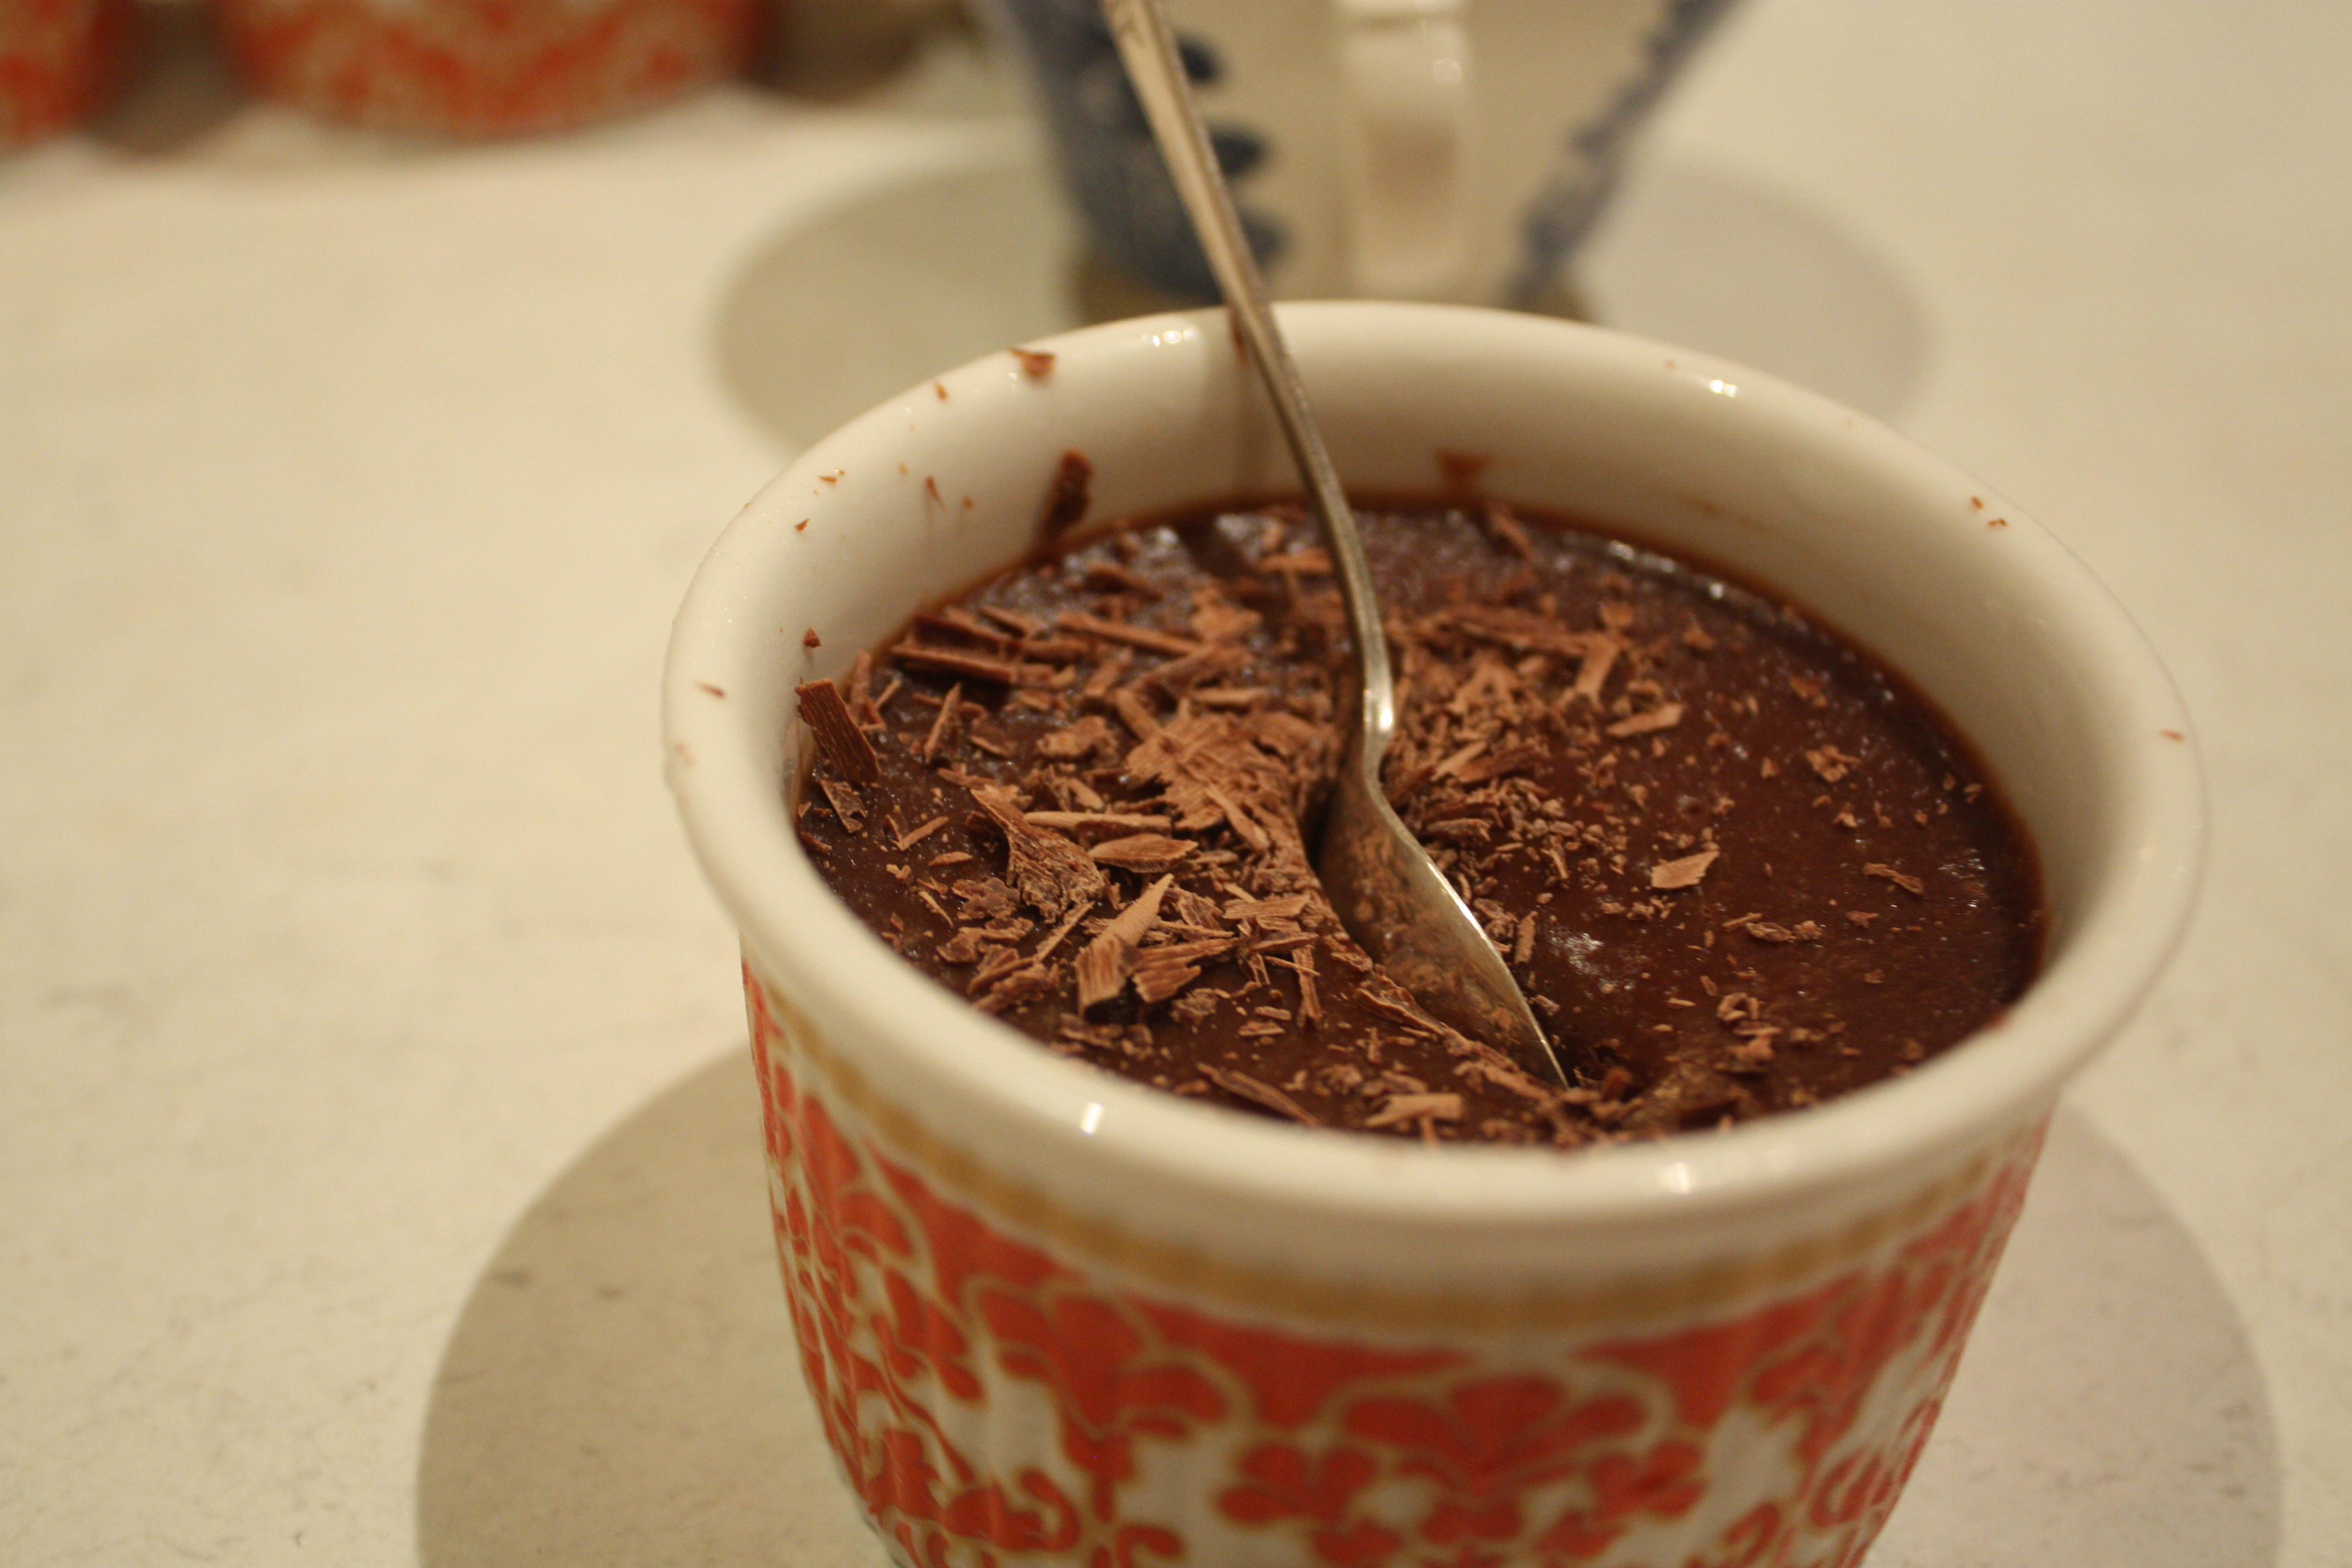
You can throw them together in 15 minutes and leave them in the oven to do their work. Pop them in the fridge while you eat mains, and they’re ready to be devoured! They’re adaptable enough to be served alongside a three course dinner, but  will fit neatly along side a casual Sunday lunch menu. Serve them with berries to dress them up, or chuck a spoon straight into them to give them a laid back scruffy feel.

Do what you please, just make sure you lick the bowl.

Chocolate Nutella pots de Crème (aka deliciousness in a ramekin)
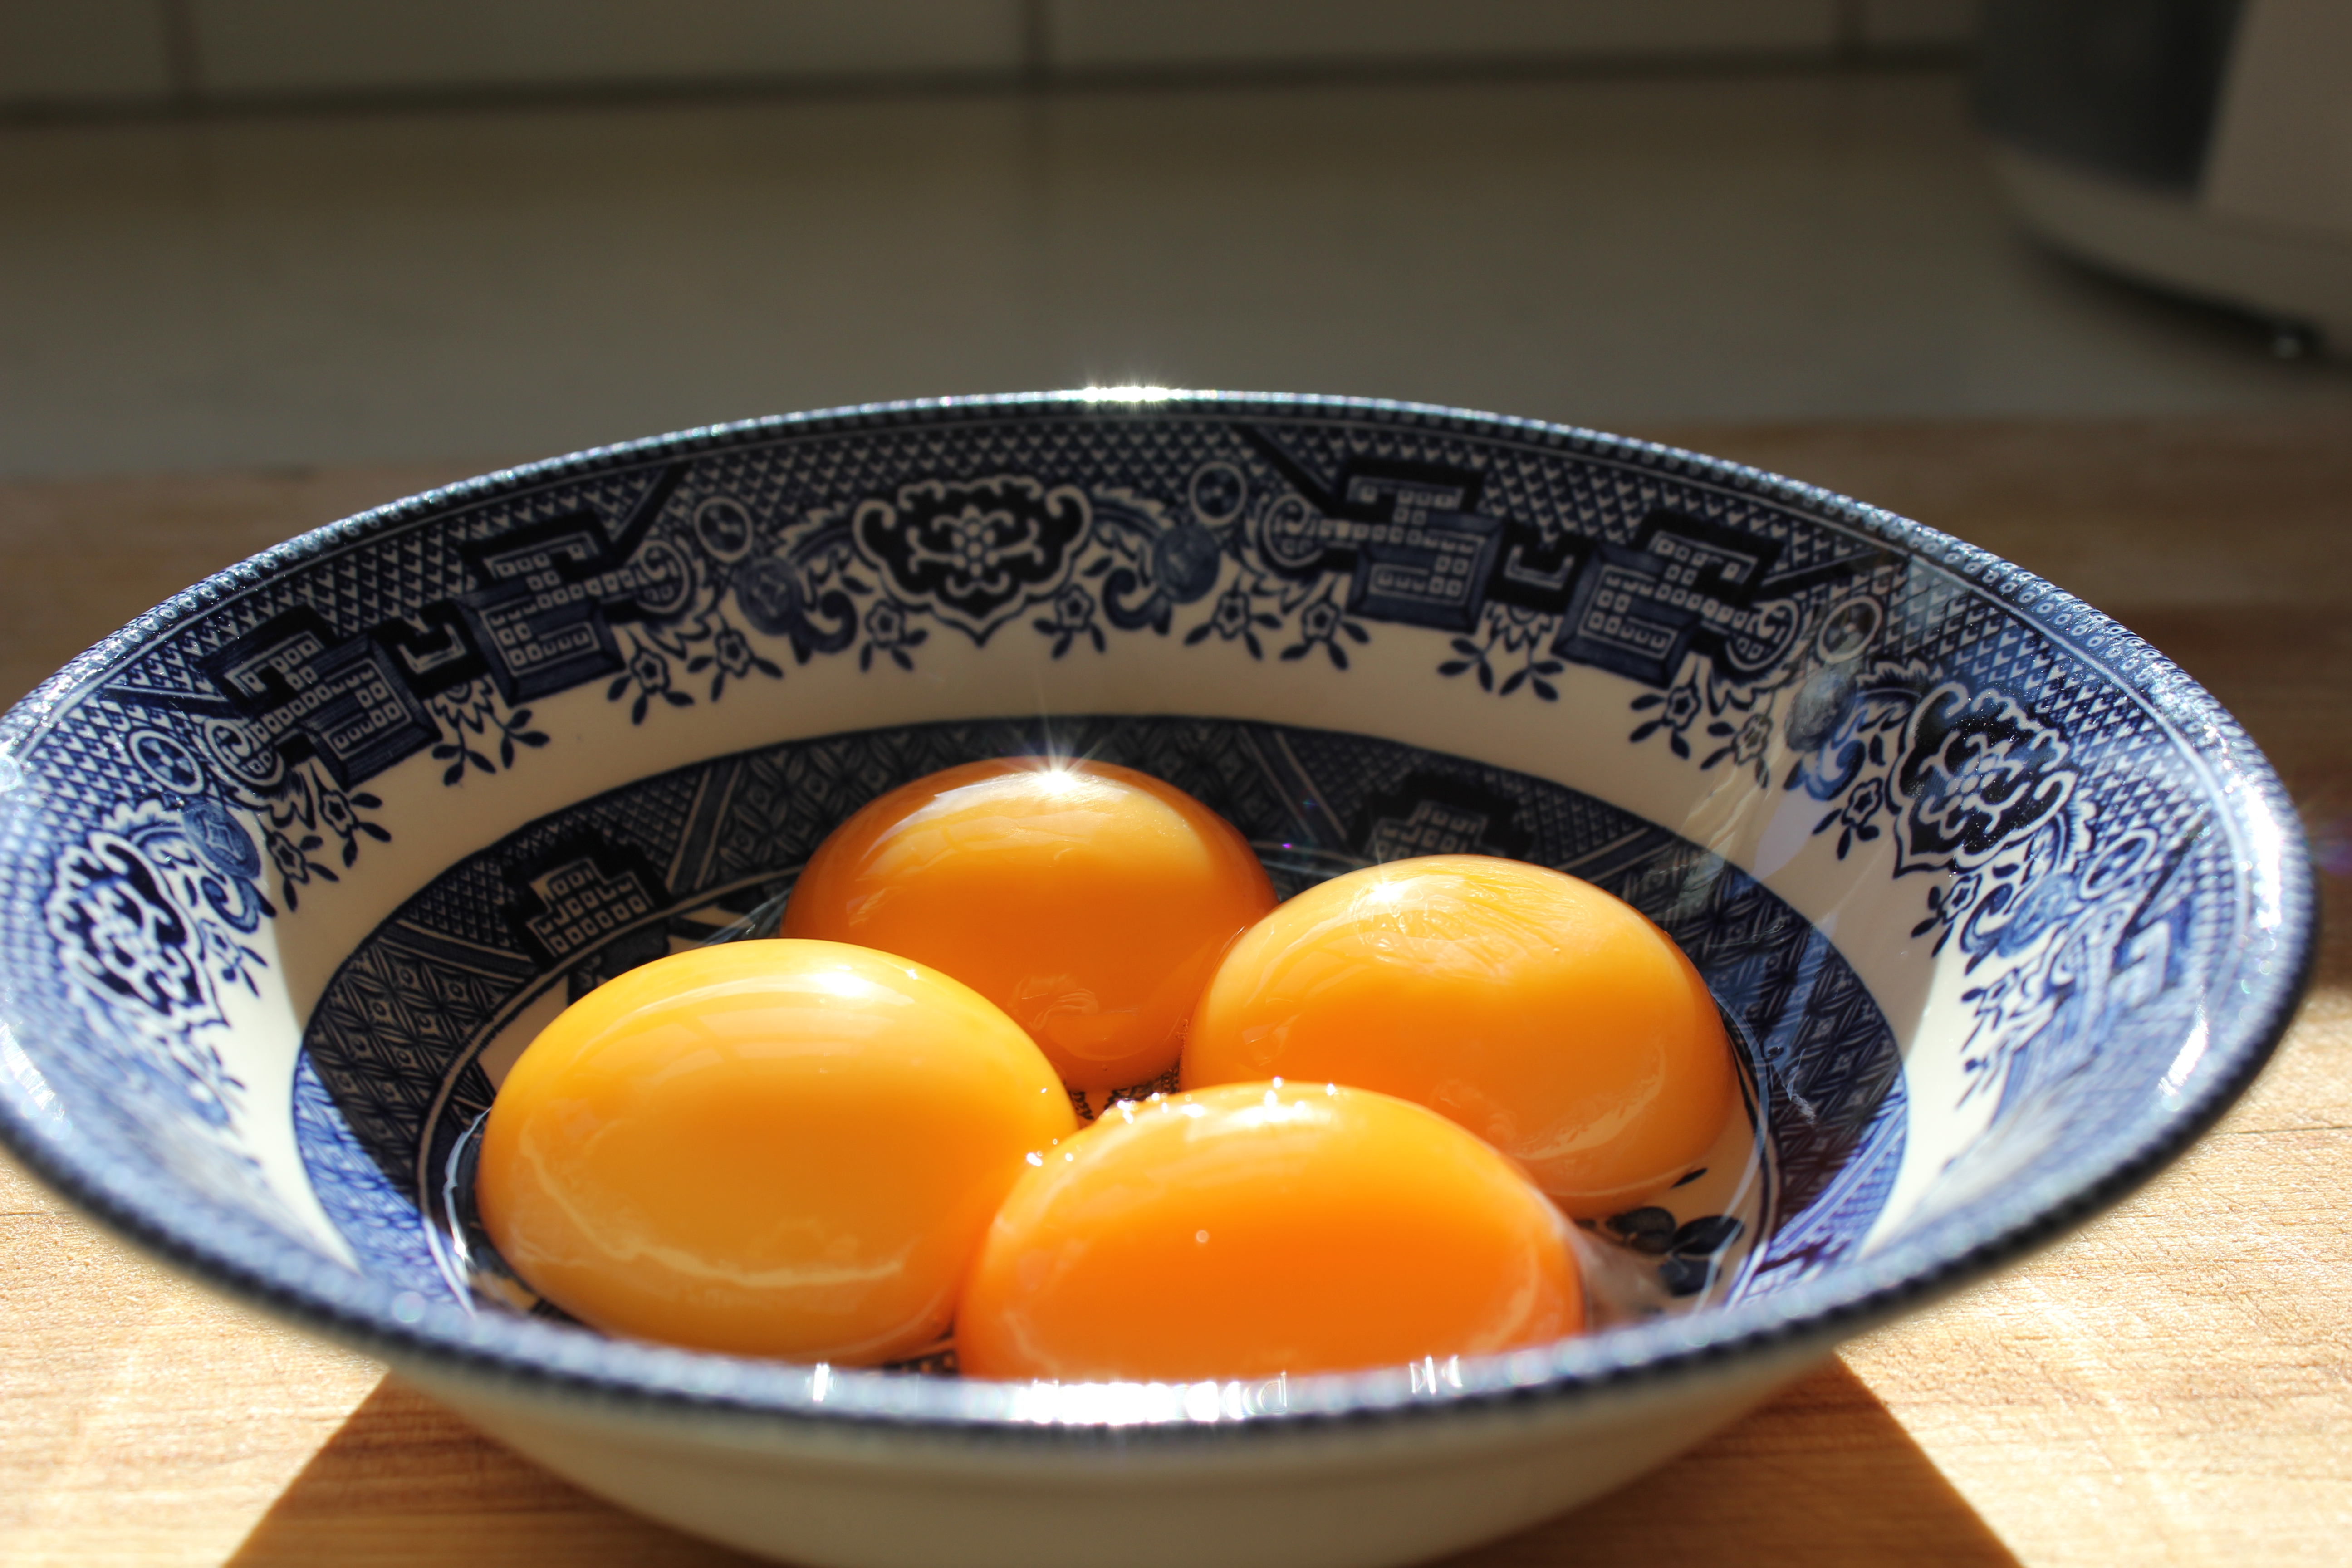
nom

  • 4 egg yolks
  • ¼ cup sugar
  • 1 tsp vanilla
  • 1 ½ cups cream
  • ½ cup milk
  • 2/3 cup nutella
  • 50g chocolate

Preheat your oven to 170°C. Resist the urge to eat the Nutella. Find six ramekins or oven-safe tea cups (I’ve gone for a mix of both because two of my Nanna’s darling ramekins have broken over time.)nutella

Mix together your egg yolks, sugar and vanilla in a bowl. Set them to one side.

In a saucepan over low heat, melt the chocolate down and add the Nutella. Once you add the Nutella in it should be thicker and glossier. Once again, resist the urge to eat the Nutella from the jar.  Mix the chocolate and Nutella until no lumps remain. Add your cream and milk in and turn up to medium so that it combines. Keep stirring.

Boil your kettle now, you’ll need hot water to surround the filled ramekins later.

mixThe mixture will be speckled, so you need to keep on stirring for about ten minutes. You don’t want speckled pots de crème! Once the mixture is an even colour (with no more speckles) slowly add the egg mixture in. Make sure the chocolate mixture isn’t too hot, you don’t want to cook the sugary egg!

Once all the egg mixture is incorporated, whisk the mixture over heat for five minutes, allowing it to bubble and thicken slightly.

Divide the mixture among the ramekins. If you’re a messy pourer like me, wipe the edges so there are no sloppy bits. Place the ramekins in a baking tray and carefully pour the hot (not boiling) water into the tray, about half way up the ramekins.drop

with water
groupPop them in the oven for 50 minutes to 1 hour. If you can gently press the top of the chocolate without it wobbling too much, they’re done. Put them back in the oven if you’re not 100% sure, the water means that it’s really hard to burn them. This style of cooking also ensures that your mixture is super silky and smooth. When they’re out of the oven, allow them to cool and place them in the fridge until they’re ready to serve.

shavingsUse a vegetable peeler to cover your pots de crème with shavings of chocolate – enjoy!spoon in

Gatsby style honey tea cakes

Part deux of my Gatsby-inspired decadence was kind of given away in my last post. If you saw the tea party pictures, you probably spotted the little tea cakes. I’d made these once before and figured they were perfect for the Gatsby theme. They’re simple and sweet but the look luscious! I prefer them iced (because of the shine it gives to them!), but they’re just as delicious with a smidgen of sifted icing sugar on them.

If you do choose to ice them, they end up looking like gorgeous little ice-cream cones. If you’re a fence sitter like me ice one half and icing sugar the other!

Honey Tea Cake:tea 2

  • 2 cups all-purpose flour
  • 1 ½  teaspoon bicarb
  • 3 eggs
  • ¾ cup heavy cream
  • 1 tsp vanilla extract
  • 3/4 cup sugar
  • 180g butter
  • 4 tbsp honey
  • 2 tsp water

Preheat oven to 180°C and grease muffin tins. I used silicon molds and cardboard cases, so I didn’t need to grease mine (which is a little bit great!)

Sift the flour and bicarb soda together in a big bowl and then add the sugar. In a second, smaller bowl, mix together the eggs, cream and vanilla.

mix

Soften your butter and add it to the dry mixture, mixing vigorously until no lumps remain. This may tak

cases

e a little while, be vigilant. (Honestly, there were still a few lumps left in my mixture when I put them in the oven, and they seemed to disappear – this is a very well-behaved mixture.)

Add the egg mixture into the big bowl and mix until just combined.
honey

Put your honey and water into a microwave-safe container and blitz it for about 30 seconds to soften the honey. Take it out of the microwave and mix it so it becomes syrupy. Add syrup to your batter.

Divide the batter between your muffin tins (or in my case silicon molds AND cardboard cases), you should fill them up about ¾ of the way to the top. Pop them in the oven and sit around for 18-20 minutes while they cook.

The mixture is lovely in that the cake tops rise into beautiful balloon-like forms. Once you’ve removed them from the oven you have two options –

  1. Let them cool while you start on the icing
  2. Sprinkle them with icing sugar and eat them right then and there.

icedicing sugar

For the icing sugar, mix one cup of icing sugar with 4-5 tablespoons of milk. The mixture should be quite thick, but still smooth. When you mix the icing it should slowly smooth itself back down evenly into the bowl. Divide the batter into three and add a different drop of colouring to each mixture. Ice as you please (be generous though!)

You should get 24 tea cakes from this mixure.

teacakestea cake

Gatsby-inspired sponge

I saw Gatsby last weekend. And I was inspired.

Brace yourself for part one of my Gatsby posts.

It was beautiful and opulent and slightly magical. The dresses were all over-the-top and the settings were too fabulous to be real. And I loved them for that.

Nick Carraway is idealistic, Jordan Baker is marvelous and Gatsby is a dreamer. The film is full of people who would make fabulous dinner guests – they’re flawed and impulsive, but imagine the stories they could share! Daisy appears to have no opinion on anything, but at least she added to the beautiful scenery. As long as she’d agree to just sit there and bat her eyelashes, I’d let her partake in our dinner soiree.

I’d never read the book (I know, judge me as you see fit), but I think that doing things in excess is a good mantra to live by!

I’m all for simple recipes usually, but for two posts you’re going to have to allow me a bit of opulence. This sponge is easy AND it looks fabulous – what more could you want? It’s my nanna’s recipe, so it’s tried and tested. Unfortunately the sponge didn’t turn out as big as it should have because of my impatience – I like to think that it was slightly to do with the humidity in the air today though.
Cake

Don’t be disheartened by its flatness, when you do the recipe right, this cake IS old-school glamour.

Gatsby-inspired sponge

  • 4 eggs
  • 1 cup flour
  • ¾ cup sugar
  • 1tsp baking powder
  • 3tbsp water
  • 3 tbsp of lemon juice


Preheat oven to 180°C.Table view

Grease cake tin and sprinkle with sifted icing sugar.Eggs

Separate egg whites and put the yolks to one side. Beat the egg whites in an electric mixer until they’re stiff. Don’t get impatient like I did, this leads to flat sponges! It should take about 8 minutes at a high speed on your mixer. Persevere!

Add the yolks to the stiff whites mixture and continue beating until the mixture thickens.

Add your sugar and allow it to just combine then sift in the flour and baking powder. Squeeze in the lemon juice and mix it in gently – try to let as little air out of the mixture as possible.

Cream shadows

Pour the mixture into your prepared tin and bake for 45 minutes or until a skewer inserted into the centre comes out clean. What I would normally do with a sponge is cut it in half and then fill the middle with copious amounts of jam and cream. Being unable to cut my pancake of a sponge in half, I whipped up the cream, added 1/2 a cup of icing sugar to it and then folded some watered down jam into it to make icing.


So put your flapper dresses on, buy some fake diamonds and drink everything out of a champagne flute – Gatsby makes his own reality more fantastic through his imaginings, and so should we!

Host an afternoon tea and add a little sparkle to it.

partyIMG_3986