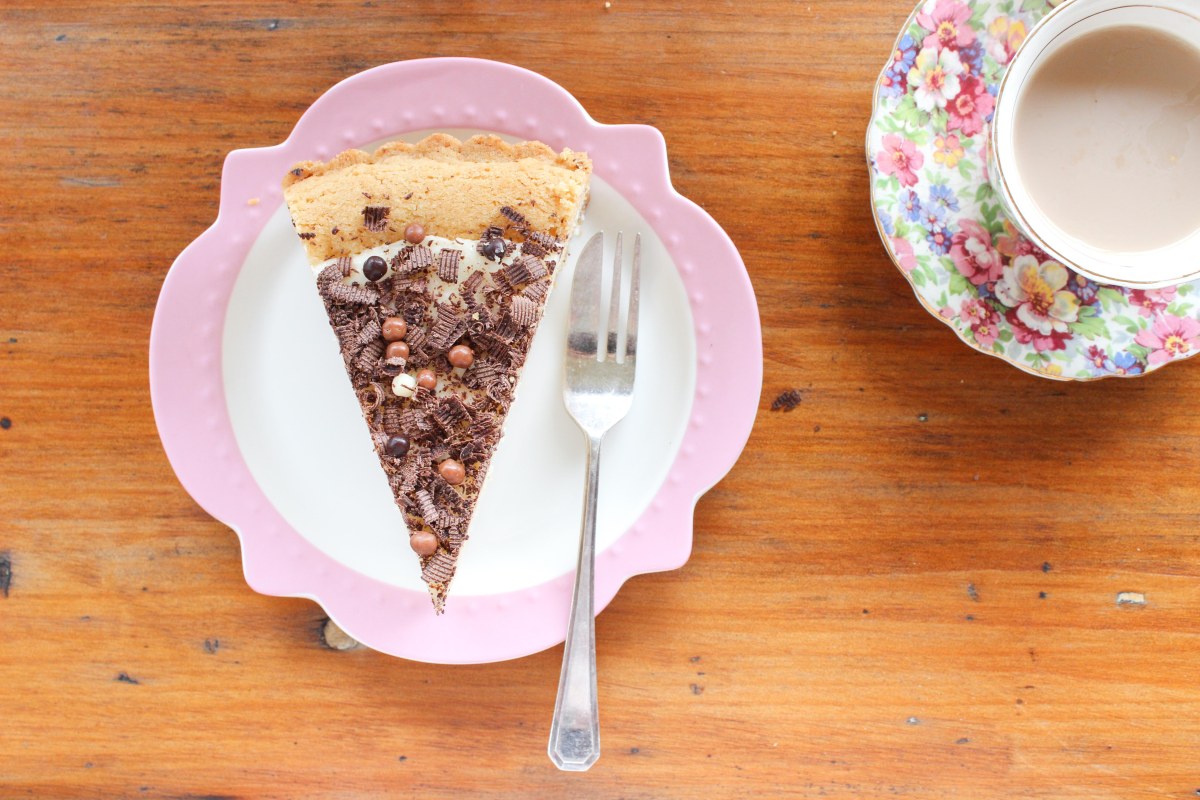
Strawberries are one of my favourite fruits. Admittedly, I’m not as obsessed with strawberries as I am with pears, but they’re pretty great.
I have a sweetly scented memory of going strawberry picking with friends of ours in Melbourne. I don’t know where this farm is, but in my head, it is heaven. My younger brother and his little friend picked strawberries freely, while my older brother and I hung back, trying to play it cool – we were teenagers, after all.
The pair of them cavorted through the rows of strawberry bushes, picking strawberries with such fervour that they would have made great farm employees, had they not been several years shy of the legal working age.
It got to the point where I was so tempted by those sweet little ruby gems that I couldn’t restrain myself any longer. Under the guise of “helping” my younger brother, I plucked those green-hatted little fellows straight off the bush and into my greedy mouth.
You weren’t supposed to eat the strawberries as you picked, because it was a pay-by-weight system… oops!
If I were to go to a berry farm now (which is WHOLEHEARTEDLY want to do), I don’t think I could promise that each picked berry would land safely into the basket provided…one or five may slip into my mouth… by accident of course.
Base:
- 190g butter

- 2 ¼ cups plain flour
- ¾ cup sugar
- 1 tsp bicarb
- ½ cup oats
- 1 egg
Filling:
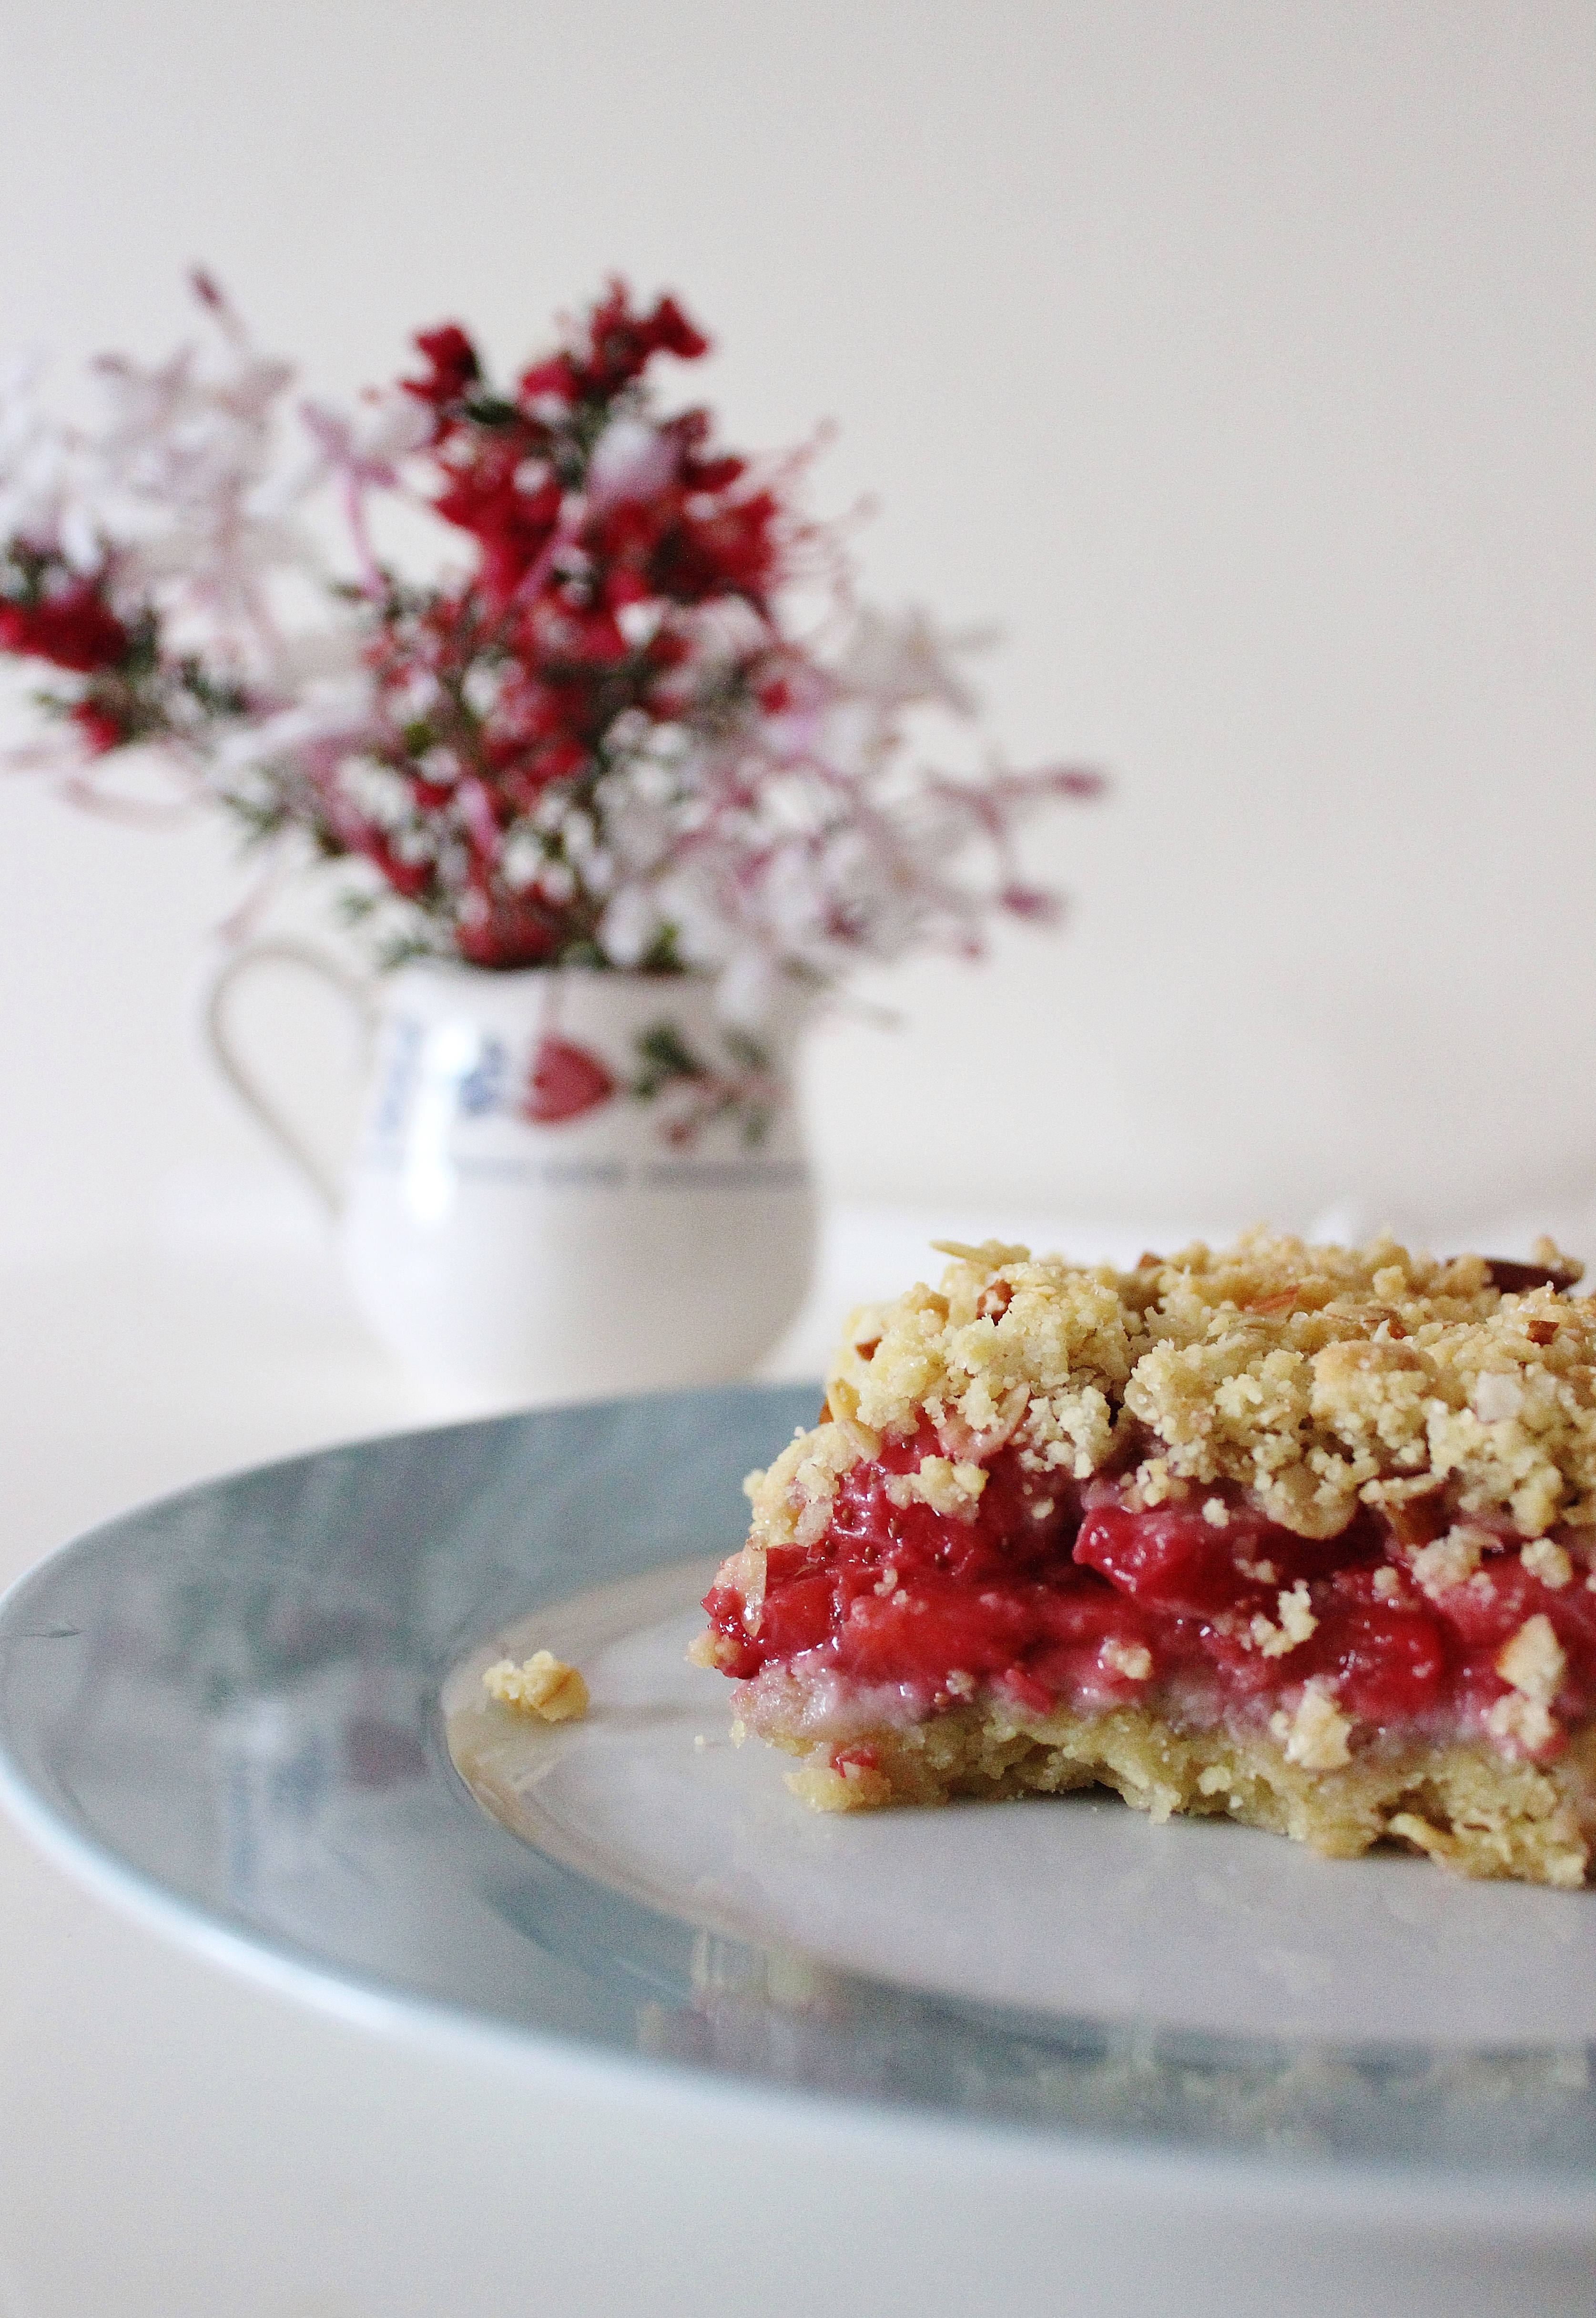
- 600g strawberries
- ¼ cup white sugar
- 1 tsp vanilla
Crumble:
- ½ cup rolled oats
- ¼ cup almonds, roughly chopped
Preheat your oven to 180°C. Grease and line a 20cm square tin. I strongly recommend using a spring form tin, if you have one… otherwise, prepare to have to wrestle this baby out.
 Use the your fingers to rub together your flour, sugar and butter in a large bowl. If you don’t want to use your fingers, a knife would work just fine. When you have a mixture that looks like breadcrumbs, add in the bicarb and mix. Add in the egg and oats and combine, mixing until crumbly again.
 Take 3 ¼ cups of this mixture and press it firmly into your greased and lined tin until smooth and even. Pop into your oven for 15 minutes. Set the remaining mixture to one side, this will be the basis of your crumble for the top.
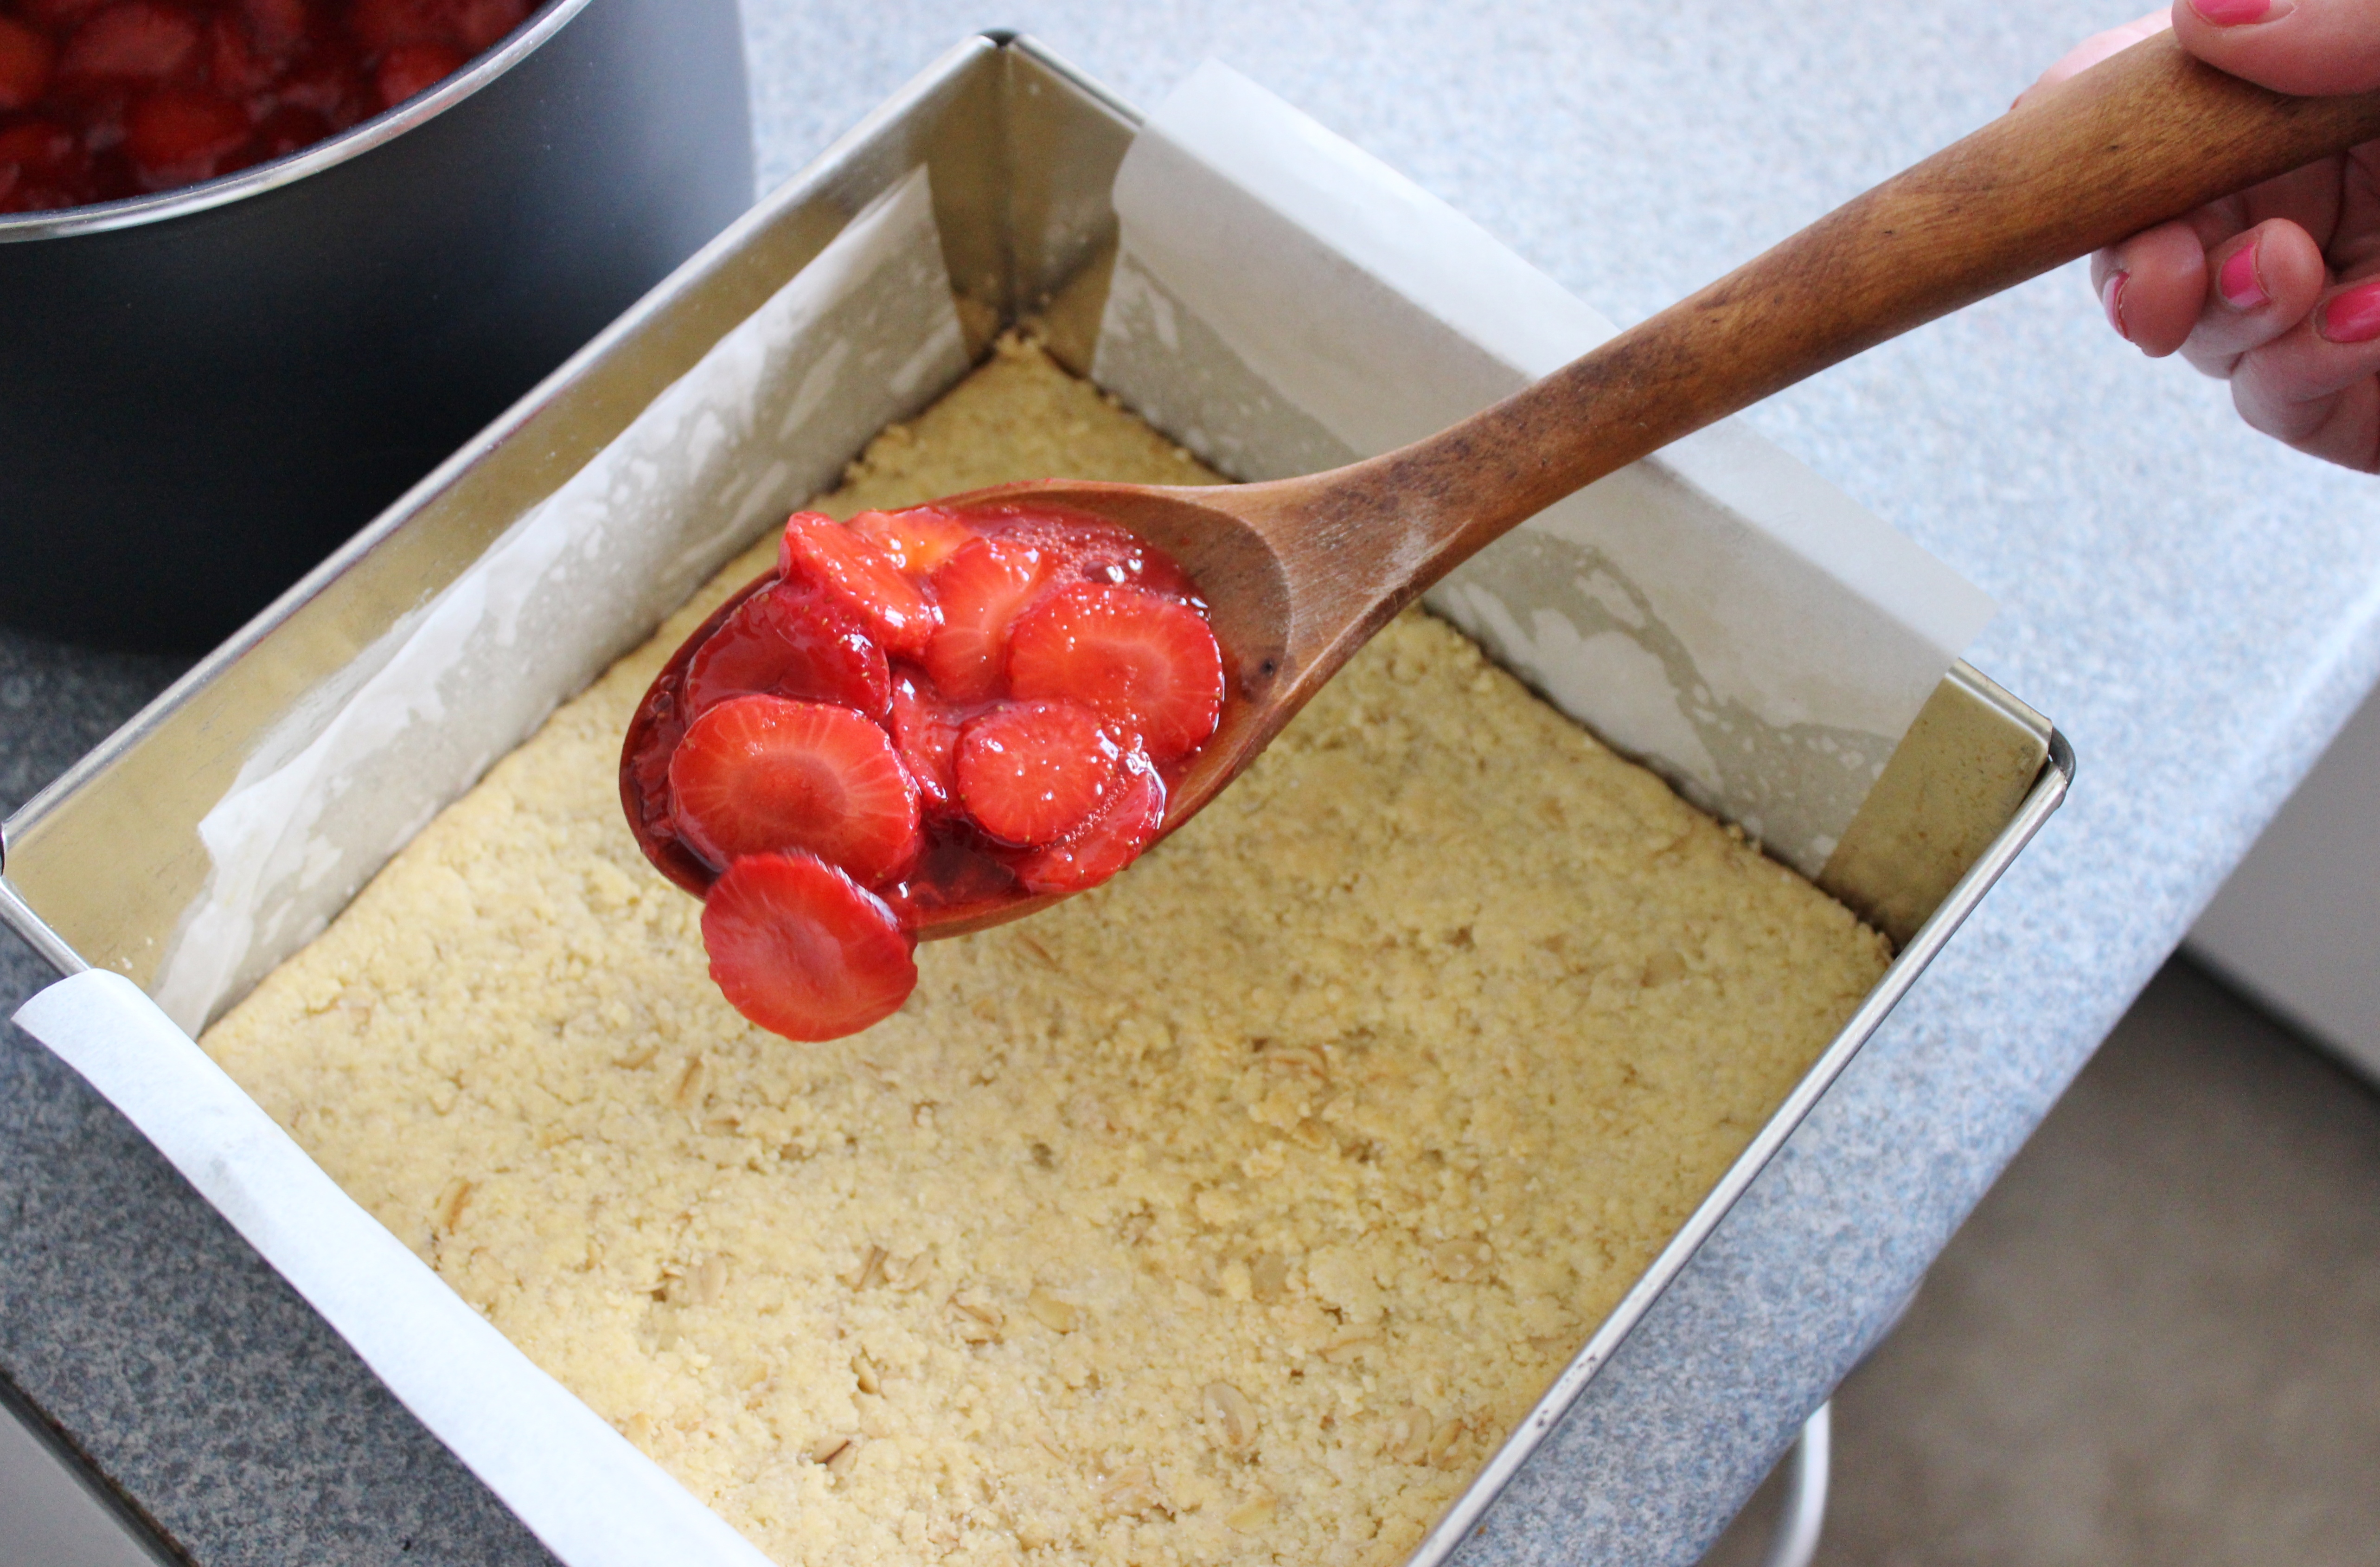
 While the base cooks, twist the tops off your strawberries and slice them into rounds. You may chop the tops off the strawberries if you want, but I find that this leads to so much wastage. A simple twist gets rid of the leaves and usually leaves only a small amount of stalk.
Pop your strawberries into a medium saucepan with the sugar and vanilla over a medium heat. Stir regularly until the sugar has dissolved and you can’t feel any crunchiness in the liquid. Once the sugar has melted, keep on the heat for 4 minutes, stirring constantly.
 This mixture will smell divine – you will legitimately feel like the queen/king of the kitchen as you breathe in this gorgeous strawberry aromas.
Take off the heat and set to one side.
When your base is starting to turn a light golden colour, remove it from the oven and set it to one side to cool.
 While the strawberries and the base are both cooling, grab the mixture you reserved from earlier and add the extra oats and almonds to it. Mix well, allowing it to clump slightly so that it’s super crumbly.
When the base and strawberries are mostly cool (warm is fine), spoon the strawberry mixture evenly over the base, draining off as much liquid as you can. Spoon the crumble over the top of the strawberries and return to the oven for 35-40 minutes, until the top has browned nicely.
 Allow to cool and set for 10 minutes before serving.
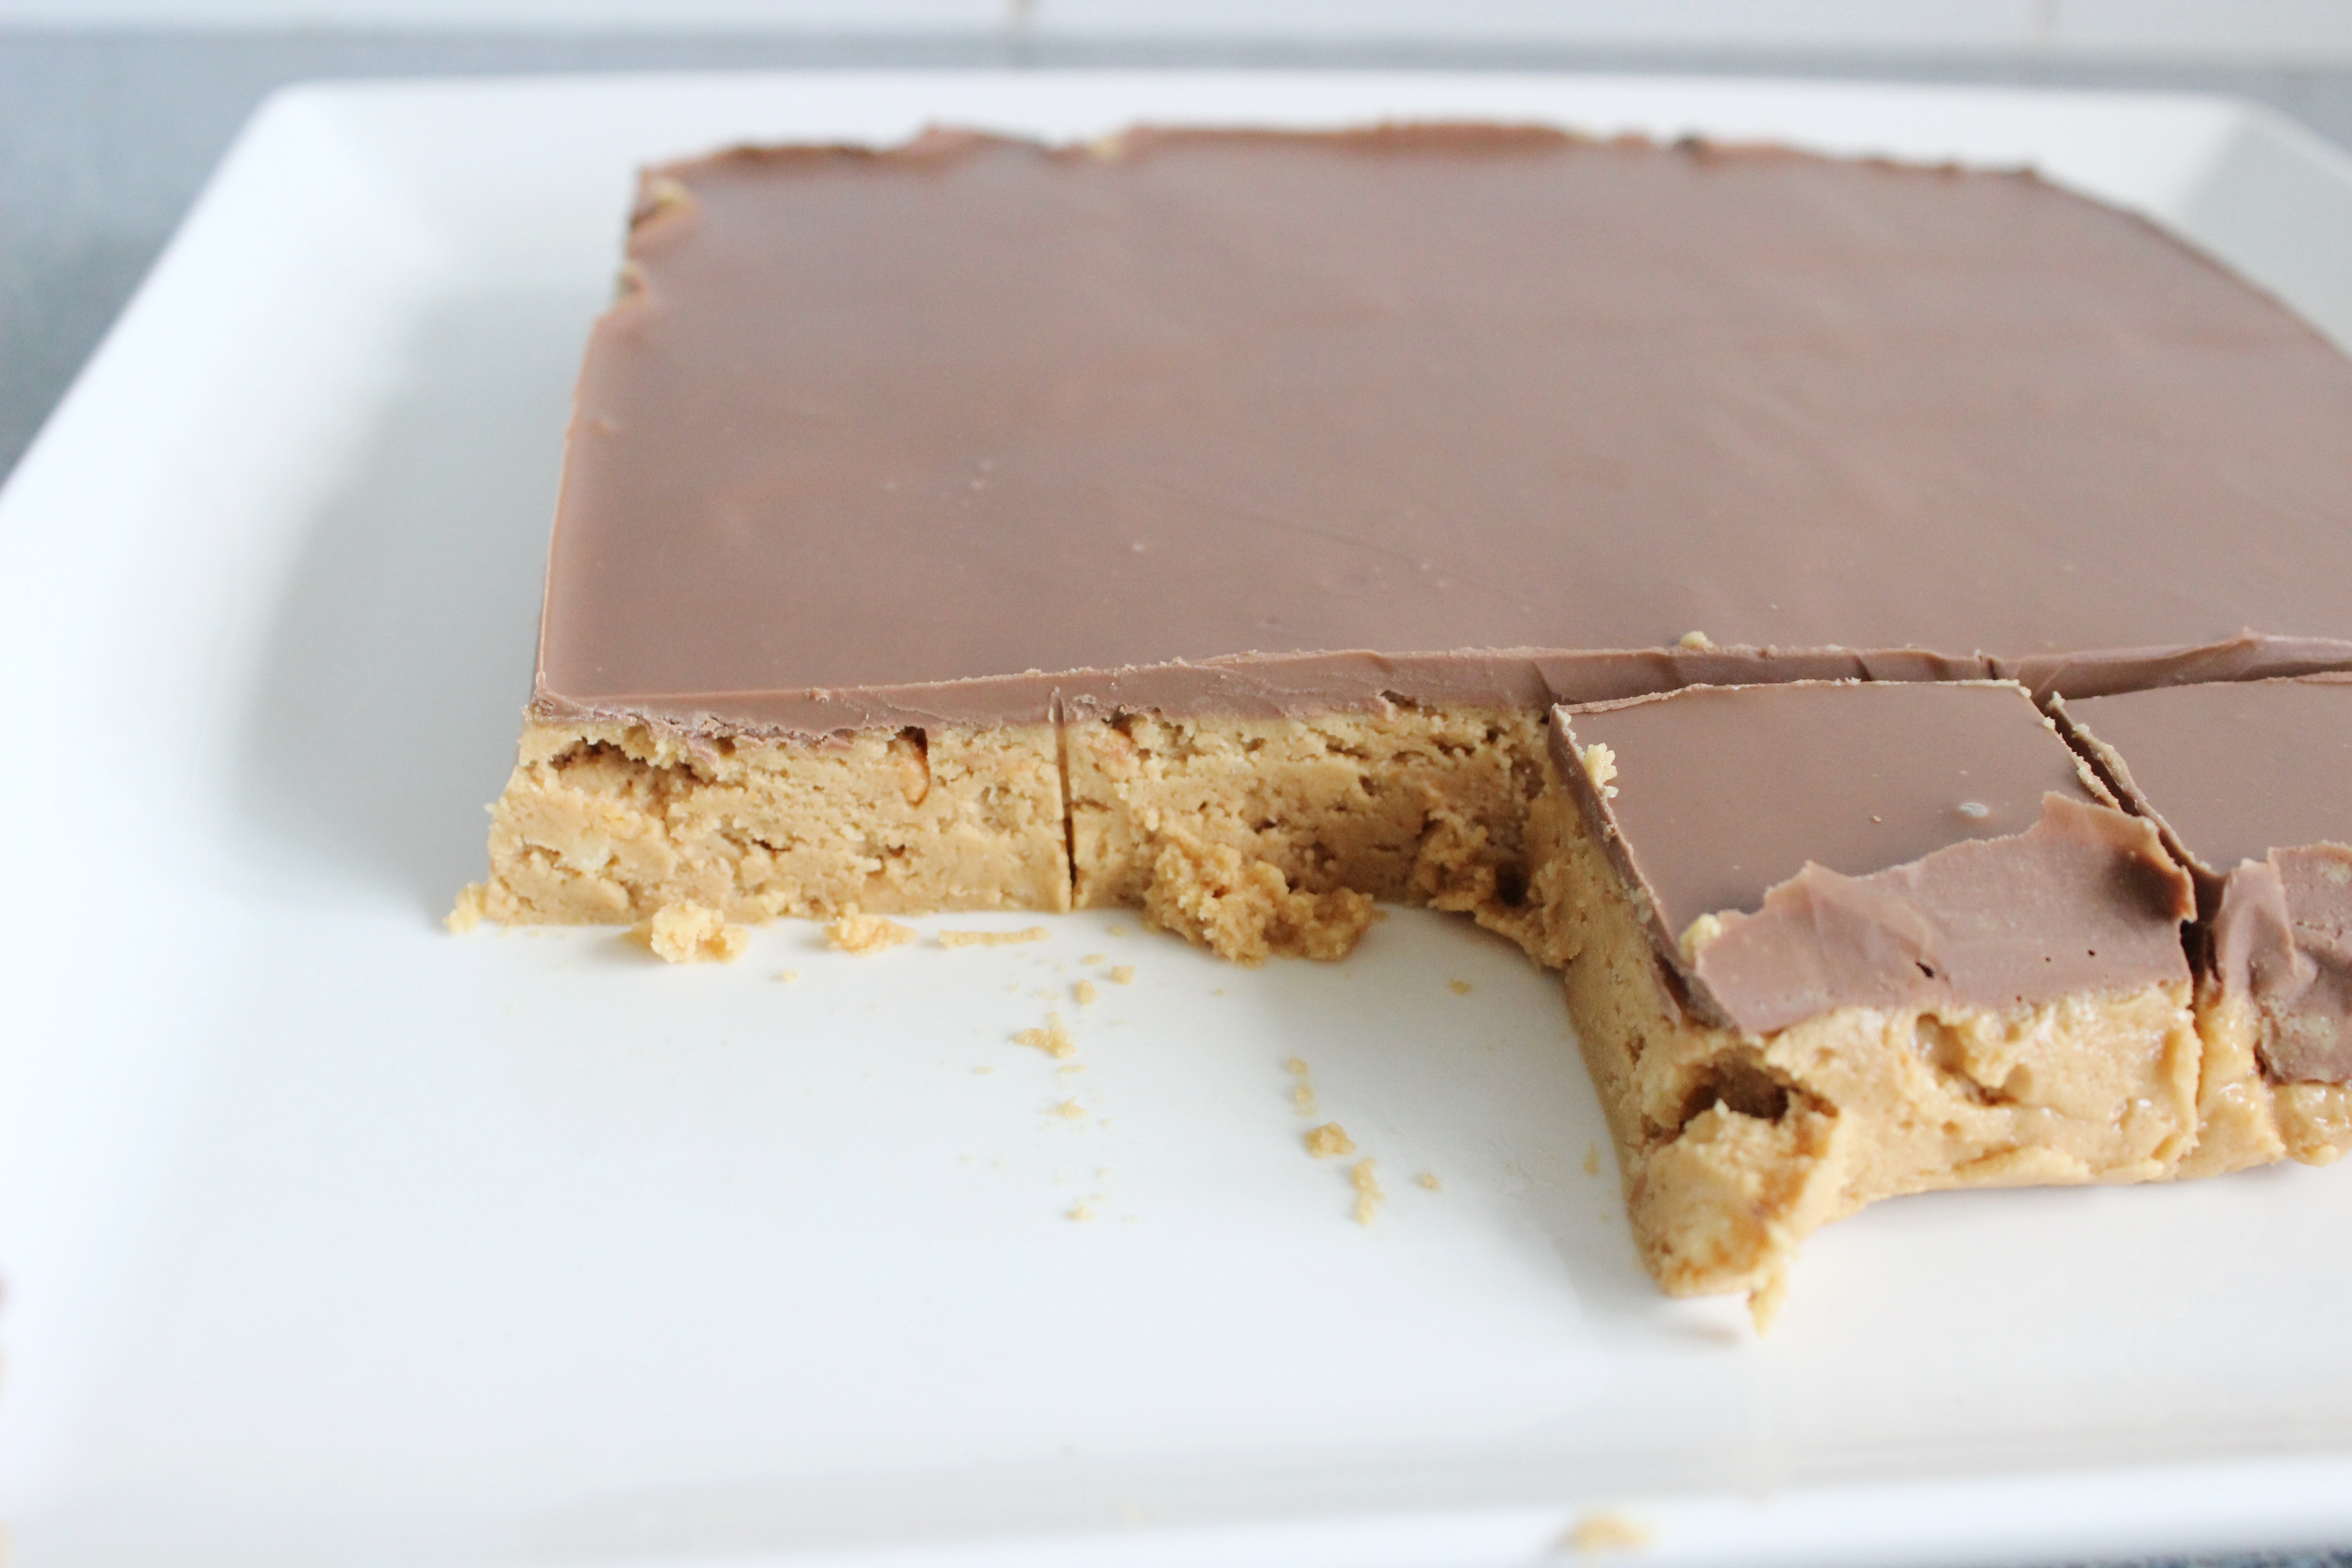
This little dish is really versatile – you can serve it warm as dessert (with delicious vanilla ice cream), or leave it cold and serve as afternoon tea, or a lunch box filler.