Chocolate mud cake and Sweden

November 7 is Kladdkakans Dag!

Or, if you’re not Swedish, Mud Cake Day. I’m not exactly sure why, but those beautiful people have created a day for this delight. After a brief attempt at Googling the day, I believe it has something to do with a memorial day.

Whatever the reason, between my love of Sweden and my love of cake, I couldn’t resist the opportunity to make something delicious! I adapted my recipe very slightly from Kirsten Tibballs’ (she’s an amazing pastry chef and chocolatier, who runs Savour School, and has an absolutely mesmerising Instagram) classic chocolate mud cake recipe.


swedish-mudcake-day-8-of-19

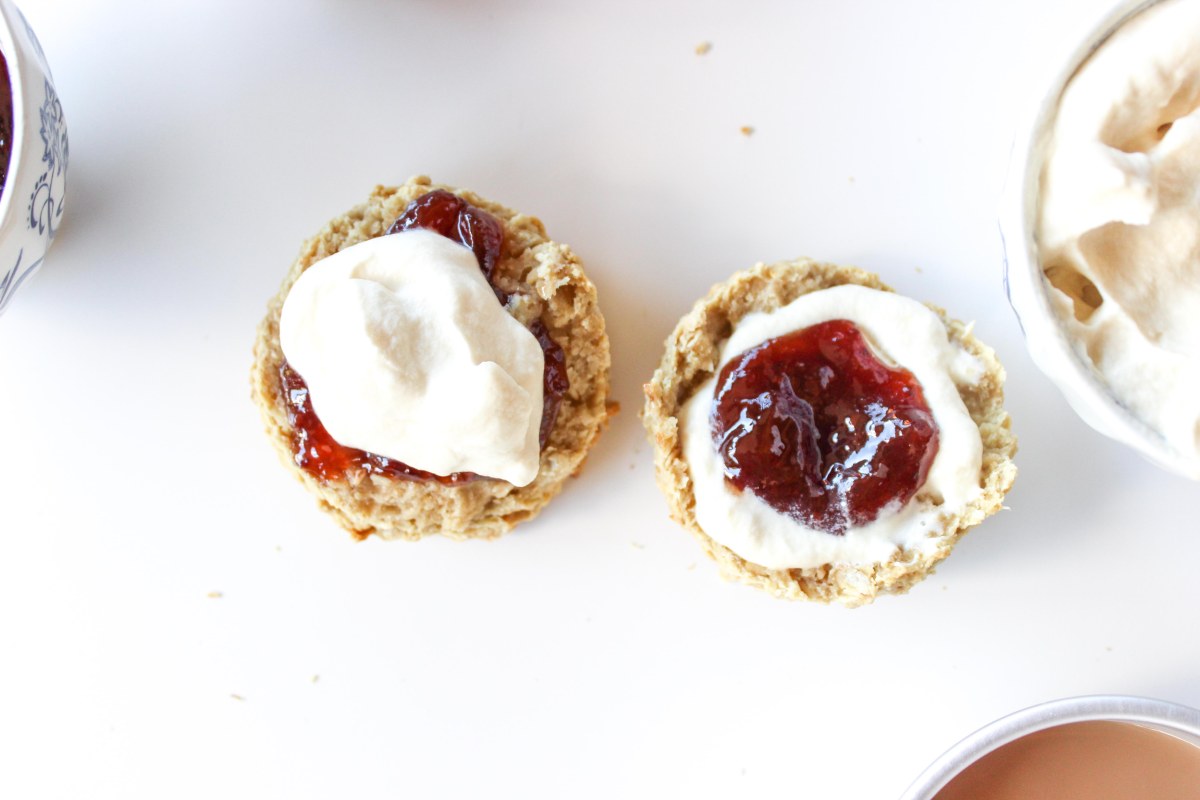
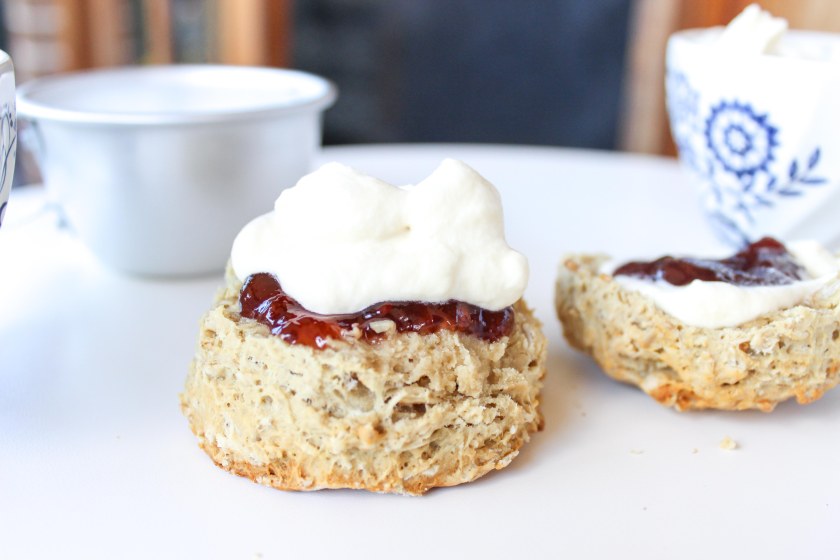
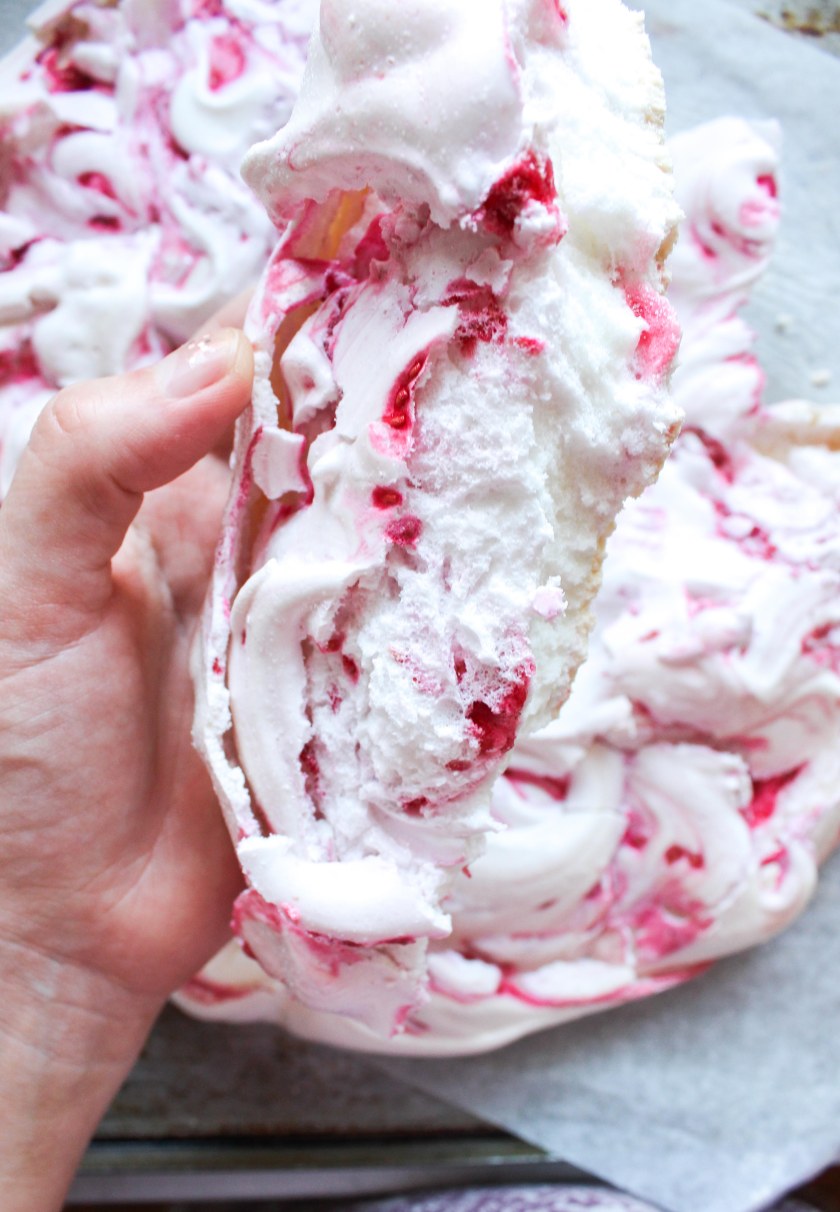
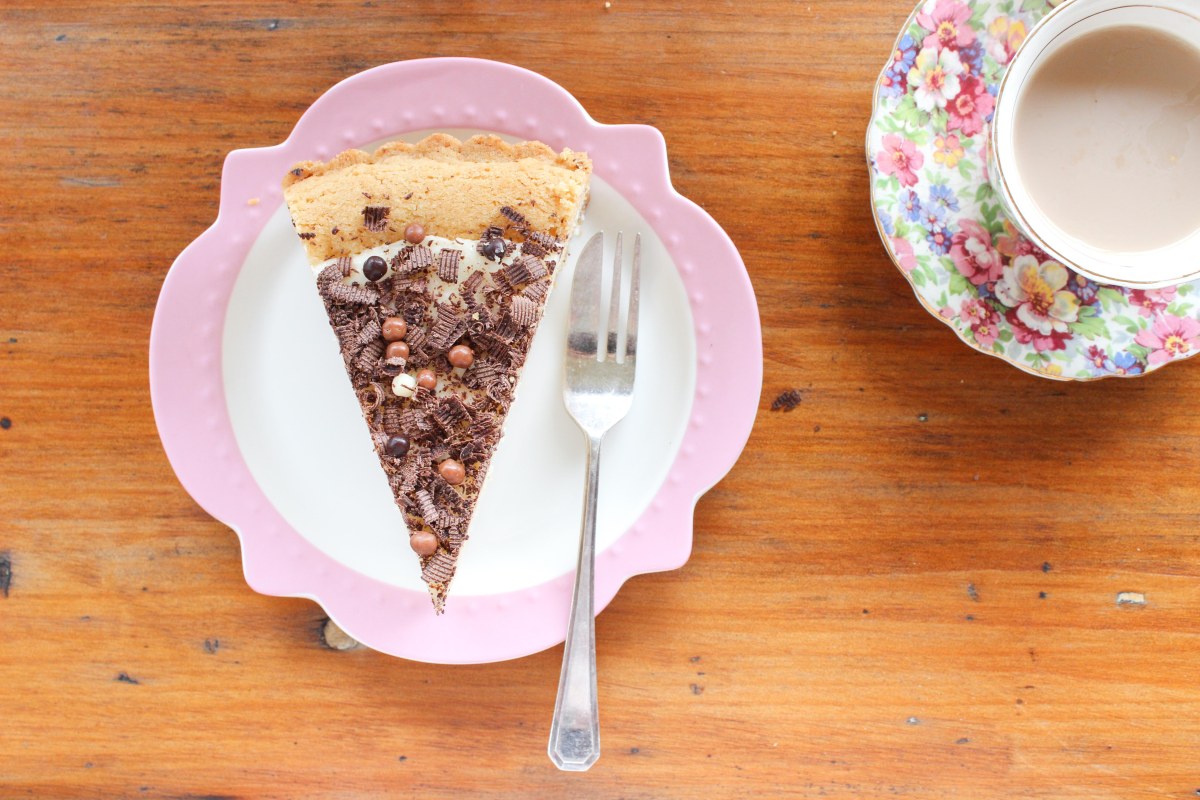
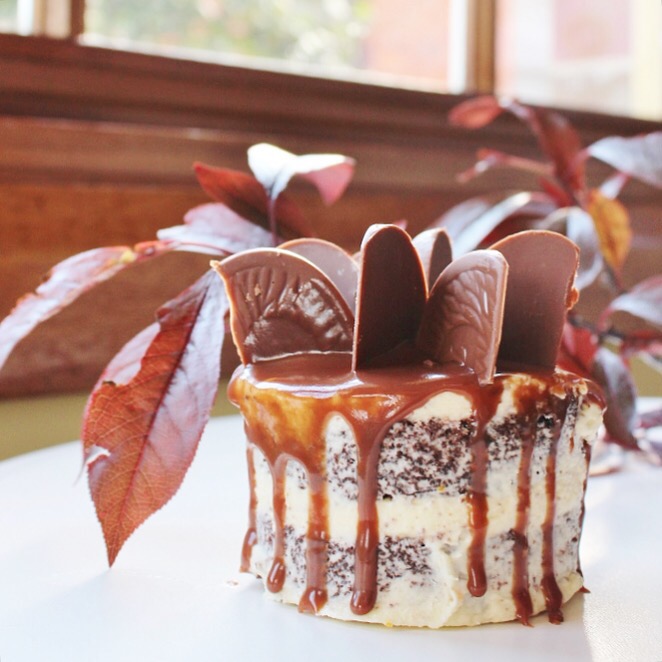
I could not have been more pleased with the results. It’s fudgy and dense, sticky and sweet, completely over the top; what more could you want from a mud cake?!


Chocolate mud cake

  • 200g dark chocolate
  • 310g butter
  • 1 1/3 cups caster sugar
  • 310ml water
  • 1 ¾ cups plain flour
  • 2 ½ tbsp cocoa
  • 1 tsp bicarb
  • 2 eggs


Chocolate ganache (milk, white and dark)

  • 125g white chocolate
  • 90g milk chocolate
  • 90g dark chocolate
  • ¾ cup thickened cream


Grease and line a 20cm round cake tin and preheat your oven to 160°C.

Melt your dark chocolate with the butter, caster sugar and water in a saucepan without bringing to a boil.  Remove from the heat and set to one side.

swedish-mudcake-day-1-of-19

Sift the flour, cocoa and baking powder together, then pour melted chocolate mix over your dry ingredients, mixing until you’ve got a smooth consistency. Add in your eggs and mix until just combined. Pour into your tin (giving the tin a few light taps on the counter to get rid of some of the bubbles) then pop into the oven for 60-70 minutes.

Your cake will still be a bit wobbly when you take it out of the oven, but don’t be tempted to over-bake it – this wobbliness will keep it delectably fudgy. Allow the cake to cool at room temperature*, remove from the cake tin, then pop in the fridge for at least four hours.

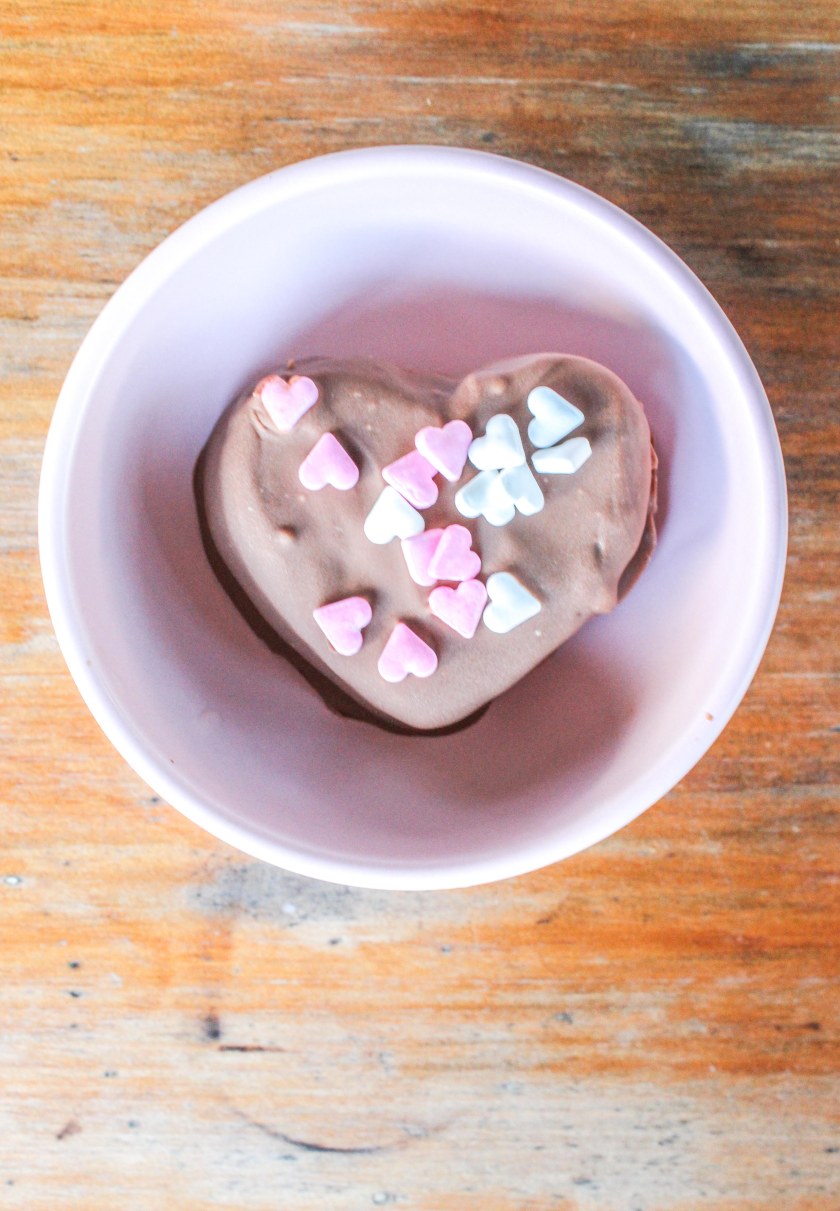
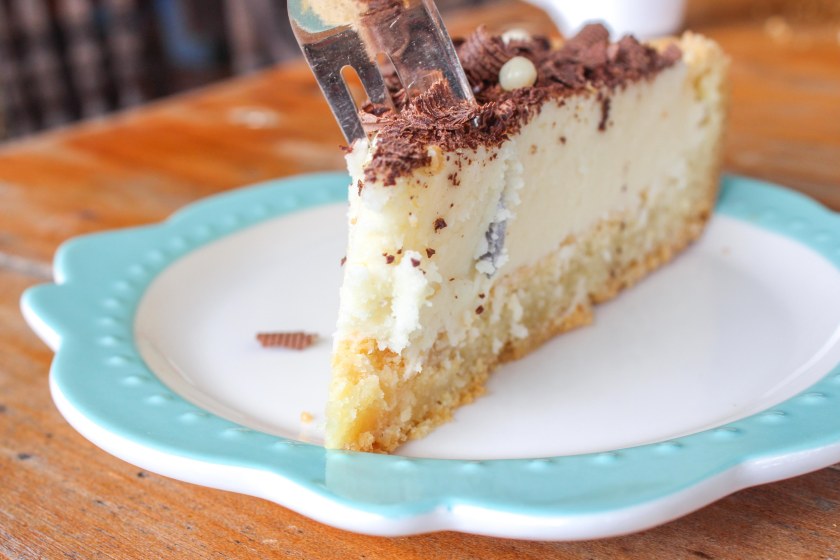
*While your cake is cooling, the centre will sink – never fear! You have two options; one, fill the centre with ganache and make it some ridiculously delicious chocolate well, or two, level off the edges (like I have done in these photos) and have a flat-topped cake.

Remove the cake from the fridge just before you start on the ganache – the coolness of the cake will help your ganache set.

Put each type of chocolate into a separate container (Pyrex jugs are great to help you with pouring later) and set to one side. Put your cream in a heavy-bottomed saucepan on a medium heat and bring to a boil – stir it lightly so that it doesn’t catch on the bottom. Leave on the heat until it froths up impressively, then remove from the heat. Pour ¼ cup of the cream onto each of the containers of chocolate, whisking them until the chocolate has melted. Set to one side for ten minutes.

If you’re planning on putting the ganache on the cake at a later time, cover with cling wrap touching the surface so that it doesn’t develop a skin.

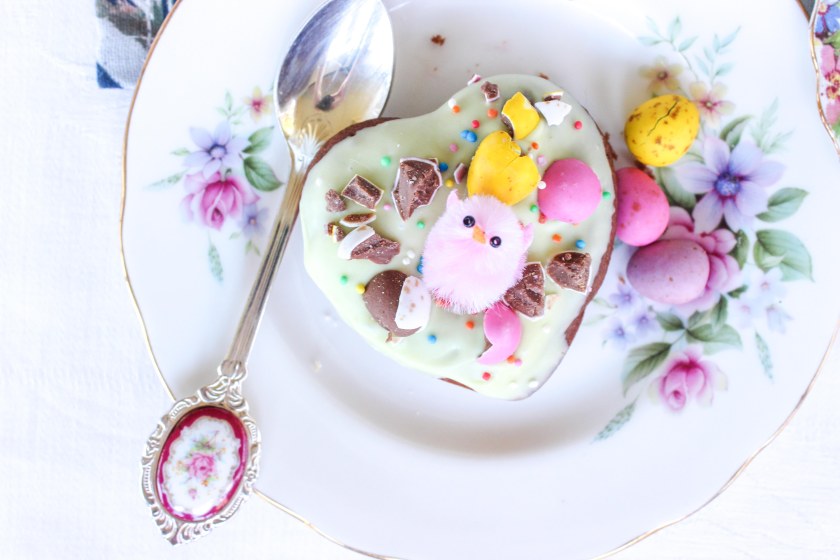
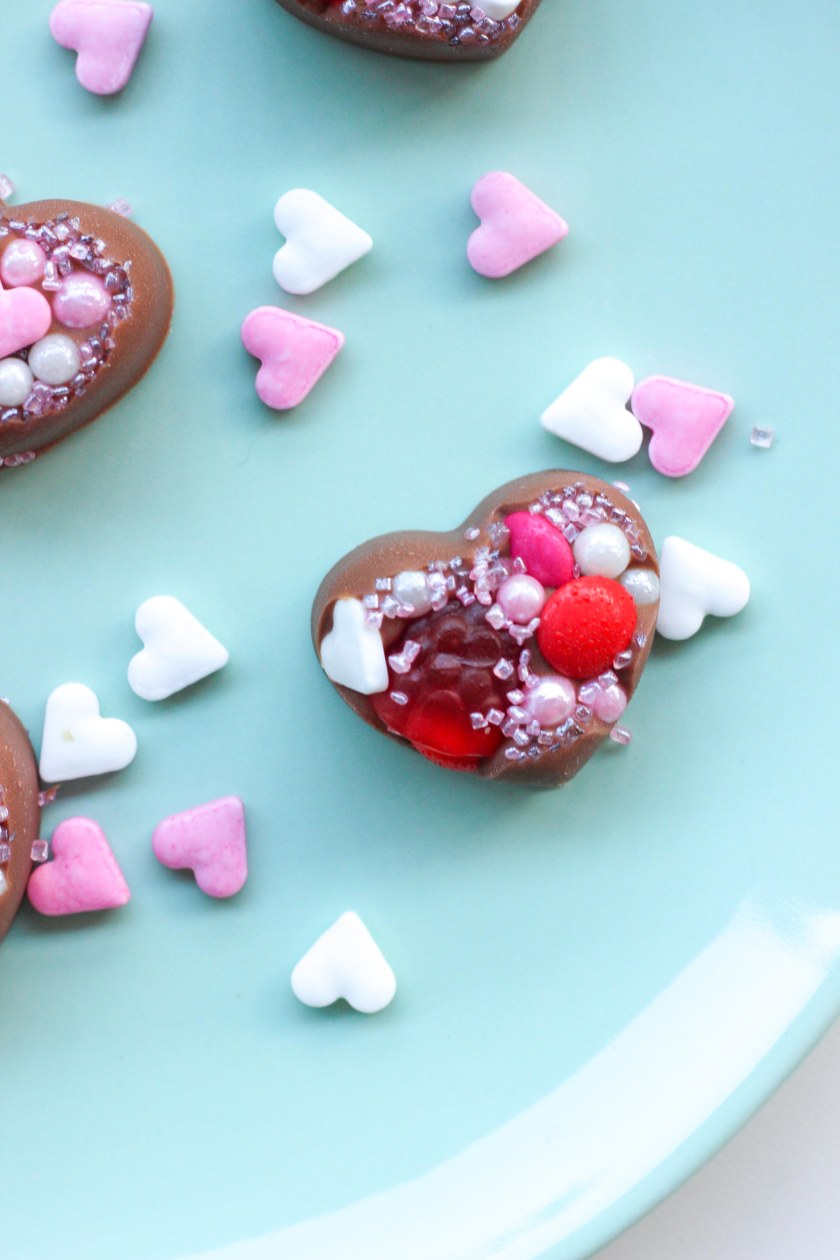
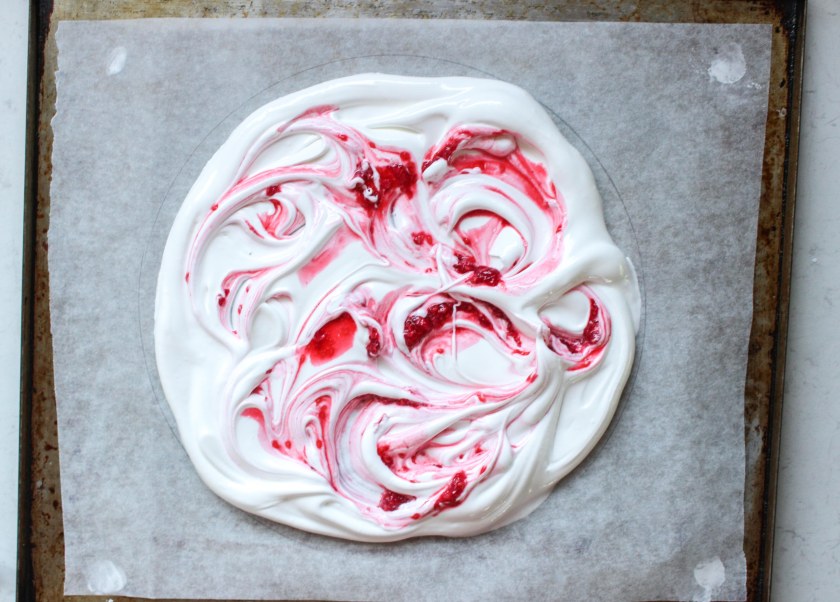
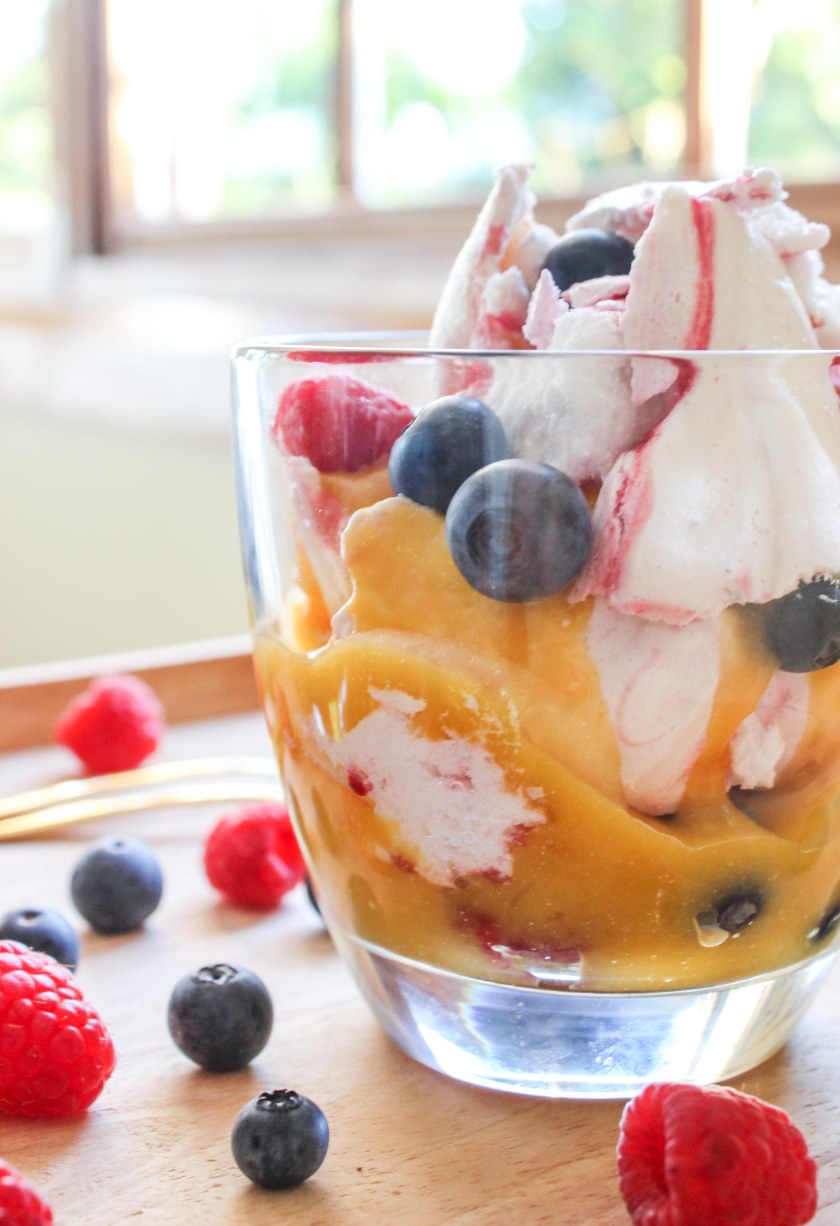
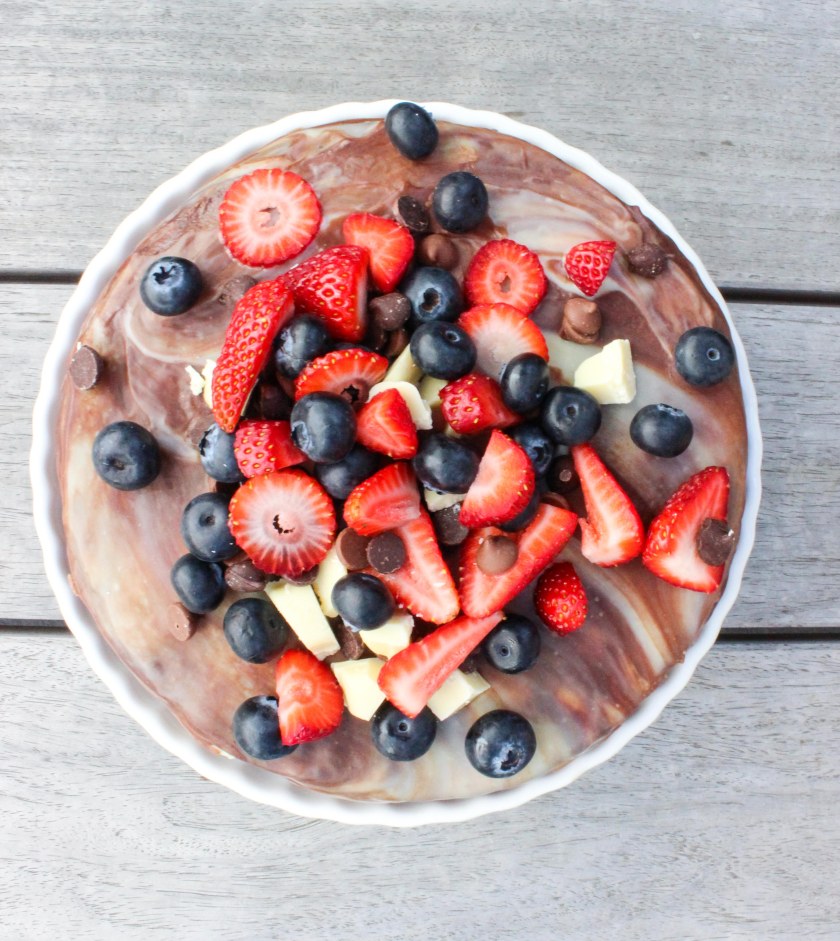
Grab an offset spatula (or a spoon will do). Set your cake on a cooling rack and set that cake rack on a tray lined with baking paper – this might get a little messy! Spoon your chocolate ganaches onto your cake in random blobs, covering the top of the cake, then use your spatula to marble them. Smooth the ganache over the edges so so that you’ve got good coverage. Top with fruit and chocolate as desired, then pop into the fridge for at least 20 minutes before serving.

swedish-mudcake-day-13-of-19

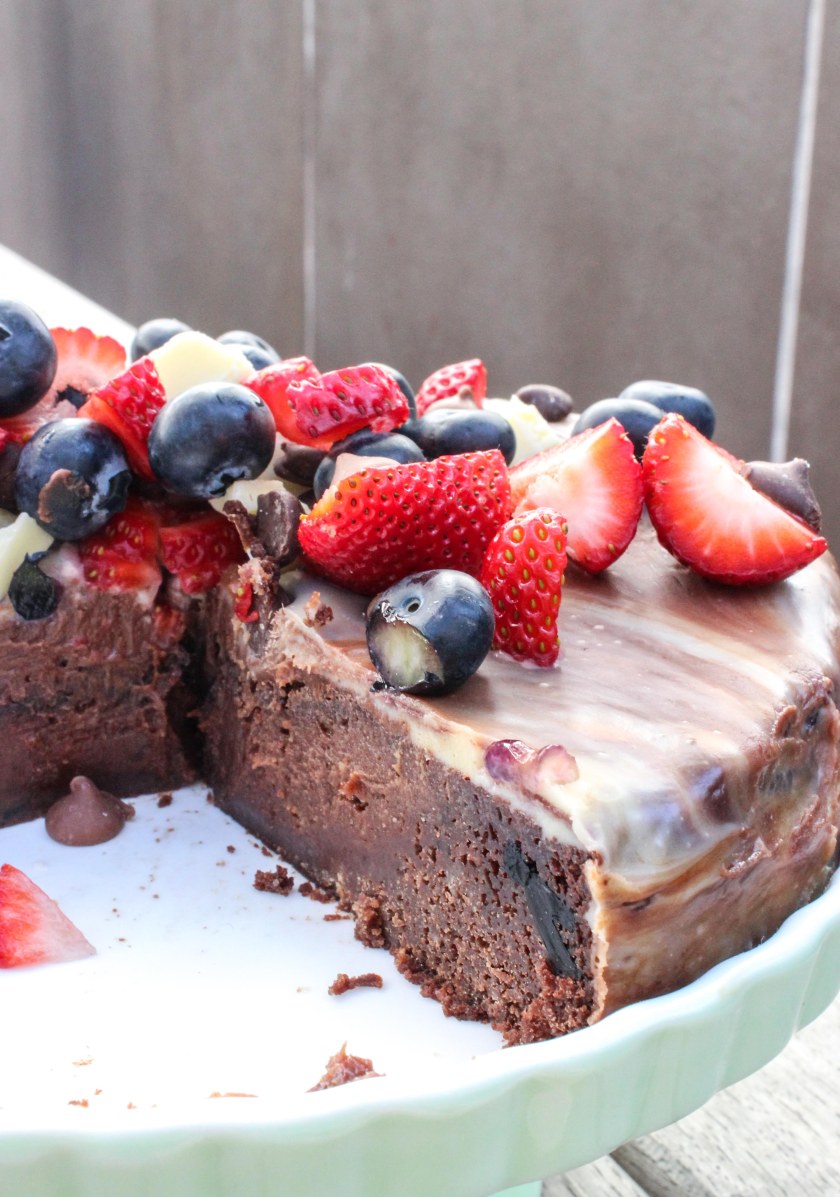
Serve slivers of this cake – it’s so decadent that you don’t need big slices. Plus, if you start small, there’s no harm in going back for seconds!


swedish-mudcake-day-10-of-19

swedish-mudcake-day-19-of-19

ANZAC day scones and food memories

I have written before about how ANZAC Day is tied up with food in my household. I cannot imagine an ANZAC Day where my dad didn’t make biccies and I didn’t eat the raw dough. So it was with some trepidation this year that I bustled into the kitchen myself and made a different kind of ANZAC Day treat.


ANZAC day scones (15 of 16)


Dear readers, please be aware that I have gone against a long-standing tradition…

Continue reading “ANZAC day scones and food memories”

Mini egg Easter doughnuts and a healthy Easter

mini egg doughnuts (14 of 14)
I told people who lingered over the plate of these delights that they were healthy doughnuts – there’s yoghurt in them and they’re baked! Most people laughed at me, so I explained that they’re healthy-ish…healthier than a regular fried doughnut, anyway.

They’re kind of like a little cake doughnut, which you’ll know I’m a fan of if you’ve seen my earl grey or Nutella doughnuts.
I like the idea that you can eat seconds because they’re a tiny bit better for you. I stress teeny tiny. Did I mention that I’ve started a little health kick? Continue reading “Mini egg Easter doughnuts and a healthy Easter”

Chocolate covered strawberry sandwiches and the anti-Valentine

I know that I’ve said I’m the anti-Valentine in previous posts, but I can’t help but be drawn towards heart-shaped things. I’m a sucker for the twee; floral tea sets, polka dots, pastel coloured foods, I can’t help myself! I spent much of my childhood being a tomboy, slicking my long blonde hair back into a bun, wearing shorts and t-shirts, copying my older brother. It wasn’t until I was about 15 that I realised that I actually liked “girly” things. I refused to wear makeup until about 16 and didnt realise that I loved patterned fabrics until about 17. Looking back, I wonder how I survived without them. I sometimes feel like I’m making up for those drab, boyish years now, cramming in as many tea parties and patterned dresses as I can!


Valentine's day choc strawberry sandwiches (3 of 6)


Continue reading “Chocolate covered strawberry sandwiches and the anti-Valentine”

Bejewelled hearts and Valentine’s day treats

These jewelled delights make me so happy. They’re delicious, adorable and ridiculously easy to make! I seem to be making a habit of creating easy recipes for Valentine’s Day – I wonder what that says about the amount of effort I put into it!

Valentine's day chocolates (7 of 7)

I’ve never been a big believer in Valentine’s Day, but I am a sucker for heart-shaped things. I’ve got heart-shaped doughnut tins, heart-shaped chocolate molds, heart ice cube trays, cake tins, tart tins, marshmallows… The list goes on!

Continue reading “Bejewelled hearts and Valentine’s day treats”

Berry mango Eton mess and Summer fruit

Has this month gotten away from you? It has absolutely flown by for me! And I’ve been a little lax – I’ve got a backlog of recipes to share with you and I just don’t know where to begin!

These awesome little layered desserts seem like the best place to start. They’re a stunning, Summery take on a classic Eton mess, and they’re sure to impress anyone you serve them to.

Raspberry mango mess (1 of 4)

I’m swooning over the berries available at the moment – they’re coming down in price a little bit because they’re so abundant, and they’re absolutely delightful. I’ve been eating berries like they’re going out of fashion.

The mangoes are amazing at the moment as well. This mango custard was a spark of inspiration that came to me as a result of having too many eggs and mangoes in the house. This is obviously not a problem for many people, but in my house it was a real head scratcher.

So, instead of the traditional cream, I thought a light, fruity custard would be a great addition to my eton messes. And so the mango custard was born.

It is legitimately so good that I had to restrain myself from drinking it.

(You’ll have some mango custard left over from this recipe, so I’d recommend drizzling it on icecream or filling doughnuts with it.)

Berry mango Eton mess

Makes 10

Mango custard

Makes 3 cups
  • 600g mango flesh (about three medium-sized  mangoes)
  • 2 tsp lemon juice
  • 1 1/3 cups sugar
  • 150g butter
  • 6 egg yolks
  • 1 tbsp hot water
  • 1/2 tsp gelatine

Pavlova

  • 80g raspberries
  • 3/4 tbsp sugar
  • 6 egg whites
  • 1 1/2 cups castor sugar
  • 2 tsp cornflour
  • 3/4 tsp white vinegar
  • 4 cups berries of your choice, I used blueberries and raspberries

Grab your mango flesh and pop it into a blender with the lemon juice and blend for about 30 seconds until you have a nice puree*. Even though it’s glorious, resist the urge to drink it. Put your mango puree, sugar and butter in a pyrex bowl and place over a boiling pan of water. Mix until the butter has melted, then remove the water from the heat.

Take your egg yolks, lightly beat them, then pour some of the mango mixture into the egg yolks so as not to cook the yolks. Now pour all of the egg yolk mixture into the mango mixture and mix well. Turn up the heat to high and stir for 12-15 minutes so that the mango mixture reduces slightly. Remove from the heat and set to one side. Mix together your hot water and gelatine, making sure all the granules are dissolved, then stir into the mango mixture. Pop the mixture into the fridge for at least an hour so that it cools and firms up slightly.

Raspberry mango mess (8 of 1)

While the mango custard is in the fridge, make a start on the pavlova by mashing together your raspberries and sugar until they’re nice and combined – they should be part liquid, part lumps of raspberries. Set them to one side.

In a separate bowl, whip your egg whites on a medium-high speed for 1-2 minutes until the egg whites froth up slightly. Next, with the eggs still whipping, slowly pour in the castor sugar. Once you’ve poured in all of the sugar, turn up to high and whip for 5-10 minutes until your meringue is thick, glossy and holds peaks. If you rub some of the meringue between your fingers, it should be smooth – if it is gritty, mix for a little longer.

Preheat your oven to 120C and line a baking tray with baking paper and set to one side.

Mix the cornflour into the meringue, then the white vinegar until just combined.

Grab a dinner plate and trace its outline on the baking paper with a pencil. Flip it upside down so that the pencil doesn’t come into contact with the meringue. To help your baking paper stay in place while you spread the meringue, dab a small amount of meringue under each of the corners of baking paper. Raspberry mango mess (7 of 1)

Scoop out half of the meringue and spread it in the outline of the plate. Dribble some of the raspberry mixture out over the meringue, then swirl with a fork. Repeat with the remaining meringue, then the remaining raspberry. Pop in the oven for 80-90 minutes, until the top loses its stickiness. Set to one side to cool for at least 15 minutes.

To assemble, break apart your meringue (it should be a lovely mix of crusty outside and fluffy inside) and start layering. I went berries, mango custard, pavlova, repeat, but you can do it in whatever order you fancy.

Raspberry mango mess (6 of 1)

Raspberry mango mess (3 of 4)

Raspberry mango mess (2 of 4)

* I used the George Foreman Mix & Go Pro, which was loaned to me by my new friends at Appliance Kitchen. I actually didn’t know that George Foreman had branched out of grills, so was pleasantly surprised by this little blender!

Coconut ice slice and New Year resolutions

Who made a resolution to get fit for 2016? I commend you, if you did. I know that most people make healthy resolutions, usually, but I plan on challenging myself with my baking instead. I’m going to take more classes – there is no better way to get inspired than to learn from experts. I’m taking a cookie painting class in two weeks and will report back. Hopefully you’ll be seeing tiny edible masterpieces soon!

Coconut ice slice-9

And I’m going to work on my photography as well. If you’ve got any recommendations for cooking and/or food photography classes, send them my way, I’m all ears.

I’m also going to make Daisy a super obedient dog. The Boy and I have been struggling with her behaviour (she’s an angel for us, but a massive jerk  to strangers!) so we’re going to take her to a doggy specialist!

I’m also verbalising more of my plans. Or writing them here, at least. Because that way I’m less likely to forget about them/change my mind when they get too hard. I read recently that humans find it harder to go back on their plans once they’ve told them to other people. So let’s try and use that to my advantage.

AND I’m going to give my props the loving they deserve – I’ve got a rapidly growing collection and I neglect the oldies sometimes. Expect these floral tea cups to be making regular appearances, they were a Christmas present from my gorgeous mother and I’m smitten.

Coconut ice slice-6

The baking side of my resolutions I’ve already started. This winner of a recipe, which I appropriated from a gorgeous cook book I was given for Christmas, is the perfect start to my new year.

Now I’ve only got to get started on all of those other things I just committed to…


Coconut ice slice

Serves 12

Base

  • 170g butter
  • 1 1/3 cups white sugar
  • 2 tbsp cornflour
  • 1 1/3 cups desiccated coconut
  • 1 egg
  • 1 1/2 cups plain flour
  • 1 tsp bicarb

Filling

  • 115g butter
  • 5 cups icing sugar
  • 1/3 cup milk
  • 1 3/4 cups desiccated coconut
  • 2 1/2 tsp vanilla bean paste
  • Chocolate shavings to decorate
Preheat your oven to 180°C.
Beat together your butter and sugar until pale and creamy. Mix in your cornflour, followed by the desiccated coconut. Add in your egg and beat until combined, followed by your plain flour and bicarb. Only mix in the flour until just combined so you keep the mixture nice and soft.
Grease and line a 25cm round tin (I used a Baker’s Secret high wall crispy tart pan because I love the shape – it’s non-stick, so I only lined the bottom because it has holes for aeration) and press the base evenly around the pan. If you can’t get a smooth enough finish, use your fingers or a straight-sided tumbler to even things out.
Pop the mixture into your oven for 25-30 minutes. When you pull the base out of the oven it will fall instantly. If it doesn’t sink evenly, stab remaining air pockets with a fork. Set to one side to cool.
While the base is cooling, make a start on your filling by mixing the butter with one cup of icing sugar until combined. Add the remaining icing sugar, one cup at a time, followed by the milk, coconut and vanilla.
Scoop your filling into the cooled base and spread it gently. It should do most of the spreading out by itself. Top with chocolate shavings, or whatever chocolate decorations you like. Pop into the fridge for at least two hours to set properly.
Coconut ice slice-8
Coconut ice slice-11

Orange & poppy seed cookies and November

Movember makes me happy. Unsurprisingly, it’s not the ridiculous patches of hair that spring up (with varying degrees of success) on the men in my life that I love.

Moustache cupcakes (7 of 16)

I love that it is part of the solution to de-stigmatising men’s health problems. That sounds a little pompous, but hear me out.
The men in my family are stoic, old-fashioned creatures who hate the idea of going to the doctor until there’s a real problem (I.e. When the problem is usually worse).
Preventative doesn’t exist in their vocabulary.

Continue reading “Orange & poppy seed cookies and November”

Terry’s Chocolate Orange cake and English chocolate

I have only had Terry’s Chocolate Oranges in my life for a few years. I didn’t know they existed until I was 19.

NINETEEN!

All of those years, wasted!

It was The Boy who introduced me to them. I had moved to England, met him, and was working in a fairly average job. He opened my eyes to the delights of English chocolate!


Terry’s chocolate oranges happen to be one of his favourite chocolates, so for his birthday over the weekend I knew that chocolate oranges would fit into the equation somewhere. Continue reading “Terry’s Chocolate Orange cake and English chocolate”

Choc coconut tray bake and winning friends

slicesYou may or may not know that recently I started a new job. Everybody in the office knows that I bake, because Baking with Gab is on my CV…I think that the prospect of cake is part of what got me the job (and I’m totally okay with that!)

But this meant that there were expectations. Expectations that I would bring cake into the office. Delicious cake.

So much pressure! Continue reading “Choc coconut tray bake and winning friends”