Lavender poached pears and reliability

Poached pears are a failsafe dessert. They’re quick, they’re easy, and they’re bound to satisfy every time. You can dress them up or down, your guests will devour them regardless. To celebrate these reliable little beauties, I’ve put together four variations on the classic poached pear.

The first of these is a Lavender and fruit tea. The tea that I used is from my local fruit shop, and I’m not sure how widely available it is – this is what it looks like, if you’re interested. It’s got cranberry, apple, rosehip and hibiscus in it, but anything fruity and sweet enough will match the lavender perfectly. Continue reading “Lavender poached pears and reliability”

Chocolate clovers and chevrons

Yesterday I posted a delectable little cake in preparation for St Patrick’s day – it was chocolatey, Guinness-y and whiskey-y. Delightful. What I held off posting, was a little recipe for the chocolate clovers I decorated the cake with.

This Friday I’m having a bit of a “take it easy” post, so I’ll give you two cake chocolate decorations to jazz up your cake. These two are appropriate for Irish themed cakes, but can be tweaked to suit any cake your little heart desires.

White chocolate clovers:

Makes 15side

  • 150g white chocolate
  • ½-1 tsp green food colouring
  • Heart shaped chocolate mould

spoonChop up your white chocolate and zap it in the microwave for about a minute. Give it a stir and return to the microwave until the chocolate is JUST melted – you don’t want to overcook it because your chocolate will seize.

doneTake the warm chocolate and add your food colouring slowly until you achieve your desired green-ness. Spoon the mixture into the moulds and refrigerate for 20 minutes. Remove from the fridge and test whether they’re done by pulling the sides of the mould away from the chocolate to see if the chocolate is set yet – if the chocolate stays in one piece, it’s done.

Arrange in groups of three to mimic the formation of a clover.

Chocolate chevrons:broken

  • 450g white chocolate
  • 25g dark chocolate
  • 1 tsp green food colouring

meltedLightly grease and line a 20cm square tin. Chop up your white chocolate and pop it in the microwave for about a minute, then give it a stir. Return to the microwave until the chocolate is JUST melted. Pour into your prepared pan and set to one side. Don’t allow it to set.

Working quickly, melt your dark chocolate and spoon it into a snaplock bag. Pour your green food colouring into a small dish or egg cup and grab a bamboo skewer. Use the thin edge of the skewer to draw a number of lines across the surface of the still warm white chocolate. You may need to clean the skewer as you work.

drawSnip the end off of the snaplock bag and draw some lines of chocolate across the white chocolate as well. Don’t worry if your lines aren’t completely straight – mine were pretty wonky, and they turned out fine.

Flip the skewer around, and use the thicker end of the skewer to draw more lines in the white chocolate. When you’ve finished, you should end up with a collection of lines running parallel to one another with thin gaps of white in between them – try not to let any lines intersect.

setFlip the green-edged skewer to the thin side again and drag it up and down, through the lines to create chevrons. Again, you may need to clean the skewer as you go to maintain clean lines.

cakePop in the fridge for 20 minutes or until set.

When it’s set, chop roughly and serve atop your cake, or set on the side of the dish.

There you go – two easy chocolate decorations to jazz up your cake!


Guinness cake and contrast

sideMy nan used to drink Guinness. She was a tiny, white-haired sparrow of a woman, and I like to think that the occasional glass of Guinness represented her strong, independent streak. She wasn’t a big drinker. In fact, a 440ml can could last her a week or more (and was often thrown out by my mother!)I remember this vividly, because my brothers and I would vie for nan’s affections to try and win the floating widget that bobbed about inside the can. Continue reading “Guinness cake and contrast”

Caramel and high tea

aboveI’m a big fan of caramel. Actually, that’s kind of a redundant statement, because I don’t know anybody who isn’t a fan of caramel. If you happen to know someone who doesn’t like it, please send them my way, I’ll remedy their ailment.

I’ve made caramel sauces and icings for the blog, but I realised today that I hadn’t posted a chewy caramel recipe. For that, I apologise. Caramel is pretty simple to make – it has a reputation for being difficult, but as long as you’re careful you should be fine.

So I’m fixing this right now. With these delicious, chewy delights. They’re just the right amount of chewy – not teeth-shatteringly hard, but not too soft either. (Insider tip: the longer your boil the mixture, the harder they’ll set; I boiled mine for ten and they were in the middle. Boil them for more than that and they’ll be harder, boil them for less and they’ll be gooier.)

These gorgeous little mouthfuls were the top tier of my high tea set up, (the high tea that I threw to celebrate having Cristina Re tea cups on loan!) I’ll post the other two recipes from the high tea in the coming days, so keep your eyes peeled!

Chewy caramels

shatterMakes 24 pieces

  • 395g can sweetened condensed milk
  • ¾ cup cup caster sugar
  • 125g butter, chopped
  • 1/2 cup golden syrup

Grease and line a 20cm square cake tin with baking paper.

ingredientsToss the condensed milk, sugar, butter and golden syrup into a medium sized pan. Turn the heat up to medium so that the butter melts, the sugar dissolves and the mixture combines, mixing regularly. Bring the mixture to a boil and continue to boil for 10 minutes, making sure you stir consistently to avoid burning the mixture.

pourTake the mixture off the heat and set aside to let the bubbles subside.

Pour into your prepared pan and allow to cool briefly before putting in the freezer for at least an hour. Be careful, because your tin will heat up because the caramel is so hot. If you want salted caramel, take a pinch or two of salt flakes and sprinkle liberally.

saltRemove from the freezer about ten minutes before cutting. When it comes to cutting, lightly oil a knife so that it glides through the caramel more easily when you’re cutting. Personally, I like to allow the caramel to shatter slightly – when cutting, put pressure on the tip of the knife while it’s in the caramel without pressing the rest of the blade down, this should cause little fractures in the caramel.

tier


Coconut lime cupcakes and abundance

iceDoes anyone else have a ridiculous amount of limes in their house at the moment? I do. A week or so ago they were ridiculously cheap so I went a little crazy. I’ve been steadily working my way through them, but there are only so many mojitos a girl can drink by herself.

So I’m baking with them!

I also happen to have way too many tea cups at the moment. It’s a delightful predicament, brought about by a loan from Cristina Re. You’ll be seeing a few of her swoon-worthy tea cups popping up in photo shoots over the next few weeks, because I’m slightly in love with them. Continue reading “Coconut lime cupcakes and abundance”

Plum frangipane tart and efficiency

sceneIf you have a friend popping over without a minute’s notice, efficiency is key. I was in a position recently where I had 45 minutes to throw makeup on and prepare something for afternoon tea when I knew that I had used up most of the flour on this cake (coconut raspberry cake.)

So I whipped up this little gem – it’s fast, easy and super impressive. Tarts are usually a pretty impressive dish to serve to people, but a frangipane tart sounds even better, it gives it an air of French sophistication. Try telling your guests that it’s “just a little plum frangipane tart I threw together” without having the smuggest face ever.

The delicious filling of this tart is gluten free, so would be perfect for celiac or gluten-sensitive friends – just make sure you find a reliable gluten free pastry. I’m in the process working out a decent gluten-free pastry, so watch this space. If you’ve got any suggestions for a GF pastry, comment below!

Plum frangipane tart:

Serves 8-10slice

  • 2 sheets frozen shortcrust pastry
  • 100g butter, room temperature
  • 1/3 cup sugar
  • 1 teaspoon vanilla
  • ½ tsp almond essence
  • 2 eggs and 1 egg yolk
  • 1 ½ cups almond meal
  • 2 large plums

pastryPreheat your oven to 180°C and grease a 35×12 cm tart tin.

Thaw your pastry until it is malleable enough to shape into your tart tin. Prick the uncooked tart shell with a fork, line with baking paper and pour baking weights in. Pop it in the oven for 10 minutes. Remove the tart from the oven, take away the baking weights and baking paper, then return to the oven for five minutes.

Make the filling while the tart is in the oven.

plumsCream together the butter and caster sugar until light and fluffy.  Add in the vanilla and almond essence, then the eggs and egg yolk, mix to combine. Add in the almond meal and give it a good mix.

Allow the tart to cool slightly before filling it.

Spoon the frangipane into the tart case and smooth out with a spatula. Don’t worry about being too precise, the filling with smooth out perfectly whilst in the oven.

plumThinly slice your plums and arrange them as you please. I slotted mine in at a slight angle so that some of the flesh was showing, giving the tart a little pop of colour and allowing the sugars in the plums to be exposed to more heat so that they’d caramelise slightly.

abovePop this back in the oven for 30 minutes so that you’re whipping it out of the oven just as your guests arrive. Allow the tart to cool before serving.

(I also used the baking time to throw on a face of makeup and attempt to tame my hair!)


Coconut raspberry cake with passionfruit glaze (and a big baking prize!)

nomBaking with Gab has its benefits. It gives me an excuse to cook and devour ridiculous amounts of delicious baked goods, it’s introduced me to the fantastic blogging community and it’s also created an outlet for my crazy dog lady tendencies.

And then there’s free stuff. It’s not very often that I host a giveaway, so when I do, I get pretty excited about it! The delightful people from the Cake Bake and Sweets Show have offered me a one day double pass to give away to one of my fabulous readers!

CBSS Macarons The Cakes Bakes and Sweets Show will be on at the Sydney Showground, Olympic Park on March 21-23, the winner can go on whichever day they want. Chef Duff, Dan Lepard, Adriano Zumbo and Eric Lanlard will all be there – you could be too!

There will be live demonstrations, fabulous stalls to buy baked goods and baking related products,  and free tastings. FREE TASTINGS.

The ticket allows you entry into the live demonstrations – there are so many options I literally cannot choose which demos I want to go to.

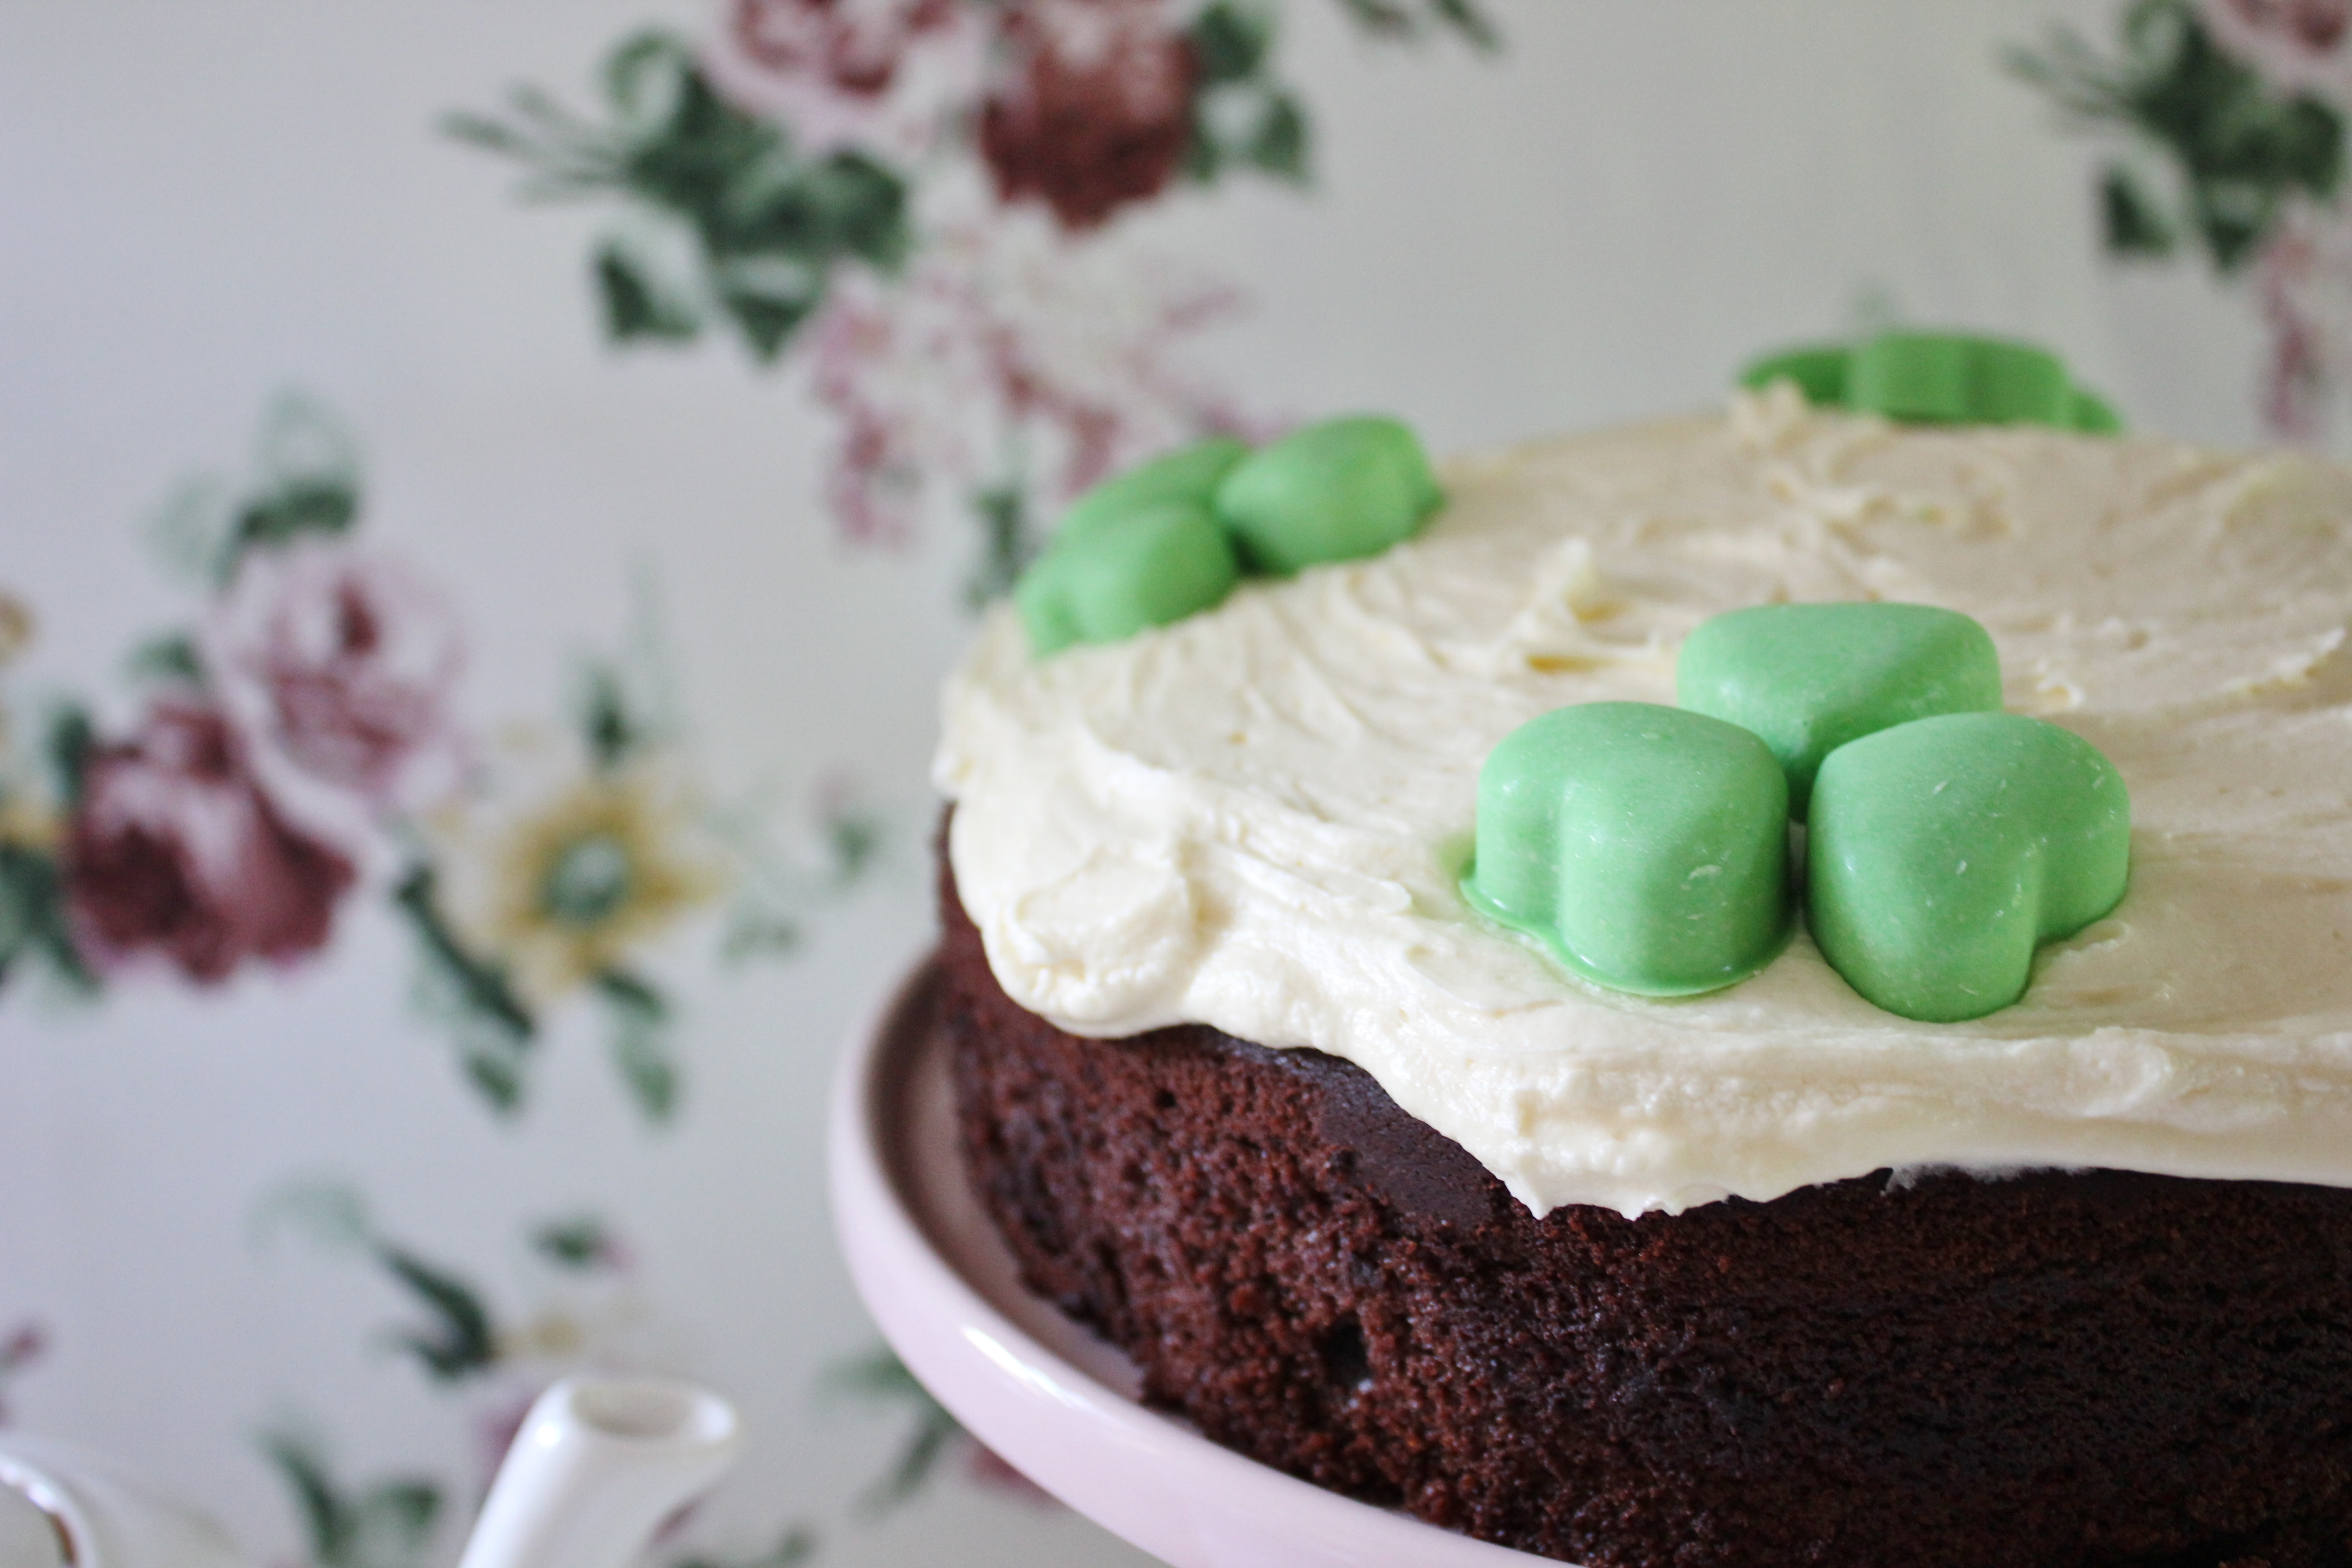
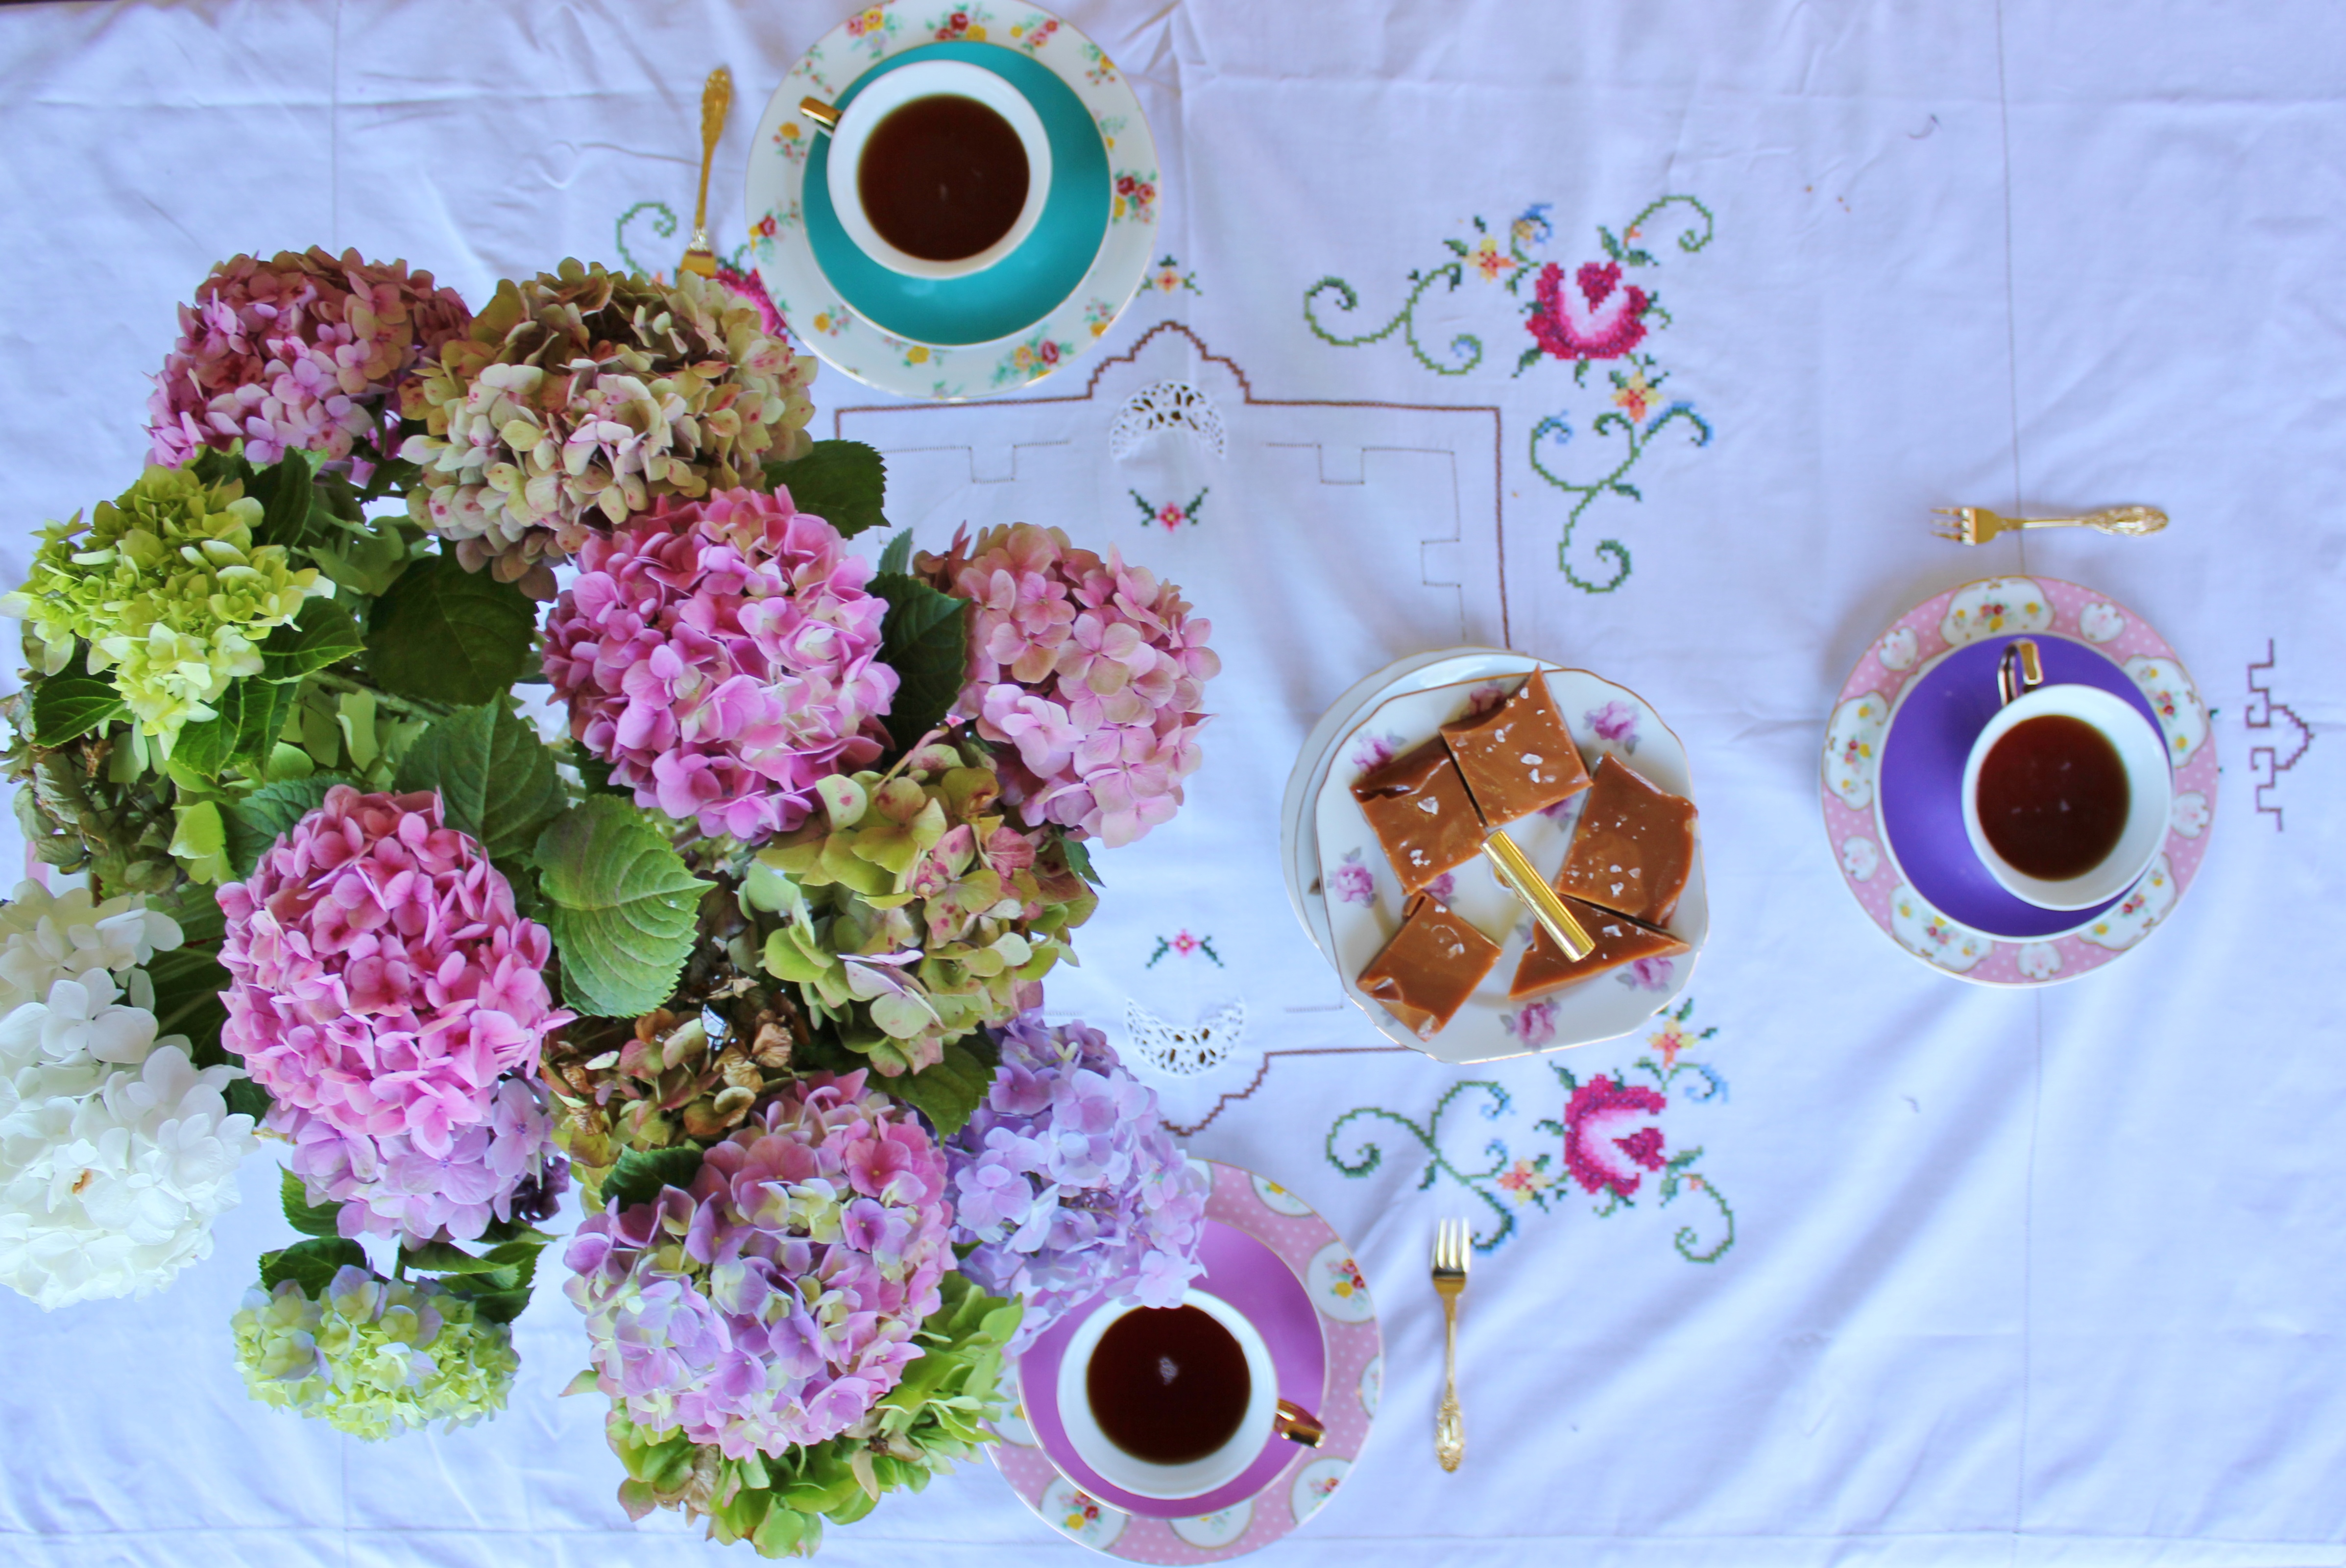
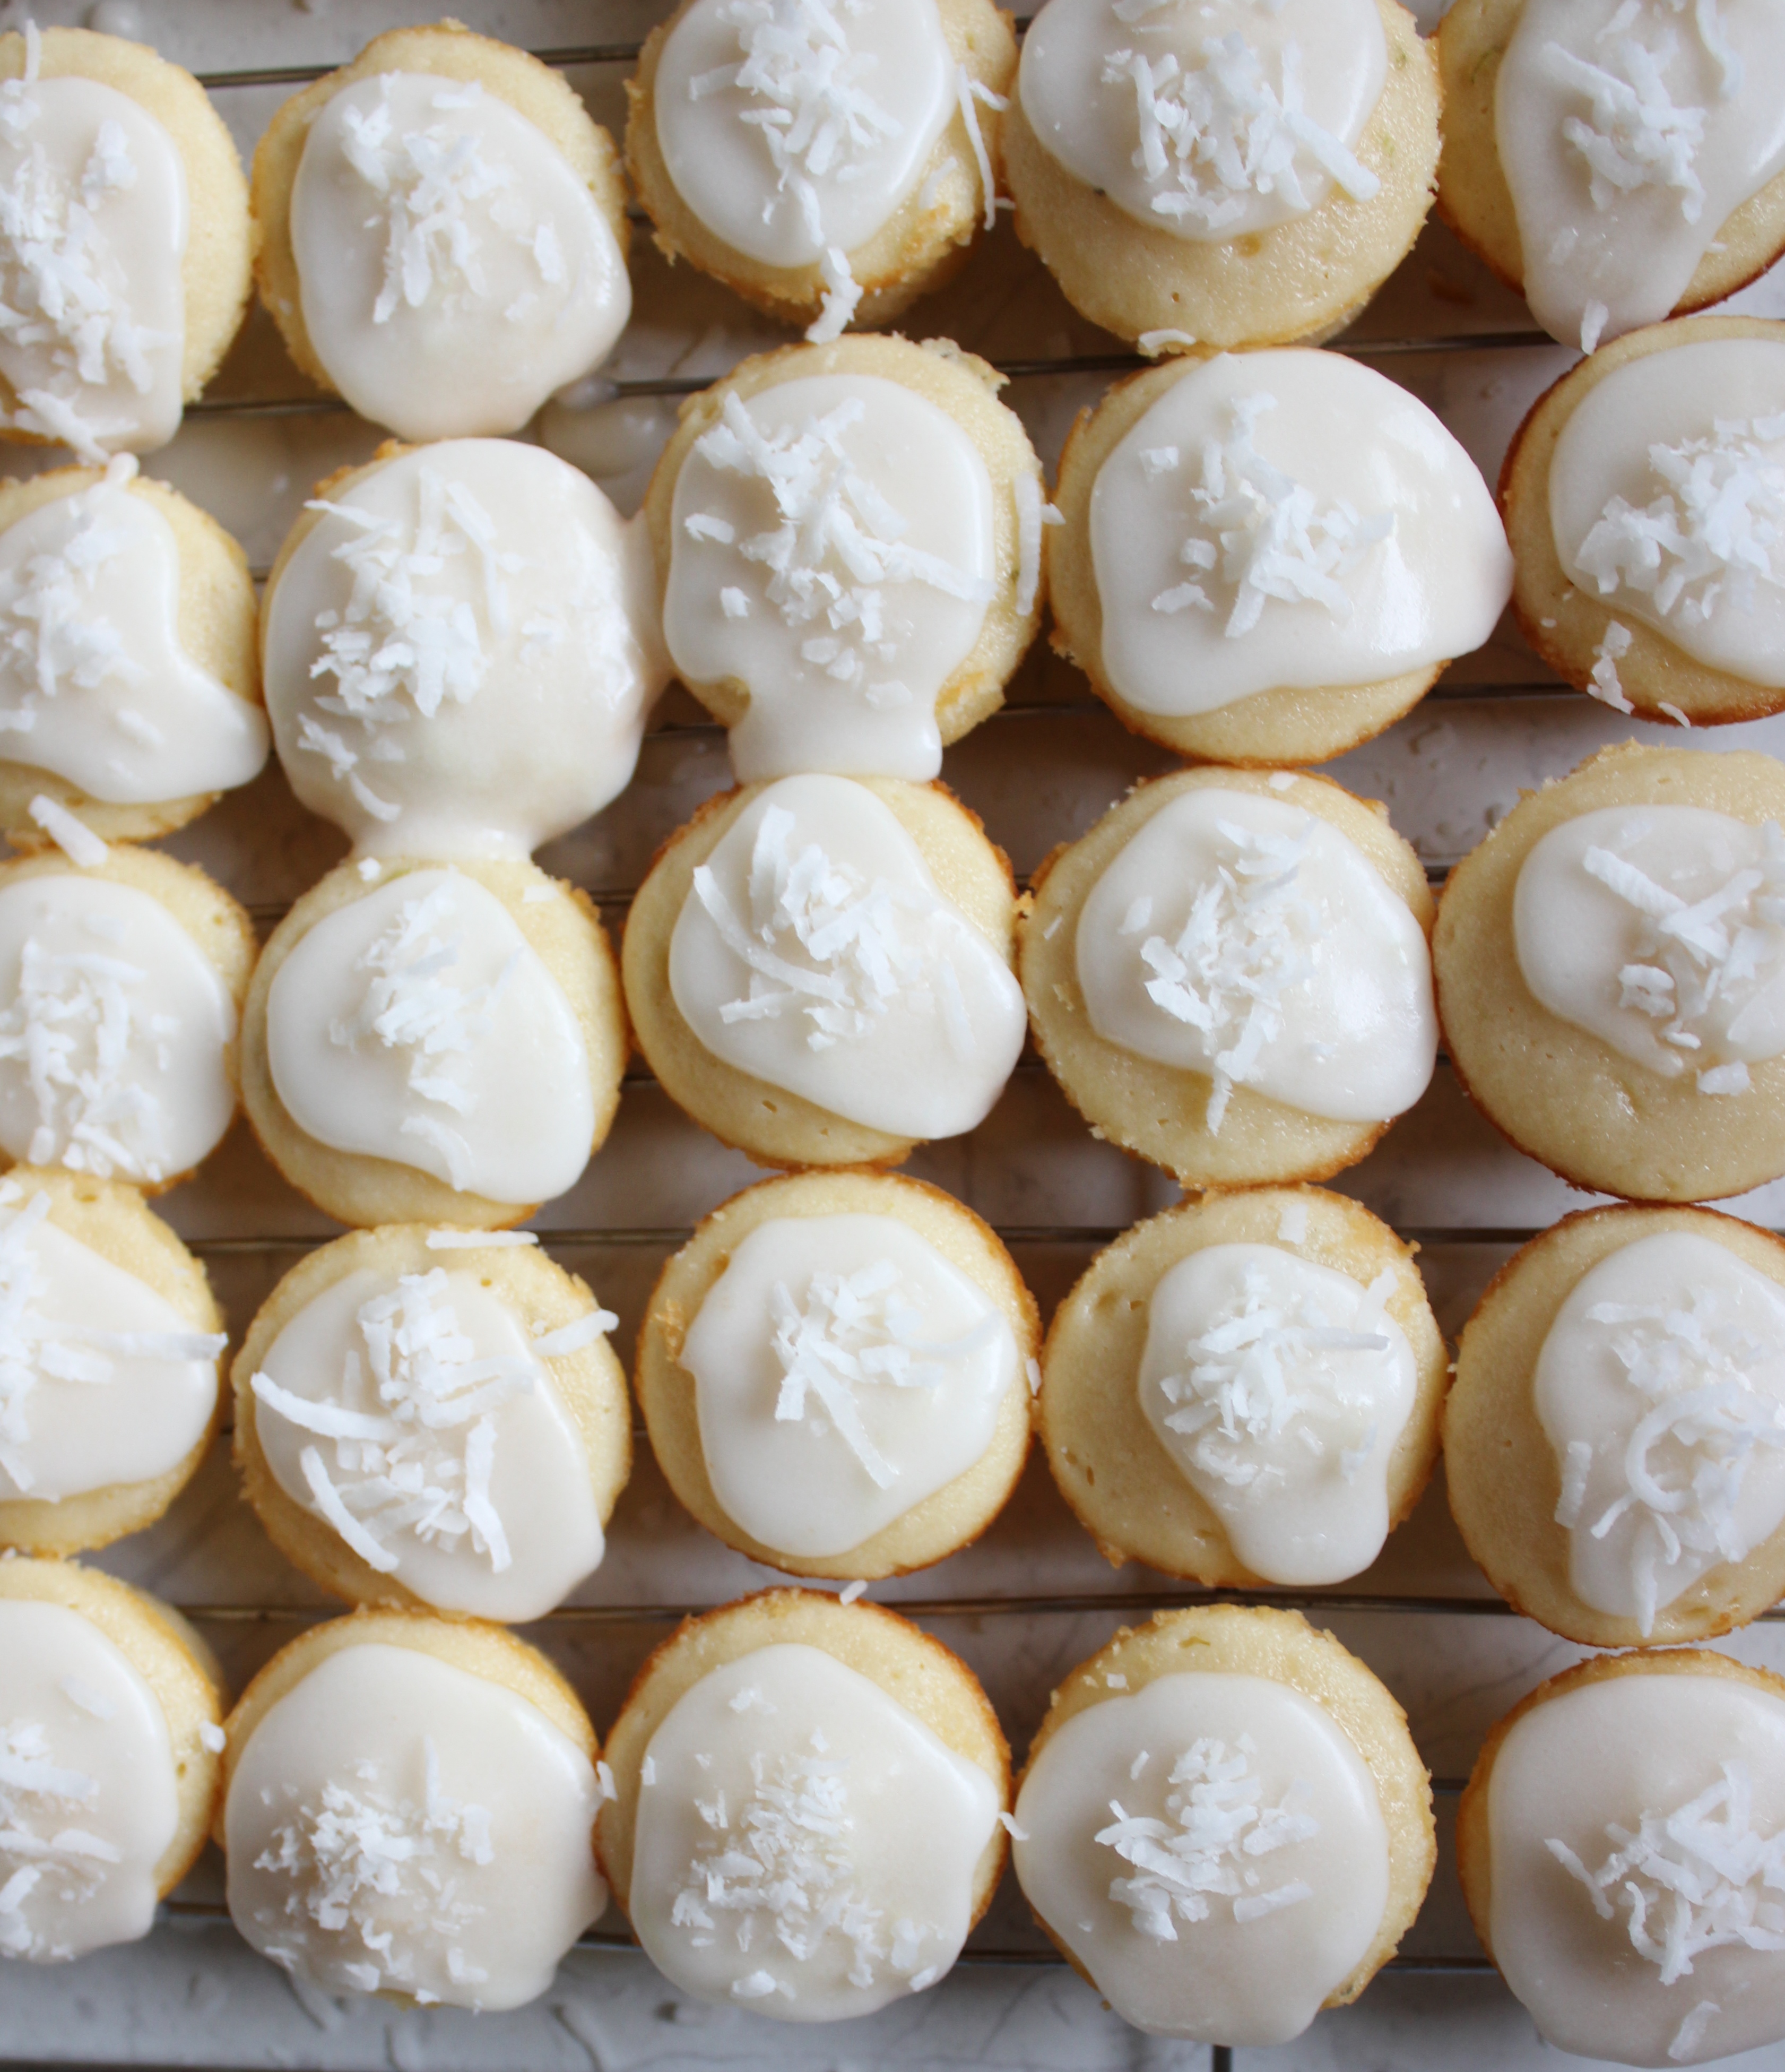
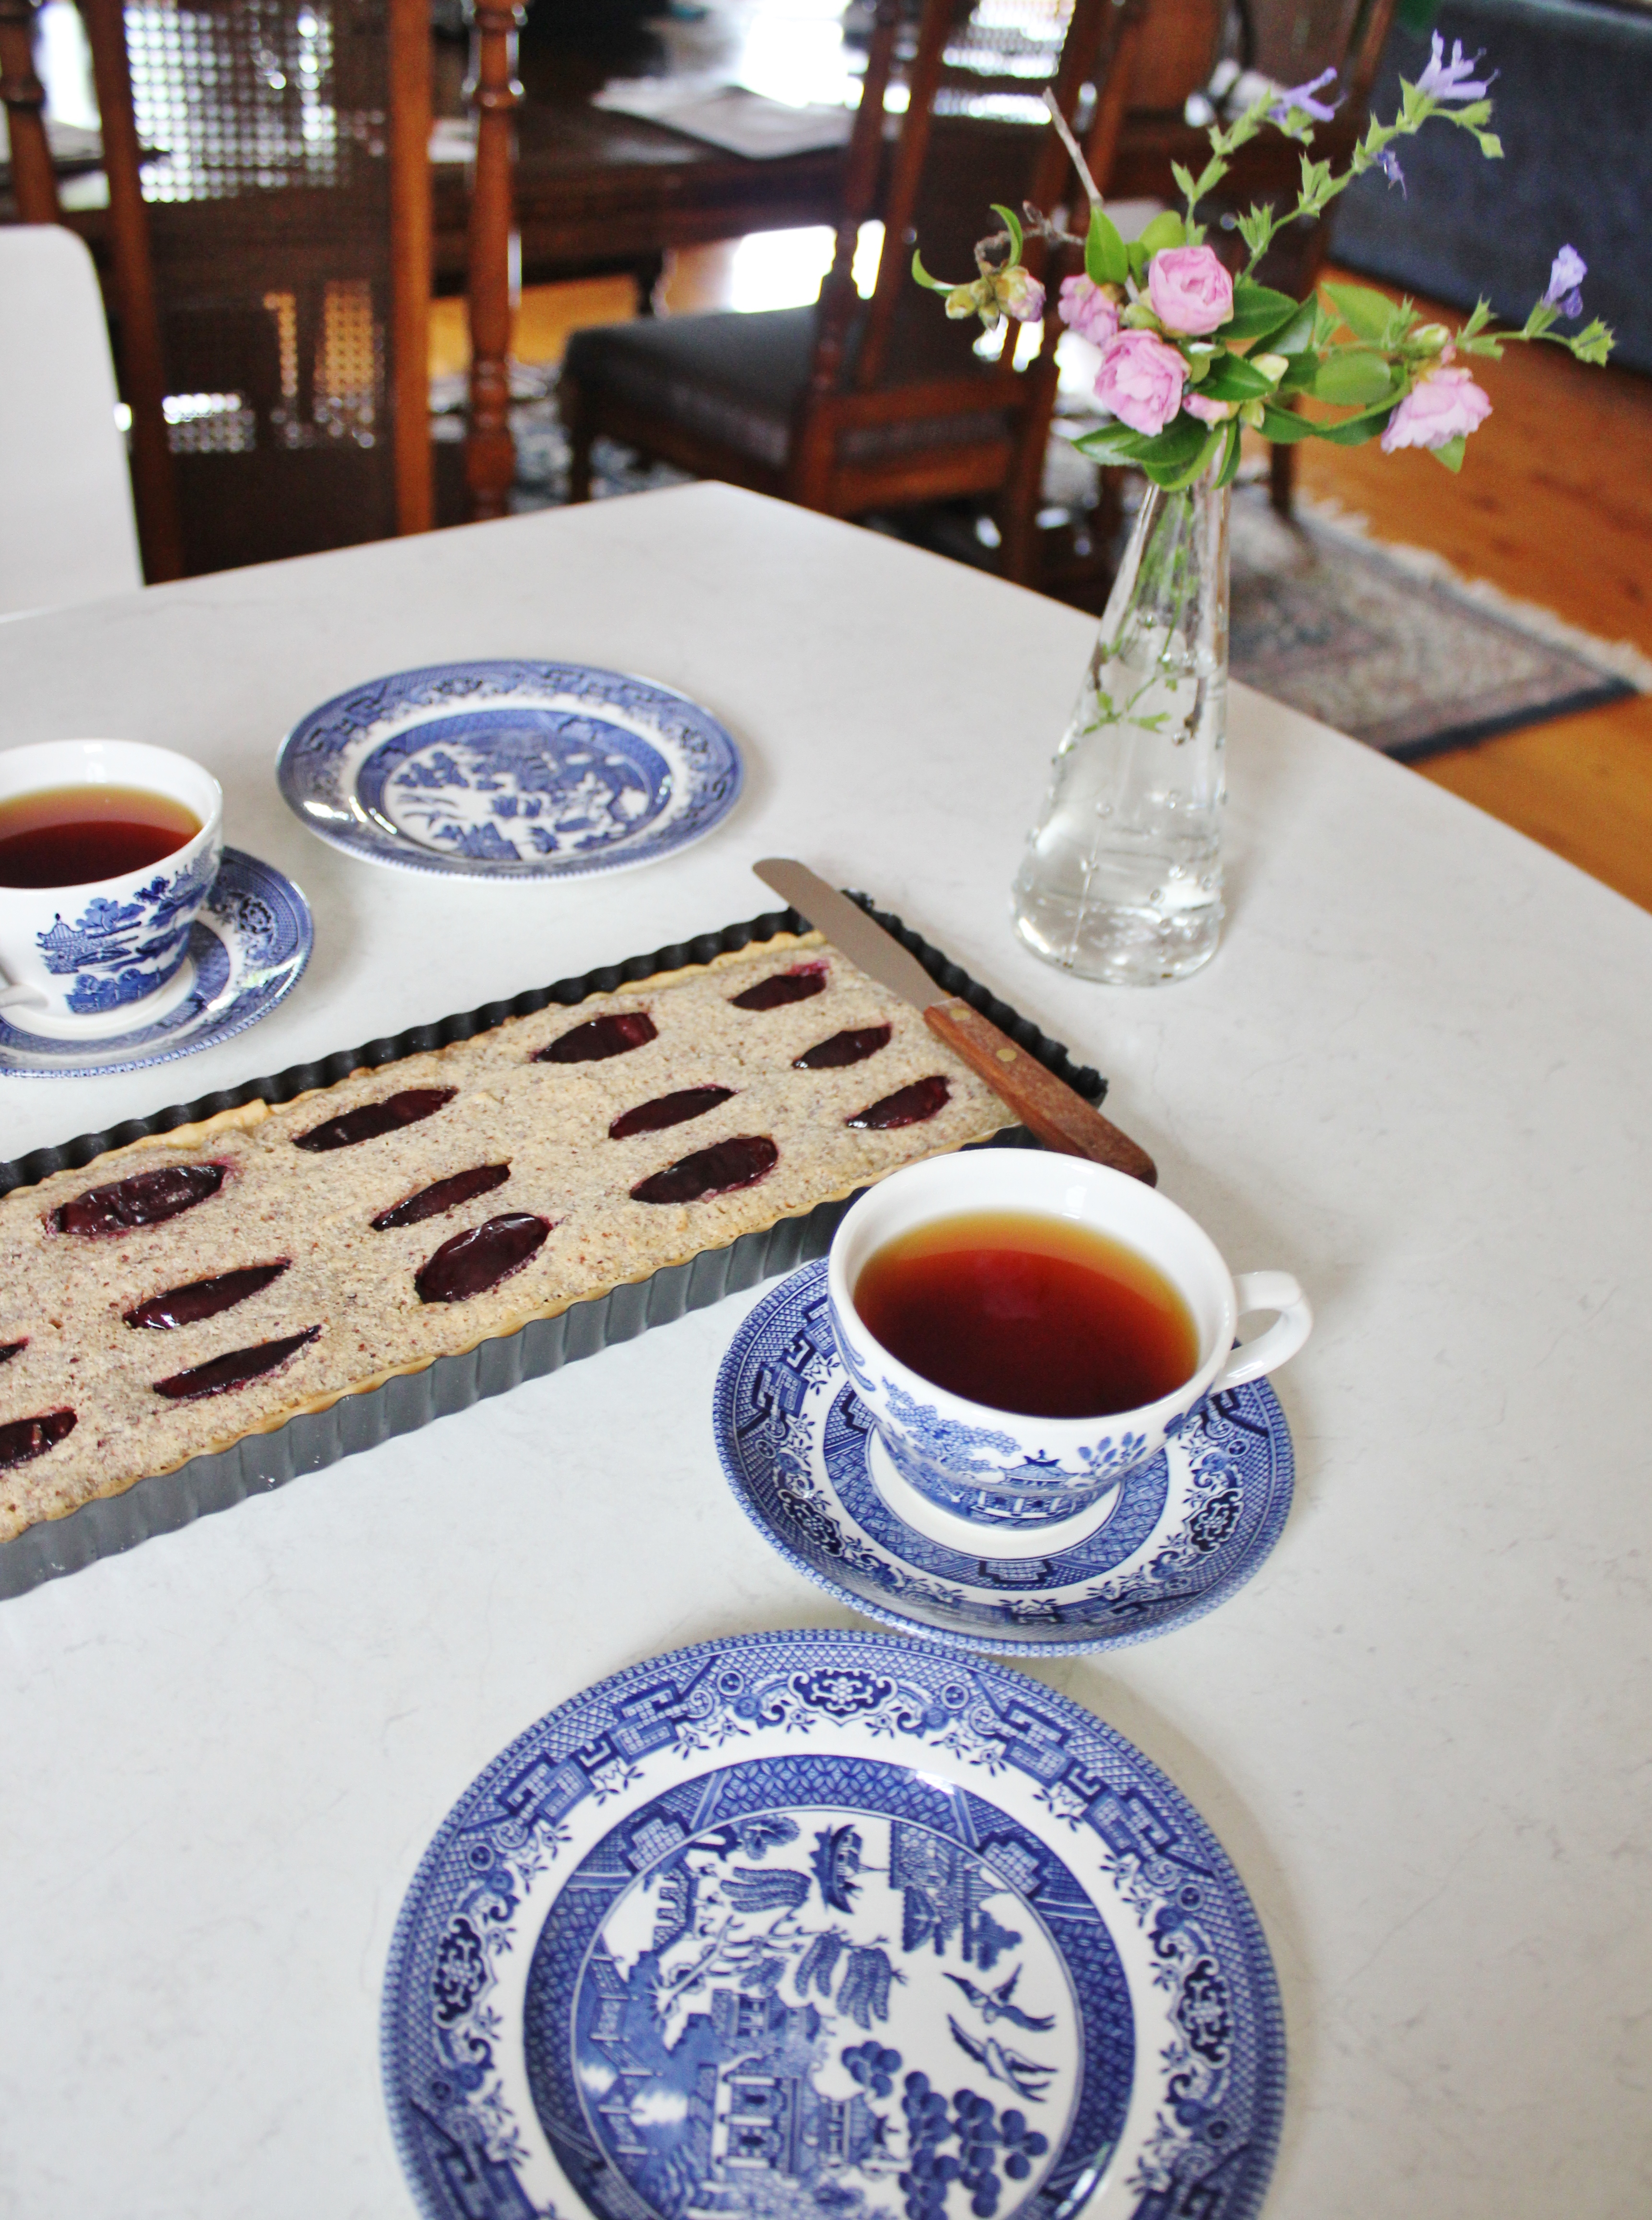
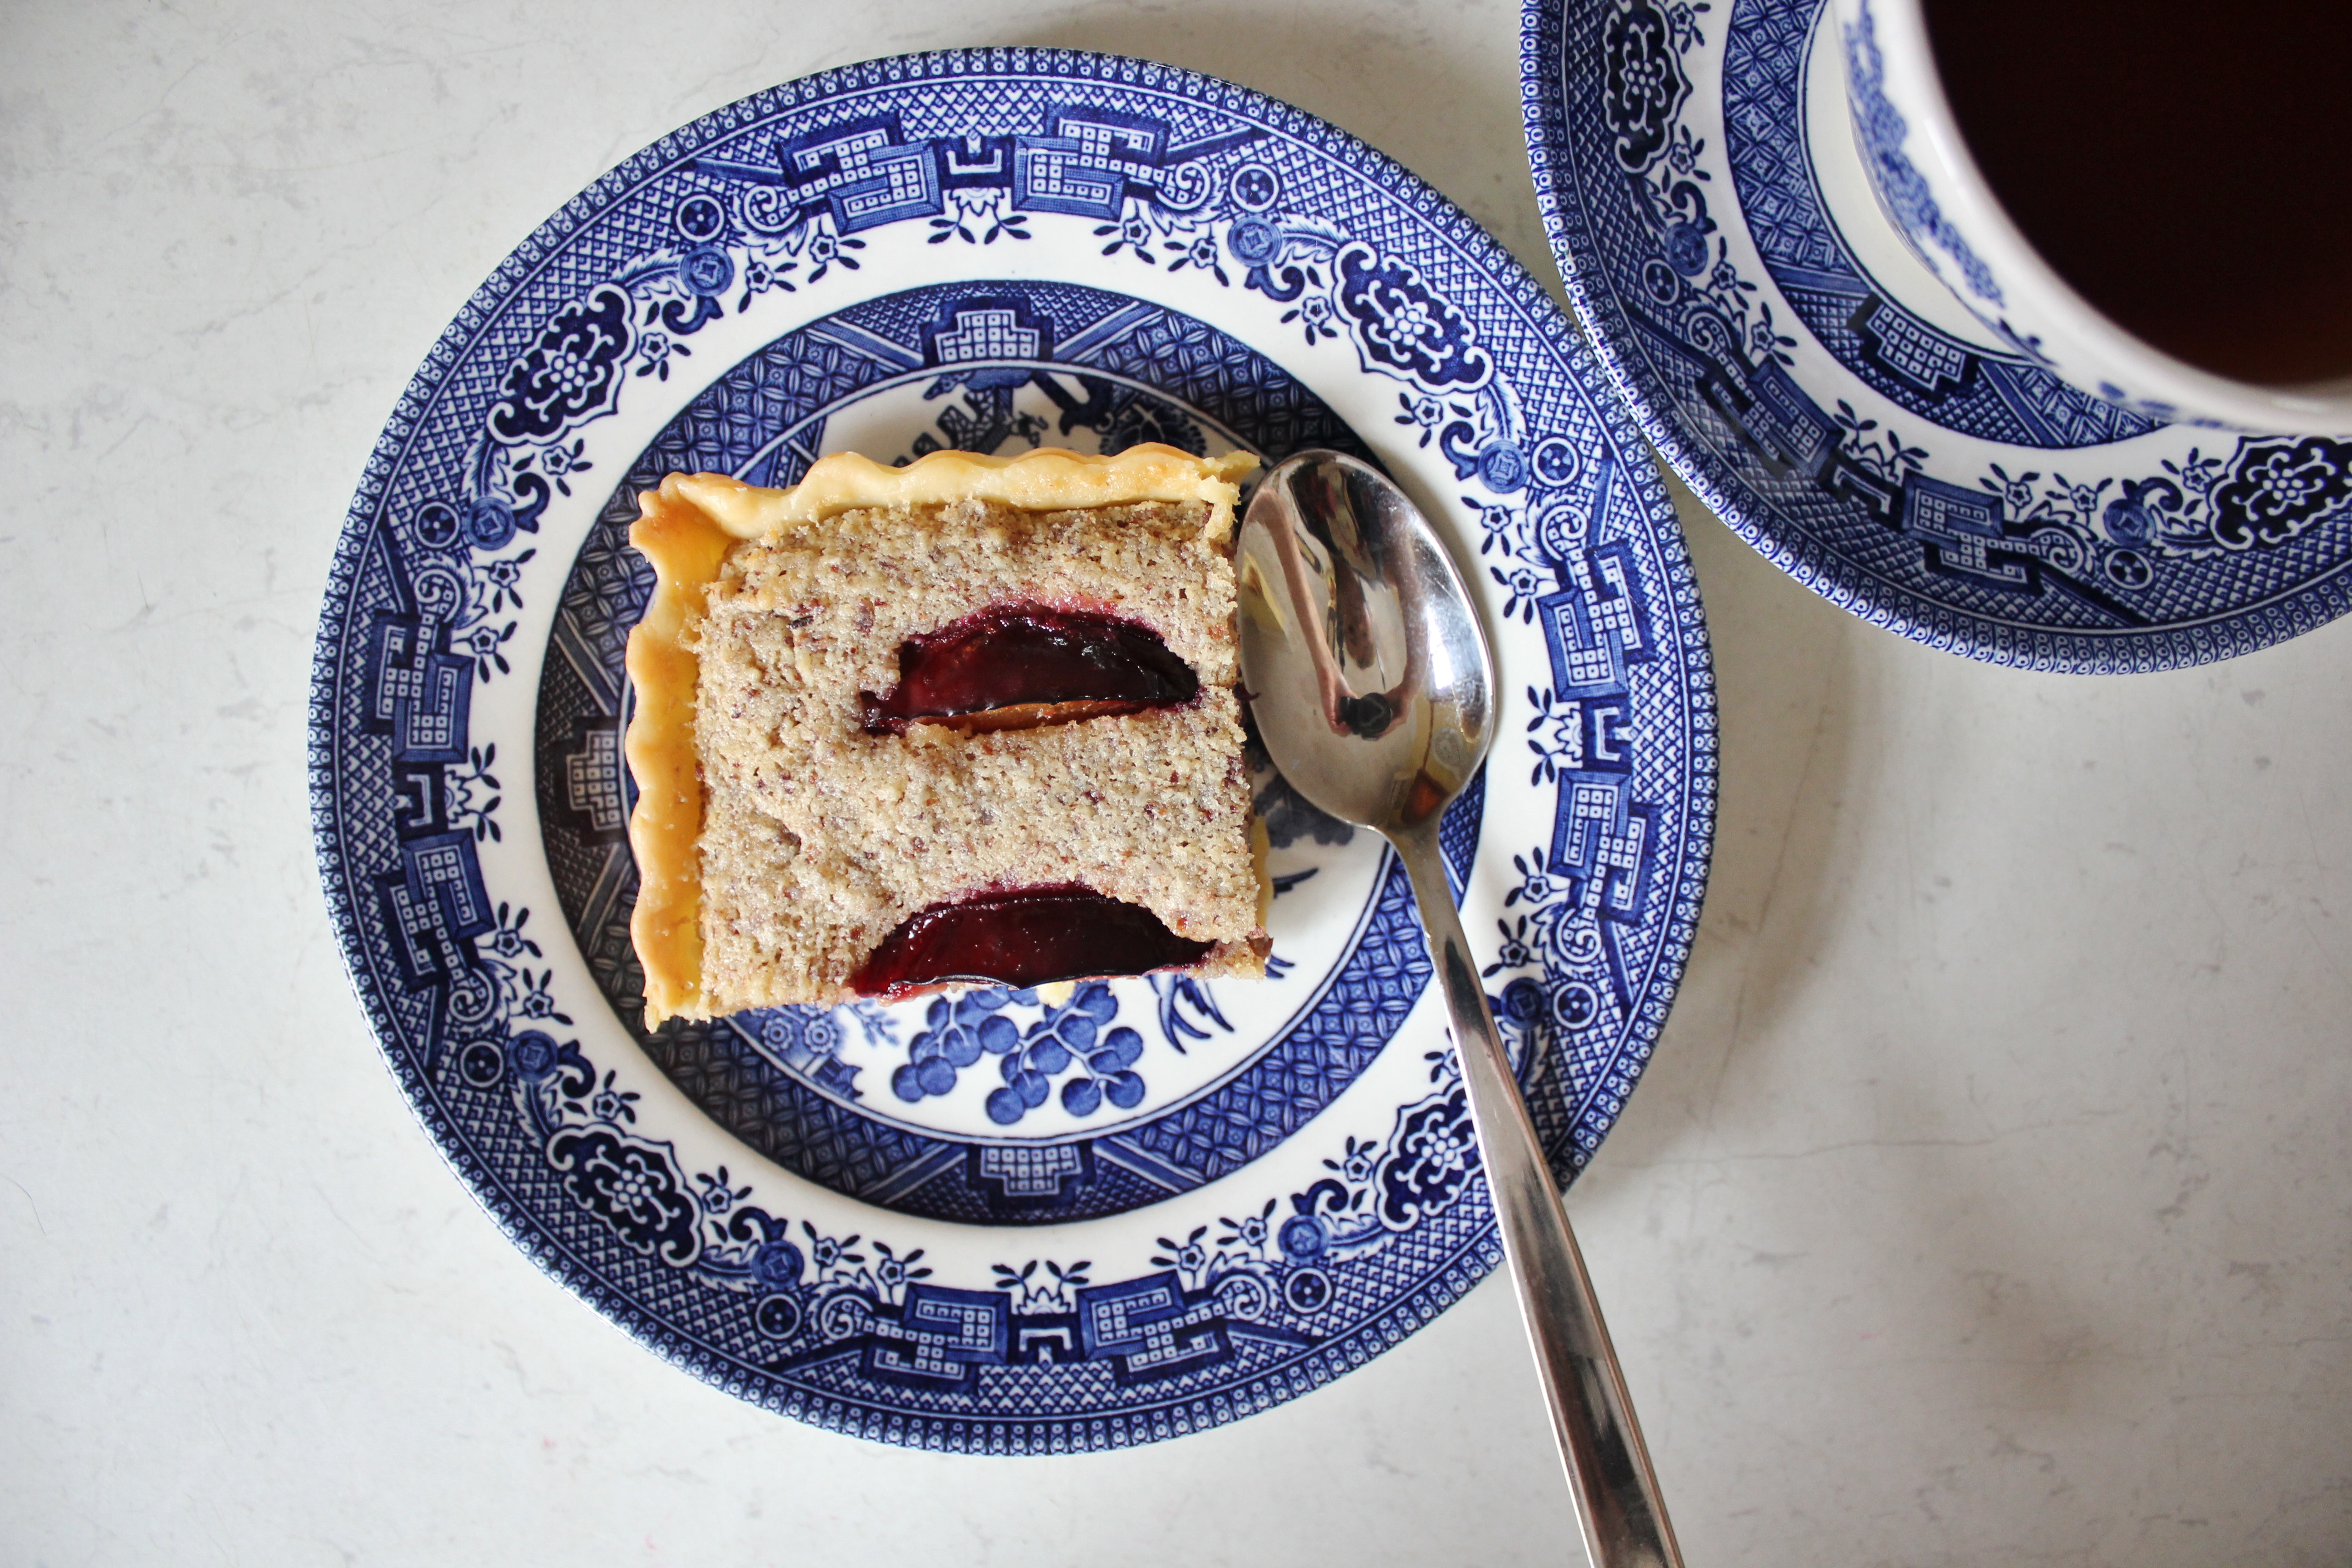
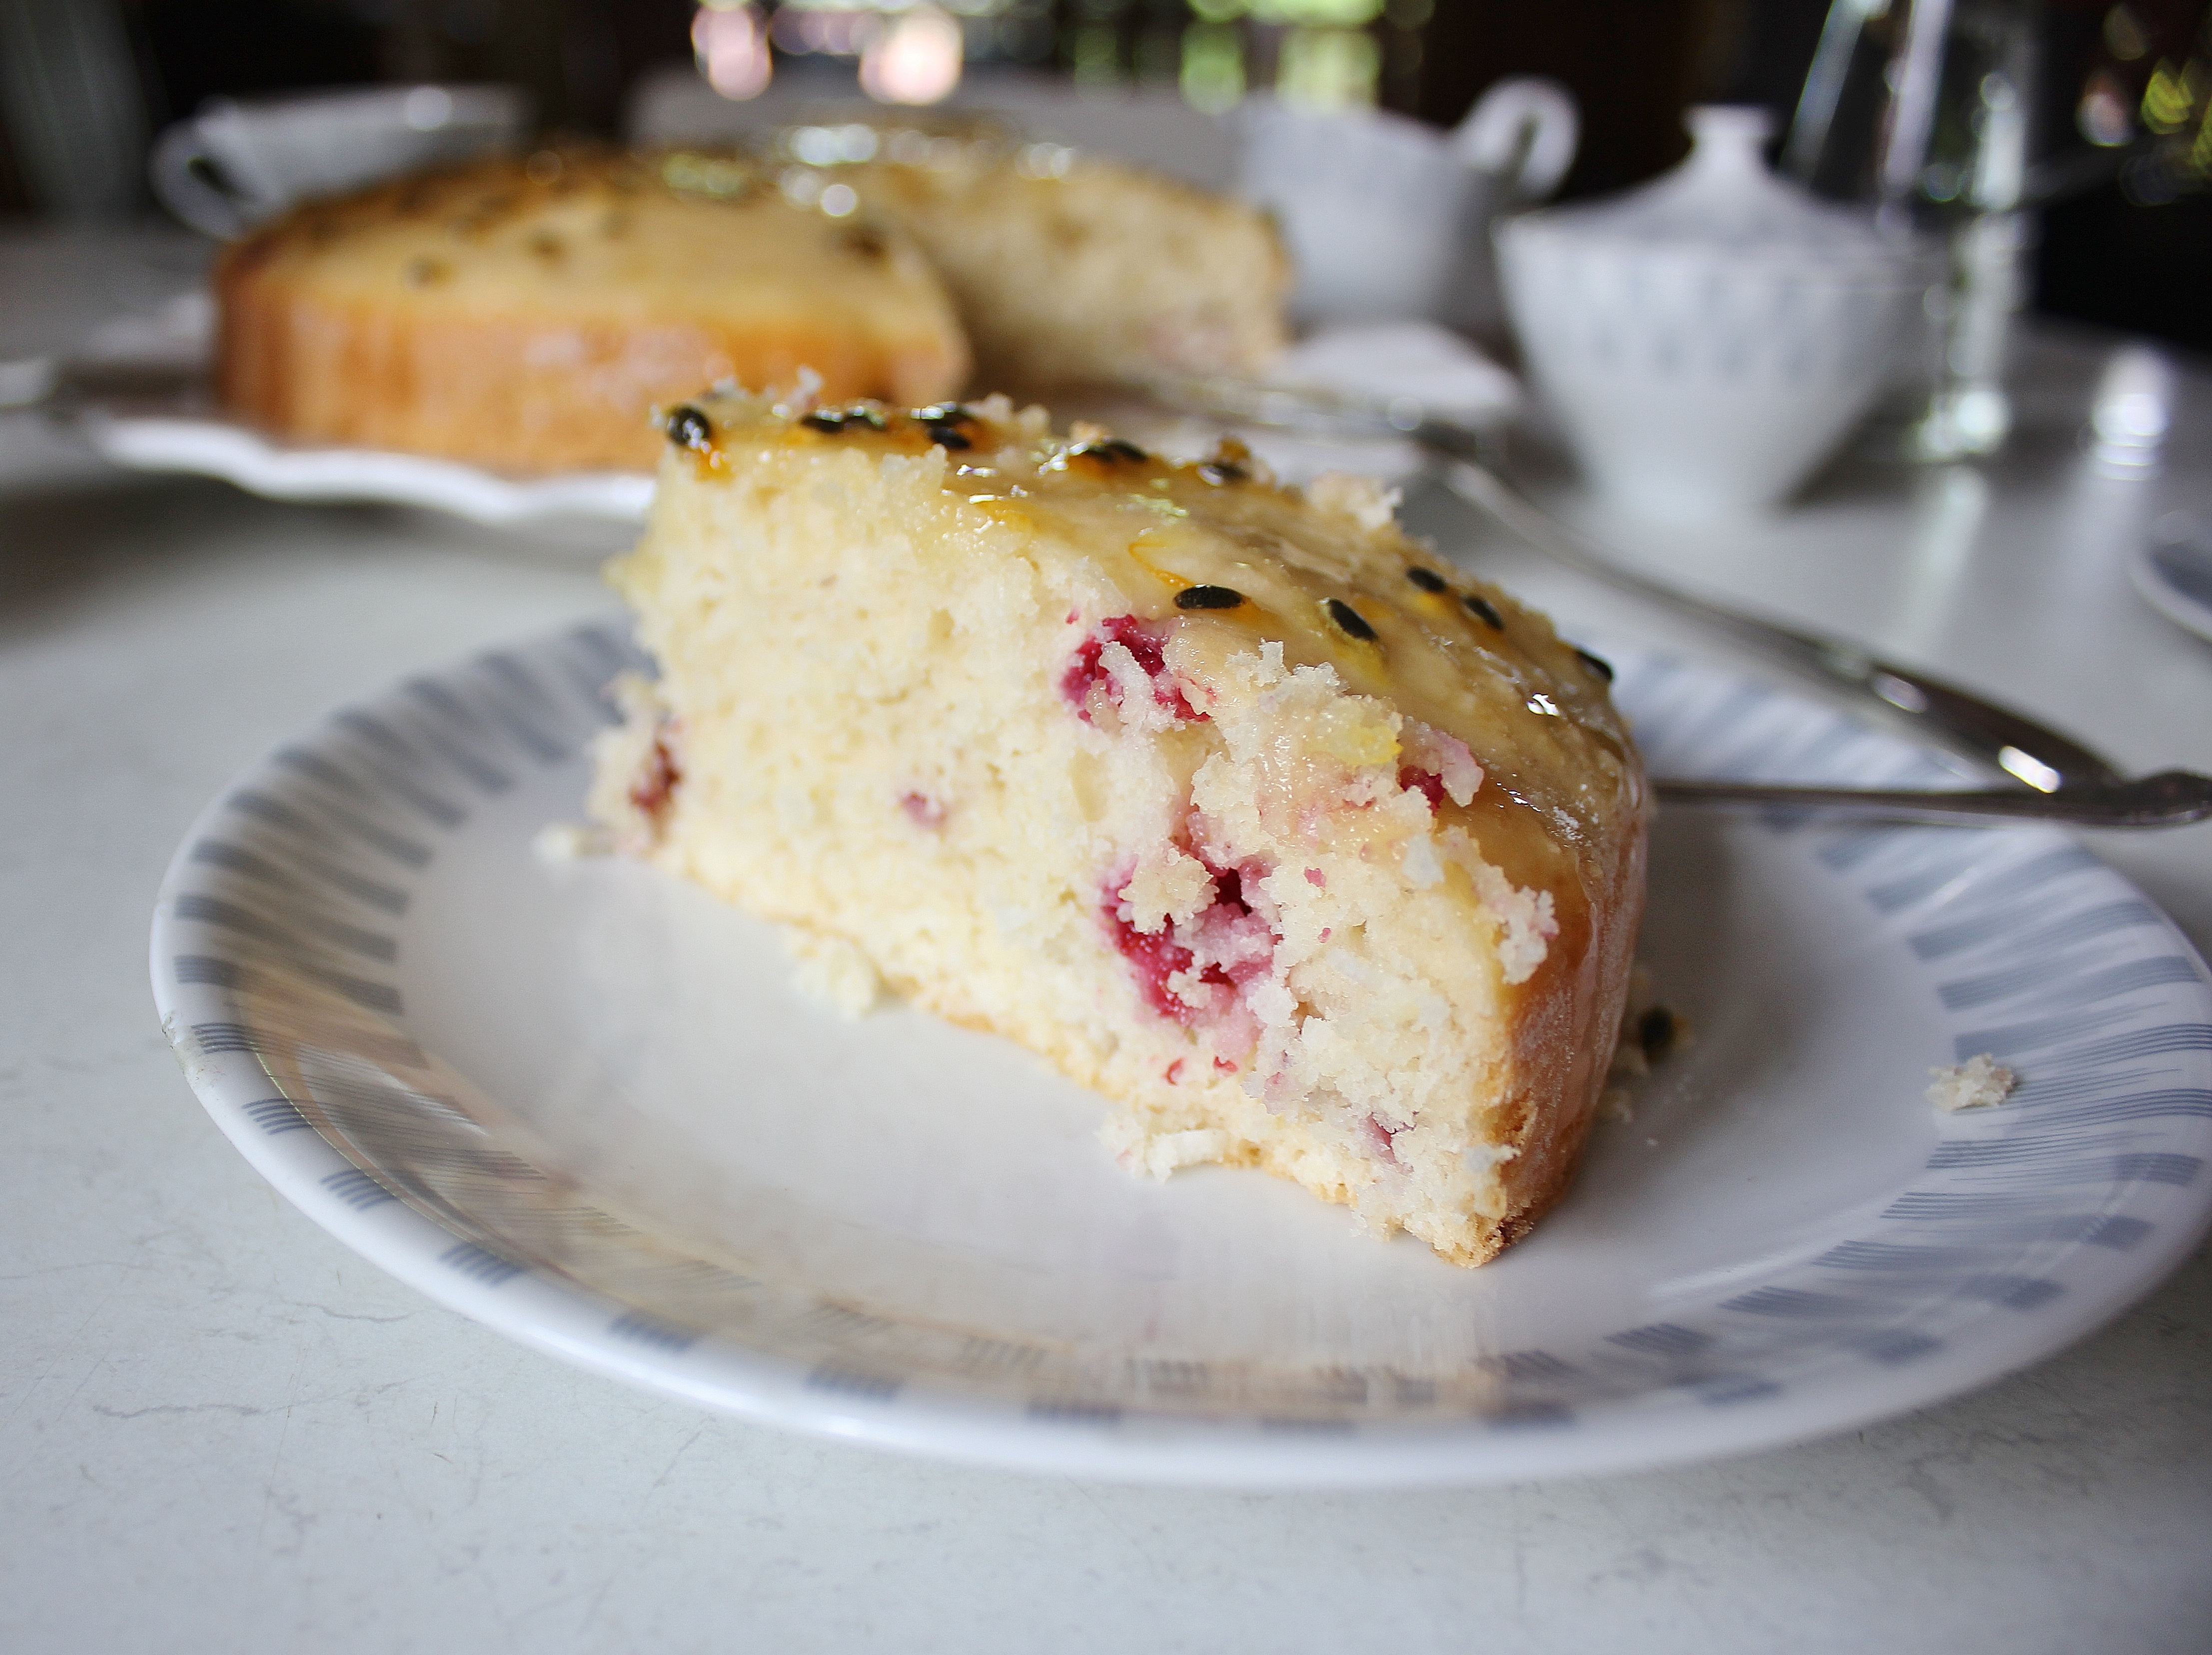
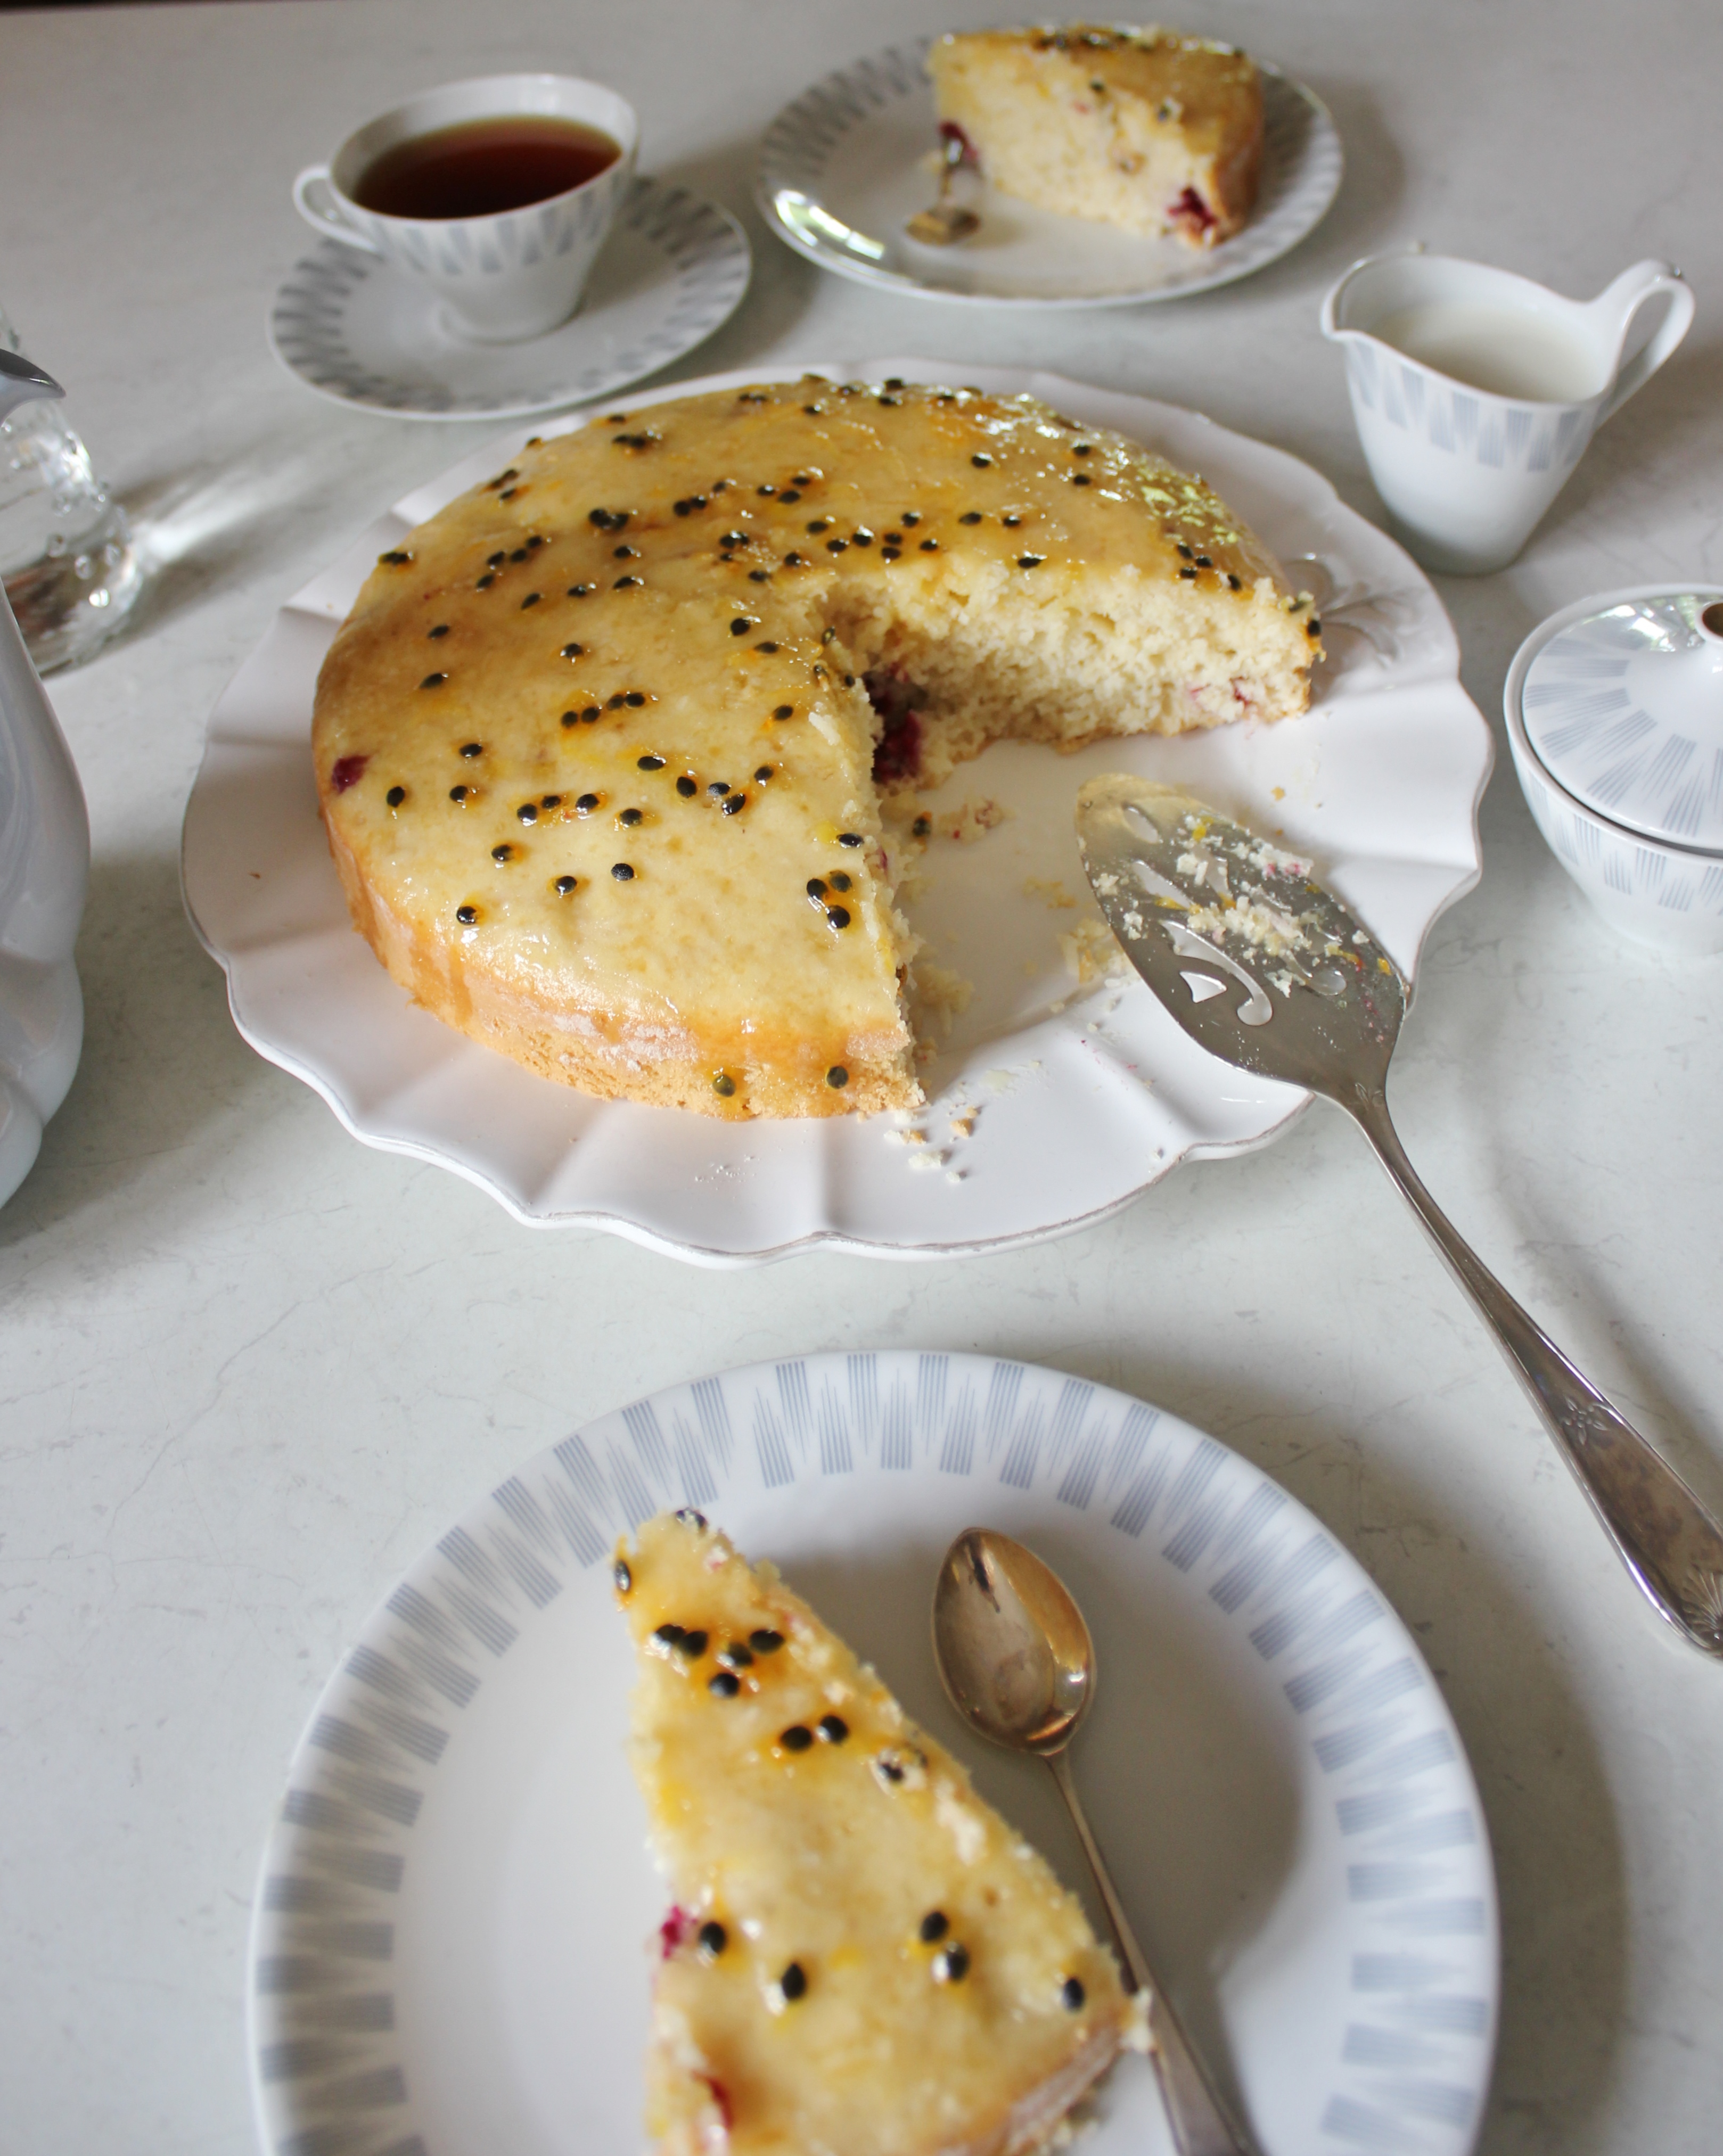
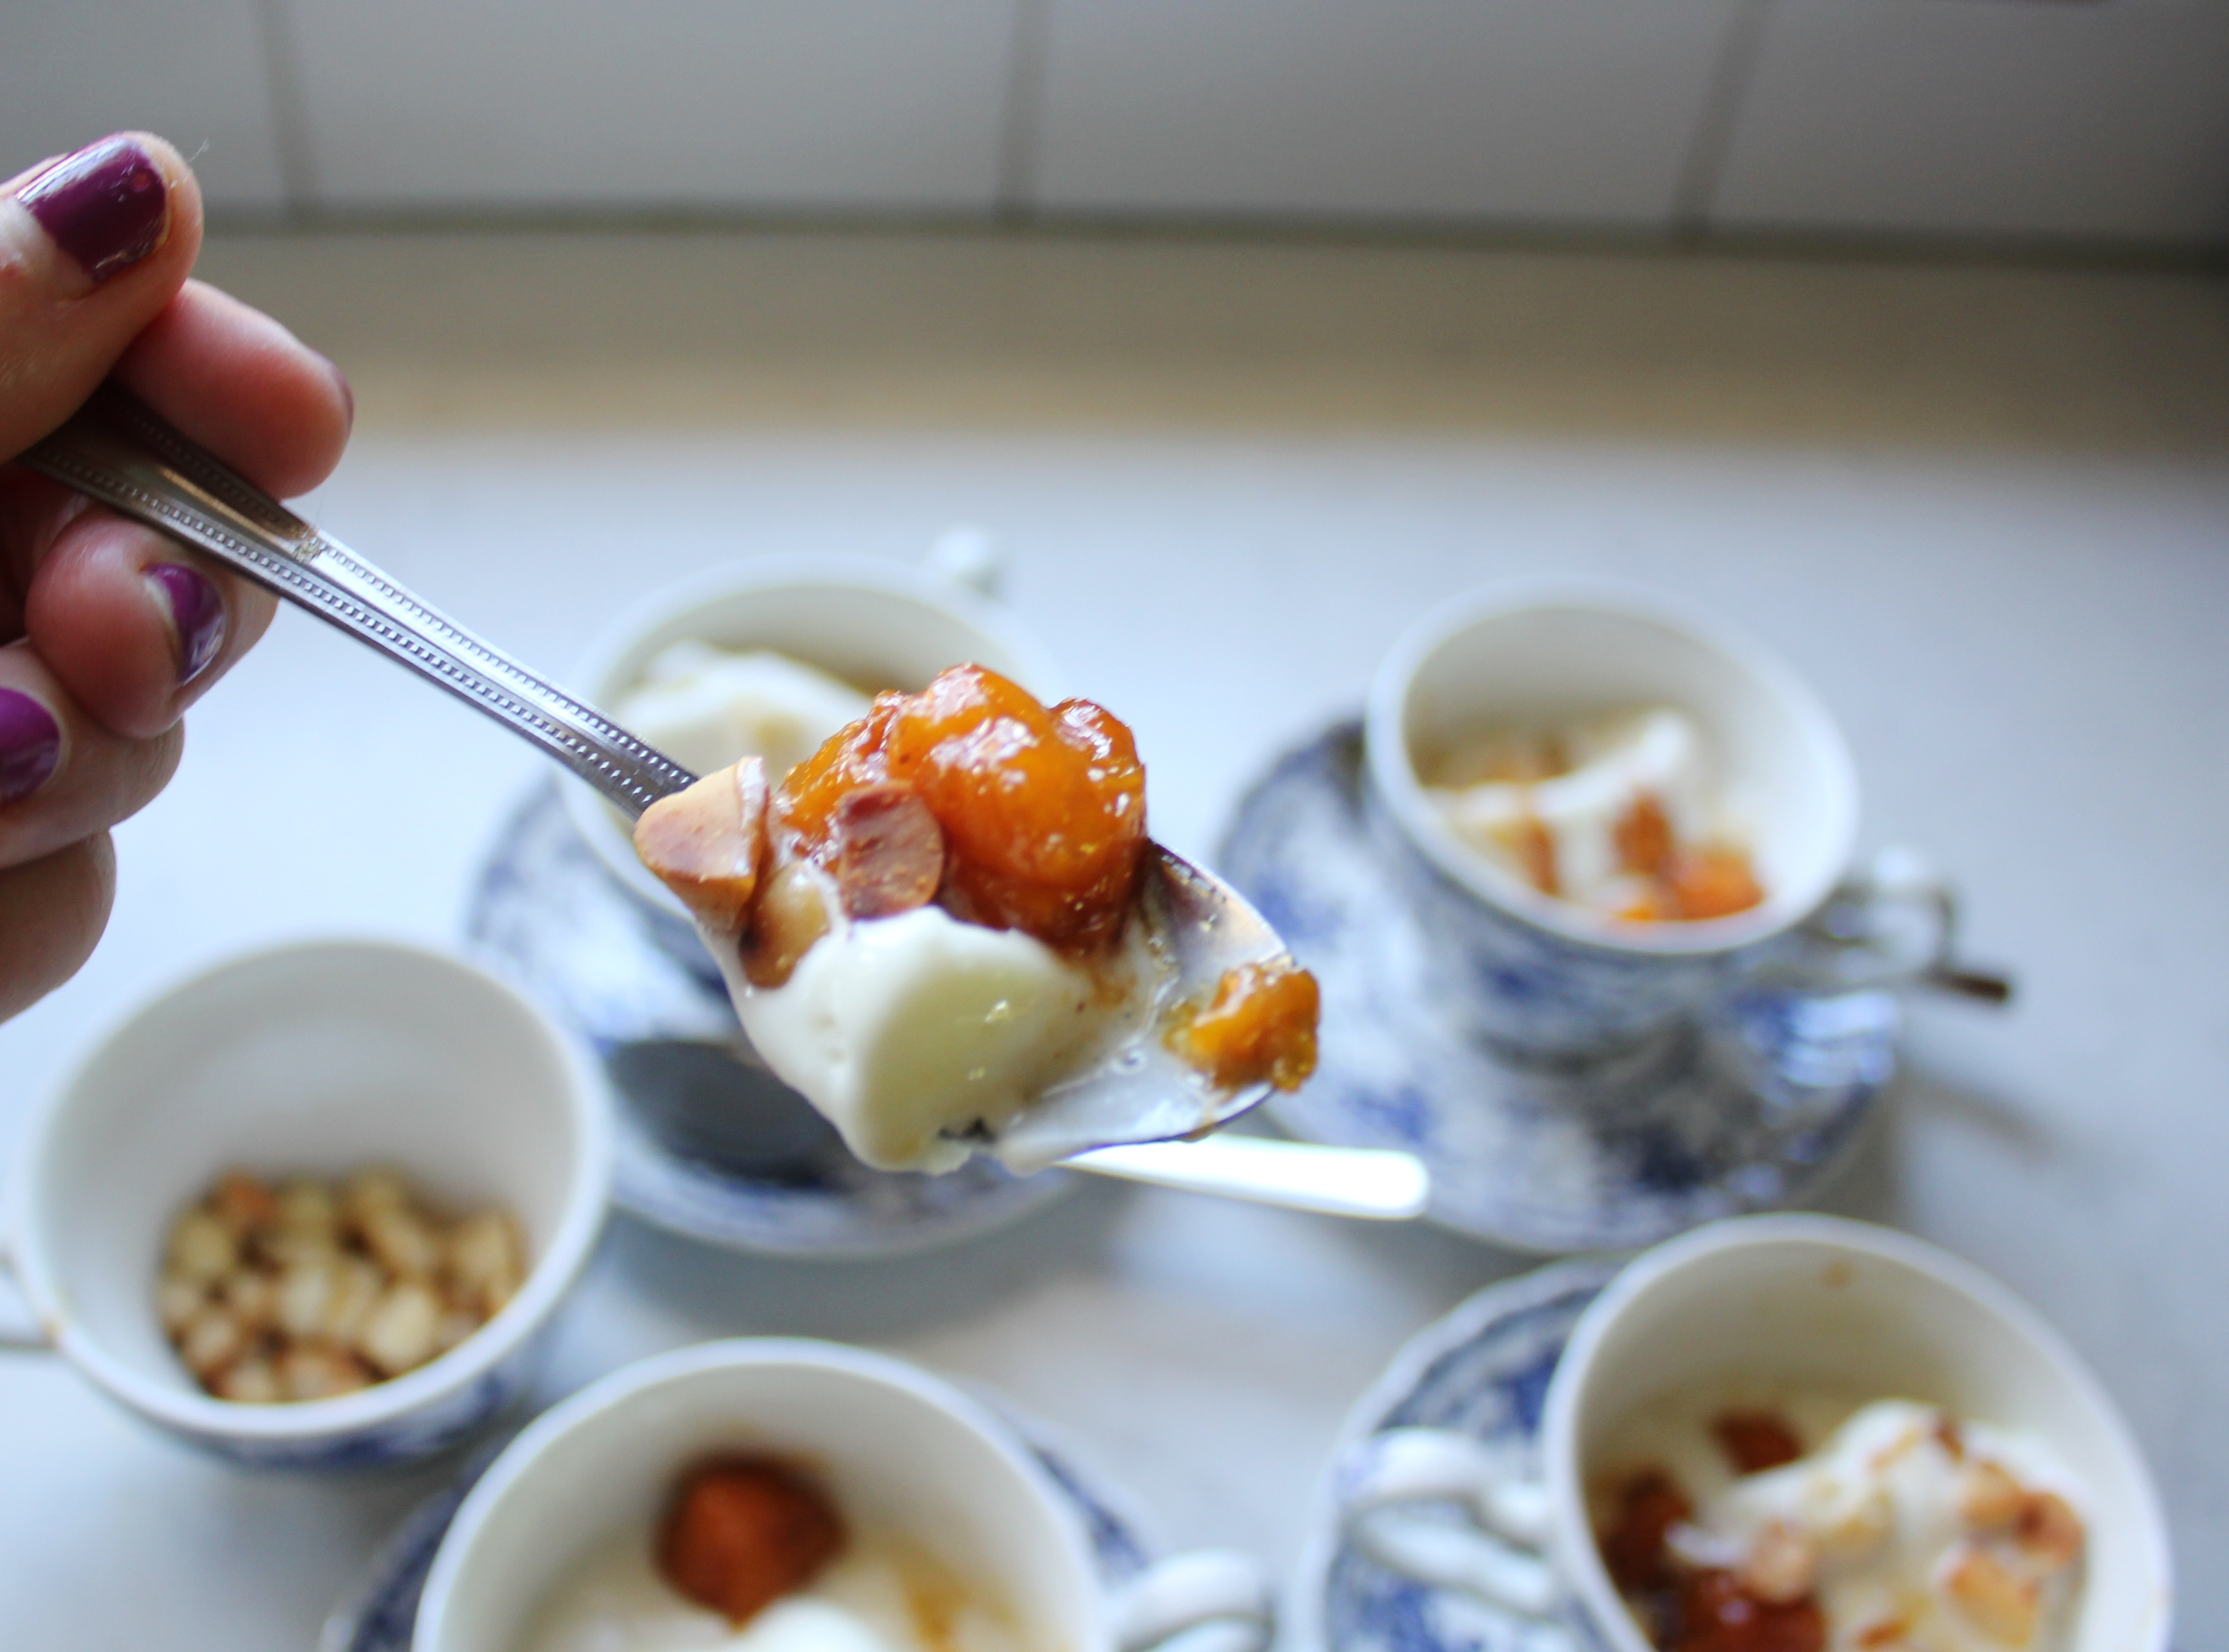
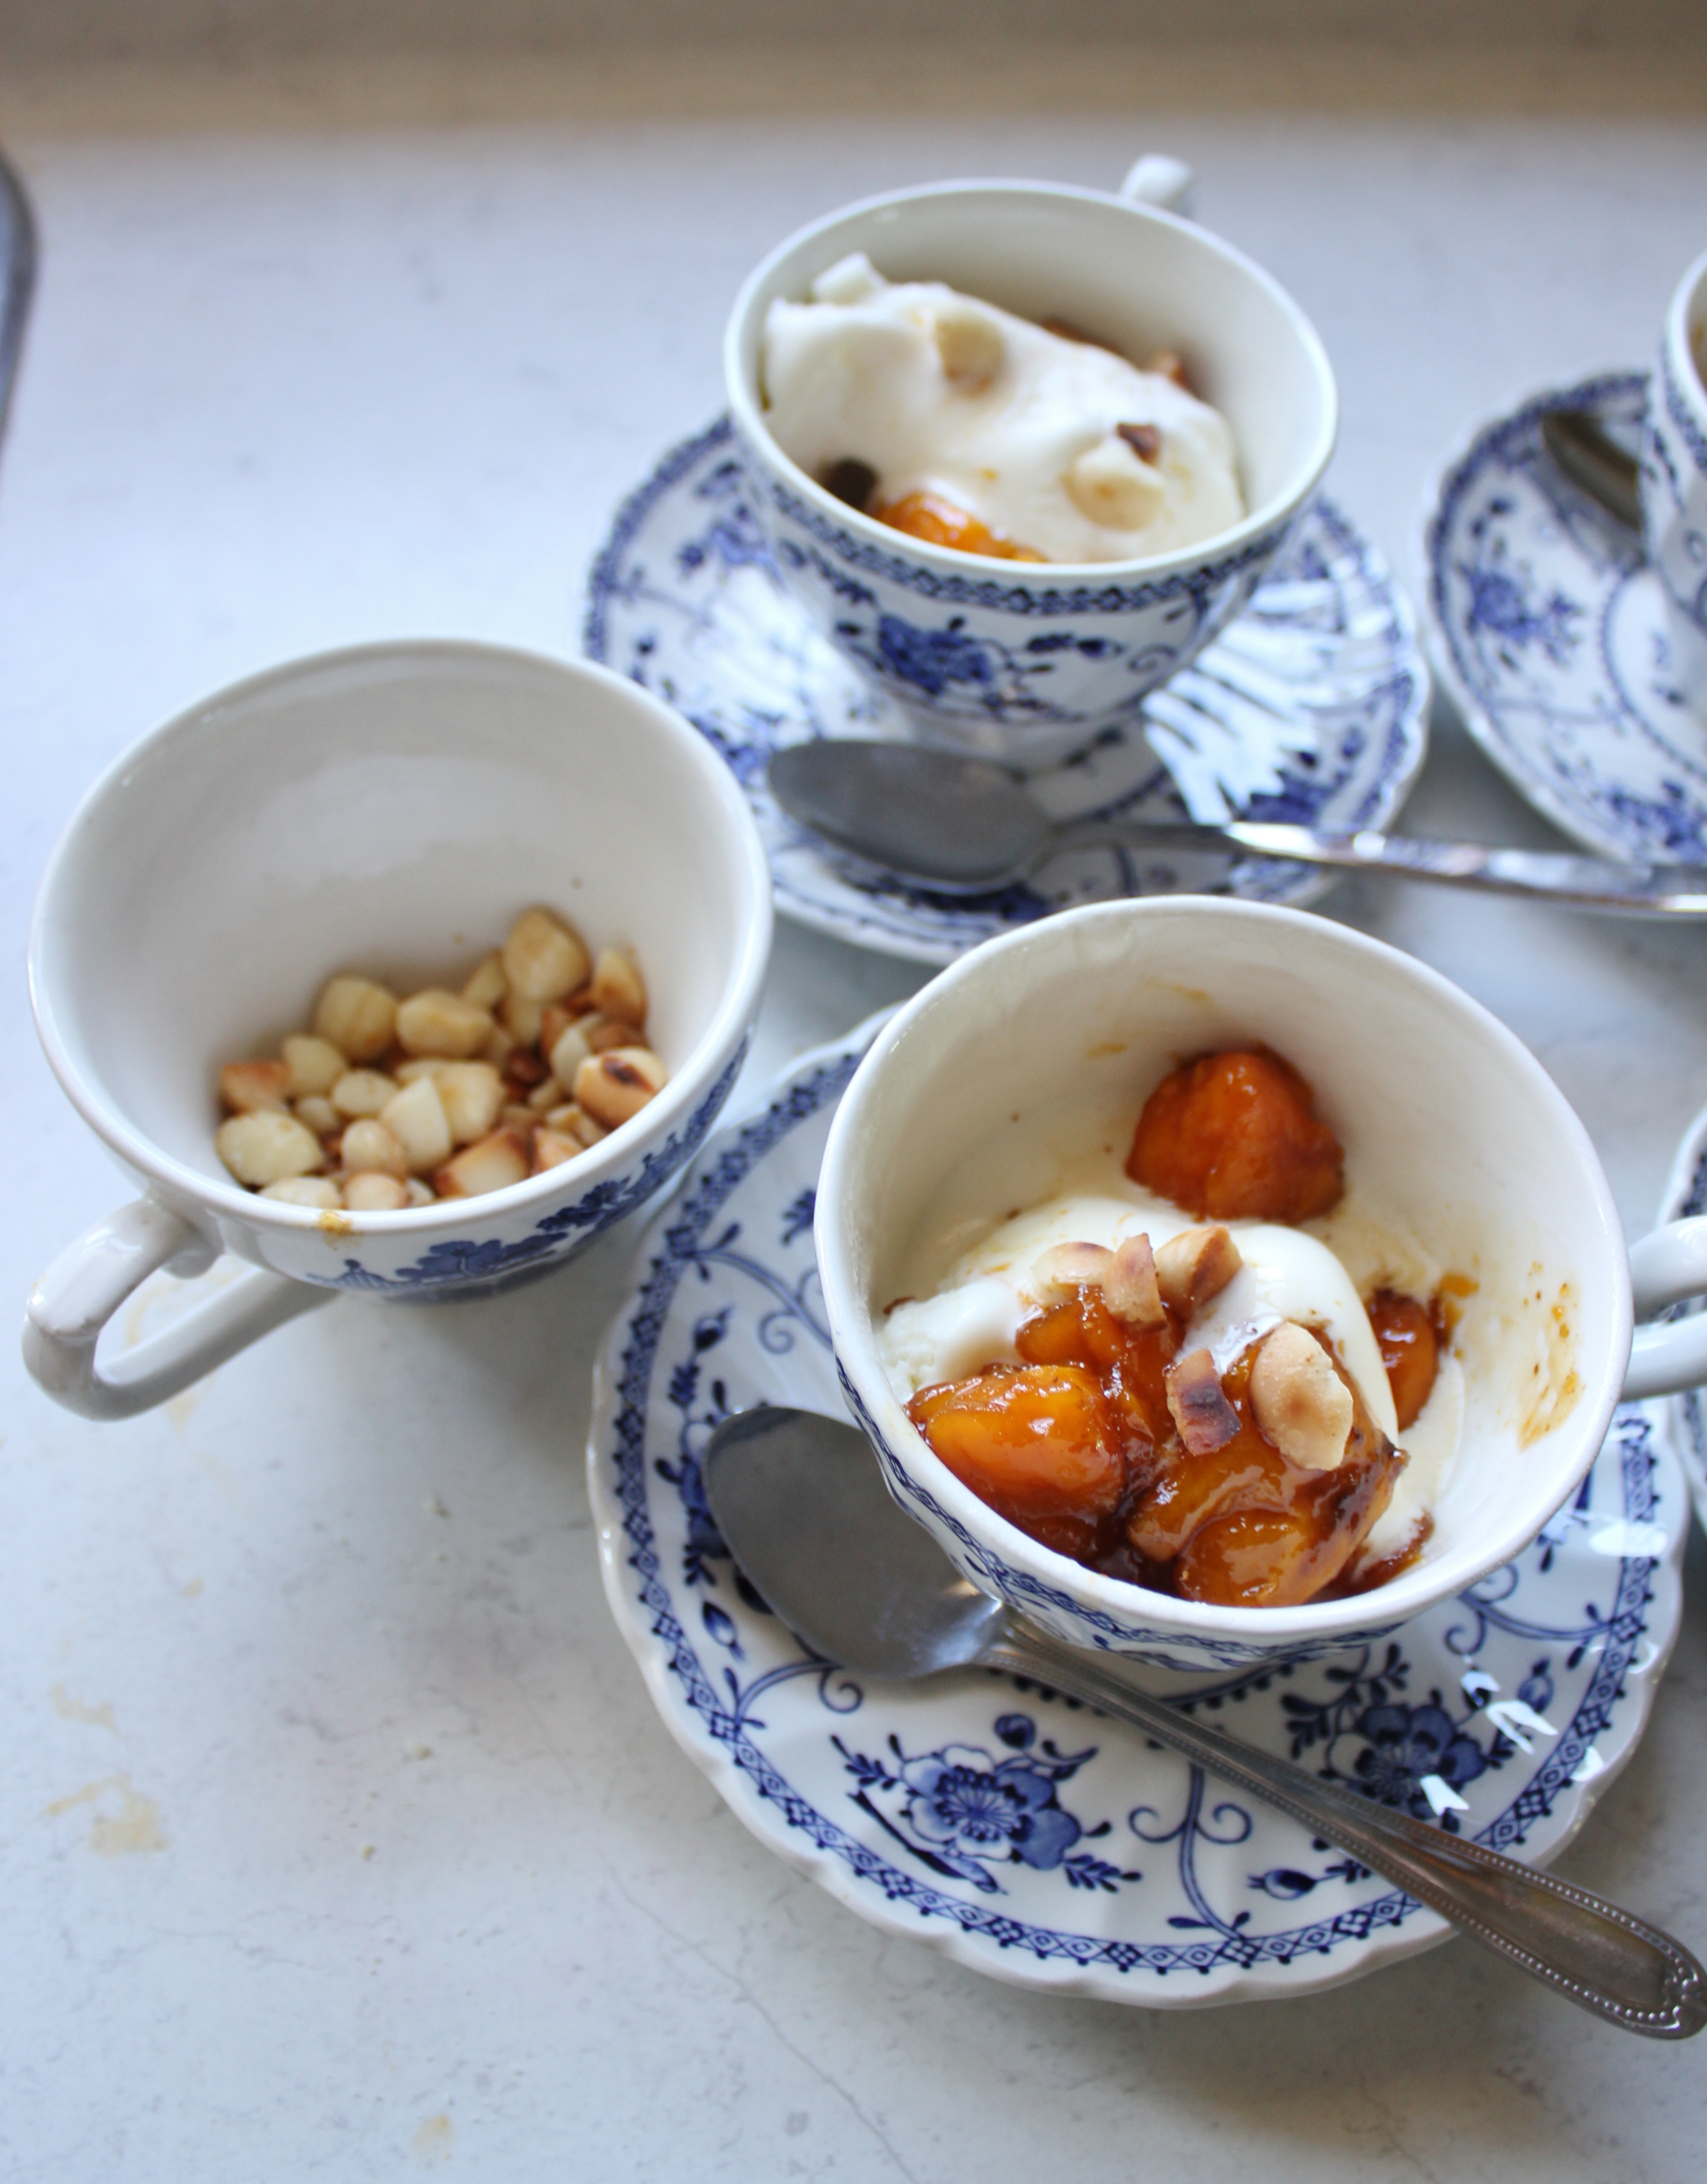
To celebrate my excitement about the Cake Bake and Sweets Show, I threw a little tea party, because that’s what I do best! The coconut, raspberry and passionfruit cake is sweet, moist and perfectly suited to a nice black cuppa.

 Coconut and raspberry cake:

  • 1 cup coconut creamslice
  • ¾  cups caster sugar
  • 2 eggs
  • 1 ¾ cups self-raising flour
  • 1 cup of desiccated coconut
  • ½ cup frozen raspberries

Sticky passionfruit glaze:

  • ¼  cup sugar
  • 3 passionfruit
  • 2 tbsp water

coconutPreheat your oven to 180°C. Grease and flour a 21 cm cake tin.

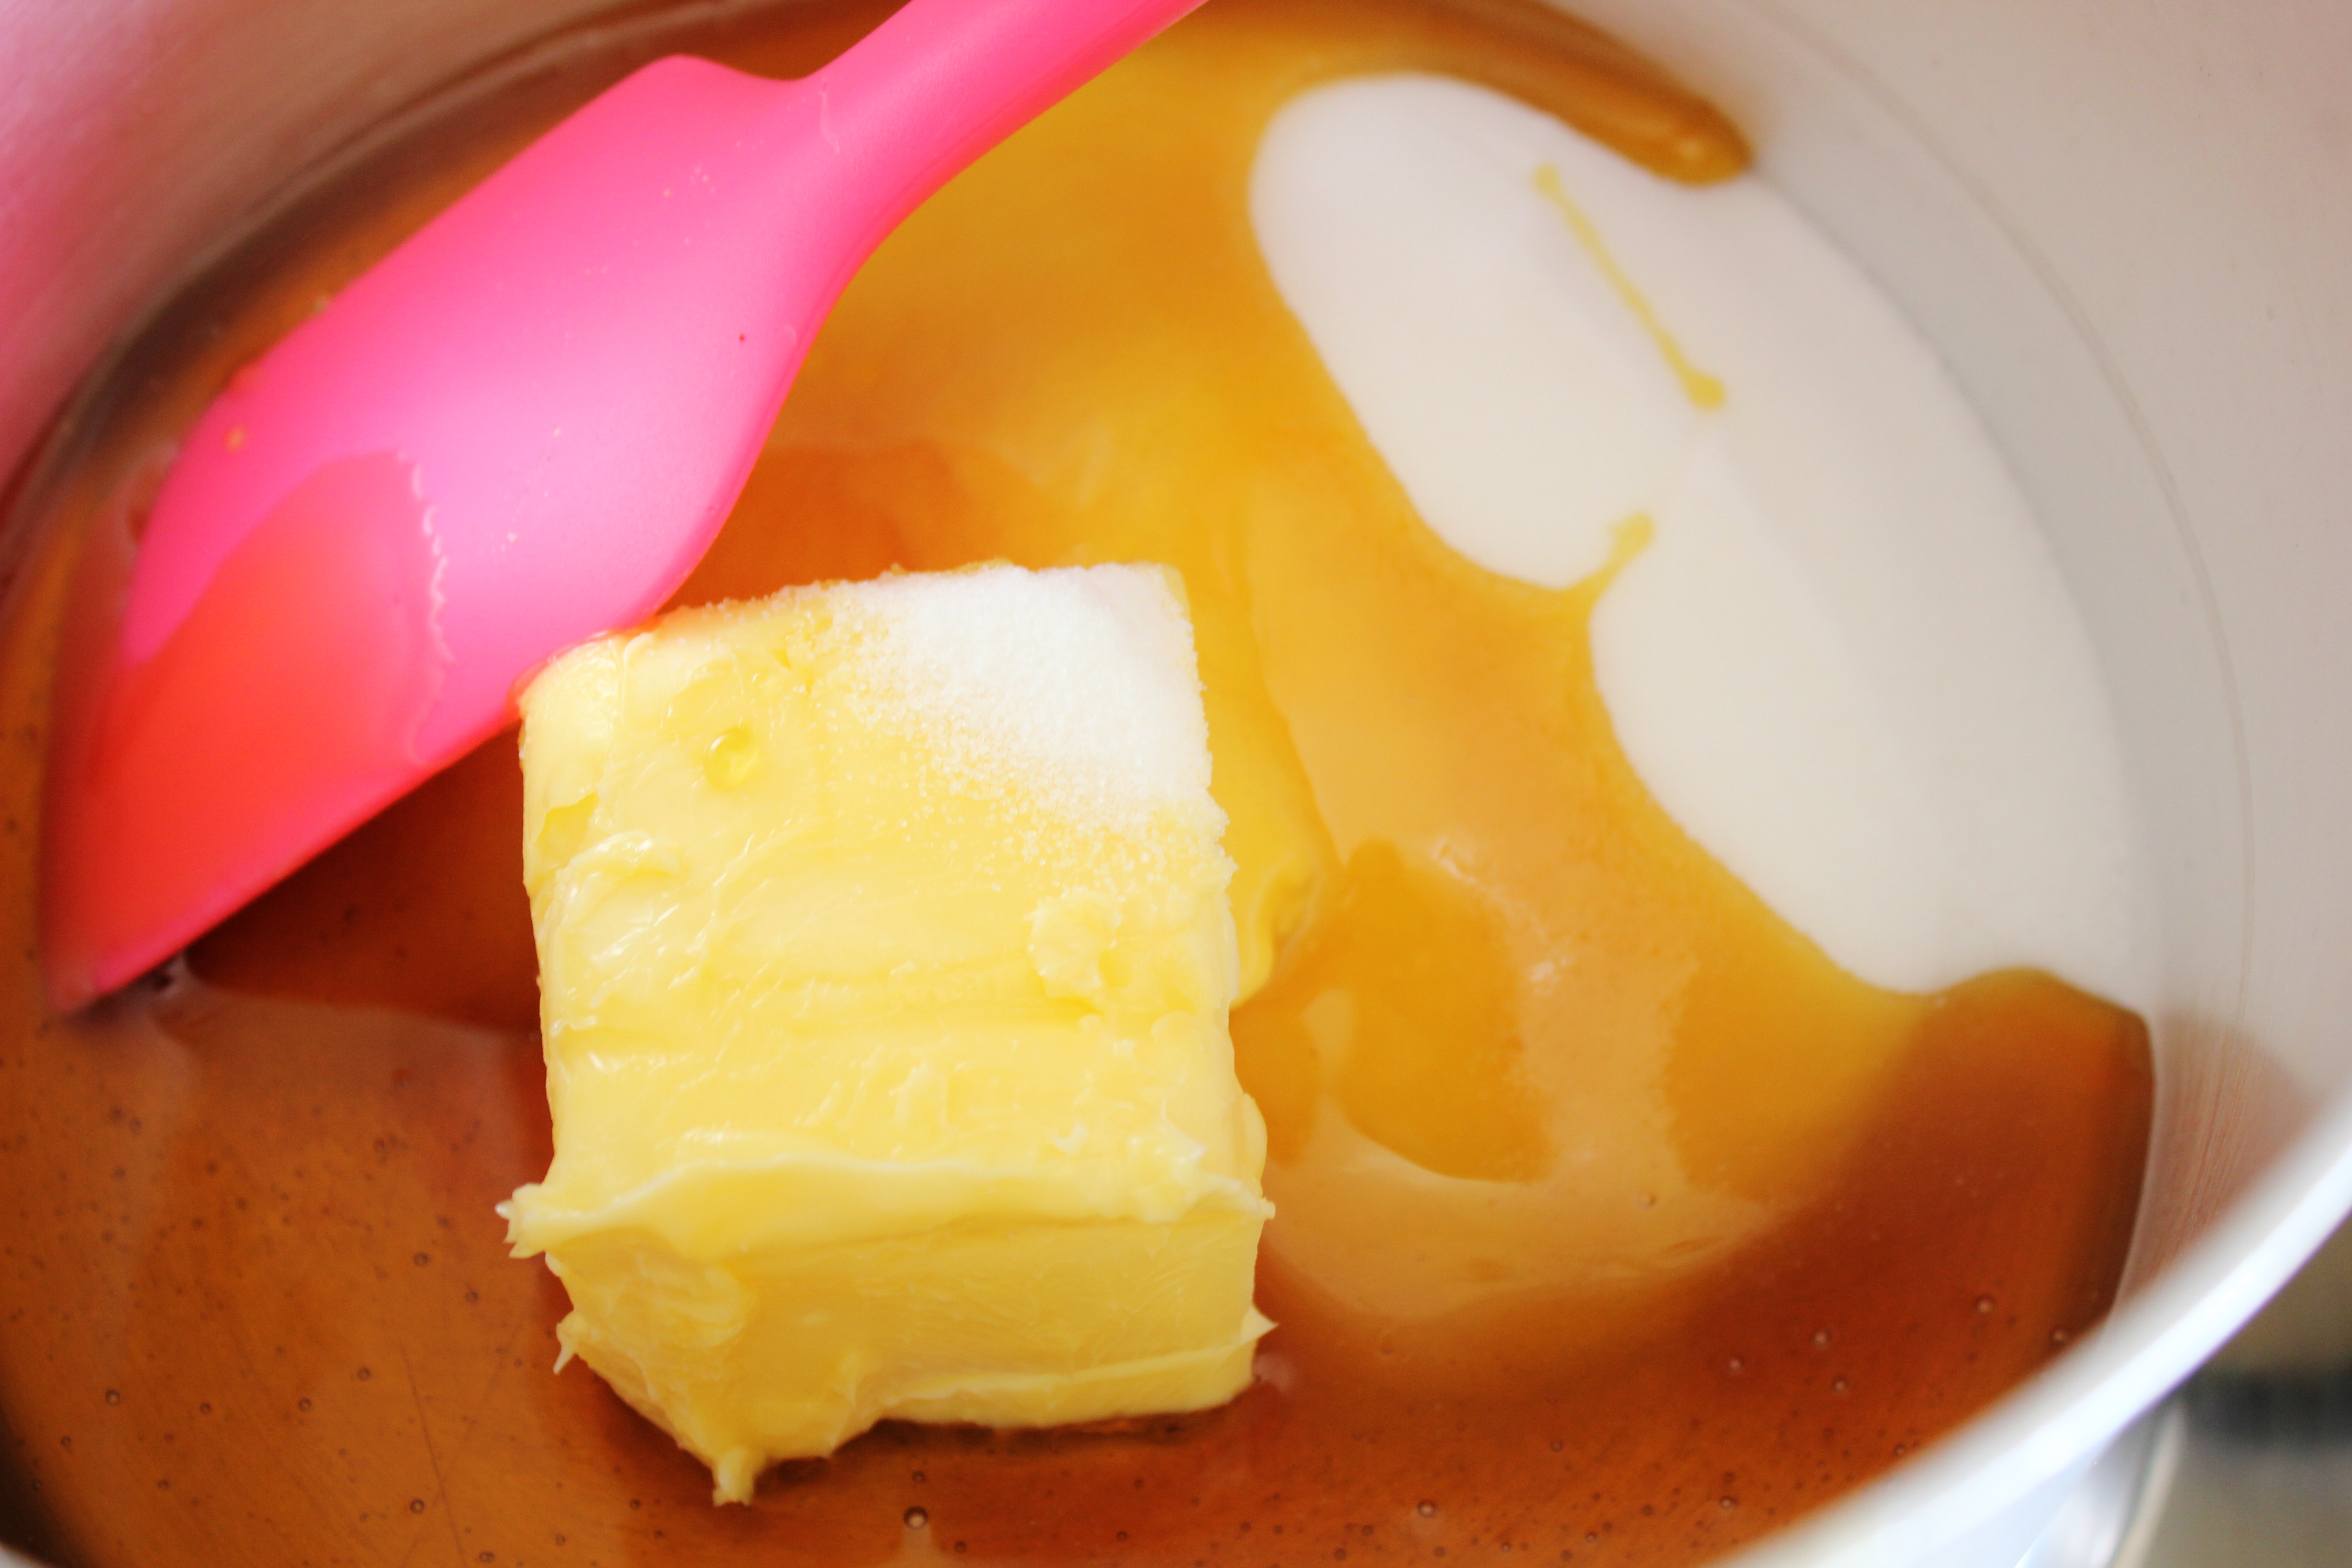
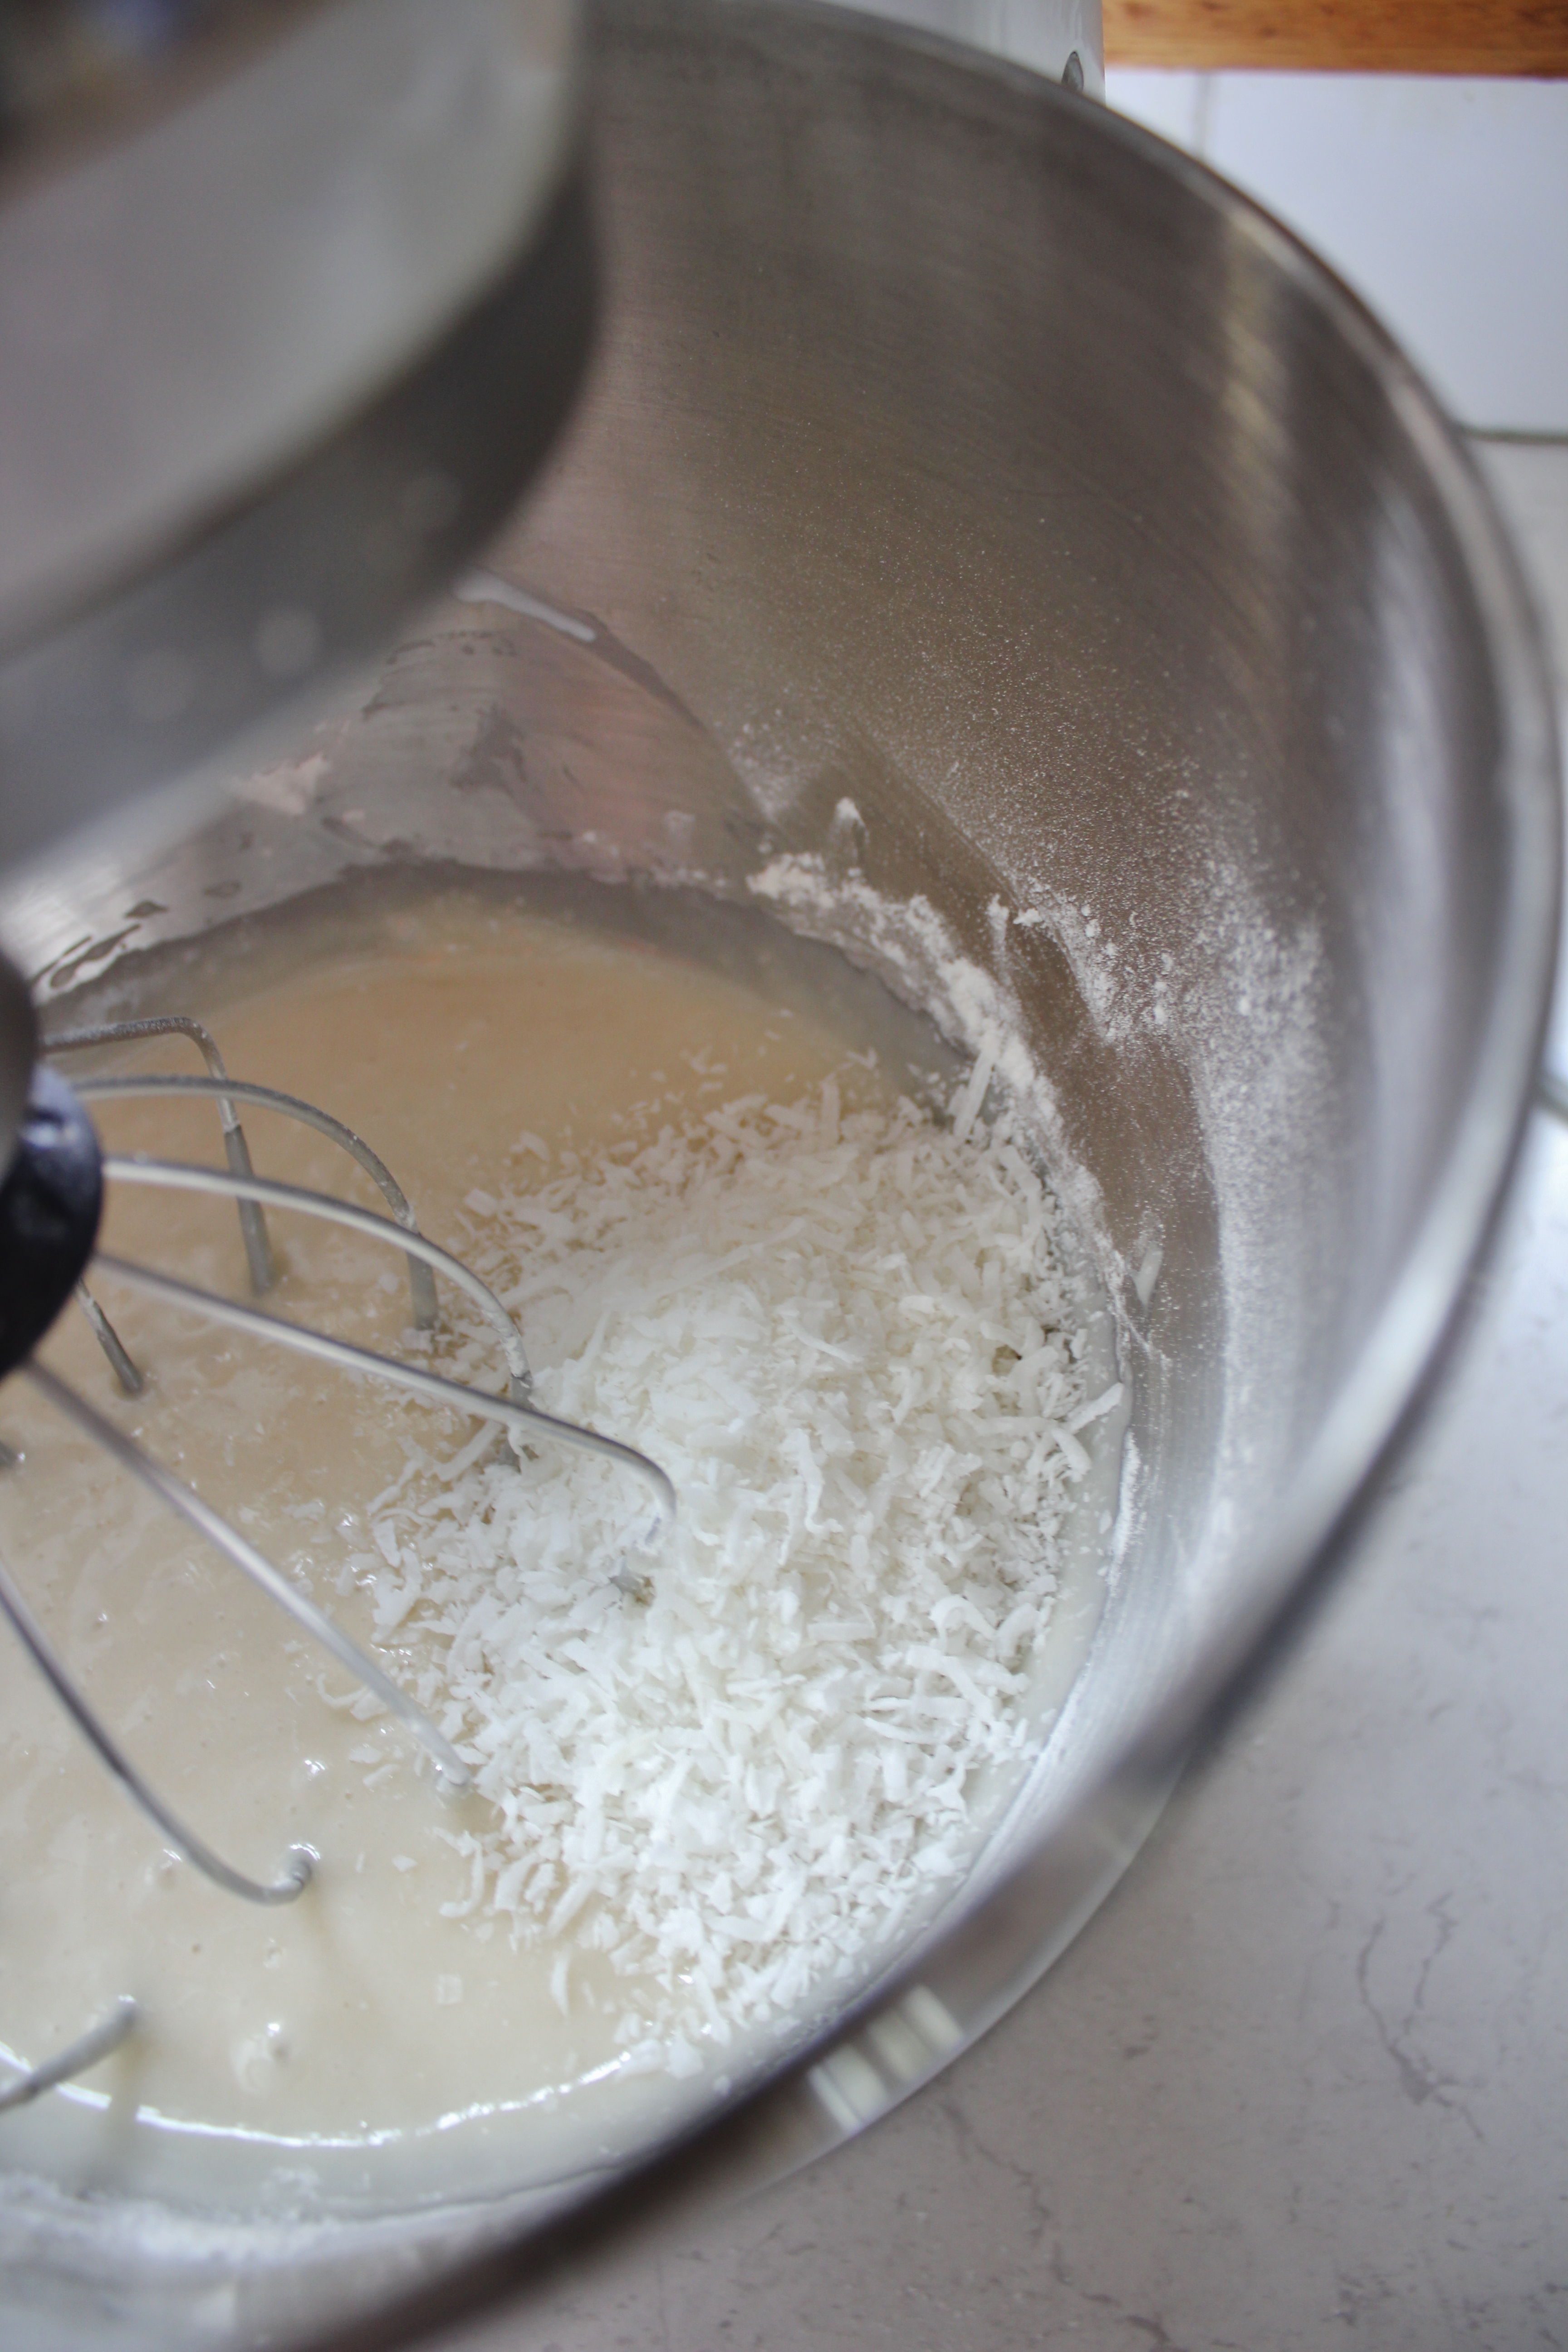
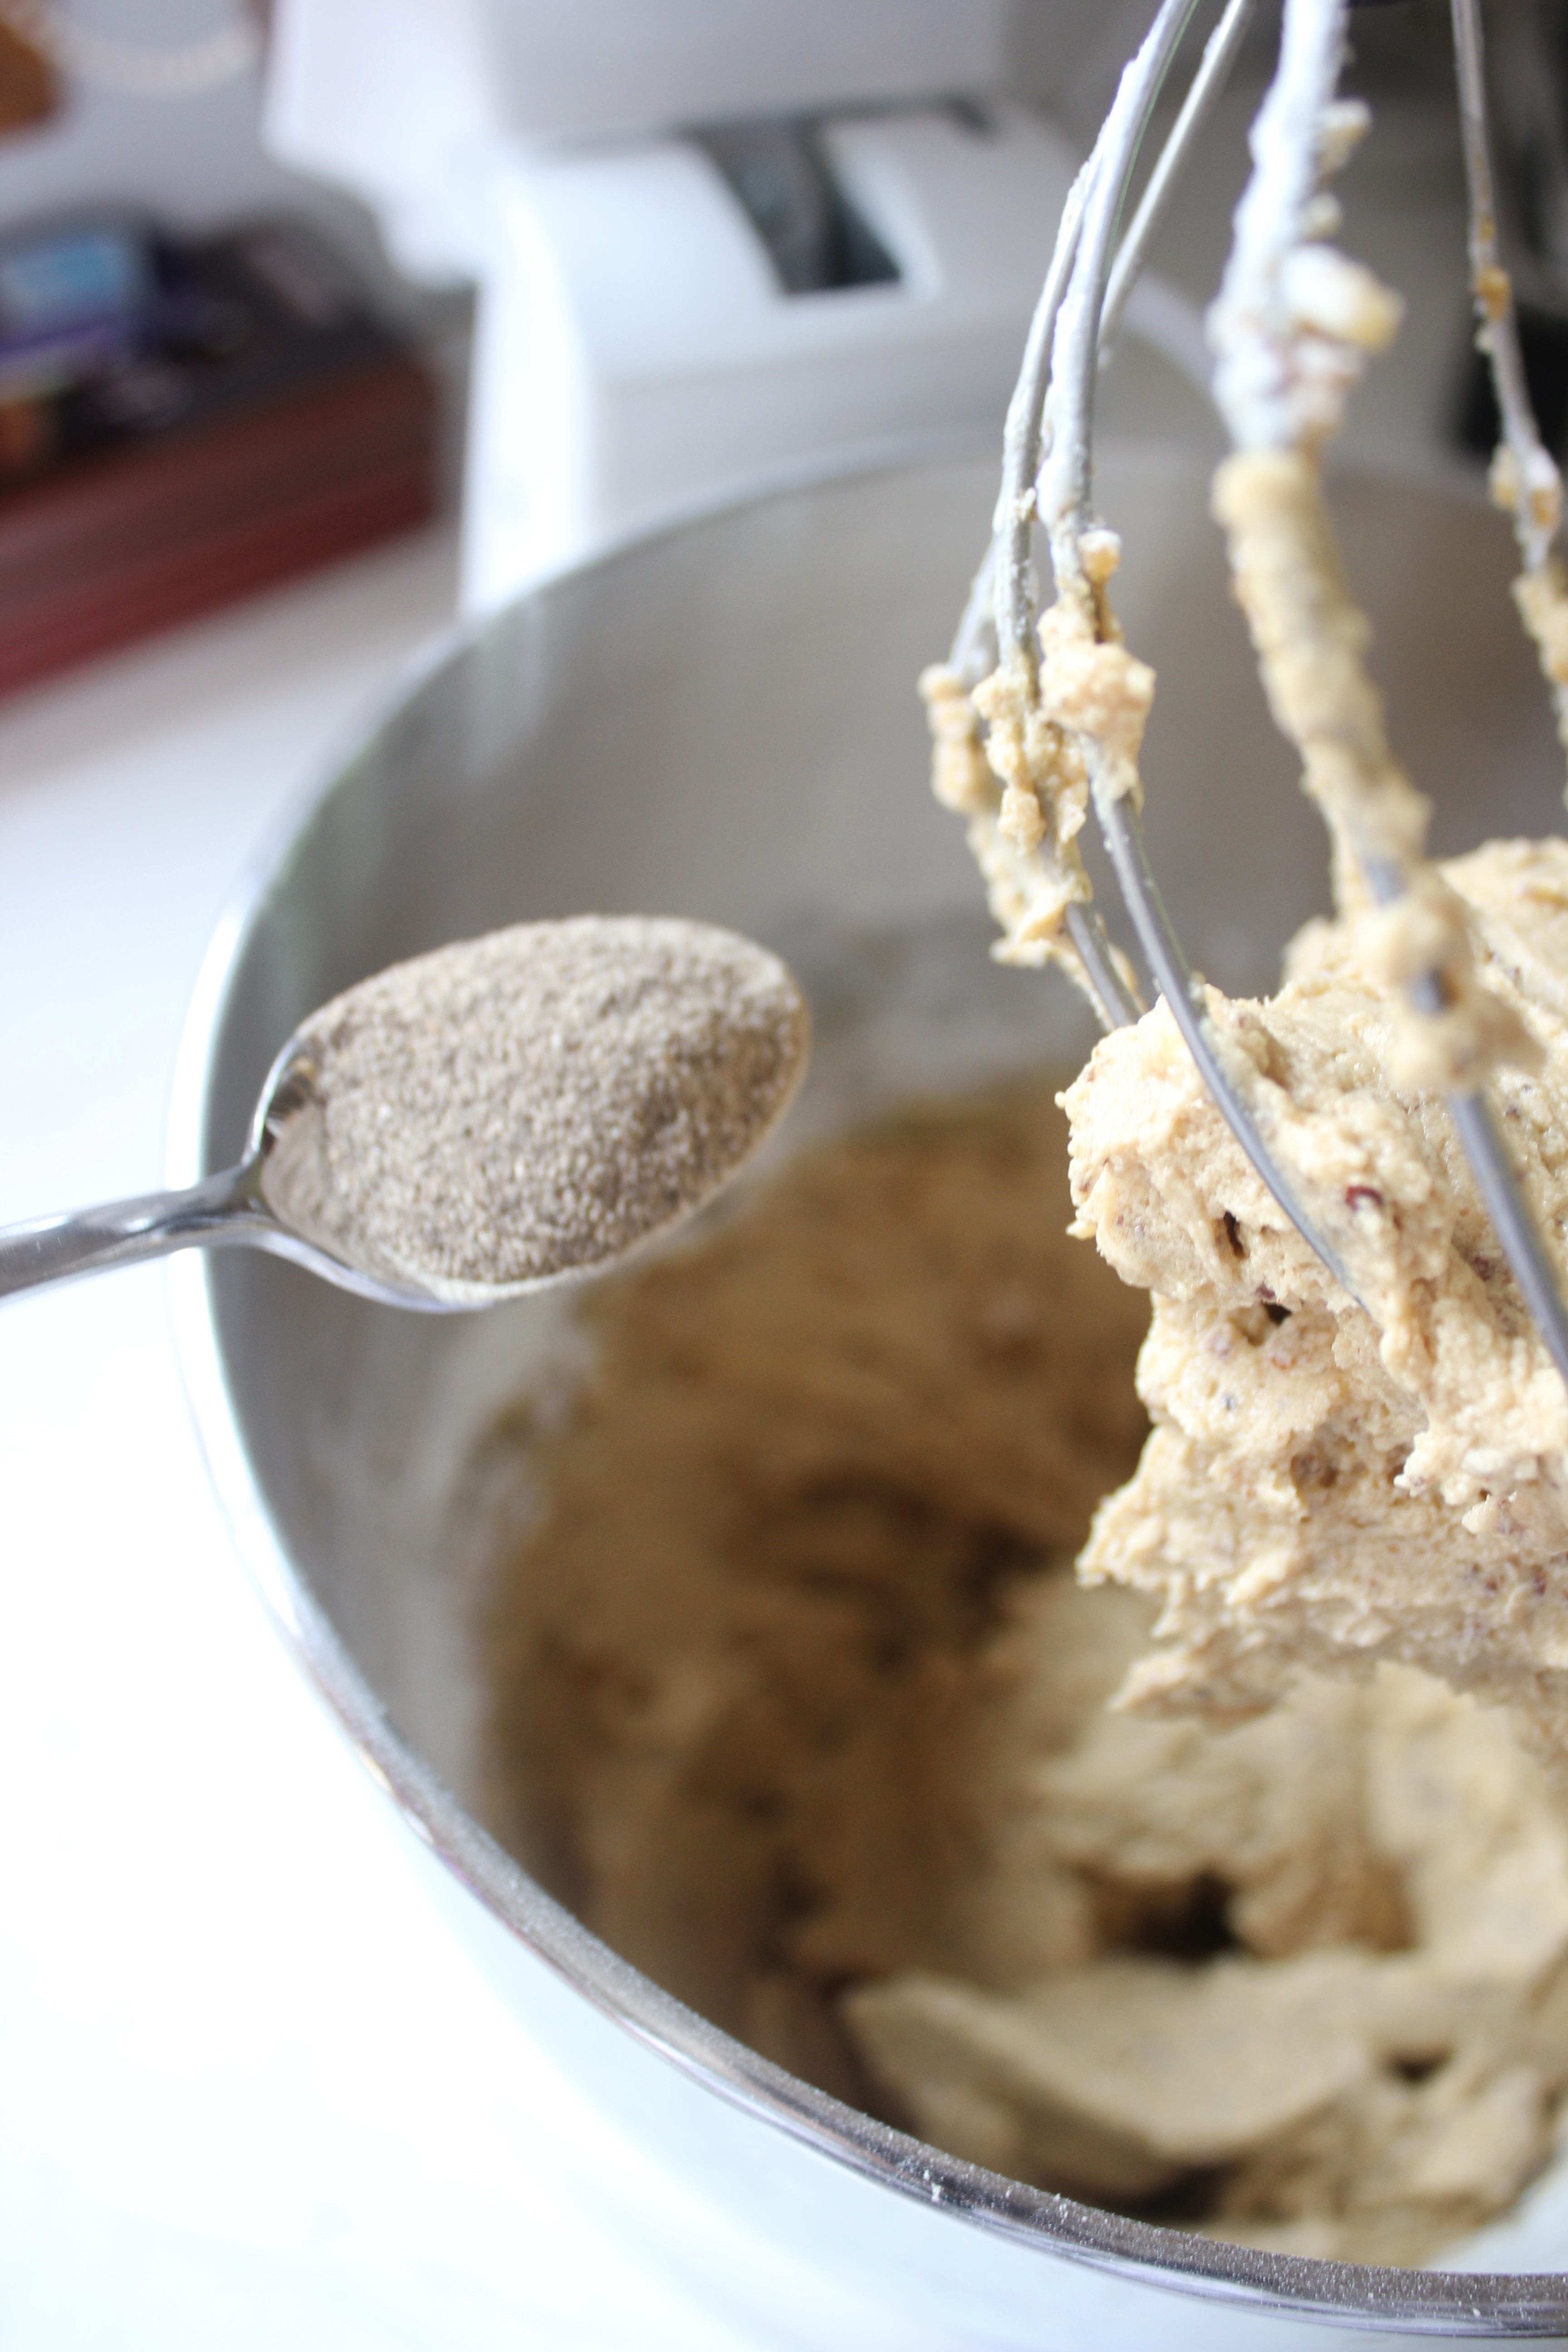
Mix together the coconut cream and caster sugar until the sugar has started to dissolve. Add in the eggs, flour and then coconut and mix until combined.

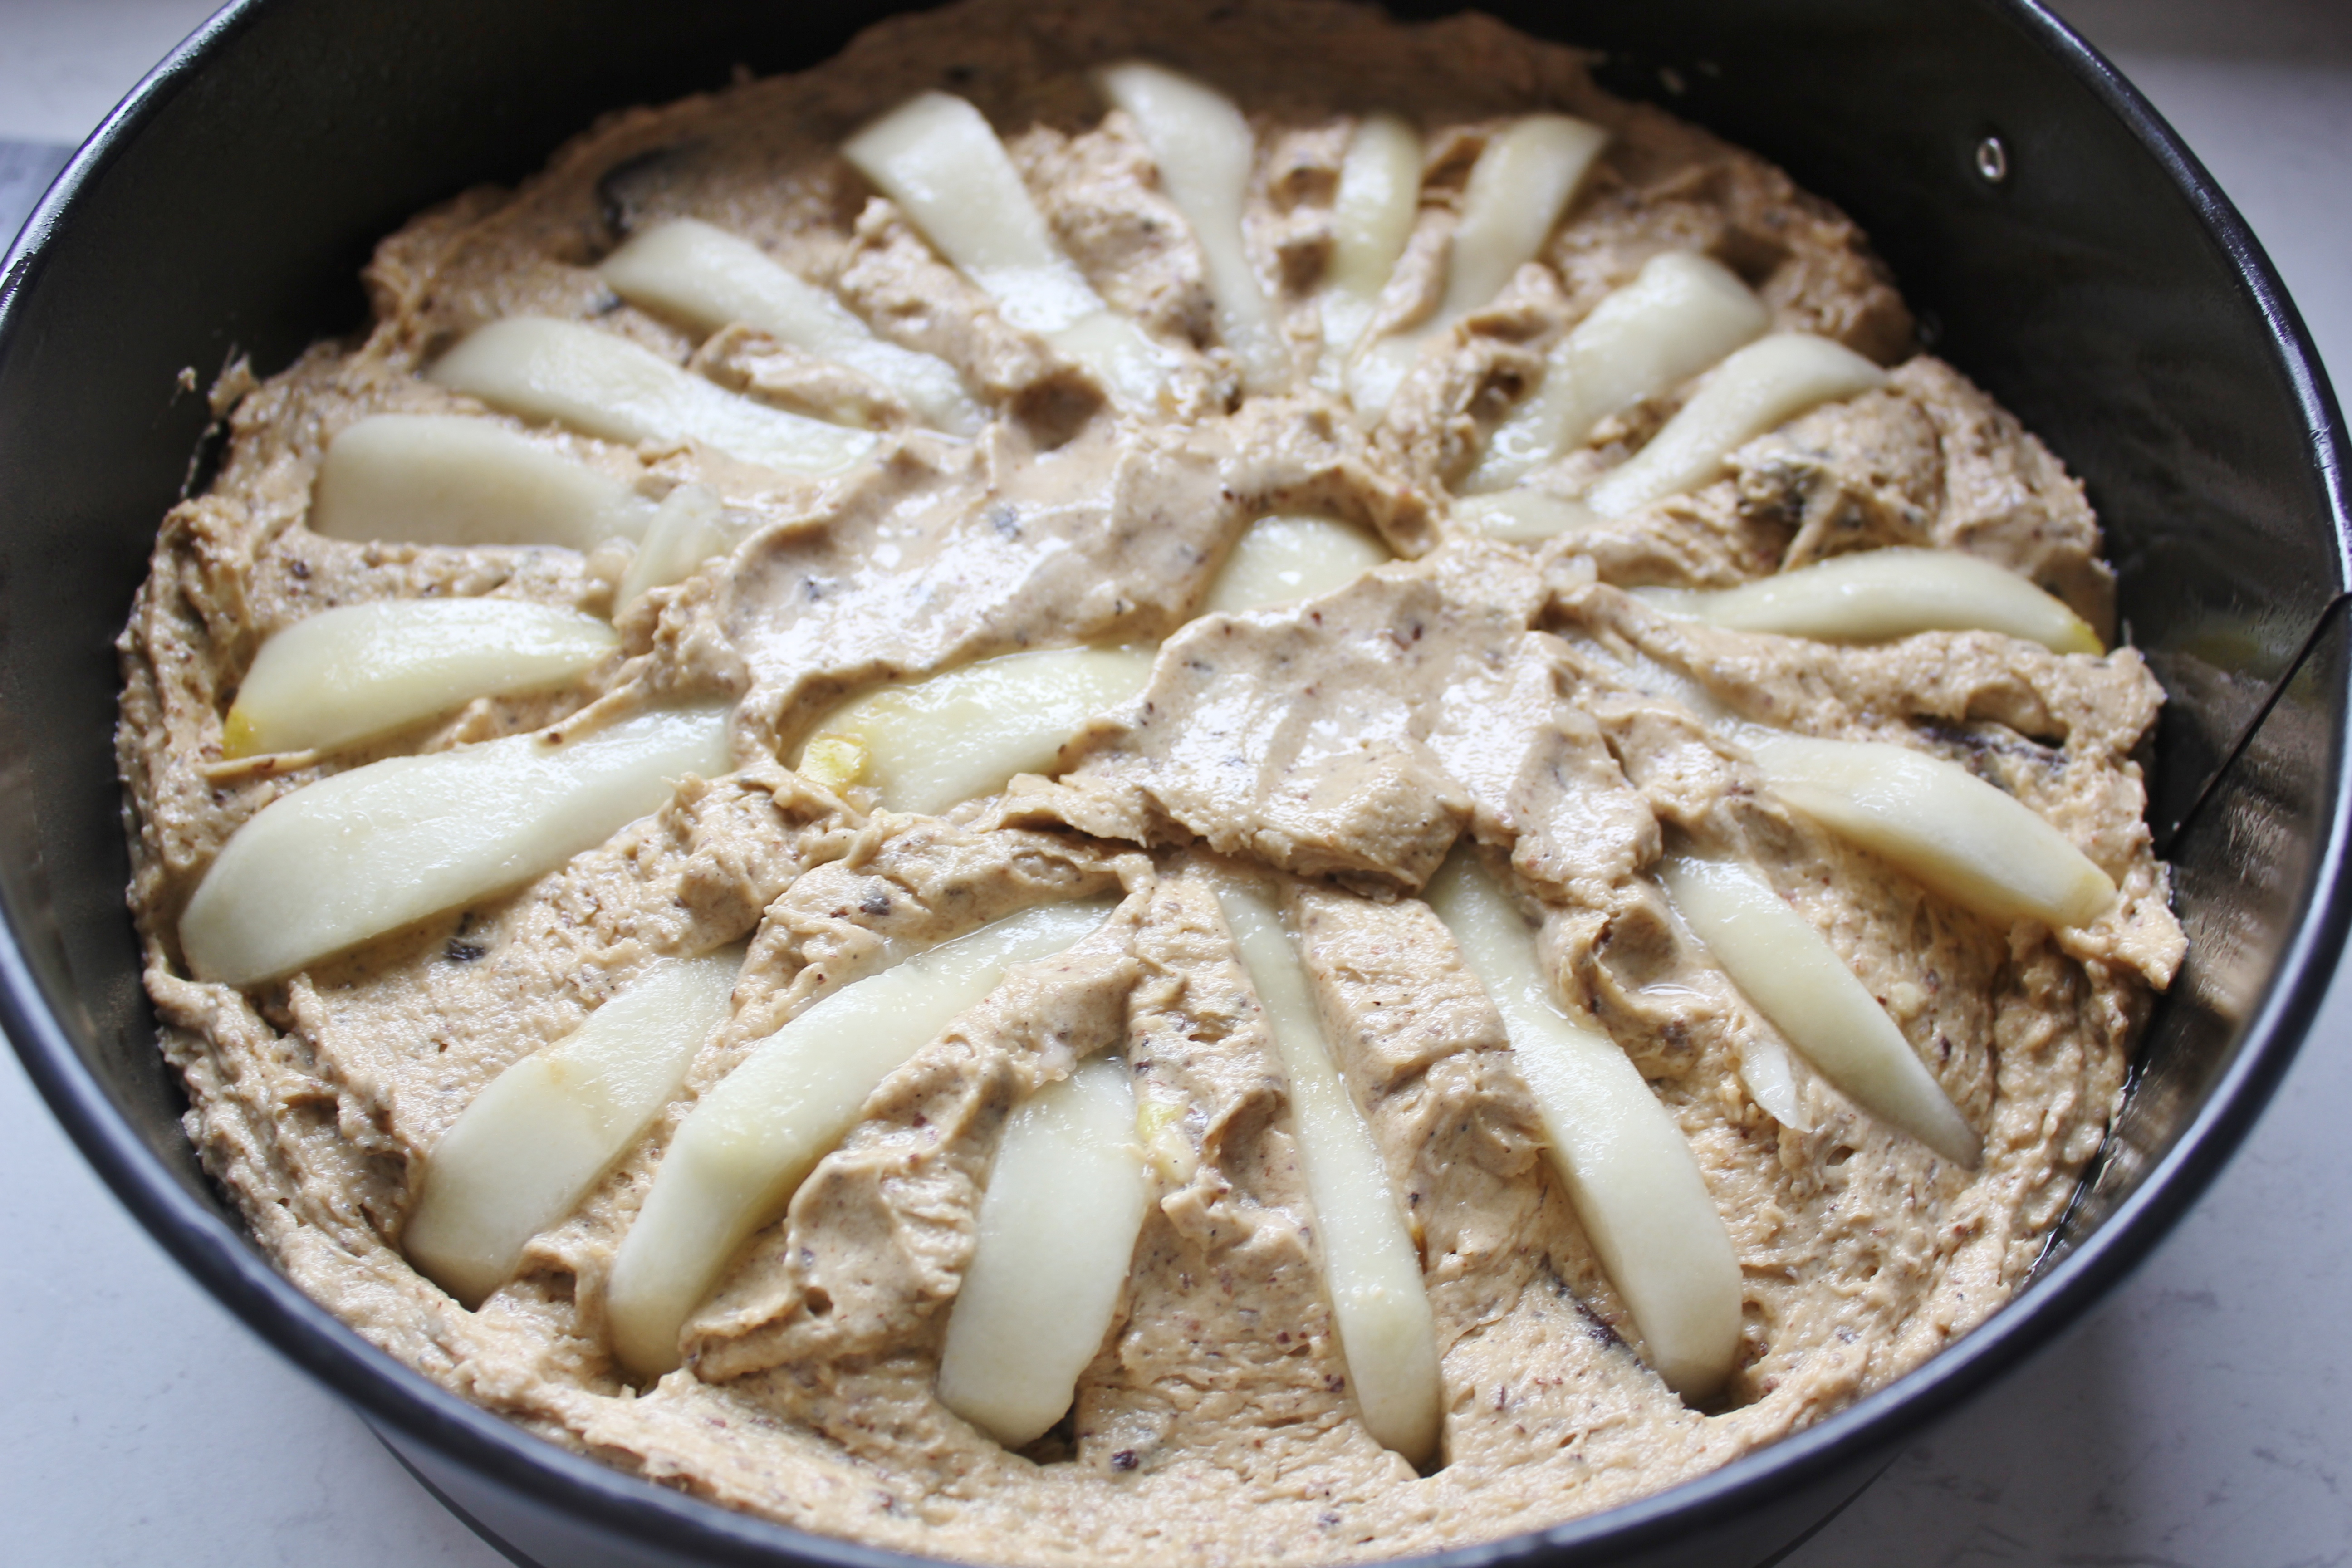
Gently fold in the frozen raspberries so that their colour doesn’t bleed out too much.

Pour the mixture into the prepared tin and pop in the oven for 40-45 minutes, until a skewer inserted into the middle comes out clean.

spoonAs soon as the cake is out of the oven, pop the sugar, passionfruit and water into a small saucepan and heat over a low flame until the sugar has dissolved. Keep stirring to ensure that the mixture doesn’t burn.

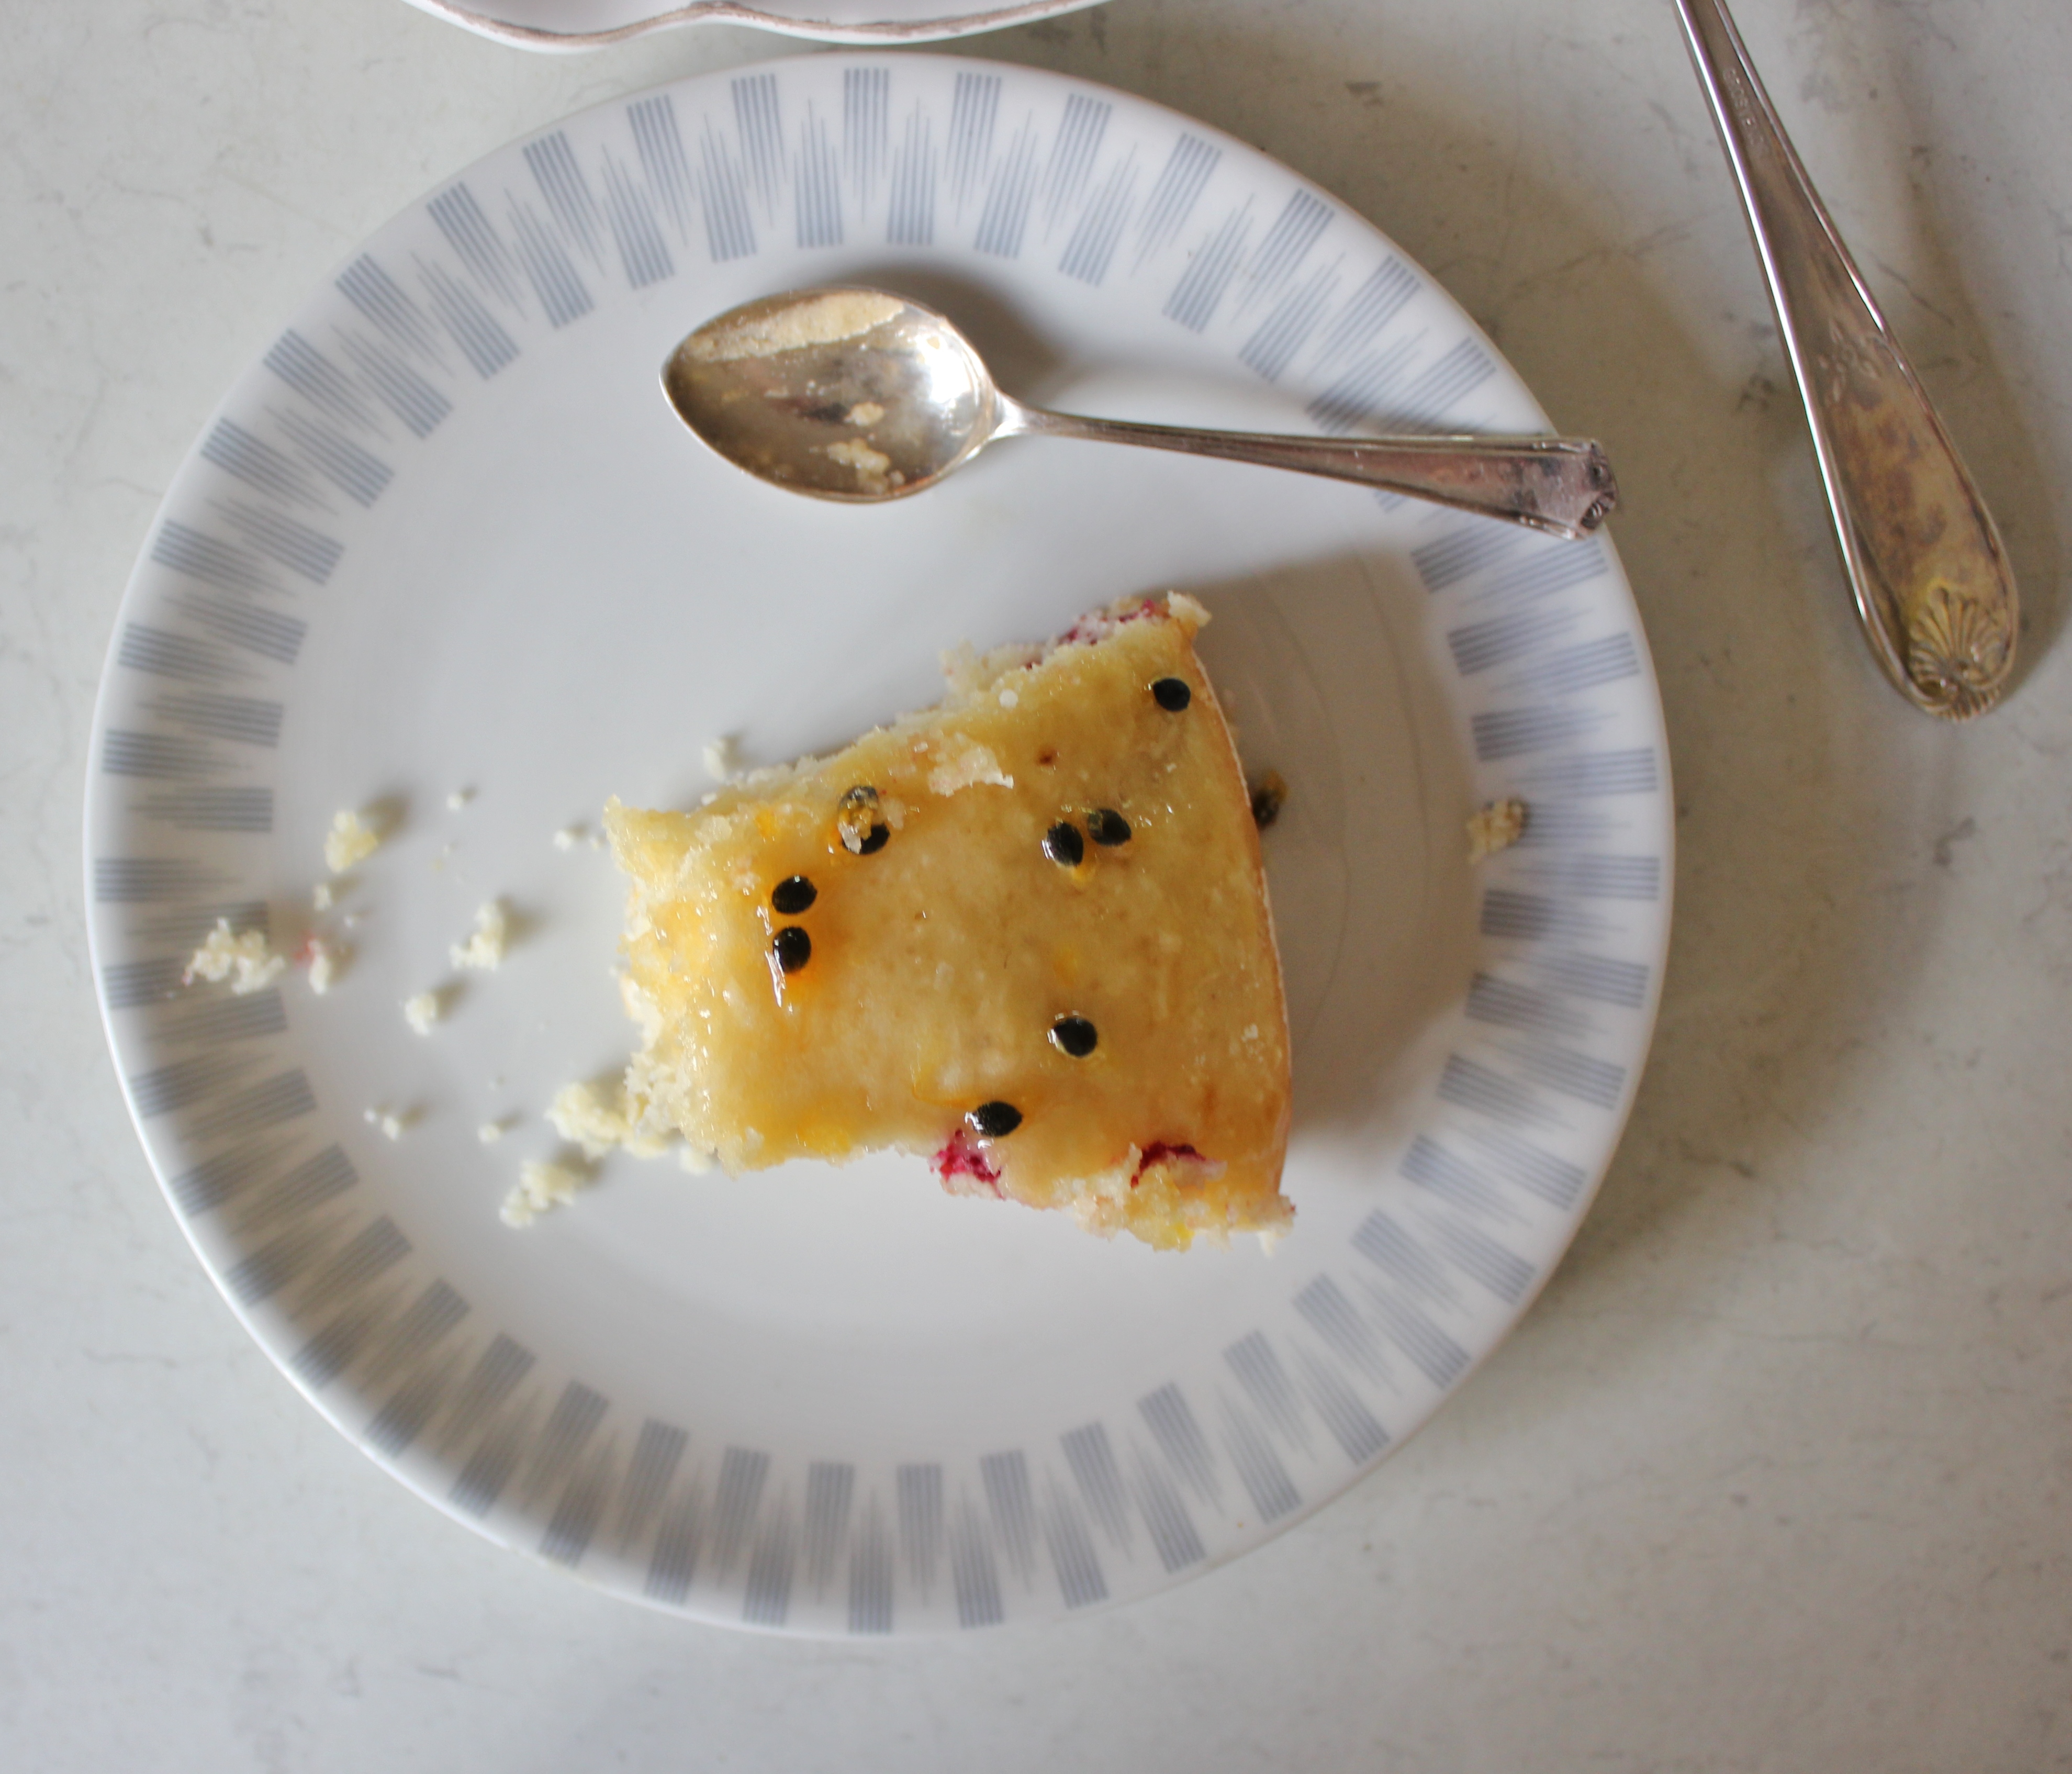
When the cake has cooled slightly, run a knife around the edge of the tin to free it up, then turn it onto a cooling rack. Turn the cake the right way up, poke holes about ¾ of the way into the cake with a skewer and then spoon the passionfruit mixture over the top, spreading it as you go.

peekYou want the cake to still be warm when you’re pouring the passionfruit glaze over so that it seeps into holes. Aside from the taste, the great thing about the passionfruit glaze is that you can cover up the holes you poked in the cake earlier.

Allow the cake to cool completely before serving.


How to win:

serveTo win the tickets, you must like Baking with Gab on Facebook and then email bakingwithgab@gmail.com, telling me which part of the show you want to see most and why. Have a look here to see what the Cake Bake and Sweets Show has to offer.

Entry is open to anyone, but you must be able to make your own way to the show. Competition close Thursday March 13th at 11:59pm.

Looking forward to seeing your answers!


Chocolate cardamon pear cake and Autumn

sceneI’ve still got a crazy amount of pears to work my way through. And it’s glorious. I wrote about being given too many pears last week and I’ve not yet run out of things to bake with them!

The weather in Sydney turned pretty dismal this week, so I’ve been poaching and baking and snuggling up with Norman at every opportunity.

It’s also the first day of Autumn today! This cake is perfect for Autumn because it’s not quite heavy enough for a Winter’s pudding, but it’s not too Summery either because of the almondy hints and the caramel notes created by the brown sugar. The chocolate and cardamom mingle beautifully to create warm, rich little mouthfuls, while the pear brings a lovely moistness to the cake.

Best served sprinkled with icing sugar, as it needs very little accompaniment. If you’re feeling especially indulgent on a dreary, rainy day, serve warm, with a dollop thick cream.

Chocolate cardamon pear cake

  • 180g butterslice
  • 1 cup brown sugar
  • 2 eggs
  • 1 cup almond meal
  • 1 cup self-raising flour
  • ¼ cup milk
  • 1 tsp ground cardamom
  • 100g dark chocolate, roughly chopped
  • 2 pears

cardamonPreheat your oven to 180°C and grease and line a 21cm cake tin.

Cream together the butter and brown sugar until pale. Add in the eggs, followed by your almond meal. Sift in the self-raising flour and add in the milk to thin out the mixture. Mix the cardamom into the batter thoroughly, then fold the chocolate chunks in as well.

pearPeel and core your pears, then cut them into thin wedges. Arrange the wedges around the cake in whatever fashion you like, pressing them in slightly. I tend to organise them so that they fit neatly into slices once the cake is cooked.

arrangePop the cake in the oven for 50 minutes. Remove when a cake inserted into the centre comes out clean. Allow to cool before removing from the tin – this cake is delicate, so needs a little extra care.

above

Chocolate date tray cake and cool food

stripeI bet you read the title of this recipe and thought “blech, dates.”

Some foods just aren’t cool.

Kale is the popular kid at school at the moment. Quinoa comes a close second. Mangosteen is new on the block, but he’s got his sights set for popularity too.

Dates, unfortunately, don’t even register on the cool scale. Dates aren’t even bullied at school – they’re the food that other foods forget exist. Dates are unseen, unappreciated and probably do their homework in the library at lunch time.

Poor dates. Continue reading “Chocolate date tray cake and cool food”

Mango macadamia icecream and freedom

slicedI’ve been very lucky these past two weeks. I was given a ridiculous amount of pears last week and my dad was given a whole bag full of mangoes. The pears were delightful – they’re so versatile and perfectly ripe right now.

Commandeering my dad’s mango bag, however, was an entirely different kind of wonderful. Mangoes are Summer, Christmas and deliciousness bundled into a little oval shape present. They’re sweet and messy and dripping with gorgeous nectar.

I’m not usually allowed to experiment with cooking mangoes because people want to eat them (greedy, right?!) and they don’t often last more than 48 hours in this house. Having the bag of them allowed me a little freedom.

Tasty, tasty freedom.

Mangoes need very little improvement, so I didn’t want to tinker with them too much. I just added sugar (a classic Baking with Gab move), macadamias and ice cream. This is like a home-made version of those moreish Weis bars.

Caramelising the mangoes intensifies the flavours because the mango flavour seeps into the brown sugar and the mango flesh becomes slightly mushier. This is a perfect dessert

Mango macadamia icecream topping

  • ¼ cup macadamias, roughly choppednom
  • 1 mango
  • ¼ cup brown sugar
  • 4 scoops ice cream


mmPlace a non-stick frying pan over a high heat to warm up. Plop your macadamias straight into the pan and stir for five minutes so that they start to brown. While the macadamias are roasting, slice the cheeks off the mango and away from the seed, then cube the flesh and discard the skin.

roastedKeep stirring the macadamias as you’re cutting the mango, you don’t want the macadamias to burn.

When the macadamias are browned, remove them from the pan and wipe it out. Return the pan to the heat and cover the cooking surface with a piece of baking paper. Measure out the brown sugar onto a dinner plate and pour the pieces of mango onto the sugar. Toss to give them a good, coating.

cookPour the entire contents of the dinner plate onto the baking paper in the frying pan and let them cook for 5-8 minutes. Turn the mango pieces with tongs occasionally and give the caramelising sugar a stir so it doesn’t bubble up too much.

serveTake the gorgeous, golden mixture off the heat, quickly serve up four scoops of ice cream and scoop the mango over the top. Toss a few macadamias over the top and serve before the ice cream is completely melted.

This dessert is super easy and it’s so delicious that guests won’t believe how easy it is to throw together. You only need one pan and 12 minutes to whip this dessert up…and the baking paper means that you don’t even need to scrub the frying pan!

cupsOn a slightly funny mango-related note, the big mango which usually lives in Bowen, North Queensland has been stolen. Hopefully it’s returned, uneaten soon!