Orange and Kidney Bean Salad

At the moment I am completely obsessed with kidney beans. It really wasn’t until this year that I saw their beauty – they’re delightful additions to an amazing range of foods, and they’re good for you!

They can pad out taco meat, make up your pattie or be eaten by themselves. Kidney beans are cannily adaptable, but often overlooked. As the blog progresses I’ll try and showcase some more bean-driven recipes. There are other types of bean, I’m not just restricting this to kidney beans – get excited!!

In last night’s post there was a salad accompanying the lasagne – this salad is easy to throw together and looks amazing!

Orange and kidney bean saladIMG_4213

  • 60ml olive oil
  • 3 tbsp red wine vinegar
  • 2 oranges
  • 100g baby spinach leaves
  • ½ red onion
  • 120g feta
  • 420g can red kidney beans

Combine oil and red wine vinegar and season with salt and pepper. I like my dressing tangy, so I put a generous 3 tablespoons in – you may wish to put in two tablespoons and test it before adding the third.

IMG_4228

Carefully slice off the rind of your orange, then slice the orange thinly.* Finely slice the red onion, cube the feta and rinse the beans.

Place all ingredients on a plate and toss to combine. Drizzle with dressing and serve!salad

rind

* The rind from the orange is really pretty, but it’s also useful! If you’ve got time, cut some of it up really finely to make into orange icing (recipe soon!), add coarse sugar to it and make a facial scrub or soak it in vinegar to make a natural cleaning product.

Almost-Vegetarian Lasagne and savoury ventures

Tonight is Baking With Gab’s first ever savoury dish! While I find sweet things much easier to make photograph, I can’t continue to bake only sweet things. I come from a family of five and we have an open door policy – which means we often have seven or more for dinner. So really, I should help out with dinner instead of just cooking cupcakes all the time.

But where’s the fun in that??

I will try to post a few savoury dishes in amongst my sweet-tooth-driven adventures – I’ll start with a deliciously simple eggplant lasagne.

It’s almost-vegetarian because I had intended to use no meat in this recipe. Intentions are all very well, but in a male-dominated household, non-meat-intentions don’t win you any friends. I compromised and put leftover bolognaise mince in. This can be substituted for tomato sauce and it will be wholly vegetarian!

Almost-vegetarian lasagneplate

  • 2 eggplant
  • 1 cup plain flour
  • 4 eggs
  • 3 cups dried breadcrumbs
  • Leftover bolognaise mince (I had about six cups worth)
  • 6-8 lasagne sheets
  • 1/2 cup grated tasty cheese

Béchamel sauce

  • 80g butter
  • 4 tablespoons plain flour
  • 2 cups milk
  • 3/4 cup grated tasty cheese

slicesSlice your eggplant as thinly as you can. My dexterity with a knife meant that my eggplant slices ranged from 2-5mm. It honestly doesn’t matter how uniform they are.
flouring

Get out three plates and a bowl. Put the flour on one plate, breadcrumbs on another and crack the eggs into a bowl, then whisk them. Organise your bowls so that the flour is followed by the egg, then the breadcrumbs, then the empty plate. This is your crumbing station.

I have great memories of my brothers, mum and I crumbing chicken for schnitzel. It takes a bit of extra time, but it’s actually really fun. You have to be prepared to get messy – if you can rope others into helping you it’s good entertainment! Coat your eggplant slice in flour, then egg, then breadcrumbs and place them on the empty plate. If you’re doing this alone, try to flour all your eggplant in one go, then do the egg and crumbs once they’re all floured. This saves slightly on the mess.

floured eggplantmessy fingers

Only slightly though! I ended up with very crumby fingers, despite my best attempts to stay clean…

Pour about 1cm of oil into a pan over a medium heat and allow it to warm up briefly before you put the eggplant in. Toss in as many of your eggplants will fit and shallow fry them for two minutes on both sides. You’ll have to do this in about five batches. Remove them when they’re golden and transfer them to a plate lined with kitchen paper to soak up excess oil.

Meanwhile, make the béchamel sauce by melting the butter in a saucepan over medium heat. Add the flour and stir constantly for two minutes until the mixture is smooth. Add your milk, one cup at a time and your cheese. Keep mixing as it bubbles away for about five minutes. Remove the sauce from the heat just when it starts to bubble. Leave to one side.layer 1pasta sheets

Preheat the oven to 220°C and grease a lasagne dish. Mine is 30cm x 22cm x 4cm and this recipe fits perfectly in it. Line the base of the dish with half of the eggplant slices, overlapping slightly and top with half of the lasagne sheets. Spoon over half of your leftover bolognaise mince, then repeat once more. Top with béchamel sauce and a sprinkling of cheese.

Bake for 30-40 minutes, then serve to the hungry masses. This recipe will easily serve 12.
lasagne

Gatsby style honey tea cakes

Part deux of my Gatsby-inspired decadence was kind of given away in my last post. If you saw the tea party pictures, you probably spotted the little tea cakes. I’d made these once before and figured they were perfect for the Gatsby theme. They’re simple and sweet but the look luscious! I prefer them iced (because of the shine it gives to them!), but they’re just as delicious with a smidgen of sifted icing sugar on them.

If you do choose to ice them, they end up looking like gorgeous little ice-cream cones. If you’re a fence sitter like me ice one half and icing sugar the other!

Honey Tea Cake:tea 2

  • 2 cups all-purpose flour
  • 1 ½  teaspoon bicarb
  • 3 eggs
  • ¾ cup heavy cream
  • 1 tsp vanilla extract
  • 3/4 cup sugar
  • 180g butter
  • 4 tbsp honey
  • 2 tsp water

Preheat oven to 180°C and grease muffin tins. I used silicon molds and cardboard cases, so I didn’t need to grease mine (which is a little bit great!)

Sift the flour and bicarb soda together in a big bowl and then add the sugar. In a second, smaller bowl, mix together the eggs, cream and vanilla.

mix

Soften your butter and add it to the dry mixture, mixing vigorously until no lumps remain. This may tak

cases

e a little while, be vigilant. (Honestly, there were still a few lumps left in my mixture when I put them in the oven, and they seemed to disappear – this is a very well-behaved mixture.)

Add the egg mixture into the big bowl and mix until just combined.
honey

Put your honey and water into a microwave-safe container and blitz it for about 30 seconds to soften the honey. Take it out of the microwave and mix it so it becomes syrupy. Add syrup to your batter.

Divide the batter between your muffin tins (or in my case silicon molds AND cardboard cases), you should fill them up about ¾ of the way to the top. Pop them in the oven and sit around for 18-20 minutes while they cook.

The mixture is lovely in that the cake tops rise into beautiful balloon-like forms. Once you’ve removed them from the oven you have two options –

  1. Let them cool while you start on the icing
  2. Sprinkle them with icing sugar and eat them right then and there.

icedicing sugar

For the icing sugar, mix one cup of icing sugar with 4-5 tablespoons of milk. The mixture should be quite thick, but still smooth. When you mix the icing it should slowly smooth itself back down evenly into the bowl. Divide the batter into three and add a different drop of colouring to each mixture. Ice as you please (be generous though!)

You should get 24 tea cakes from this mixure.

teacakestea cake

Gatsby-inspired sponge

I saw Gatsby last weekend. And I was inspired.

Brace yourself for part one of my Gatsby posts.

It was beautiful and opulent and slightly magical. The dresses were all over-the-top and the settings were too fabulous to be real. And I loved them for that.

Nick Carraway is idealistic, Jordan Baker is marvelous and Gatsby is a dreamer. The film is full of people who would make fabulous dinner guests – they’re flawed and impulsive, but imagine the stories they could share! Daisy appears to have no opinion on anything, but at least she added to the beautiful scenery. As long as she’d agree to just sit there and bat her eyelashes, I’d let her partake in our dinner soiree.

I’d never read the book (I know, judge me as you see fit), but I think that doing things in excess is a good mantra to live by!

I’m all for simple recipes usually, but for two posts you’re going to have to allow me a bit of opulence. This sponge is easy AND it looks fabulous – what more could you want? It’s my nanna’s recipe, so it’s tried and tested. Unfortunately the sponge didn’t turn out as big as it should have because of my impatience – I like to think that it was slightly to do with the humidity in the air today though.
Cake

Don’t be disheartened by its flatness, when you do the recipe right, this cake IS old-school glamour.

Gatsby-inspired sponge

  • 4 eggs
  • 1 cup flour
  • ¾ cup sugar
  • 1tsp baking powder
  • 3tbsp water
  • 3 tbsp of lemon juice


Preheat oven to 180°C.Table view

Grease cake tin and sprinkle with sifted icing sugar.Eggs

Separate egg whites and put the yolks to one side. Beat the egg whites in an electric mixer until they’re stiff. Don’t get impatient like I did, this leads to flat sponges! It should take about 8 minutes at a high speed on your mixer. Persevere!

Add the yolks to the stiff whites mixture and continue beating until the mixture thickens.

Add your sugar and allow it to just combine then sift in the flour and baking powder. Squeeze in the lemon juice and mix it in gently – try to let as little air out of the mixture as possible.

Cream shadows

Pour the mixture into your prepared tin and bake for 45 minutes or until a skewer inserted into the centre comes out clean. What I would normally do with a sponge is cut it in half and then fill the middle with copious amounts of jam and cream. Being unable to cut my pancake of a sponge in half, I whipped up the cream, added 1/2 a cup of icing sugar to it and then folded some watered down jam into it to make icing.


So put your flapper dresses on, buy some fake diamonds and drink everything out of a champagne flute – Gatsby makes his own reality more fantastic through his imaginings, and so should we!

Host an afternoon tea and add a little sparkle to it.

partyIMG_3986


Madeleines and perfection

Wednesday was one of those days where everything just seemed to work.

Friends and I went op-shopping for plates and utensils to pretty up the blog, I was given home-made croissant dough to have a play with (because I’ve never made my own before), I found lots of new recipes and I ate some delicious food. (I Instagrammed it all, it must be true)

And to finish the perfect day off, I went to see Maeve O’Meara host a chat with Lorraine Elliot (better known as Not Quite Nigella!!) – it was so lovely! Lorraine was humble and completely adorable. She was generous with her tips for bakers and bloggers and the audience chatted to her freely. Most of the people in the audience knew intimate details of Lorraine’s life, which I suppose comes with choosing to be a blogger, so she spoke candidly about almost everything!

I also came home to delivery of new measuring spoons in the mail – Wednesday was perfection!

To celebrate my Wednesday (and share the celebrating with you all), here is my madeleine recipe.

This recipe, like my Wednesday, just works. The flavours are beautiful, soft and worth savouring. If you’ve never tried orange blossom water before, let this be the recipe that you amend this – it’s like bathing in gardenias, like swimming in blossoms.

Neither of those descriptions do it justice. This smell makes me long for the orange tree that used to grow in my backyard. Orange blossom water smells and tastes like my childhood.

I just Googled madeleines and it turns out that ‘madeleine’ is used in Proust’s In Search of Lost Time, to refer to something that evokes a memory or is a source of nostalgia. How neatly Proust just rounded off this evening’s recipe musings.

Orange blossom water may be a little bit hard to procure, but I promise every drop of this delightfully intoxicating little liquid is worth it.

Orange Blossom Madeleines:
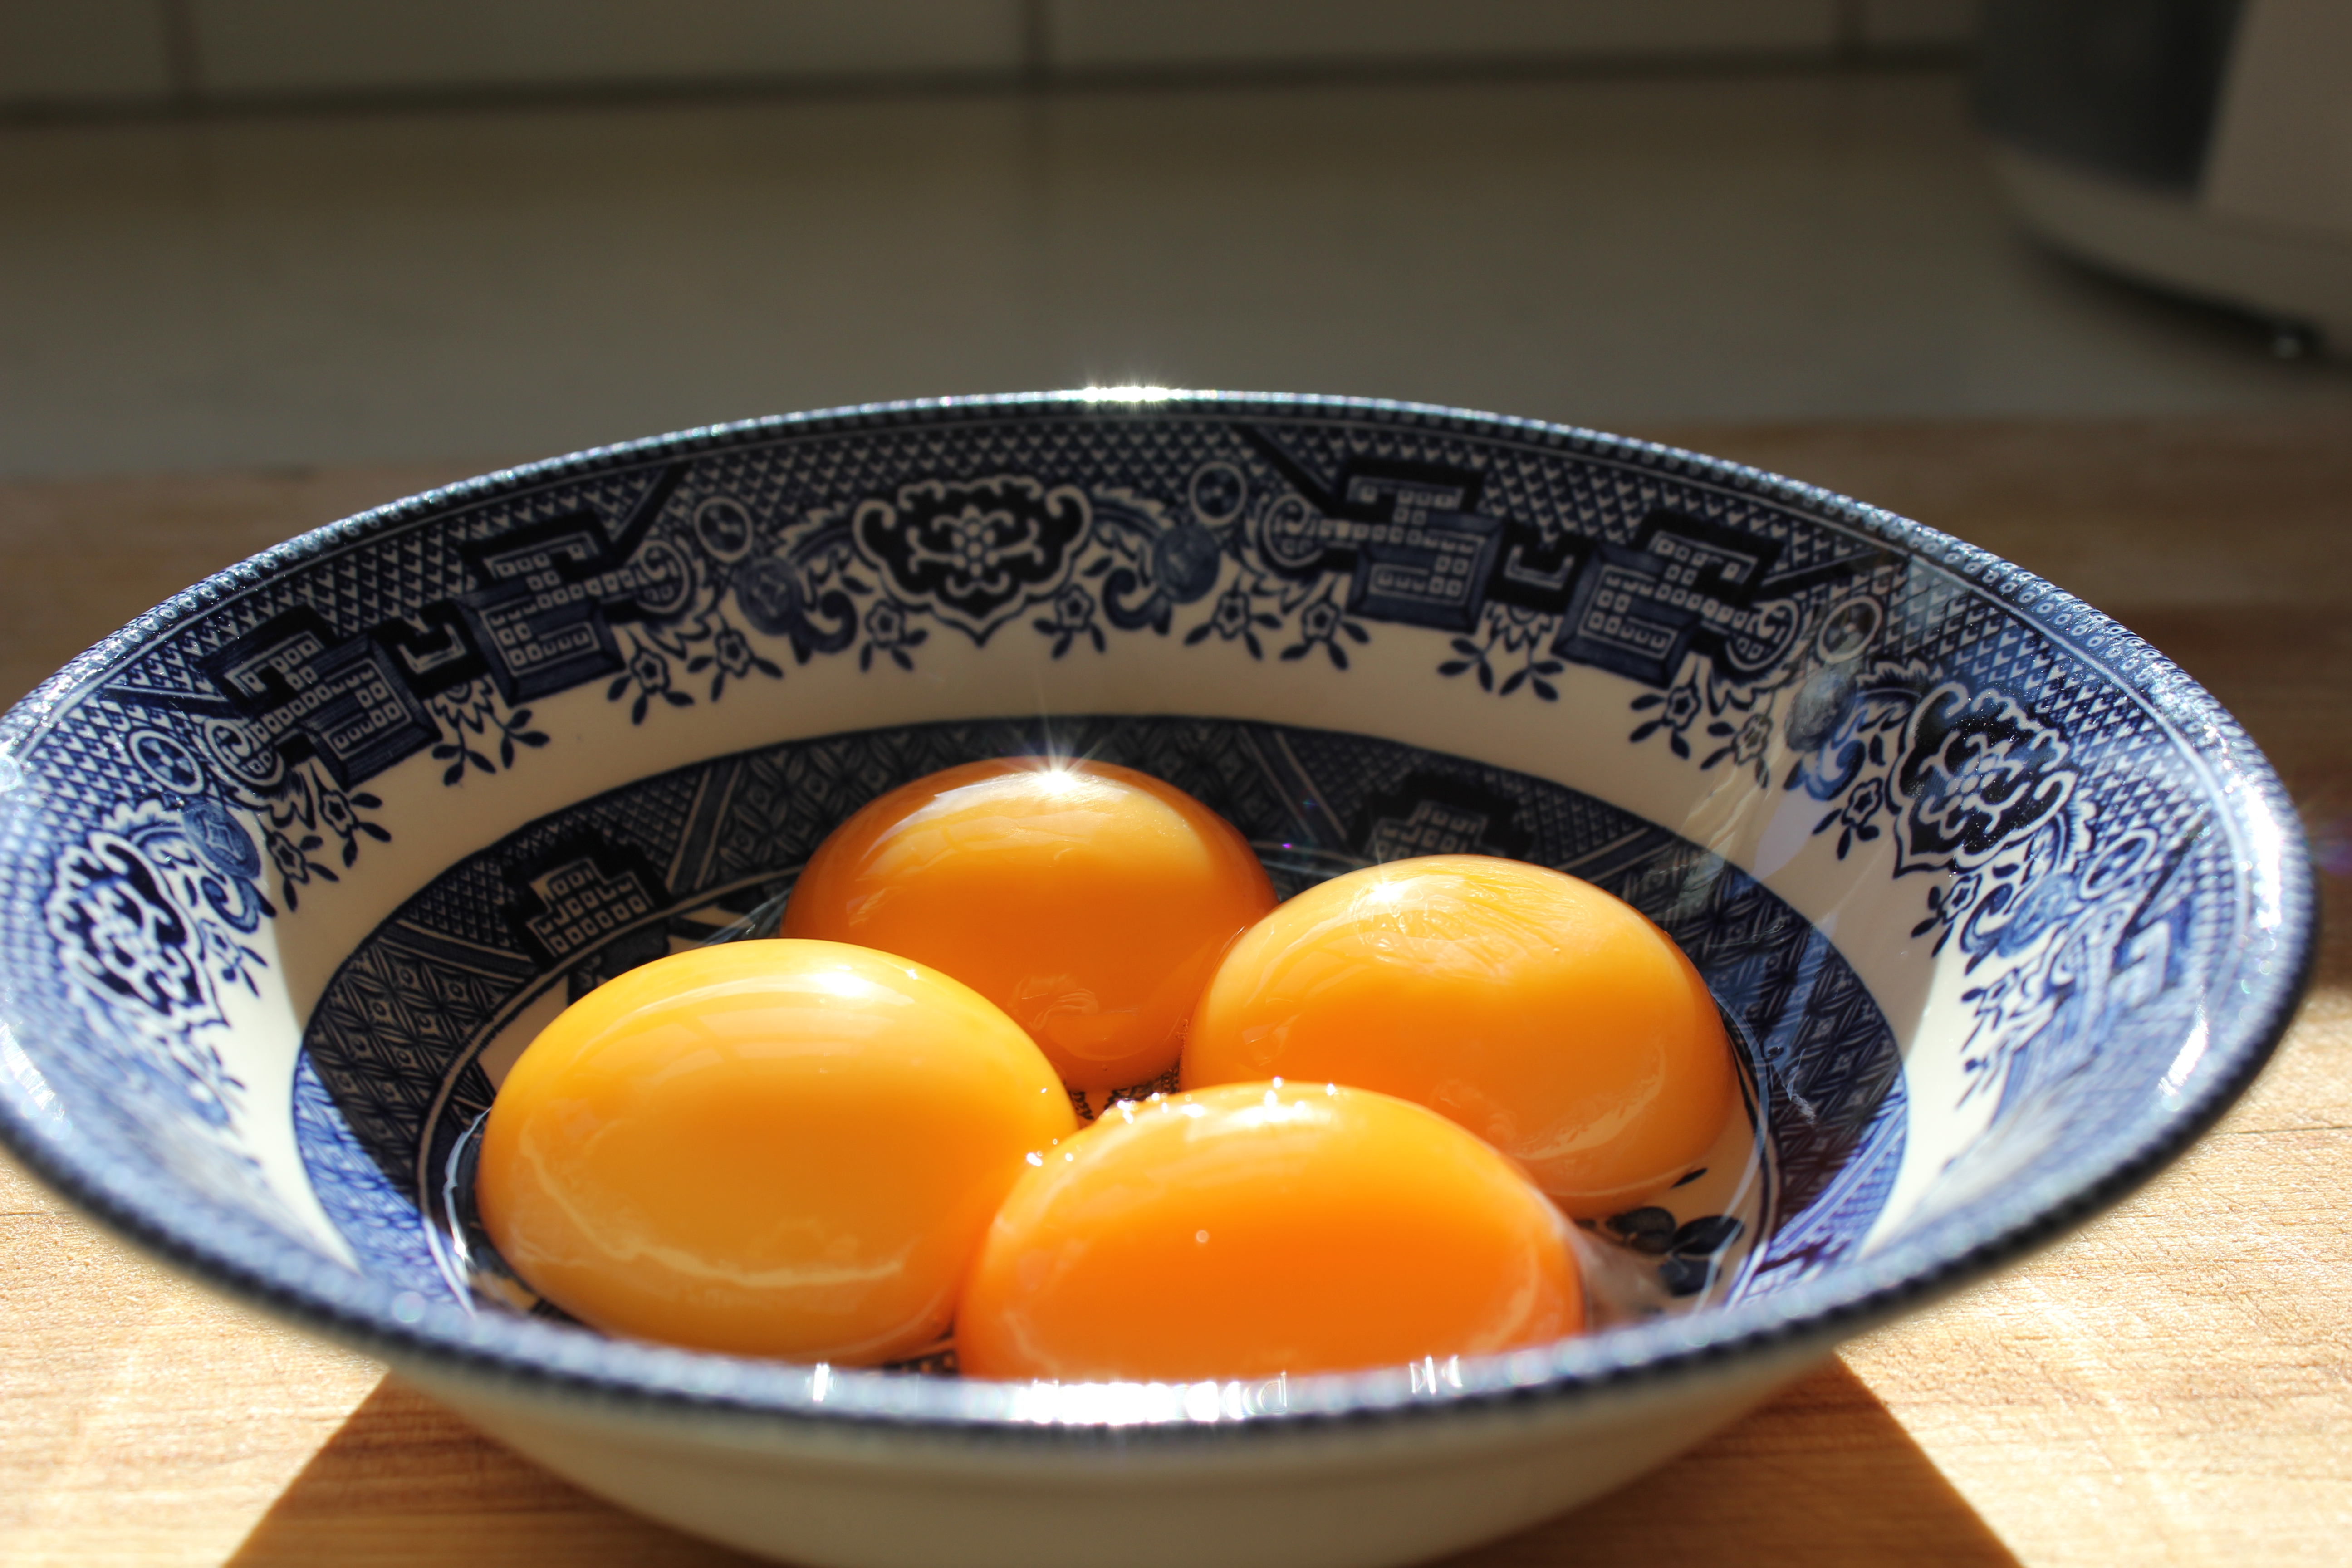
Madeleines (2)

  • 3 eggs
  • 1/2 cup sugar
  • 1/2 cup plain flour
  • 45g melted butter
  • 3 tsp orange blossom water

Preheat your oven to 180°C. Whisk together the eggs and sugar with a mixer until foamy, this should take about 2-3 minutes. Melt your butter in the microwave while the mixture foams up.

Butter stack

Take out the whisk element and slowly sift in the flour, then mix in gently using a wooden spoon.

Add the melted butter and orange blossom water to the mixture. If you’re unsure about the orange blossom water – despite my best attempts to entice you – try cutting back two one or two teaspoons and just to test it out. Or, if you’d prefer to be completely unadventurous, replace the orange blossom water with some lemon zest, coconut essence or rum.

Spoons

Before you grease anything, marvel at how beautiful the madeleine tins are for a second. Aren’t they just gorgeous?!

batter and tinsLiberally grease your madeleine tin with butter and fill them about 3/4 of the way up. When I say liberally, I mean lather your tin up, because these little ladies like to stay in their tins. Refrigerate your filled madeleine tins for about an hour if you’ve got the time (I got impatient and took them out after half an hour with no adverse affects.)

Place them in the oven and cook them for about 12 minutes, when the edges turn golden.

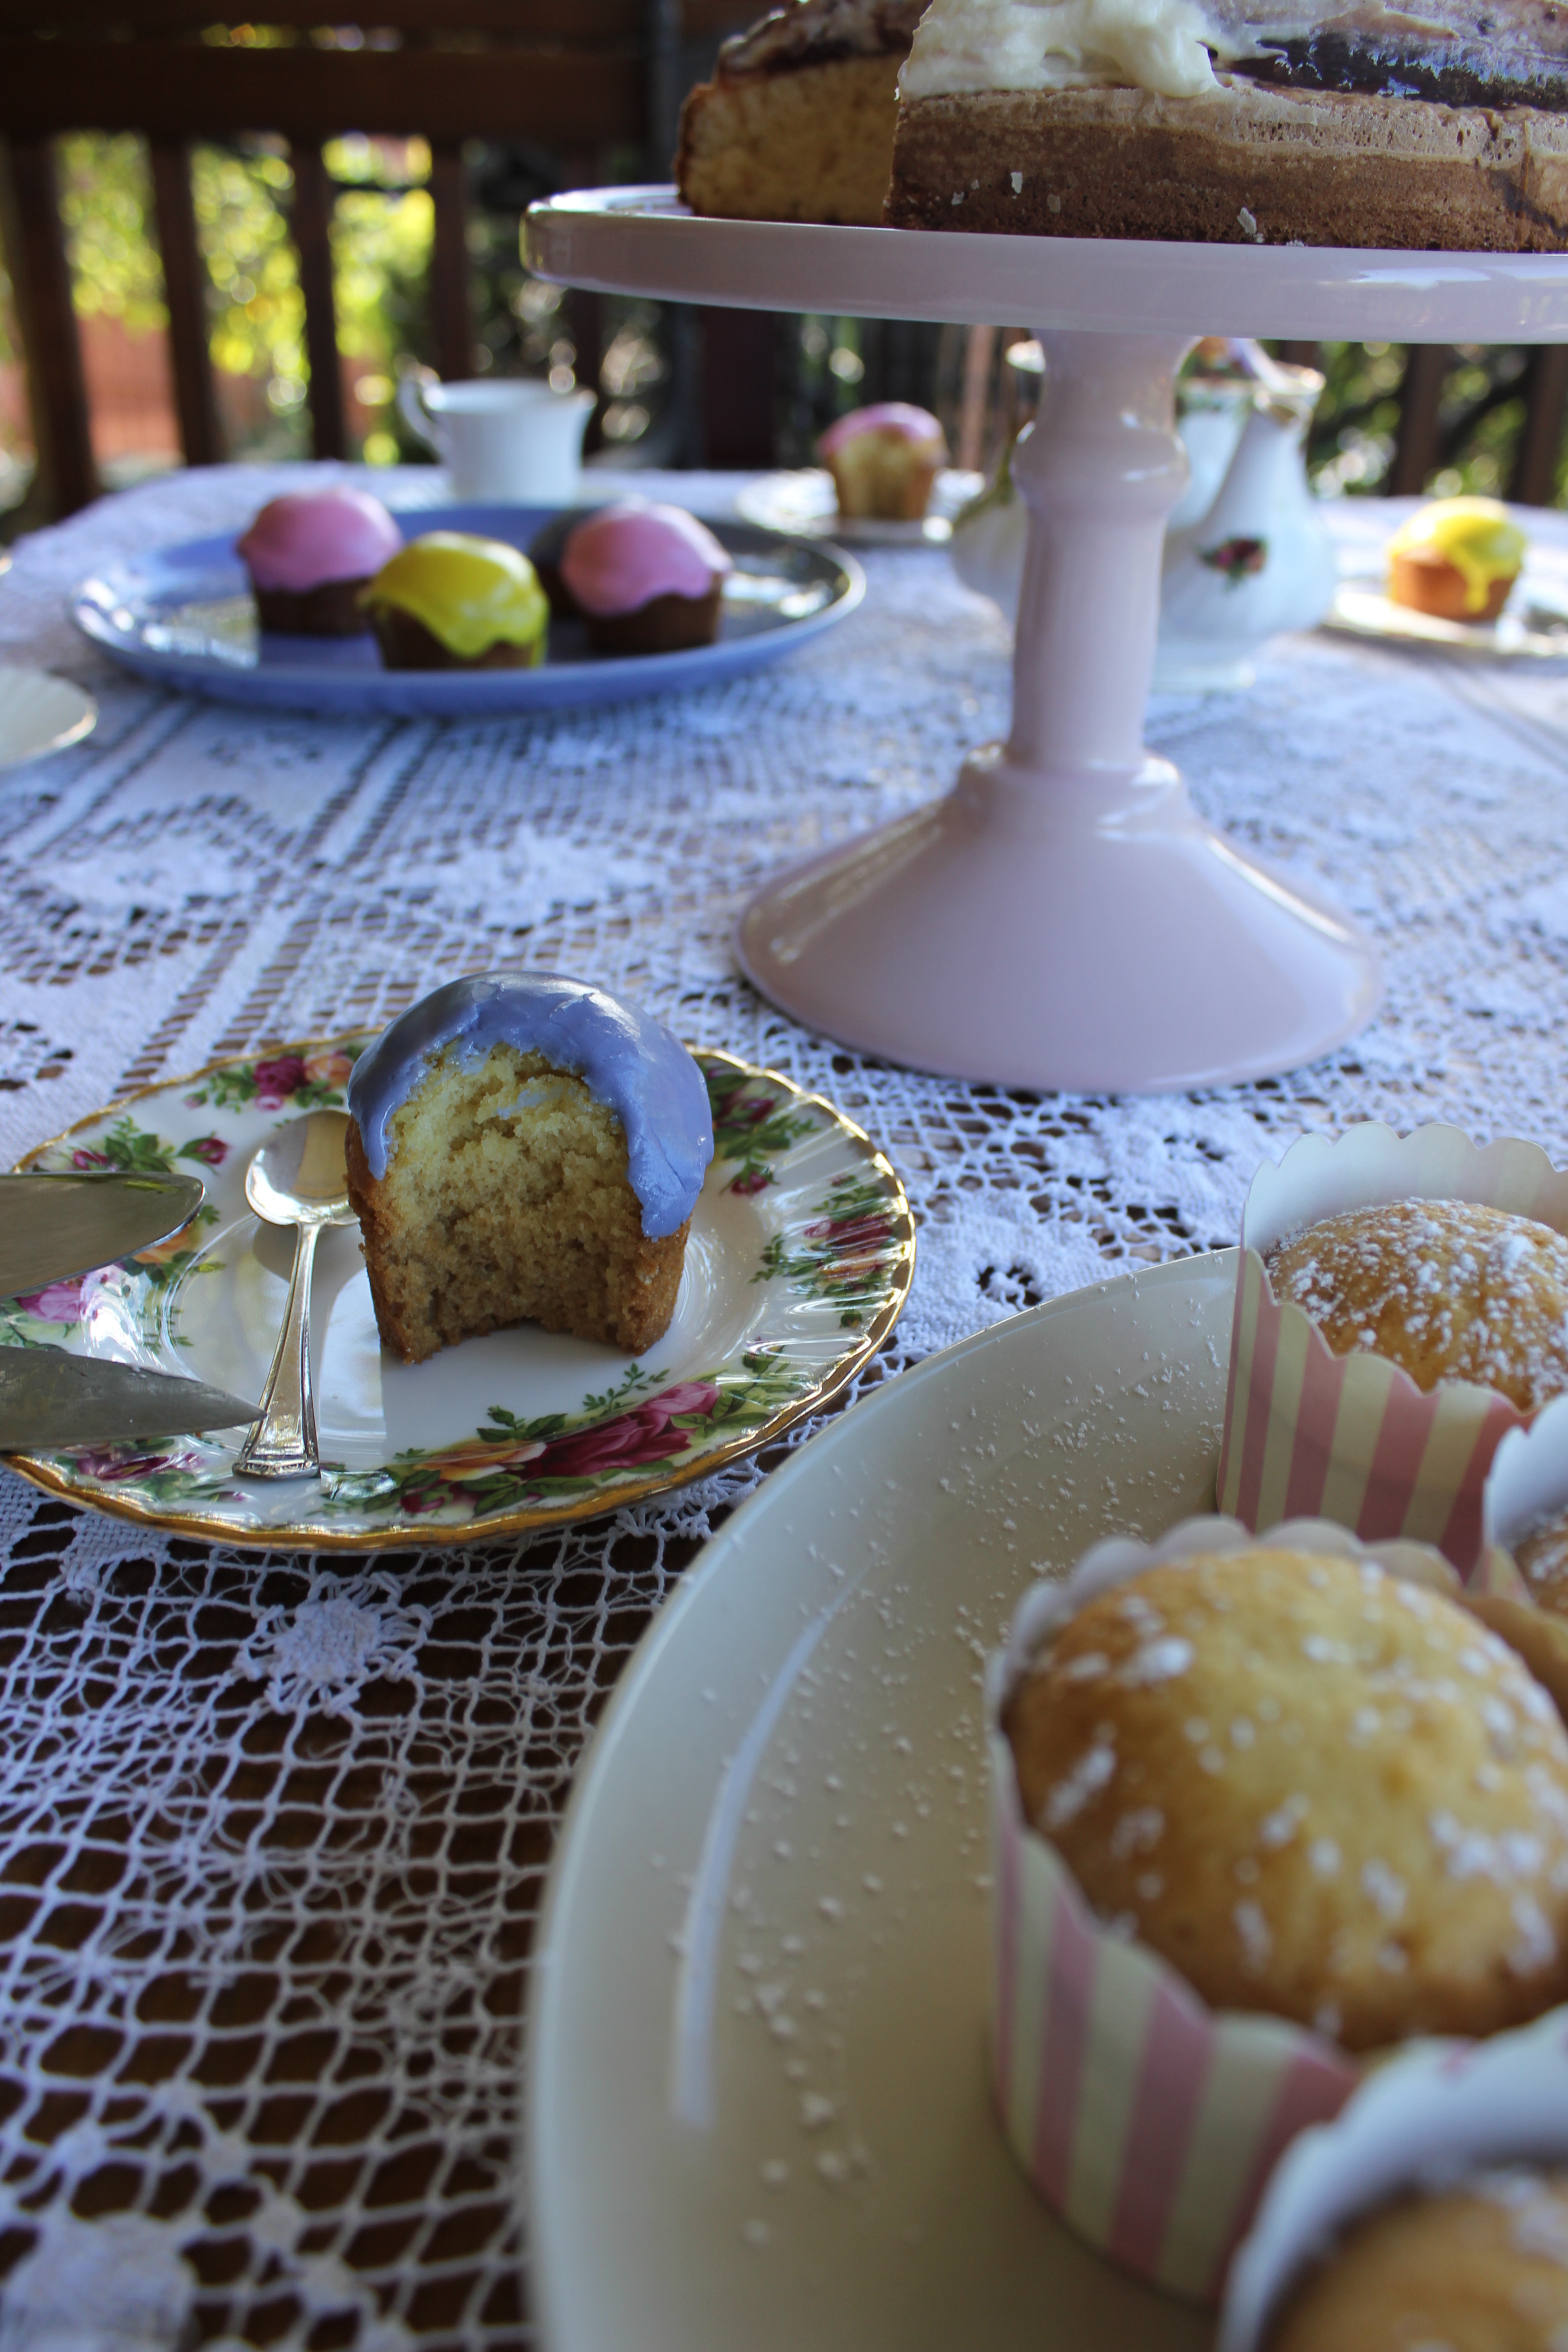
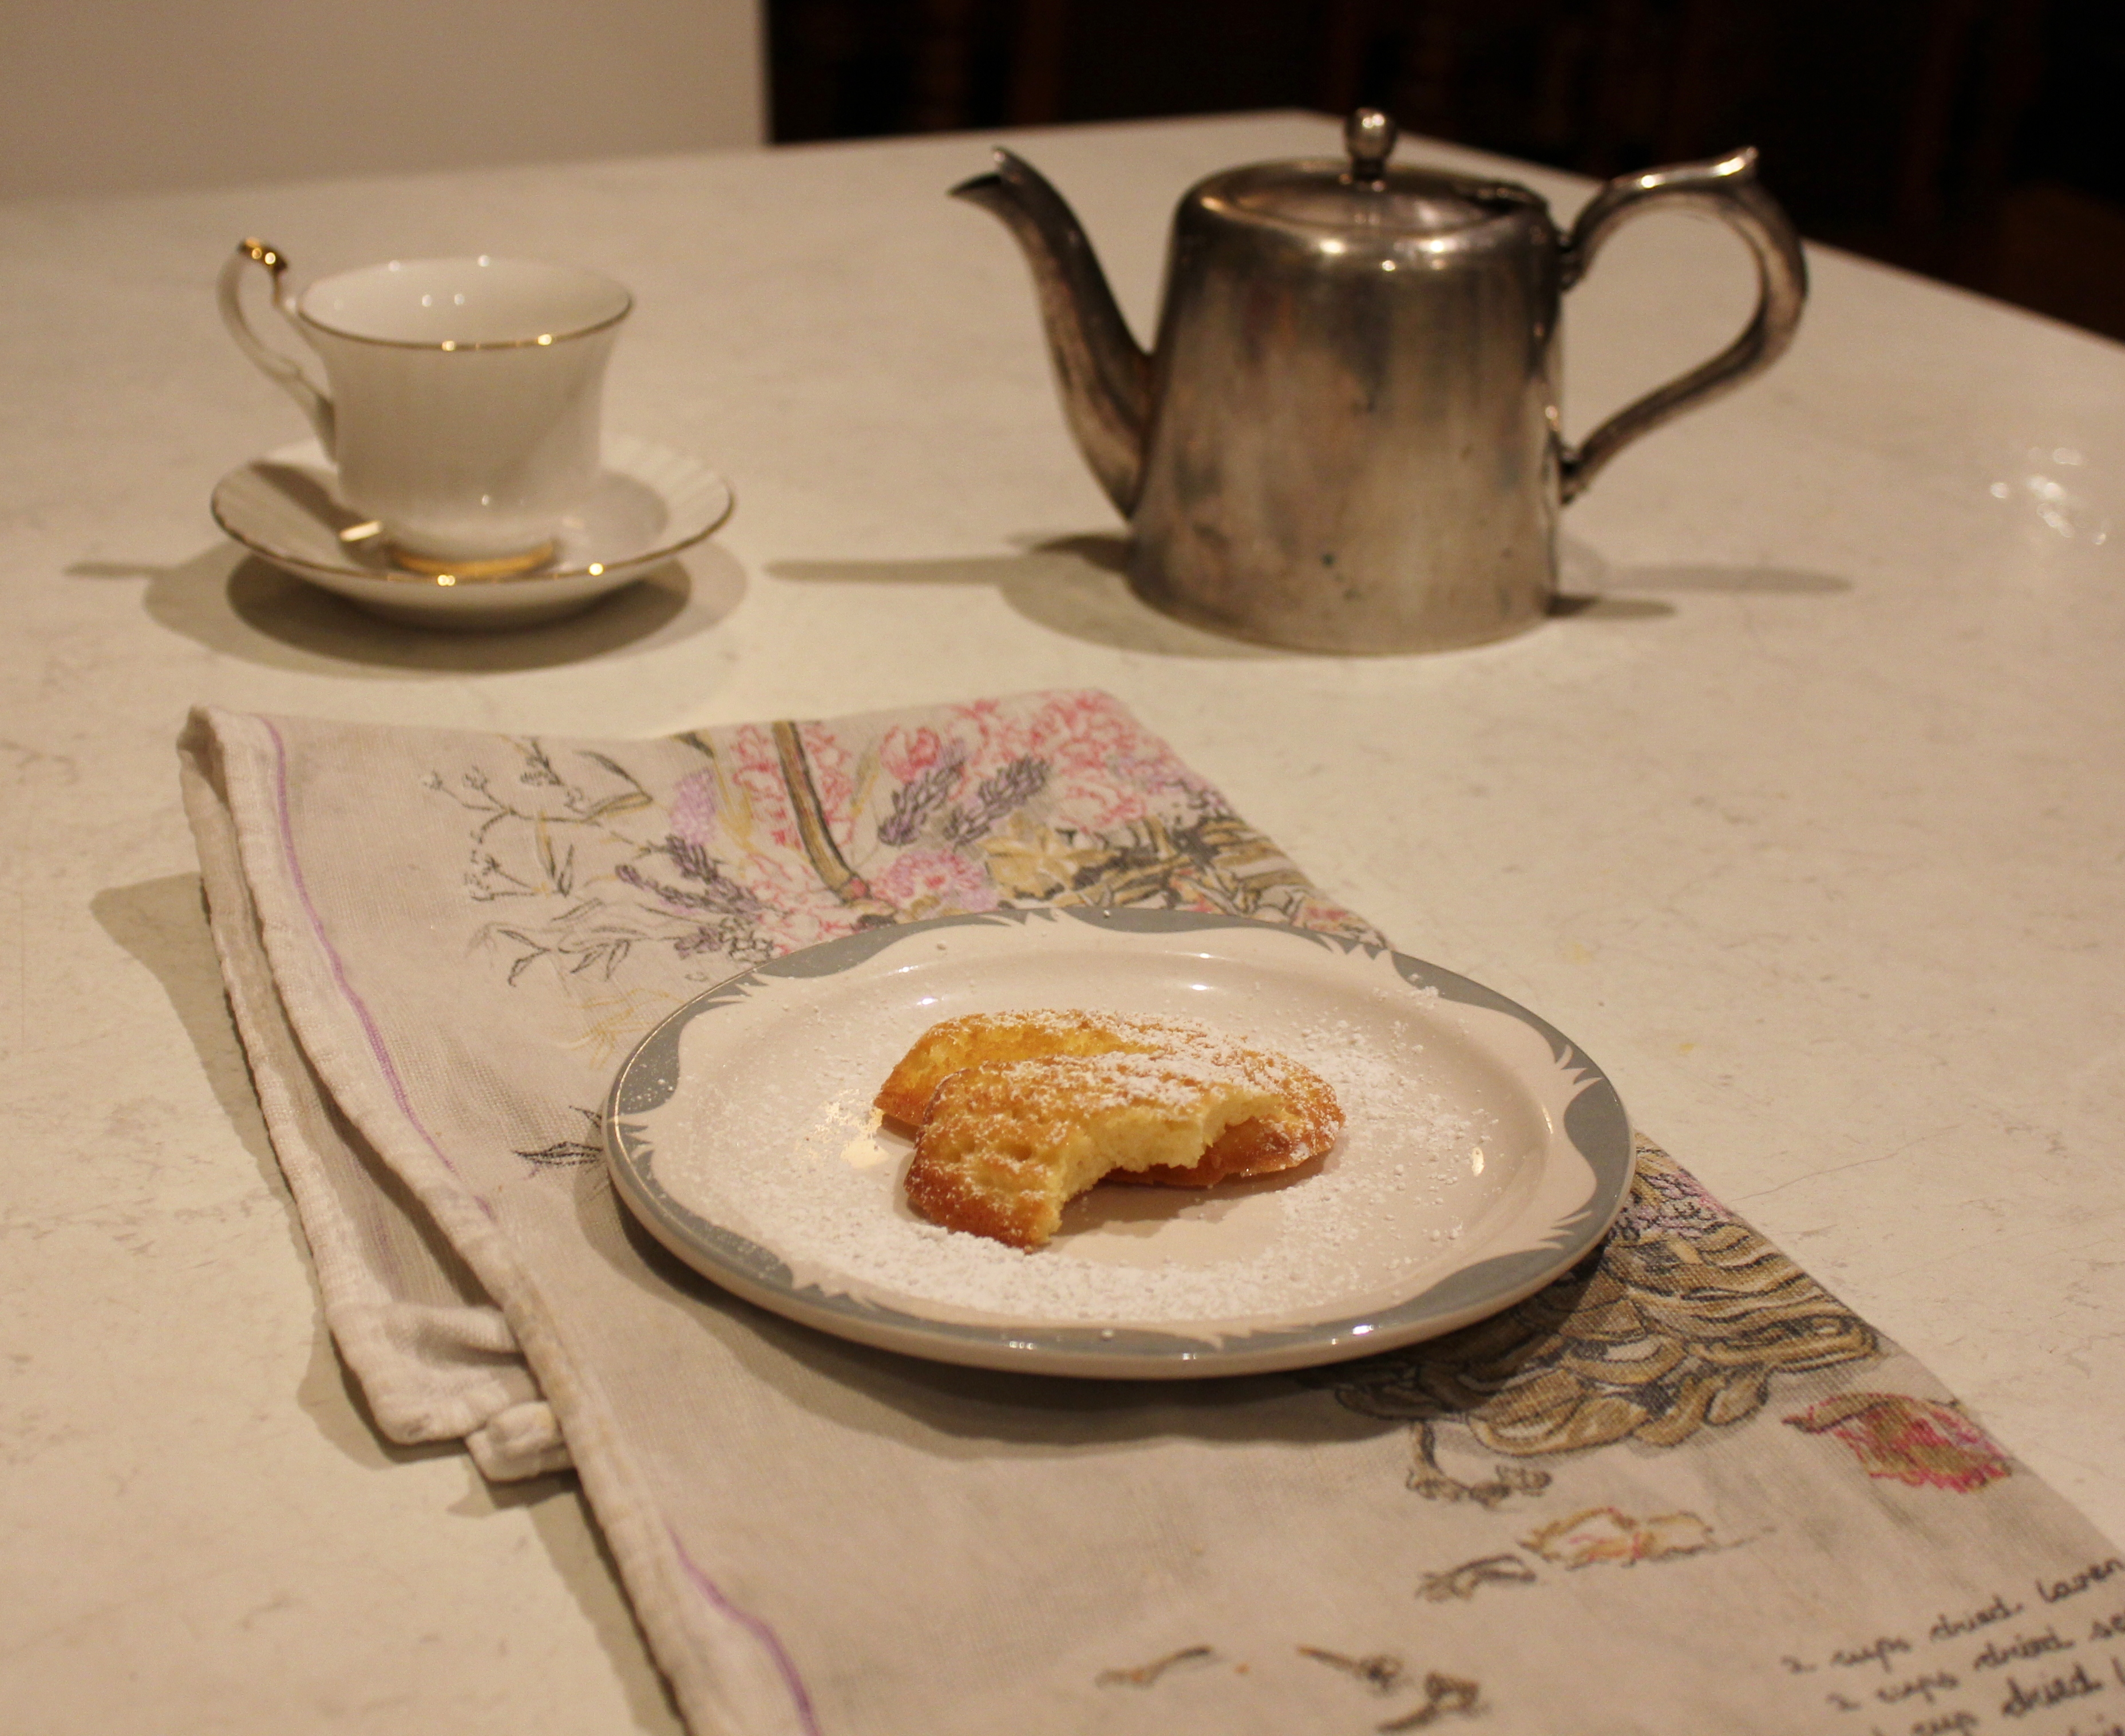
Allow to cool and sprinkle with a little bit of icing sugar.

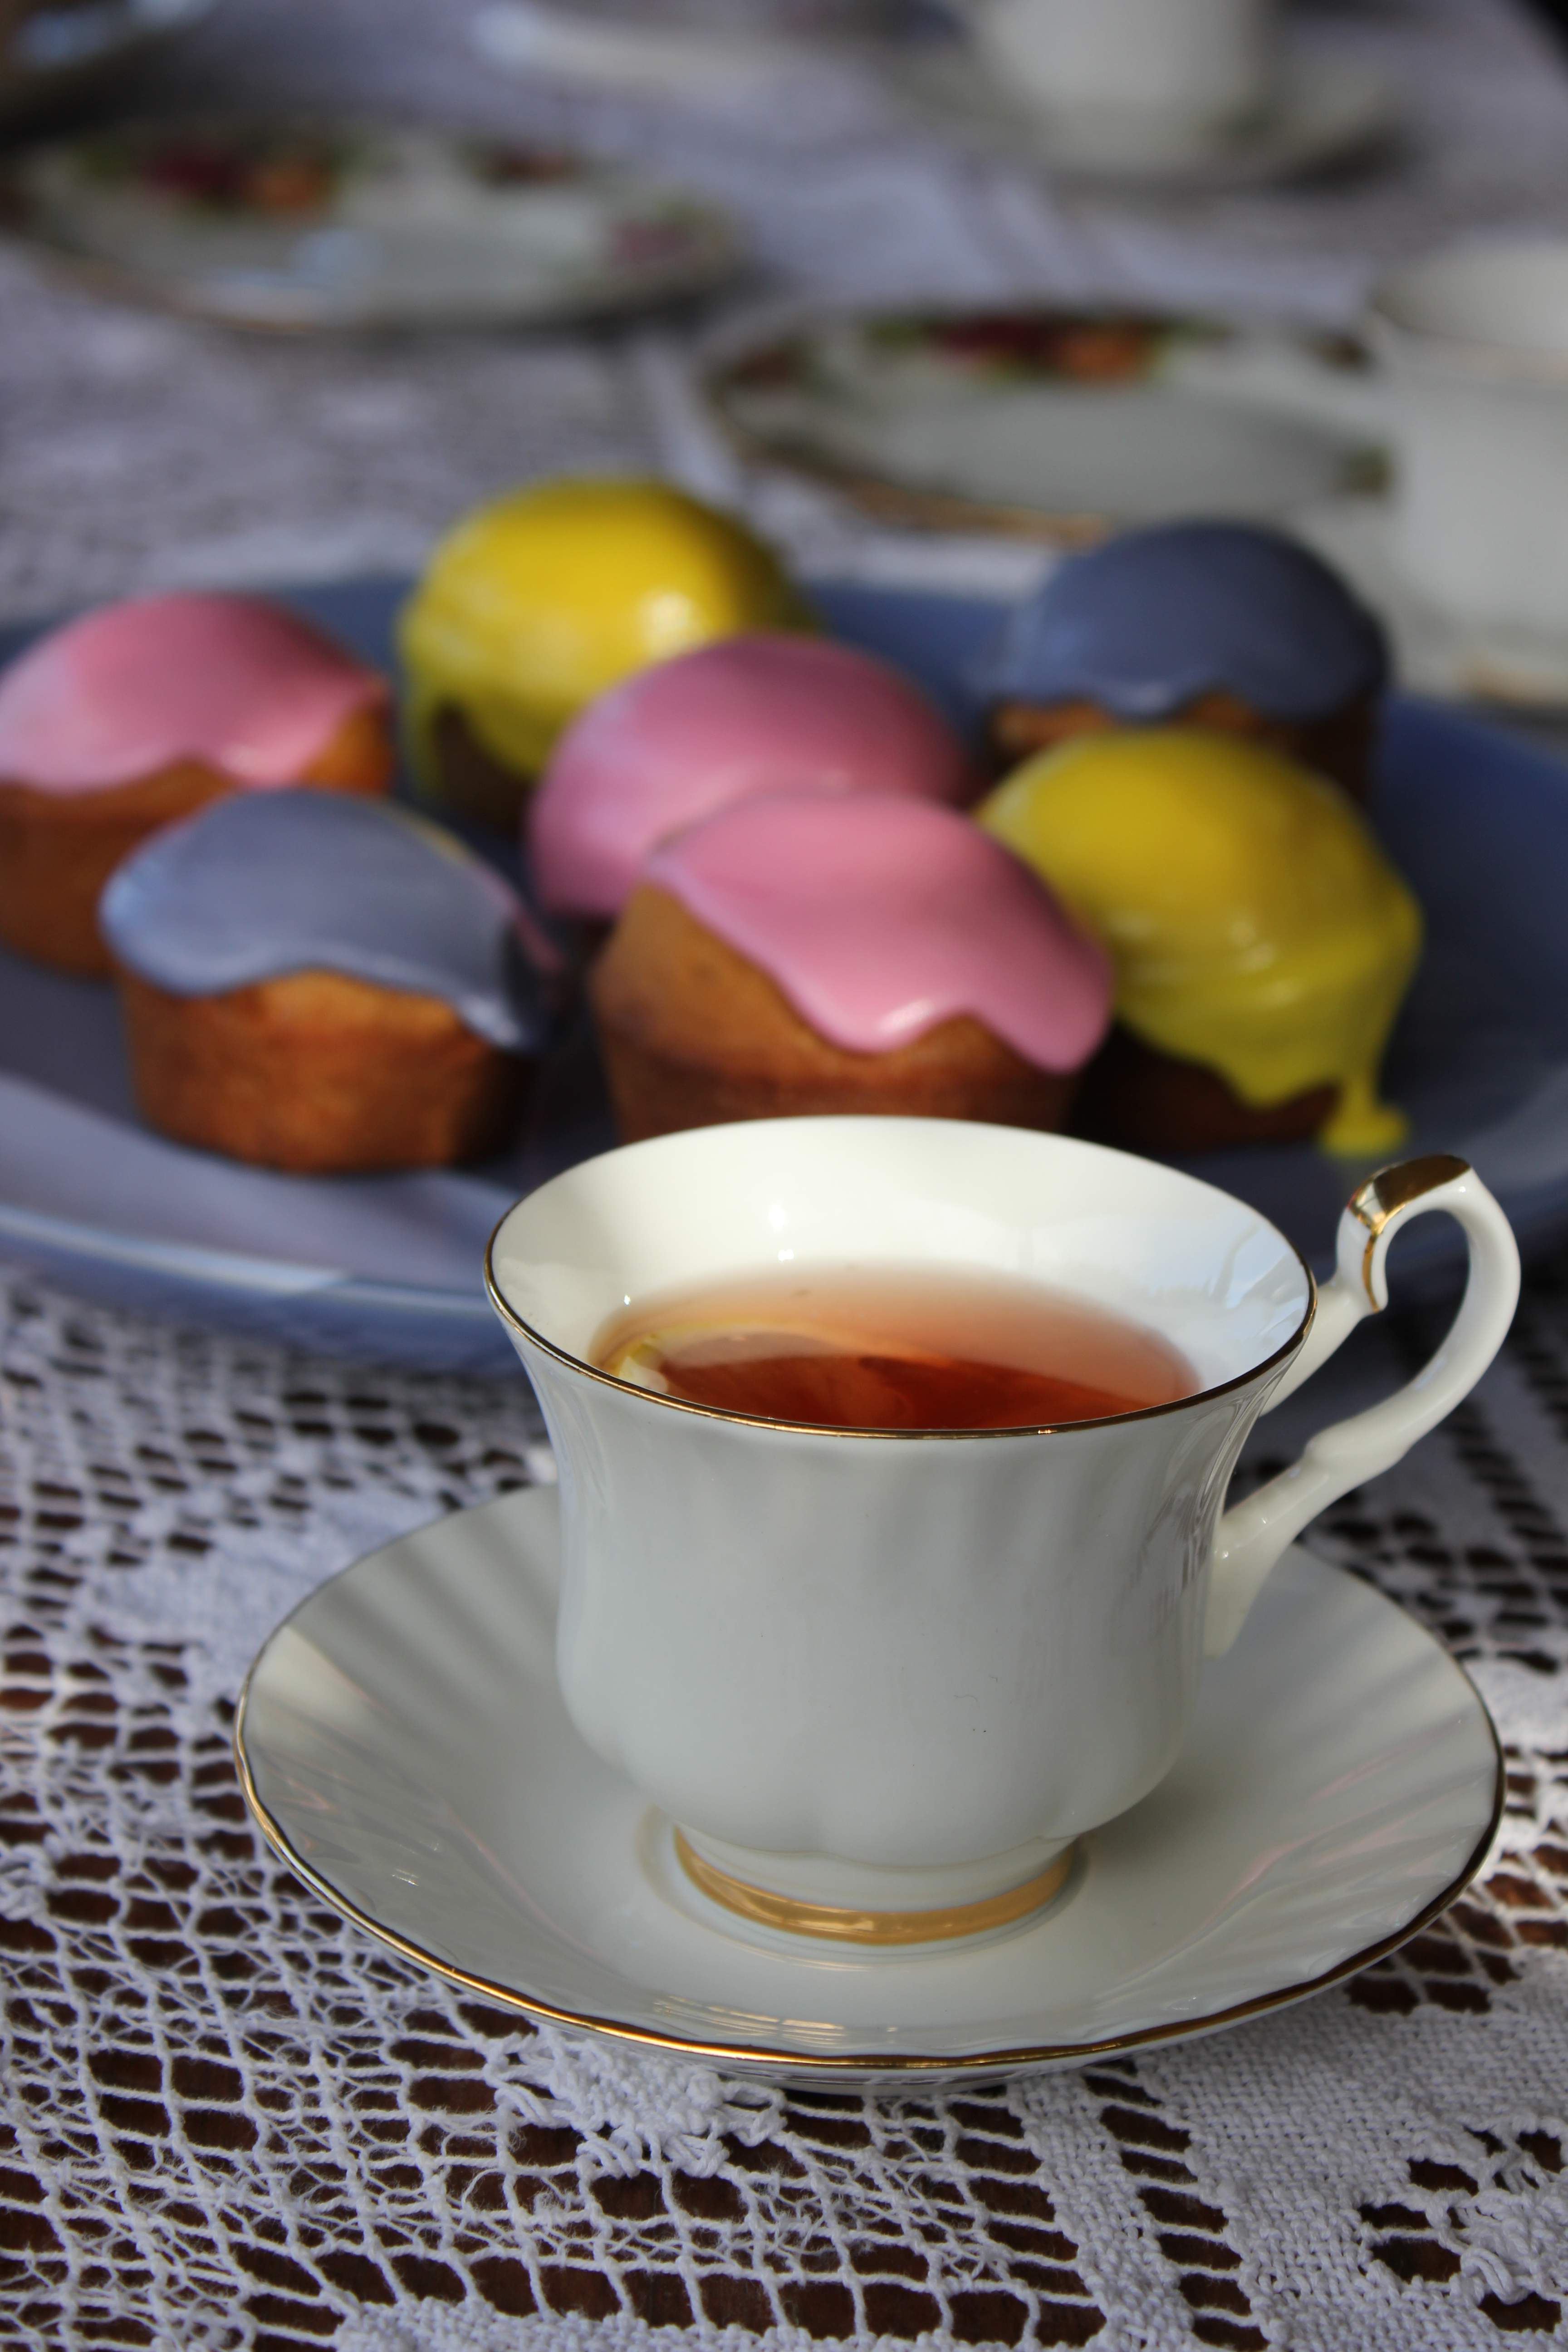
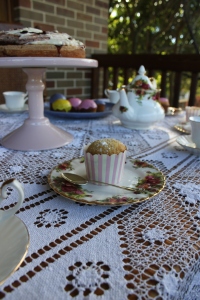
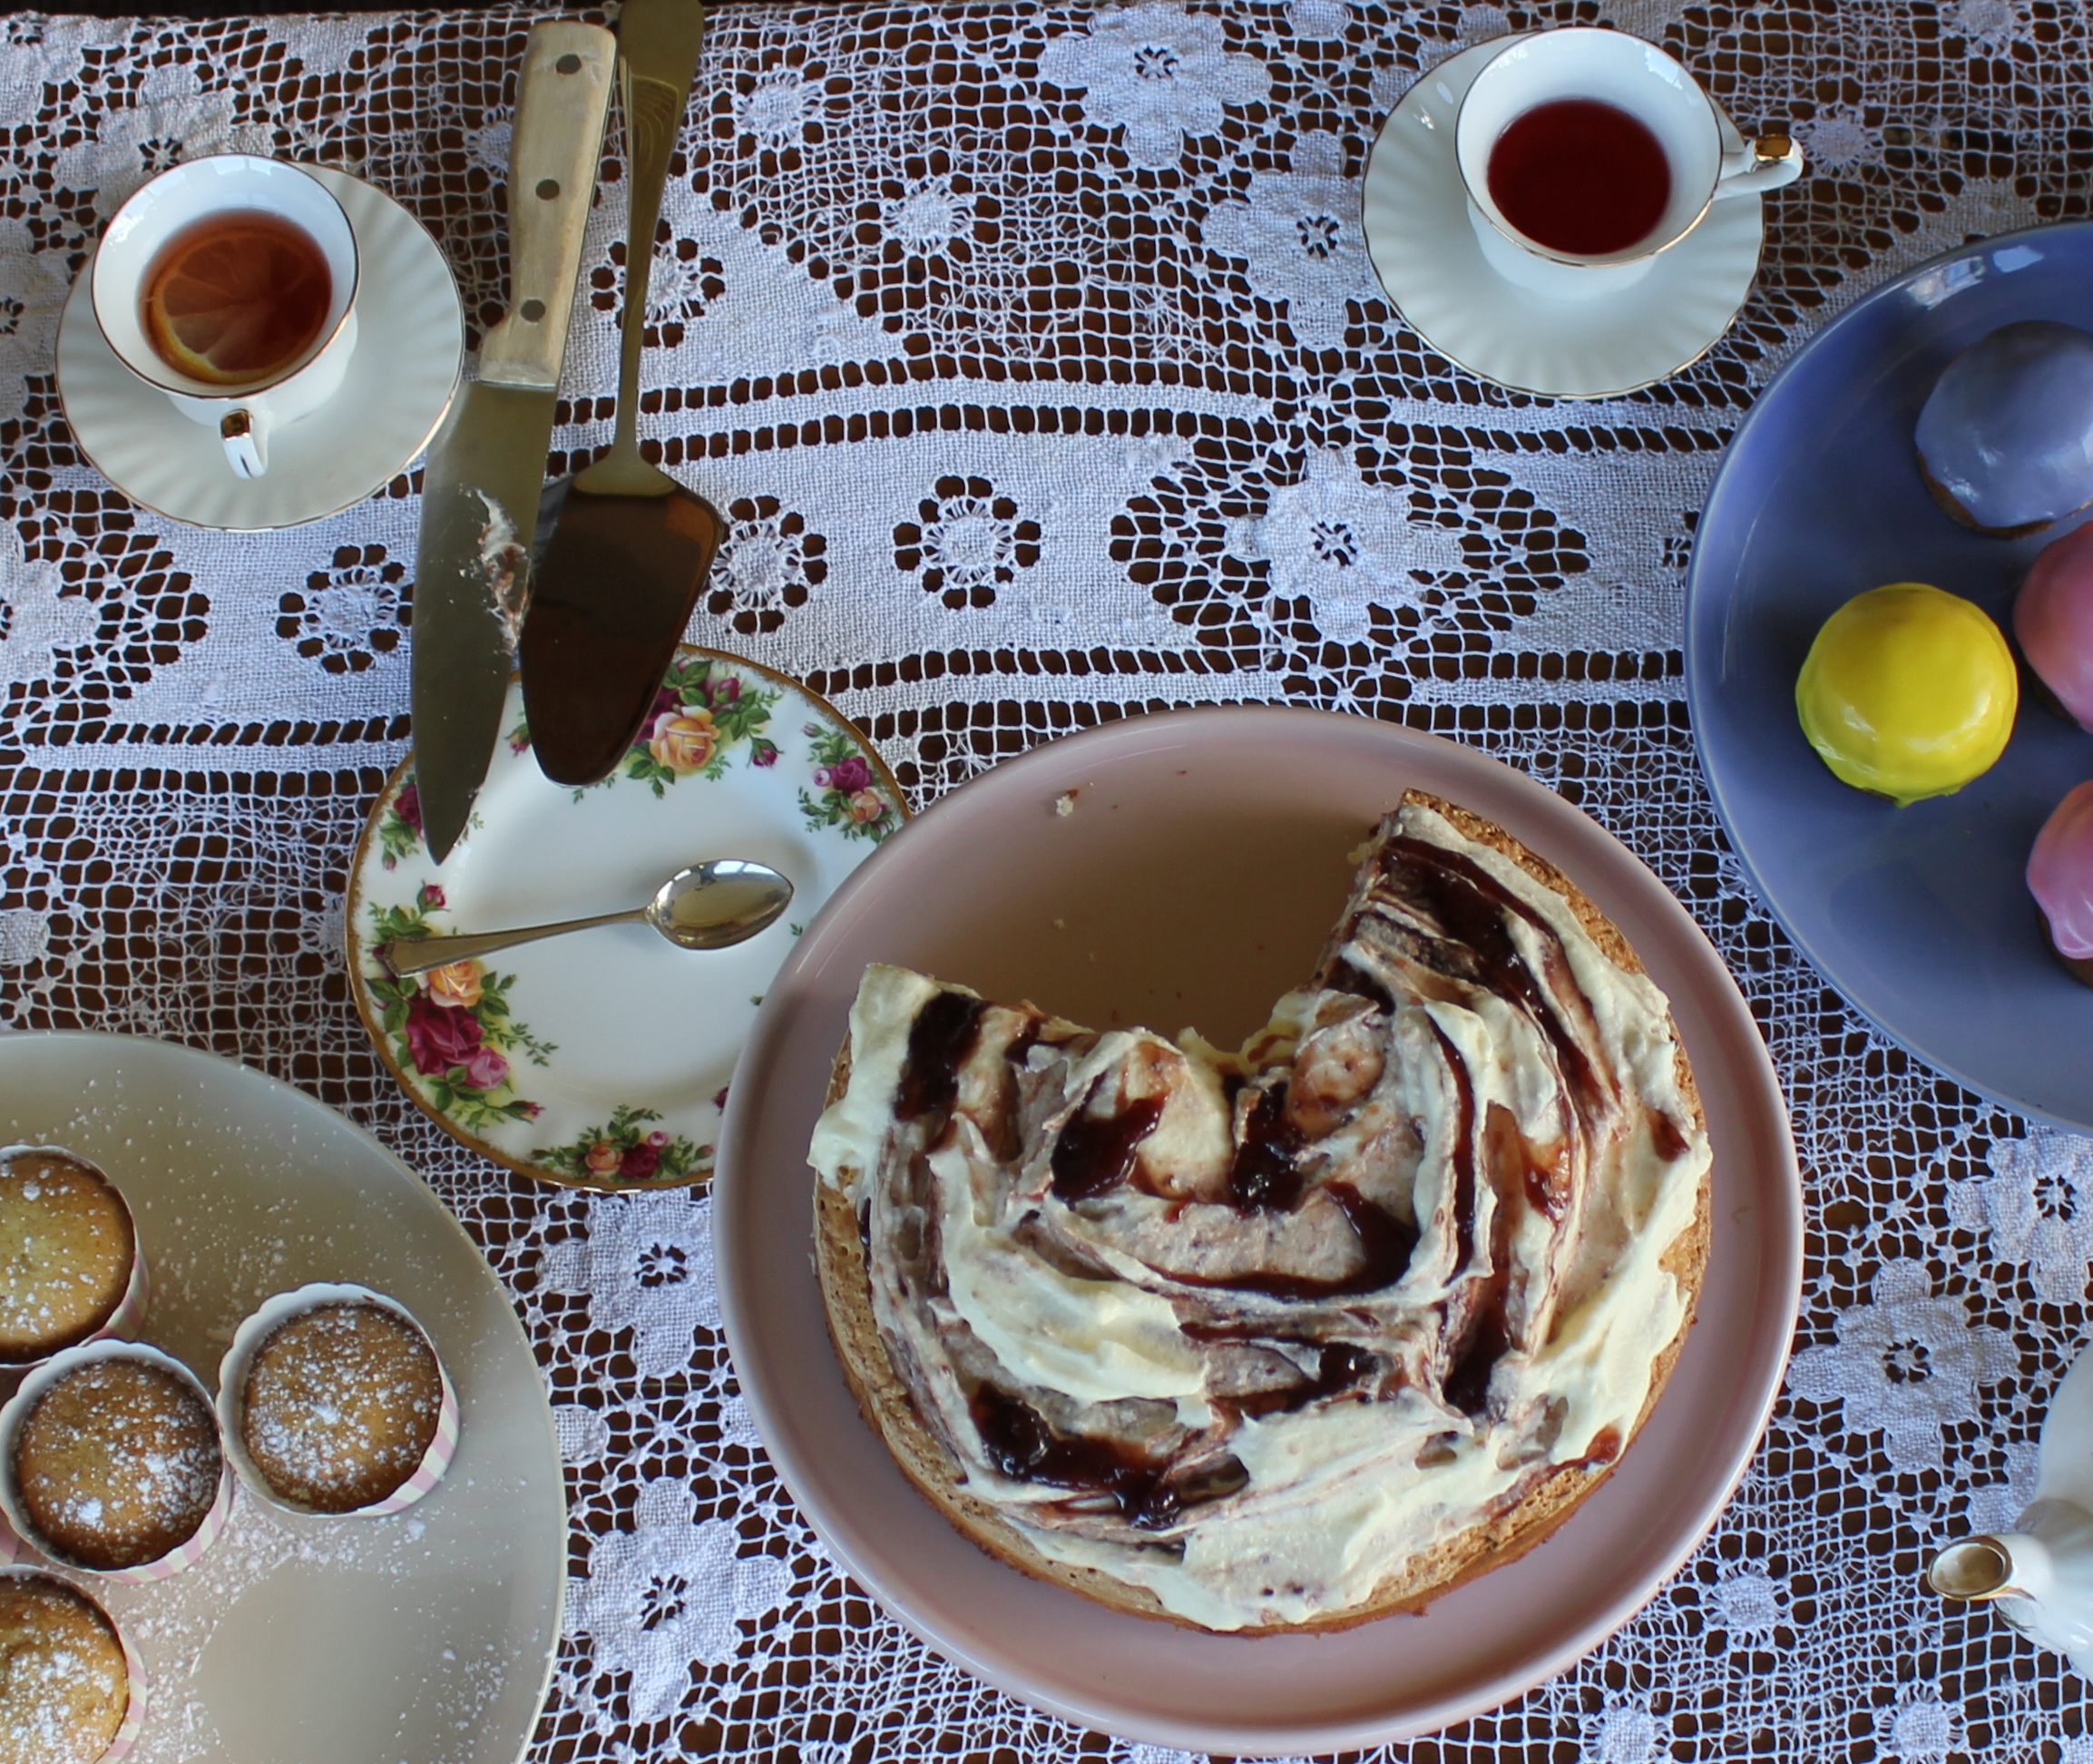
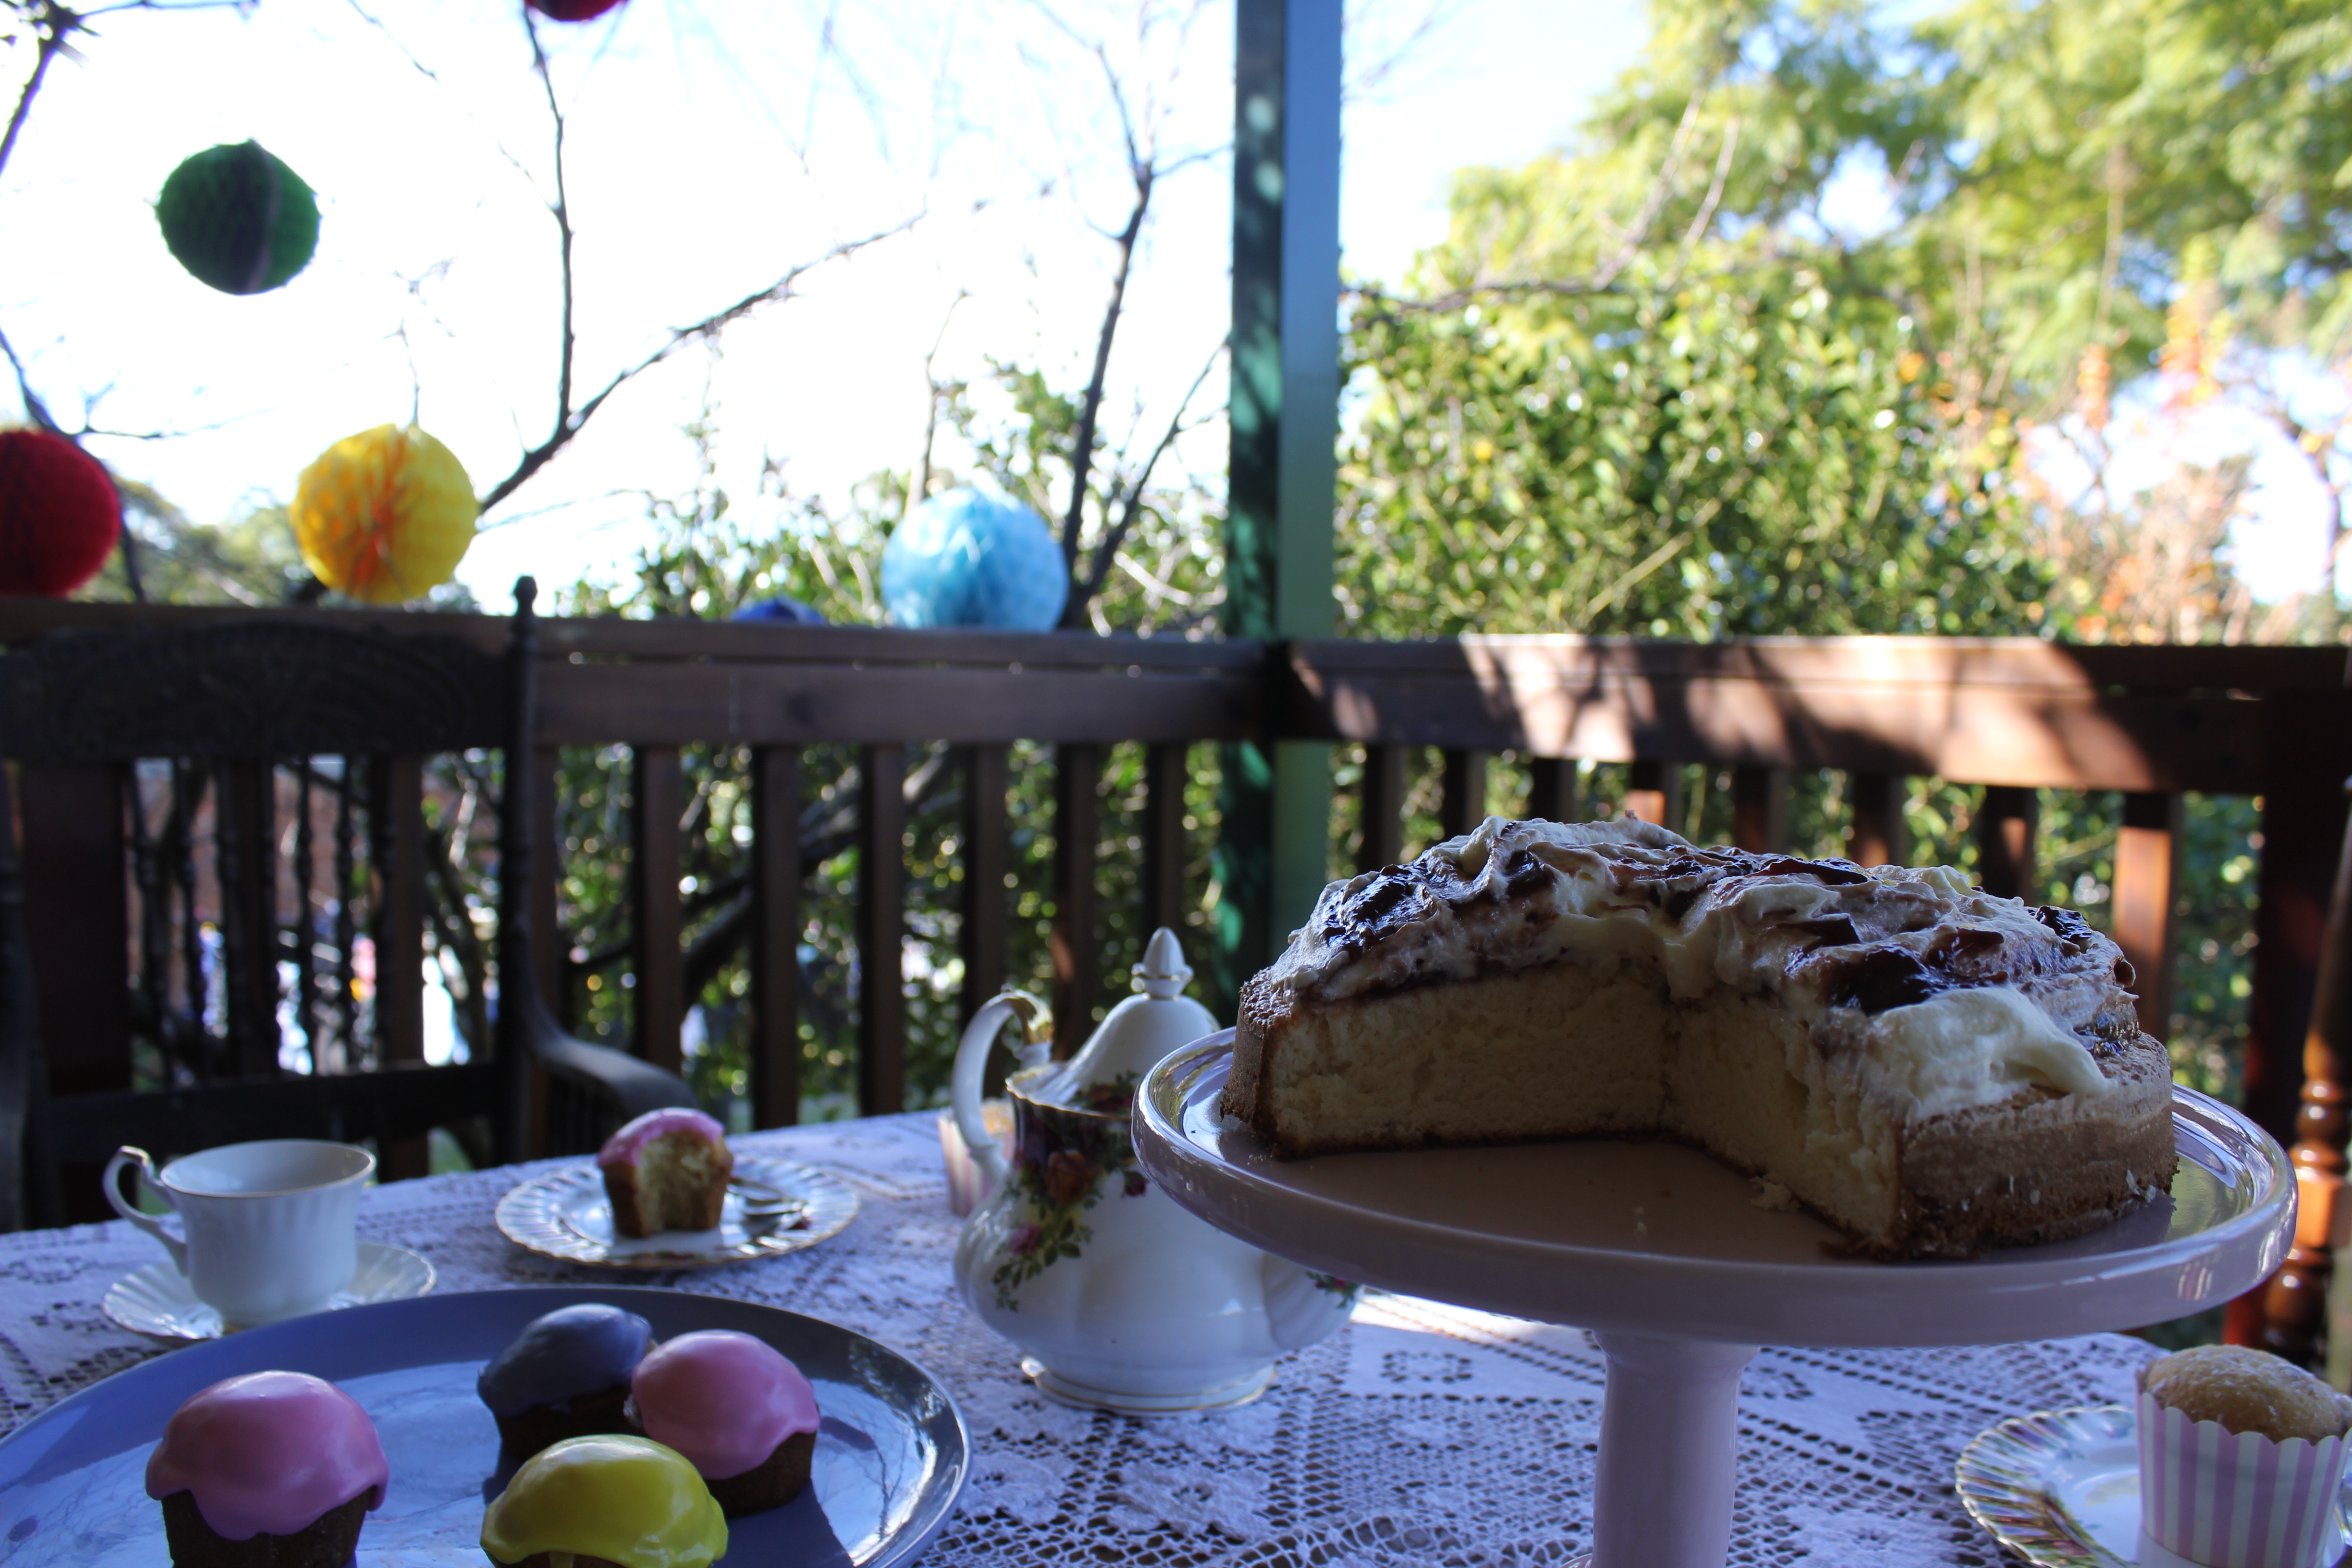
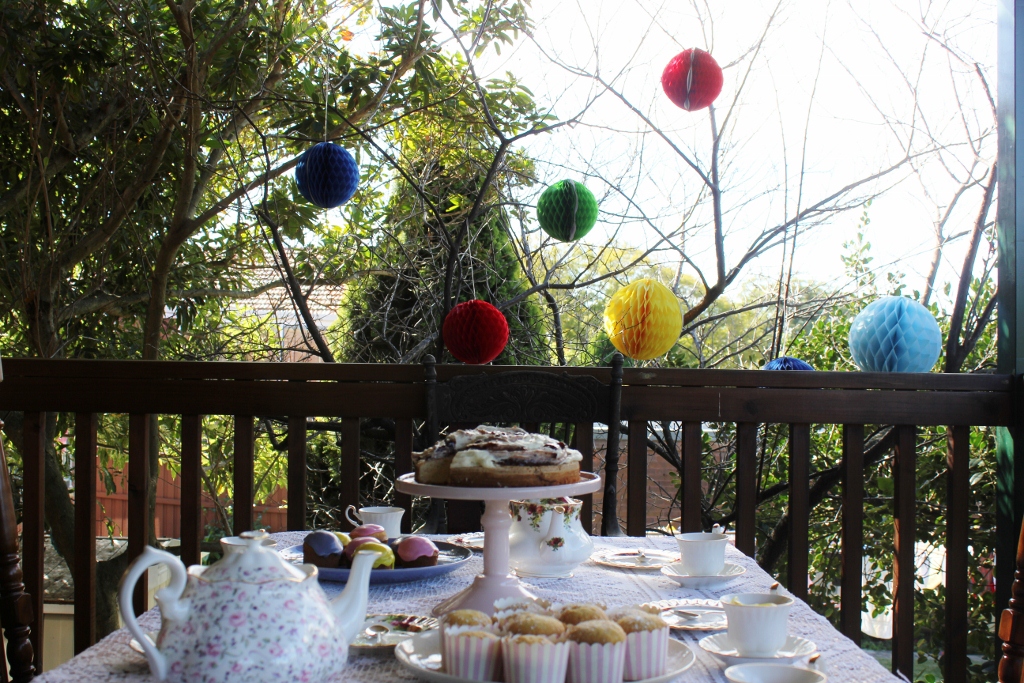
Enjoy with tea and friends.

The difference between polenta and semolina

There’s no recipe to post today, just a little guide to baking with semolina/polenta. In my last post I made a cake with semolina in it.

I found out the hard way that polenta and semolina are not always interchangeable when I made a lemon semolina cake about three months ago. I Googled “can you substitute semolina with polenta?”

“Yes” was the resounding answer.

My cake said otherwise.

While they essentially perform the same role in a cake, the outcome of my baking with polenta was a grittier, denser texture than I was looking for.

Semolina
This is polenta, the fiend that ruined my cake!

Semolina is wheat, polenta is corn. ‘Polenta’ may also refer to the grain or the dish that results from using polenta.

There are occasions where you can substitute one for the other, but not all the time. They both have their benefits:

  • Semolina is high in protein and fibre and low GI, so it’s good for you! Semolina is a good option for people who need to monitor their glucose levels, like diabetics or dieters.  It is also a good source of vitamins E and B, which help your immune system.
  • Polenta is made up of complex carbohydrates high in dietary fibre, which means that they are a better source of energy than simple carbs. Polenta is also high in zinc, and iron.

When buying polenta or semolina, go for the most finely ground version you can find (unless the recipe specifies otherwise.) Generally cakes will call for semolina or polenta without indicating how coarse/fine the ingredient should be – if in doubt, opt for the finer alternative

My Lemon semolina cake (in which I used polenta instead of semolina) turned out even worse because my polenta was quite coarse – a similar size to couscous – and made my cake crumbly. And a little hard on the teeth.

I still Instagrammed it, because I’m lame. (http://instagram.com/p/Y7iBbAg76M/)

My advice? Tweak recipes where you need to, but if you’re really unsure, save your time by popping down to the shops and picking up the right ingredients!

Bejewelled Orange Syrup Cake and Long Weekends

Juicer

Long weekends are the perfect mix of food, drink and good company in my house. A little too much merriment however, always leaves you sluggish on the last day. Today is that day.

After excesses of gossip, laughing and catching up, Monday morning is lazy, slower than your usual Monday.

To remedy this – administer copious amounts of vitamin C (and other delicious things) by enjoying a slice of this cake. Continue reading “Bejewelled Orange Syrup Cake and Long Weekends”

Peanut Butter Cookies and Instagram

Cookies
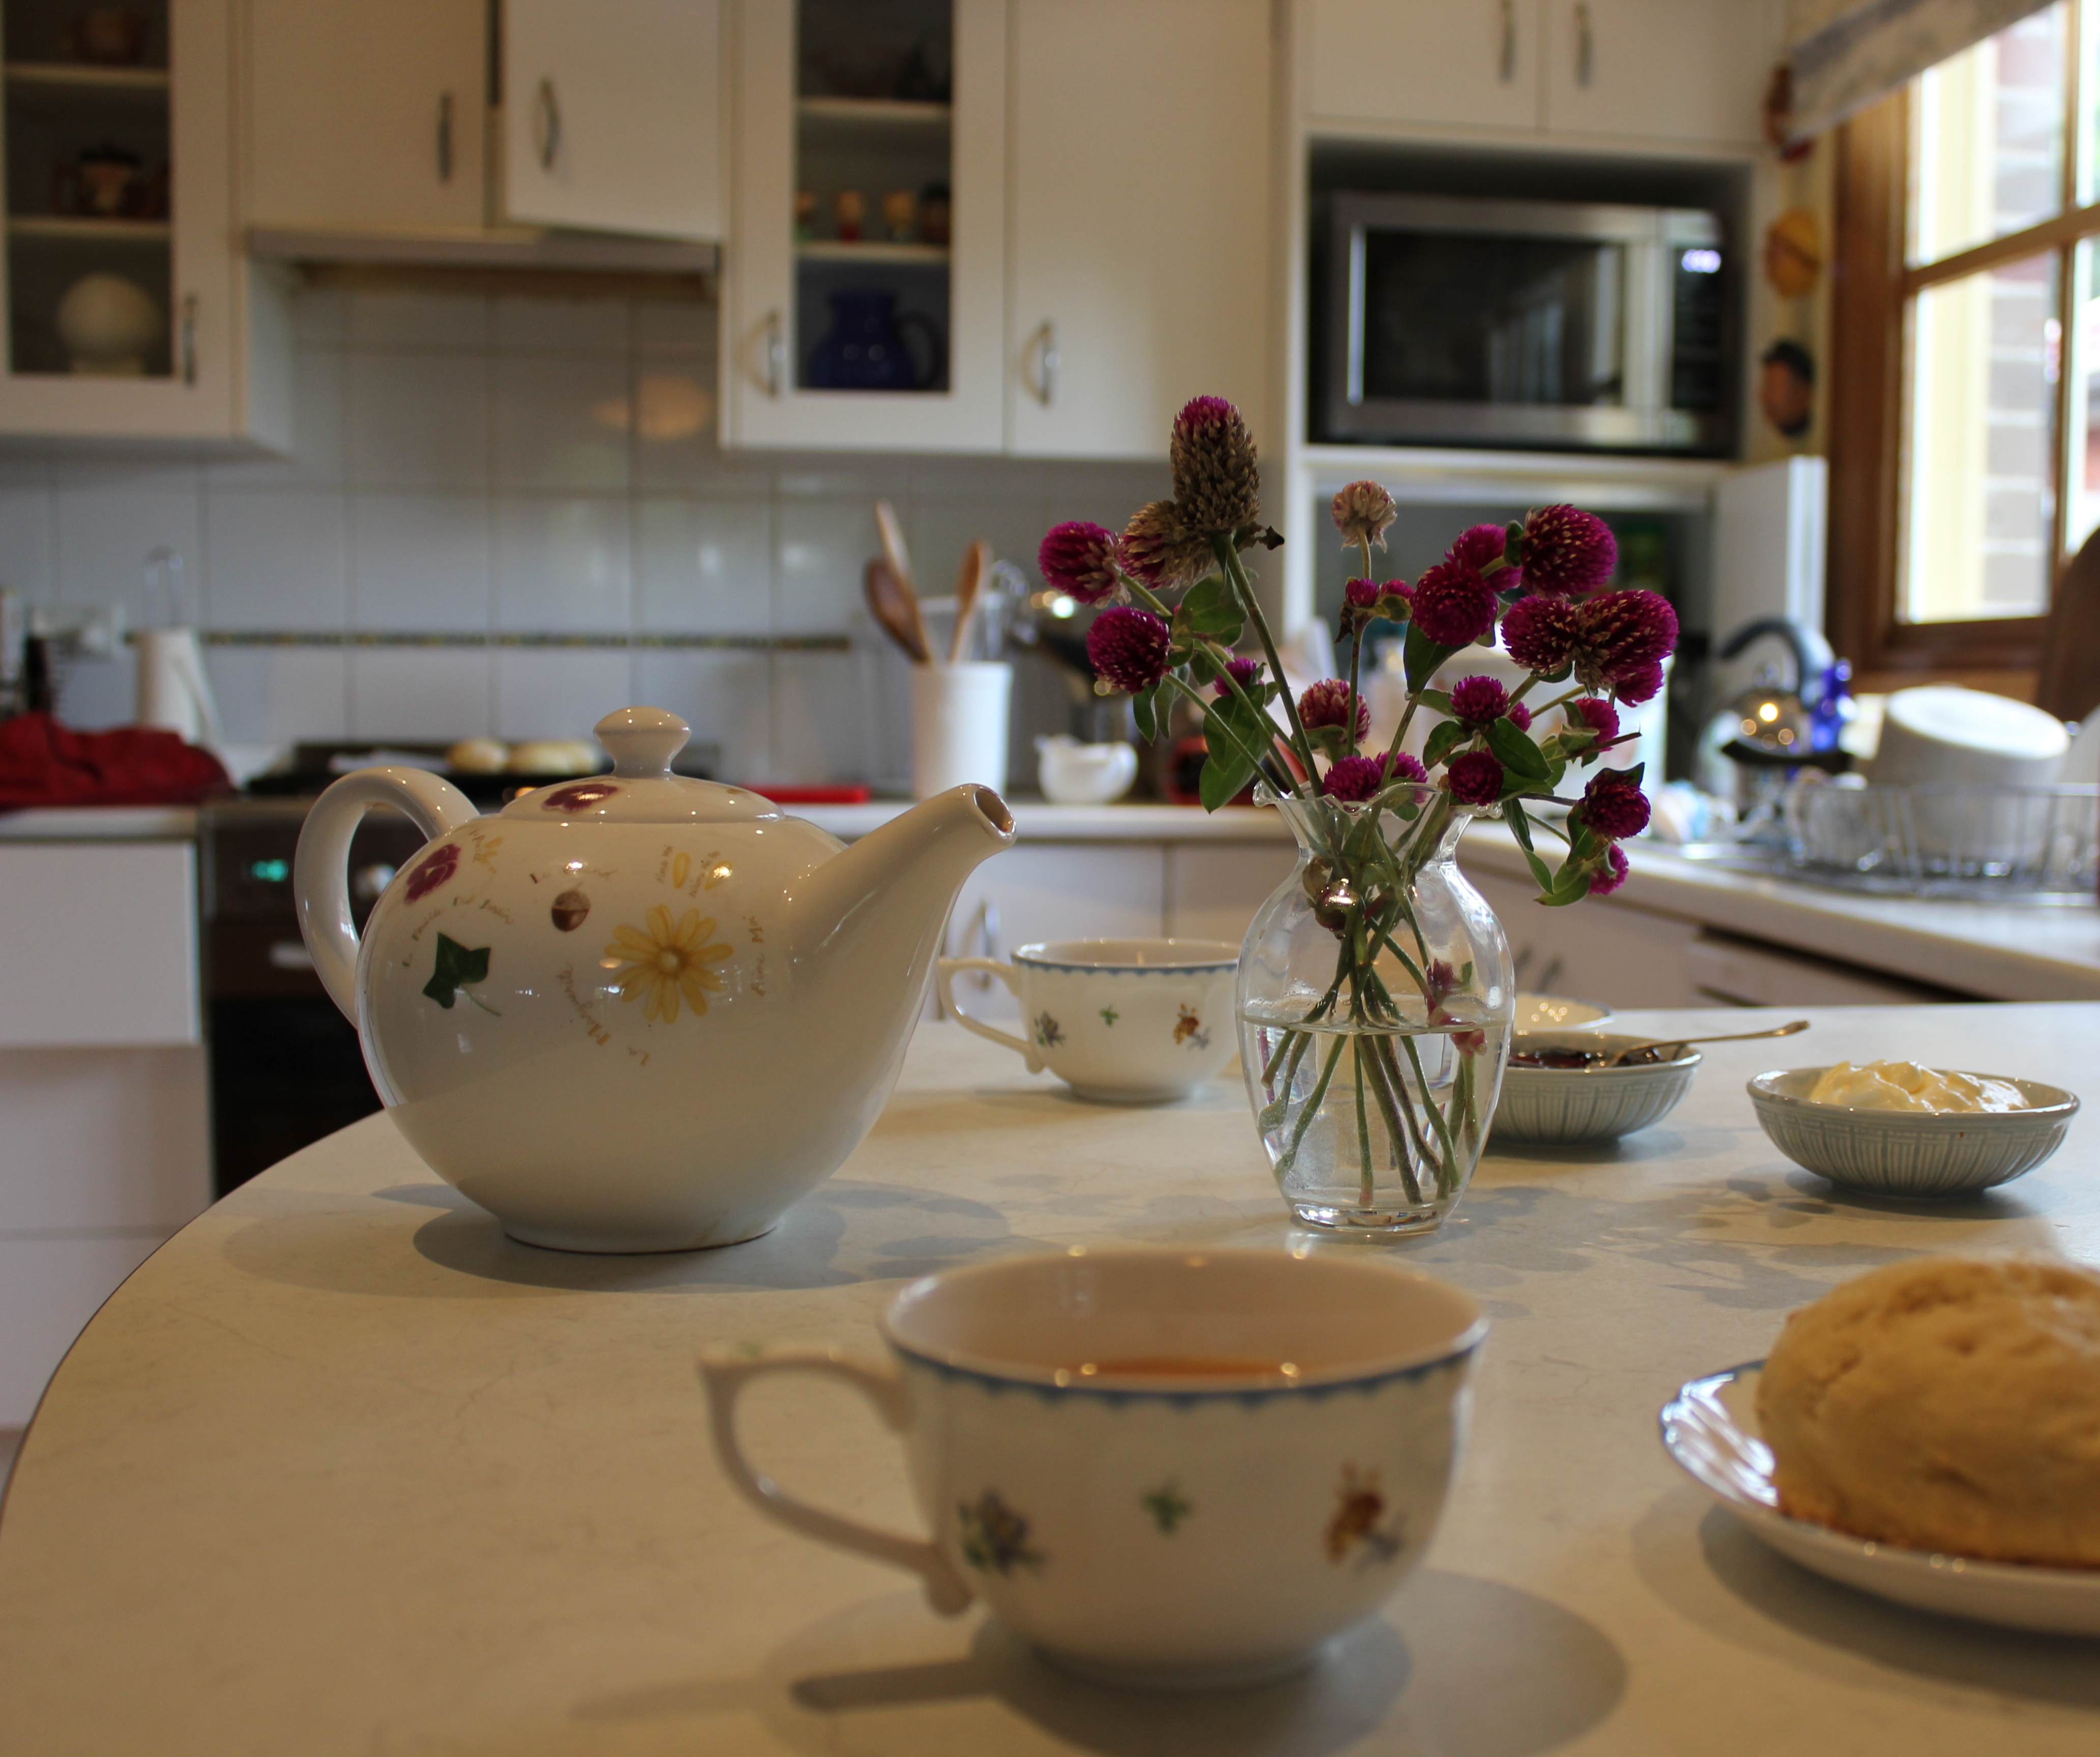
may not know that I was prompted to start this because of Instagram. I wish I was kidding! I’m one of those people who cannot resist sneaky snaps of her teacup, or of freshly baked biccies.

I’m an Instagram tragic.   (proof here: http://instagram.com/gabbyeq)

The boy and I started house-sitting in April and I had recently been made redundant – what is a girl to do in her copious amounts of spare time? Instagram of course! Once people cottoned onto the fact that I was mostly cooking and taking pictures of said cooking, it became a bit of a joke that I spent all of my time this way.

#bakingwithgab was born. Continue reading “Peanut Butter Cookies and Instagram”

Lemonade scones and sharing

tea for two

I’m enjoying putting my thoughts down as much as sharing my recipes! For me, food is best when shared. I have a large extended family, so food has always been a social occasion.

I cook for those I love. The Boy often jokes that I’m trying to give him diabetes with all my baking. I like to think that I bake cakes of appreciation or puddings of love. He just thinks I’m fattening him up.

Regardless of what you make, the act of producing something for someone is special. It’s really rewarding as well!

One of my favourite (and simplest) things to share with people is scones. I have made and shared more scones than any other food. They’re just delightful. And always appropriate – stressed out? Scones will help. Should be doing an assessment? Scones will distract. Sick pet? Scones will calm. New friendship? Scones will seal the deal.

Lemonade scones:
Scone

  • 2 cups self-raising flour, sifted
  • 1/4 cup caster sugar
  • ½ tsp salt
  • 1/2 cup thick cream
  • 1/2 cup lemonade
  • 2 tbs milk (for brushing)

Preheat the oven to 220°C and lightly grease a baking tray.

Combine flour, sugar and salt in a large bowl. Add the cream and lemonade. Mix to form a soft dough.

Pre mix

Using floured hands, transfer dough to a lightly floured surface and knead gently. Press the dough to a thickness of 2-3cm…nobody likes a flat scone, be generous!

Use a scone cutter to cut out as many scones as possible. If, like me, you’ve misplaced your scone cutter, flour the edges of a thin-rimmed glass to cut out your scones instead. Re-knead scraps gently and repeat.

Raw scones

You should get six generous scones.

Bake for 10-15 minutes until lightly browned.Brush the tops with small amount of milk to help them brown then transfer to your baking tray.

While the scones bake, whip up some cream and find your jam. I’ve chosen blueberry jam, you can never go wrong with blueberries.
These scones are so easy, you can whip them up in under ten minutes and serve them piping hot within half an hour.spoons for two

Share with whoever you choose – enjoy!


Add a handful of choc-chips, sultanas, blueberries or some lemon zest to change the dynamics of your scones.

The Ultimate Crowd-Pleasing Sticky Date

After a good many months contemplating this blog, I’ve finally started. It’s been so long coming that I’m slightly worried it won’t live up to the blog I’ve got going in my head.

IMG_3401

Insecurities aside, I’ll start here.

I’m a 23 year old, third year literature student. I’m a keen baker, tea connoisseur, dachshund lover. Who knew I could be summed up in so few words? It’s probably better, people aren’t going to read this to find out about me, they want recipes!

And recipes I shall provide…hopefully. Continue reading “The Ultimate Crowd-Pleasing Sticky Date”