I’ve got a friend’s birthday coming up soon and I’m trying to put together a few recipes to make her party special. It will be a high tea style thing because she’s not a big fan of birthdays. I can’t understand why she doesn’t love birthdays, but I’m loving the challenge of finding recipes that will impress her without seeming too celebratory.
I’m keeping plans a little bit secret, so I won’t blab too much. Keep an eye out for her birthday post later this week, I have a feeling that it’s going to be great!
Before you start the recipe, ensure you’ve got a syringe. Like the ones you give kids medicine with. It sounds odd, but it’s a really simple decorating tool.
I appropriated this recipe from one I found at Cooking Classy.
White chocolate cheesecake tart: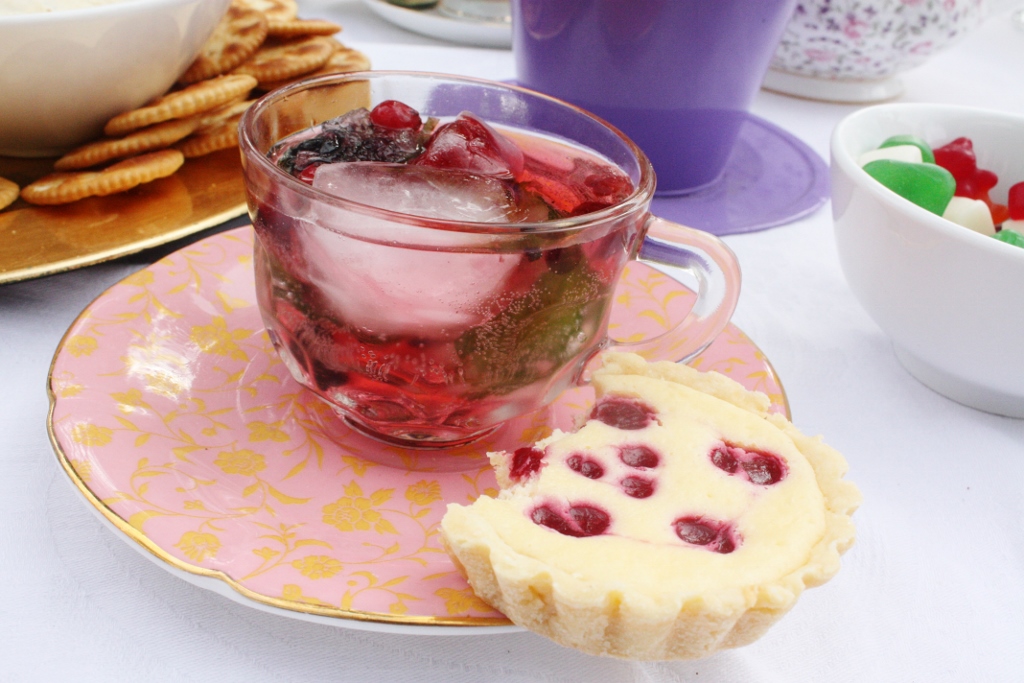
- 2 sheets shortcrust pastry
- 300g cream cheese
- 1/3 cup sugar
- 1 egg
- 1 egg white
- 1 tsp vanilla
- 1 ½ tsp lemon juice
Raspberry puree
- 1 1/2 cups frozen raspberries
- 2 tbsp sugar
- 1 tbsp cornflour
- ¼ cup cold water
Grease six tart tins. Preheat the oven to 180°C.
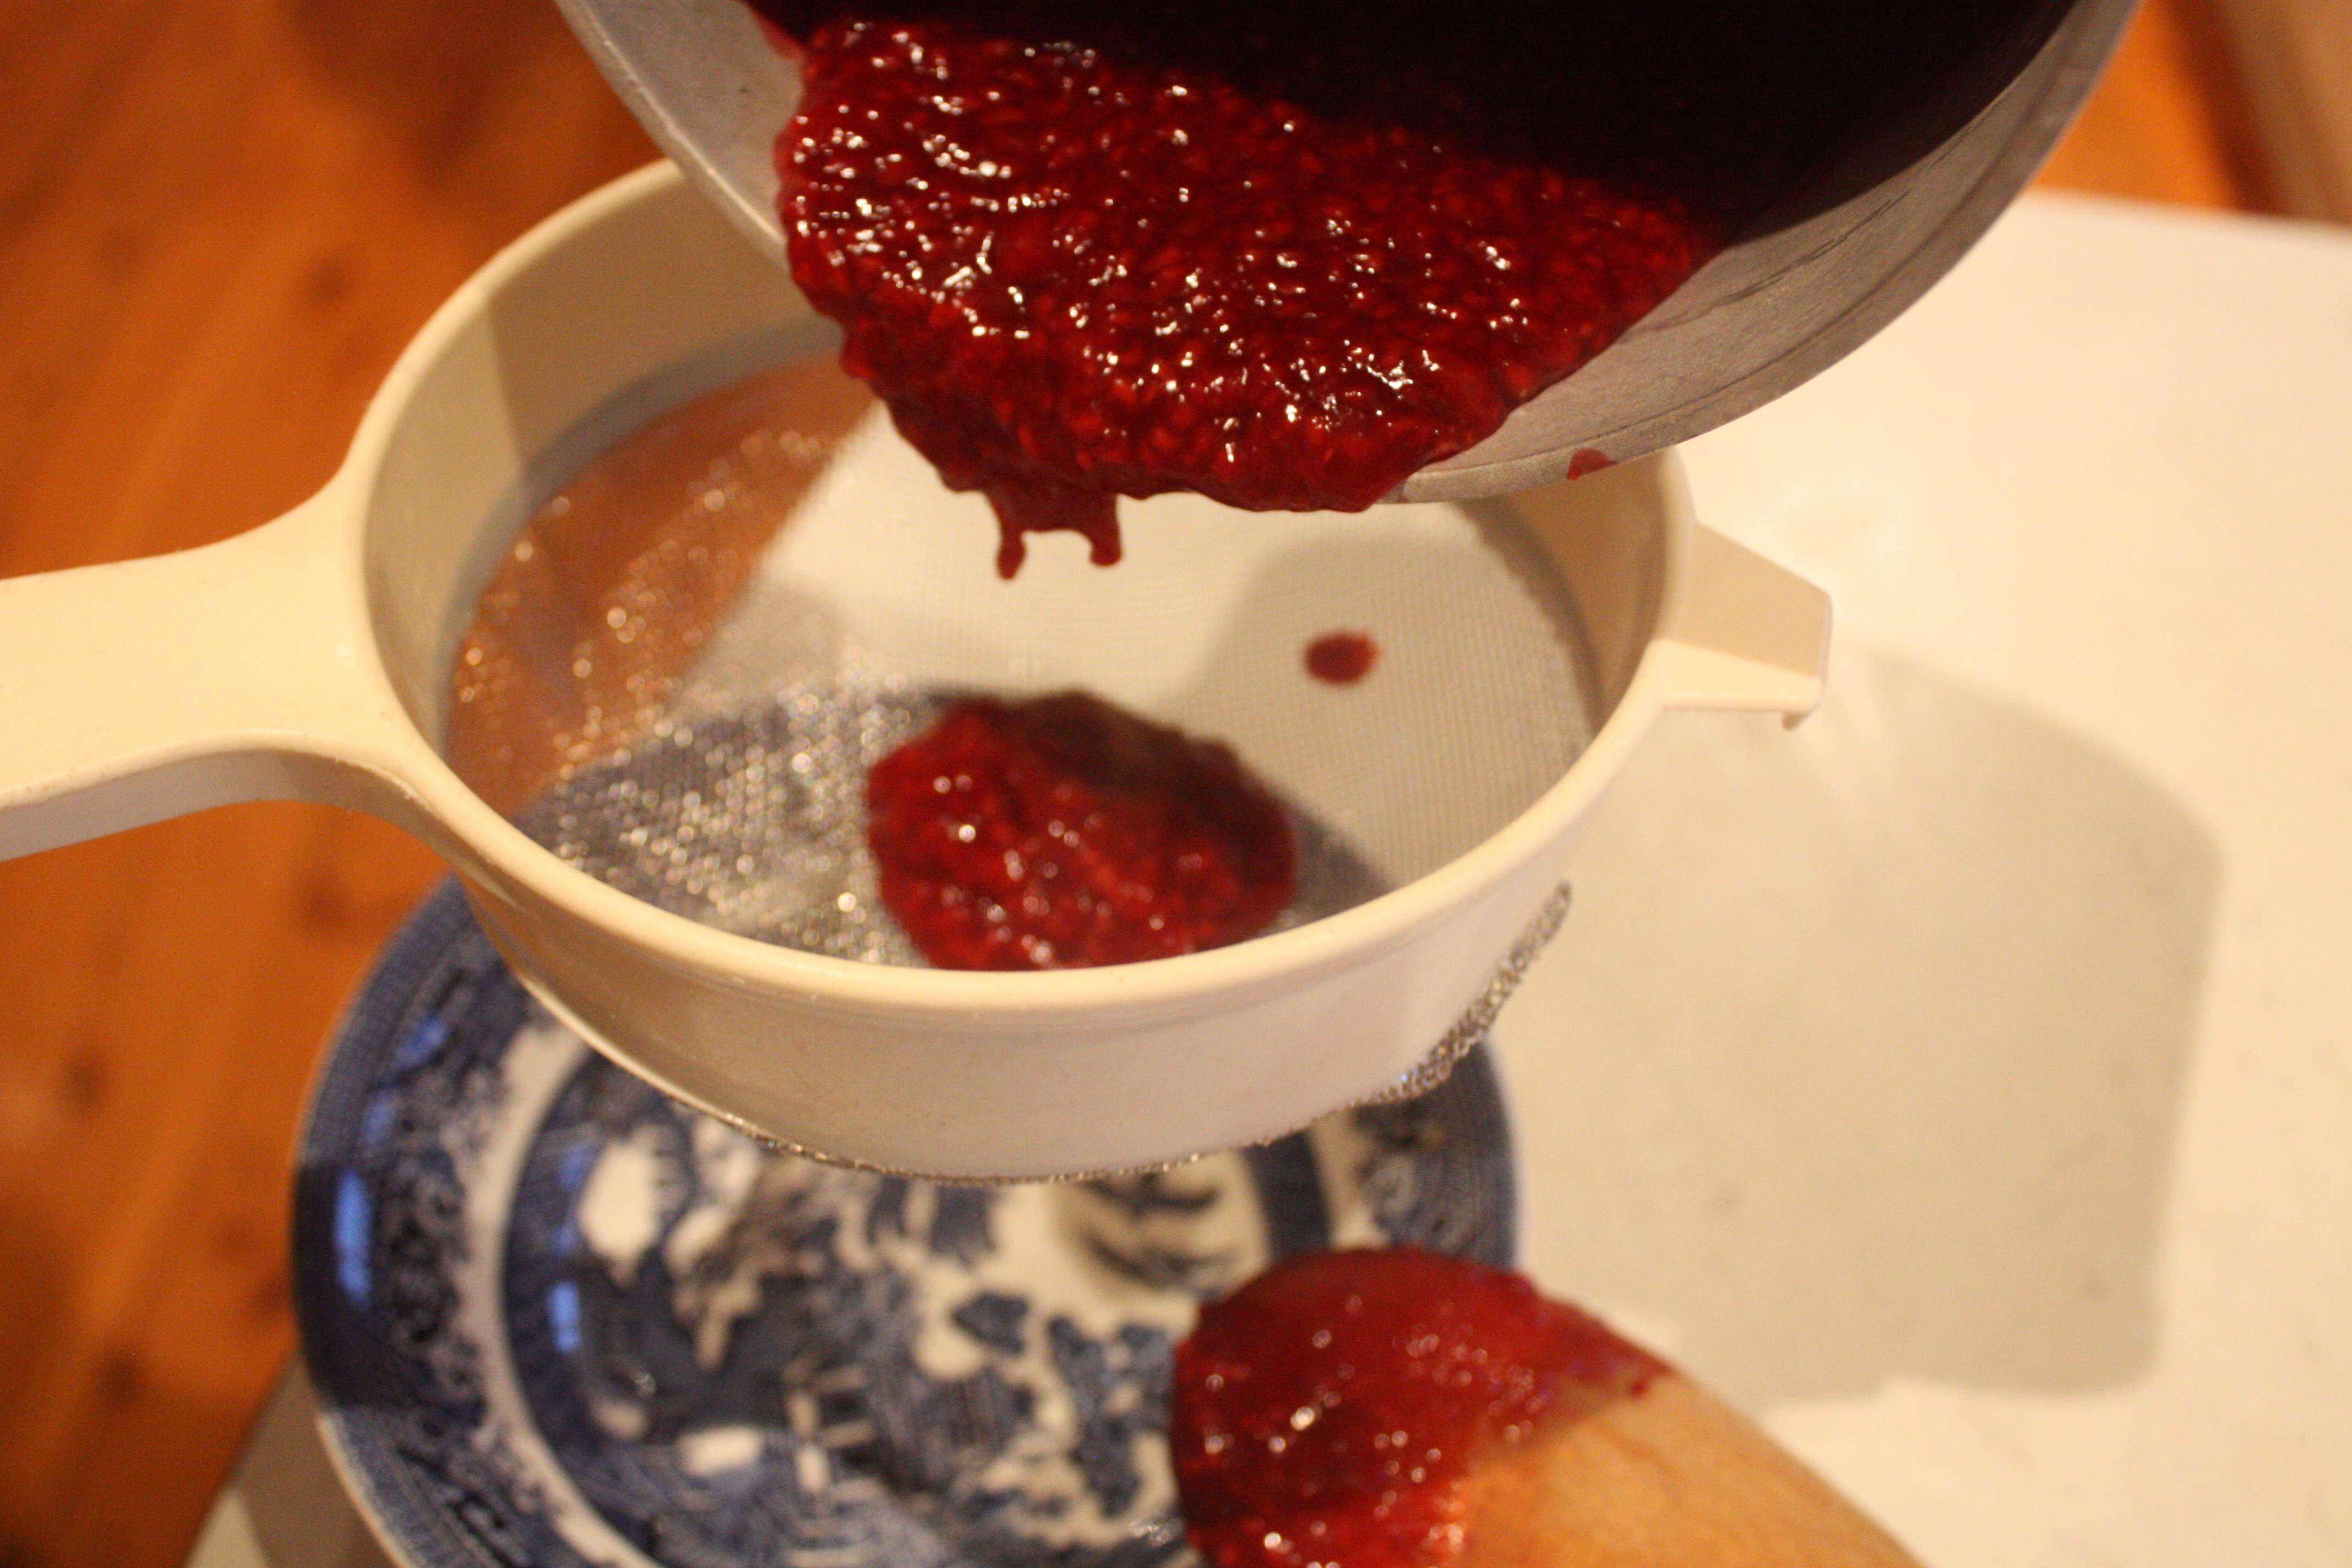 Put your frozen raspberries in a small saucepan over a medium heat and sprinkle the sugar in. When the raspberries start to defrost, add the cornflour and water. Stir it often so that it doesn’t stick to the bottom of the pan and burn. When the raspberries have broken down fully, allow the mixture to come to a boil and thicken for about two minutes. Remove your puree from the heat and put it through a strainer to get rid of all the seeds.
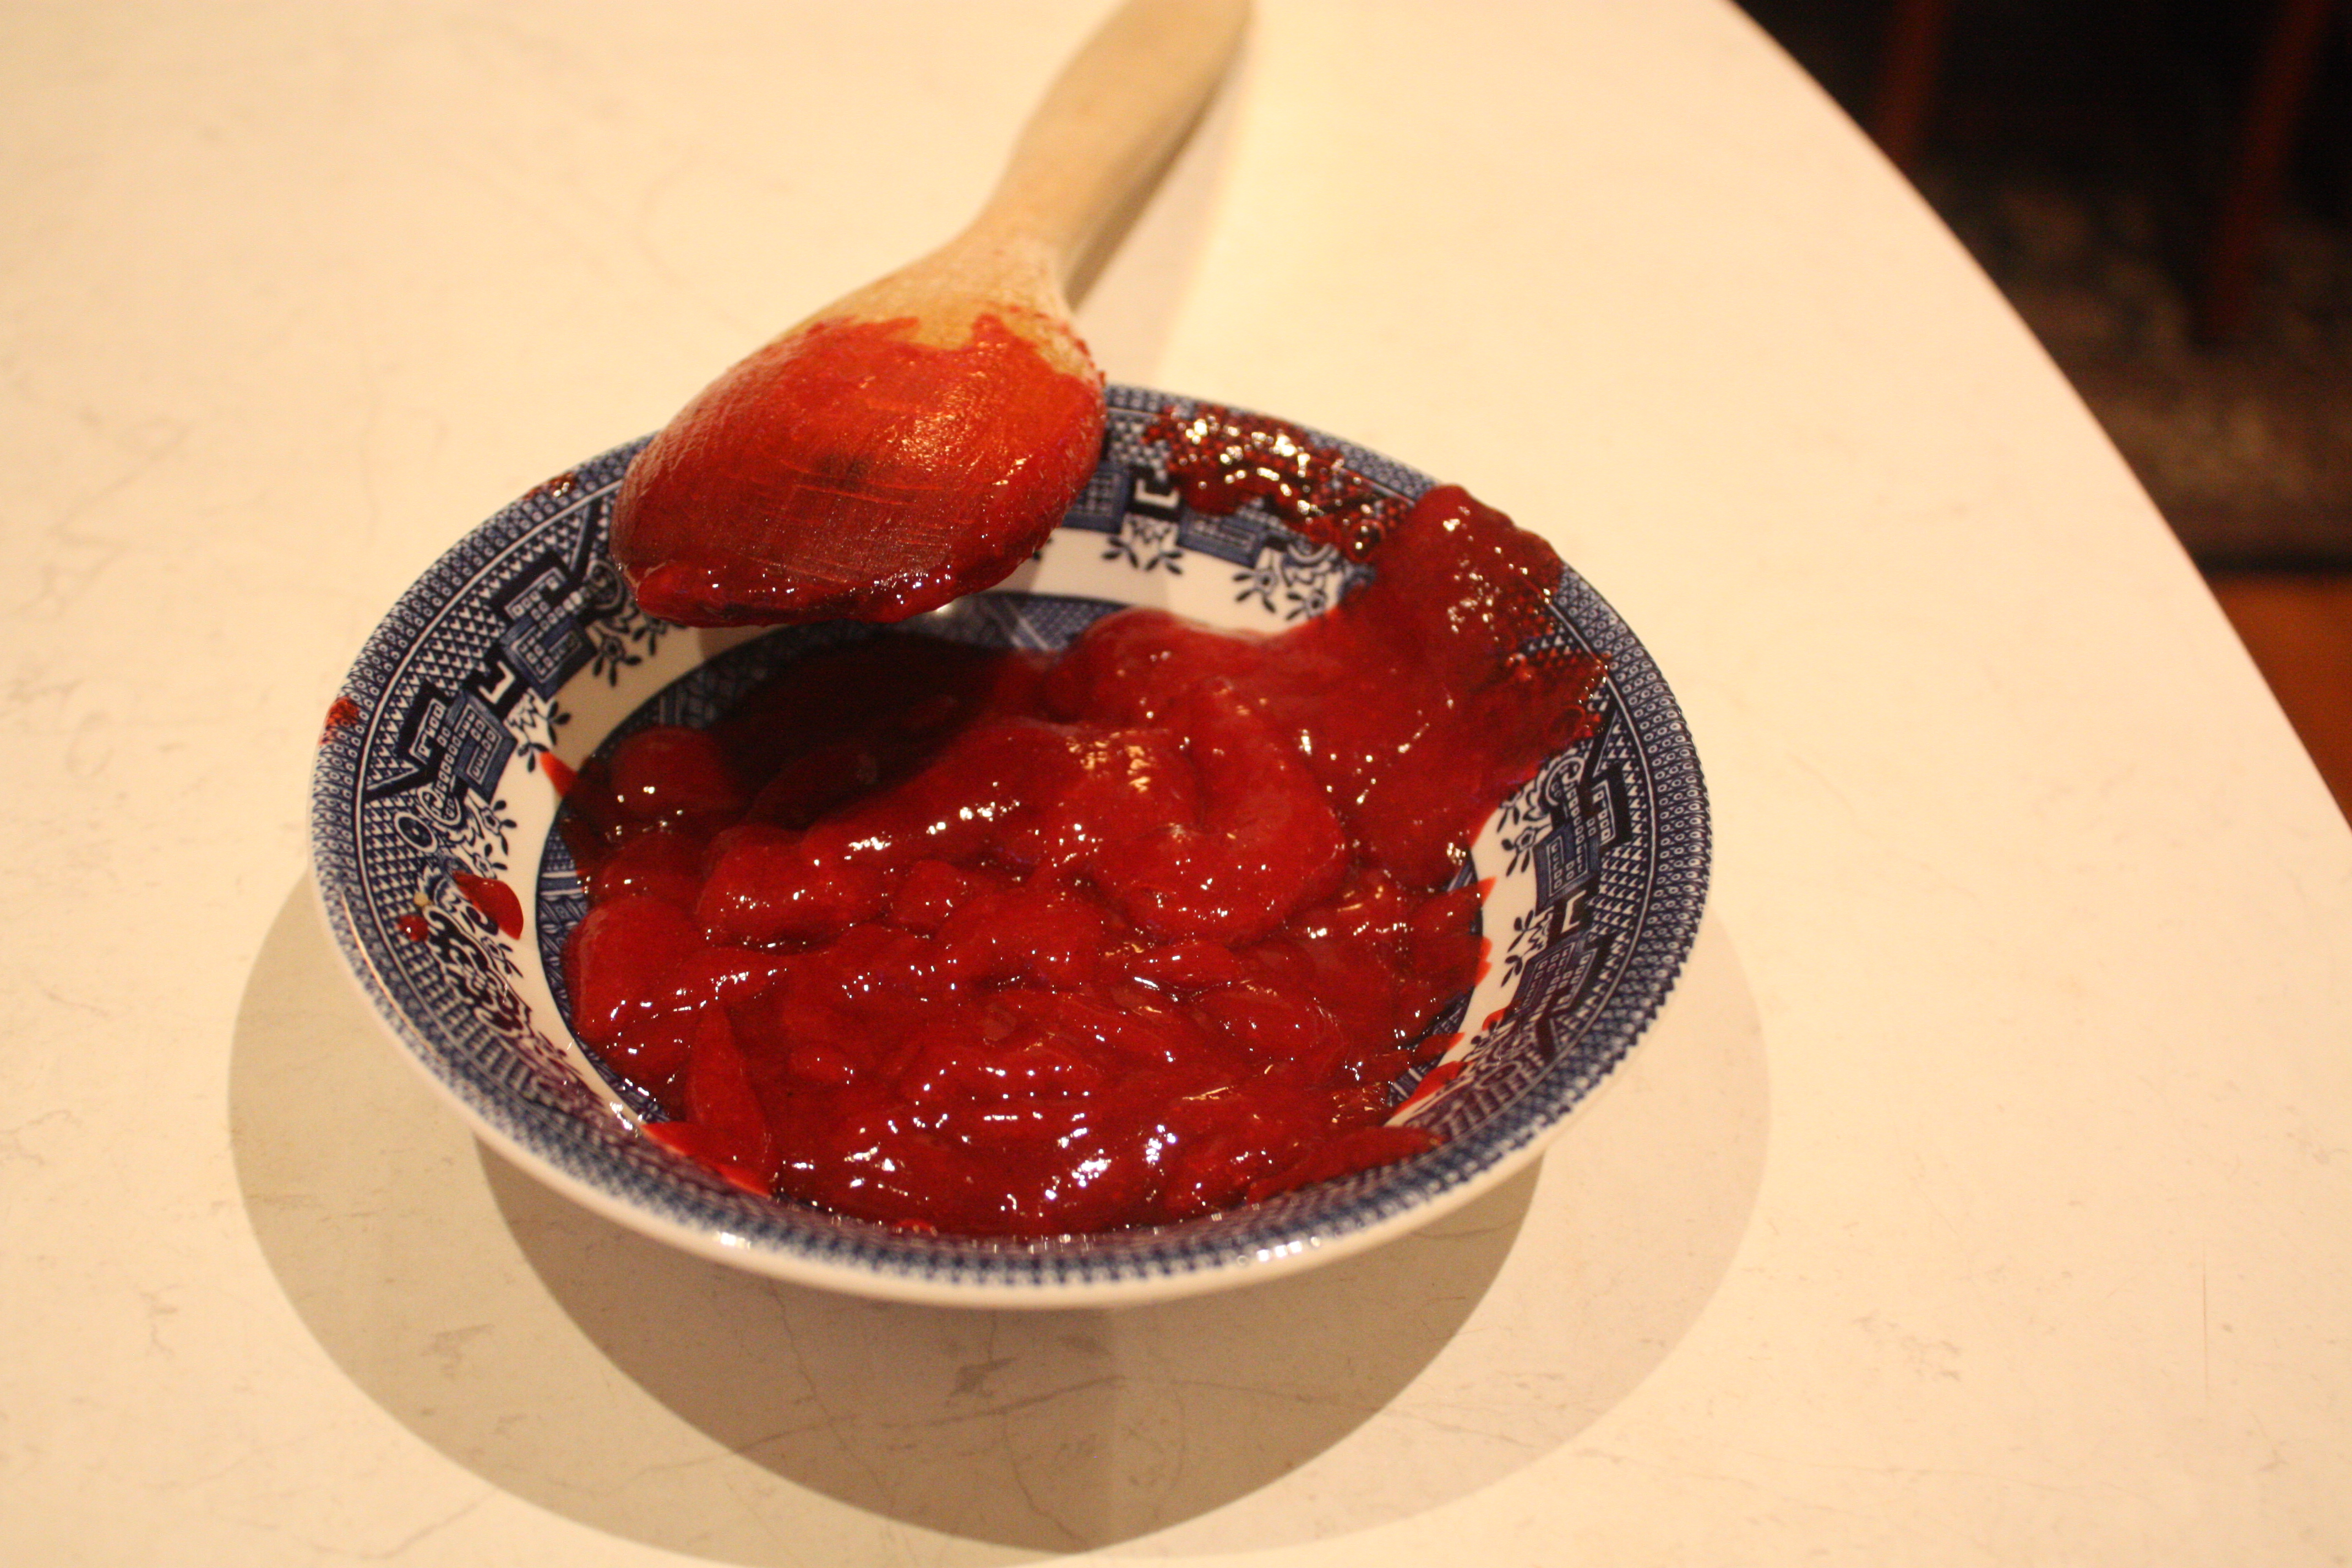
It’s going to look a little bit like something from a bad horror film – all red and gloopy, but it’s delicious. Set your puree aside, you’ll need it in about ten minutes.
Cut your pastry into squares and fit them into your tart tins. You’ll need to do this in two batches, the recipe makes about 12. Pop them into the oven for 10 minutes so that the pastry cooks slightly – you may want to weight them down with baking weights to stop it from bubbling up.
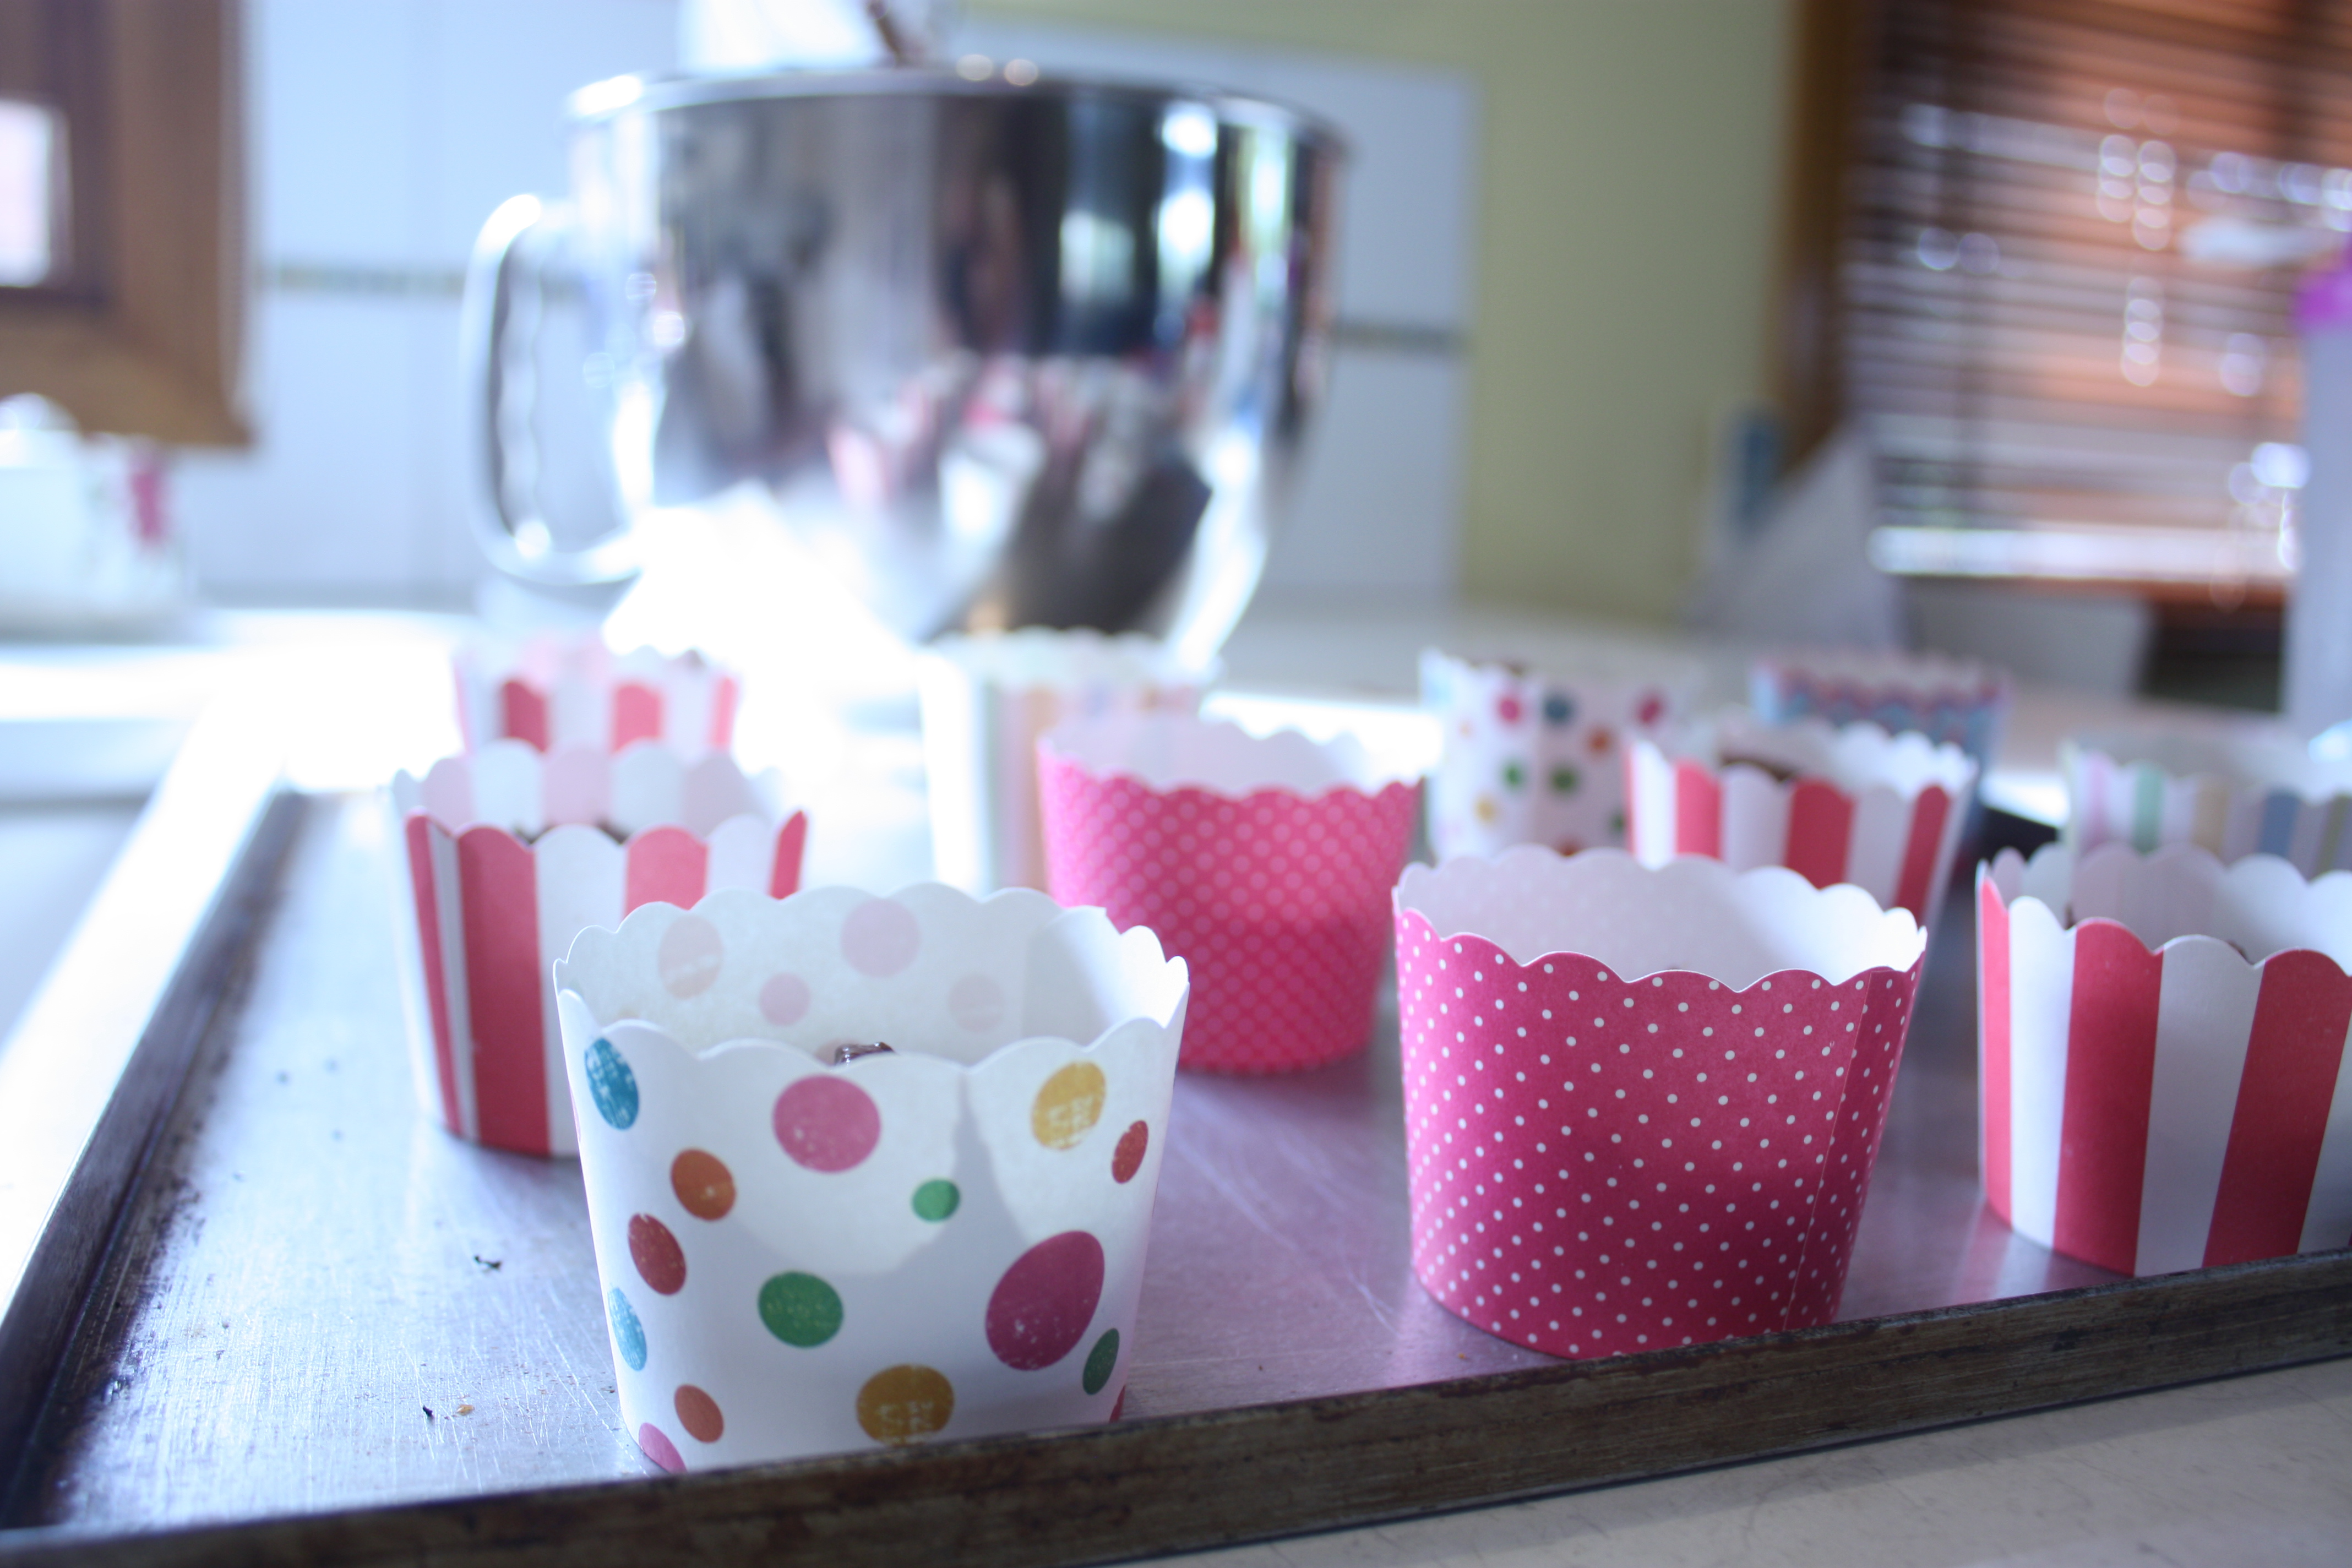
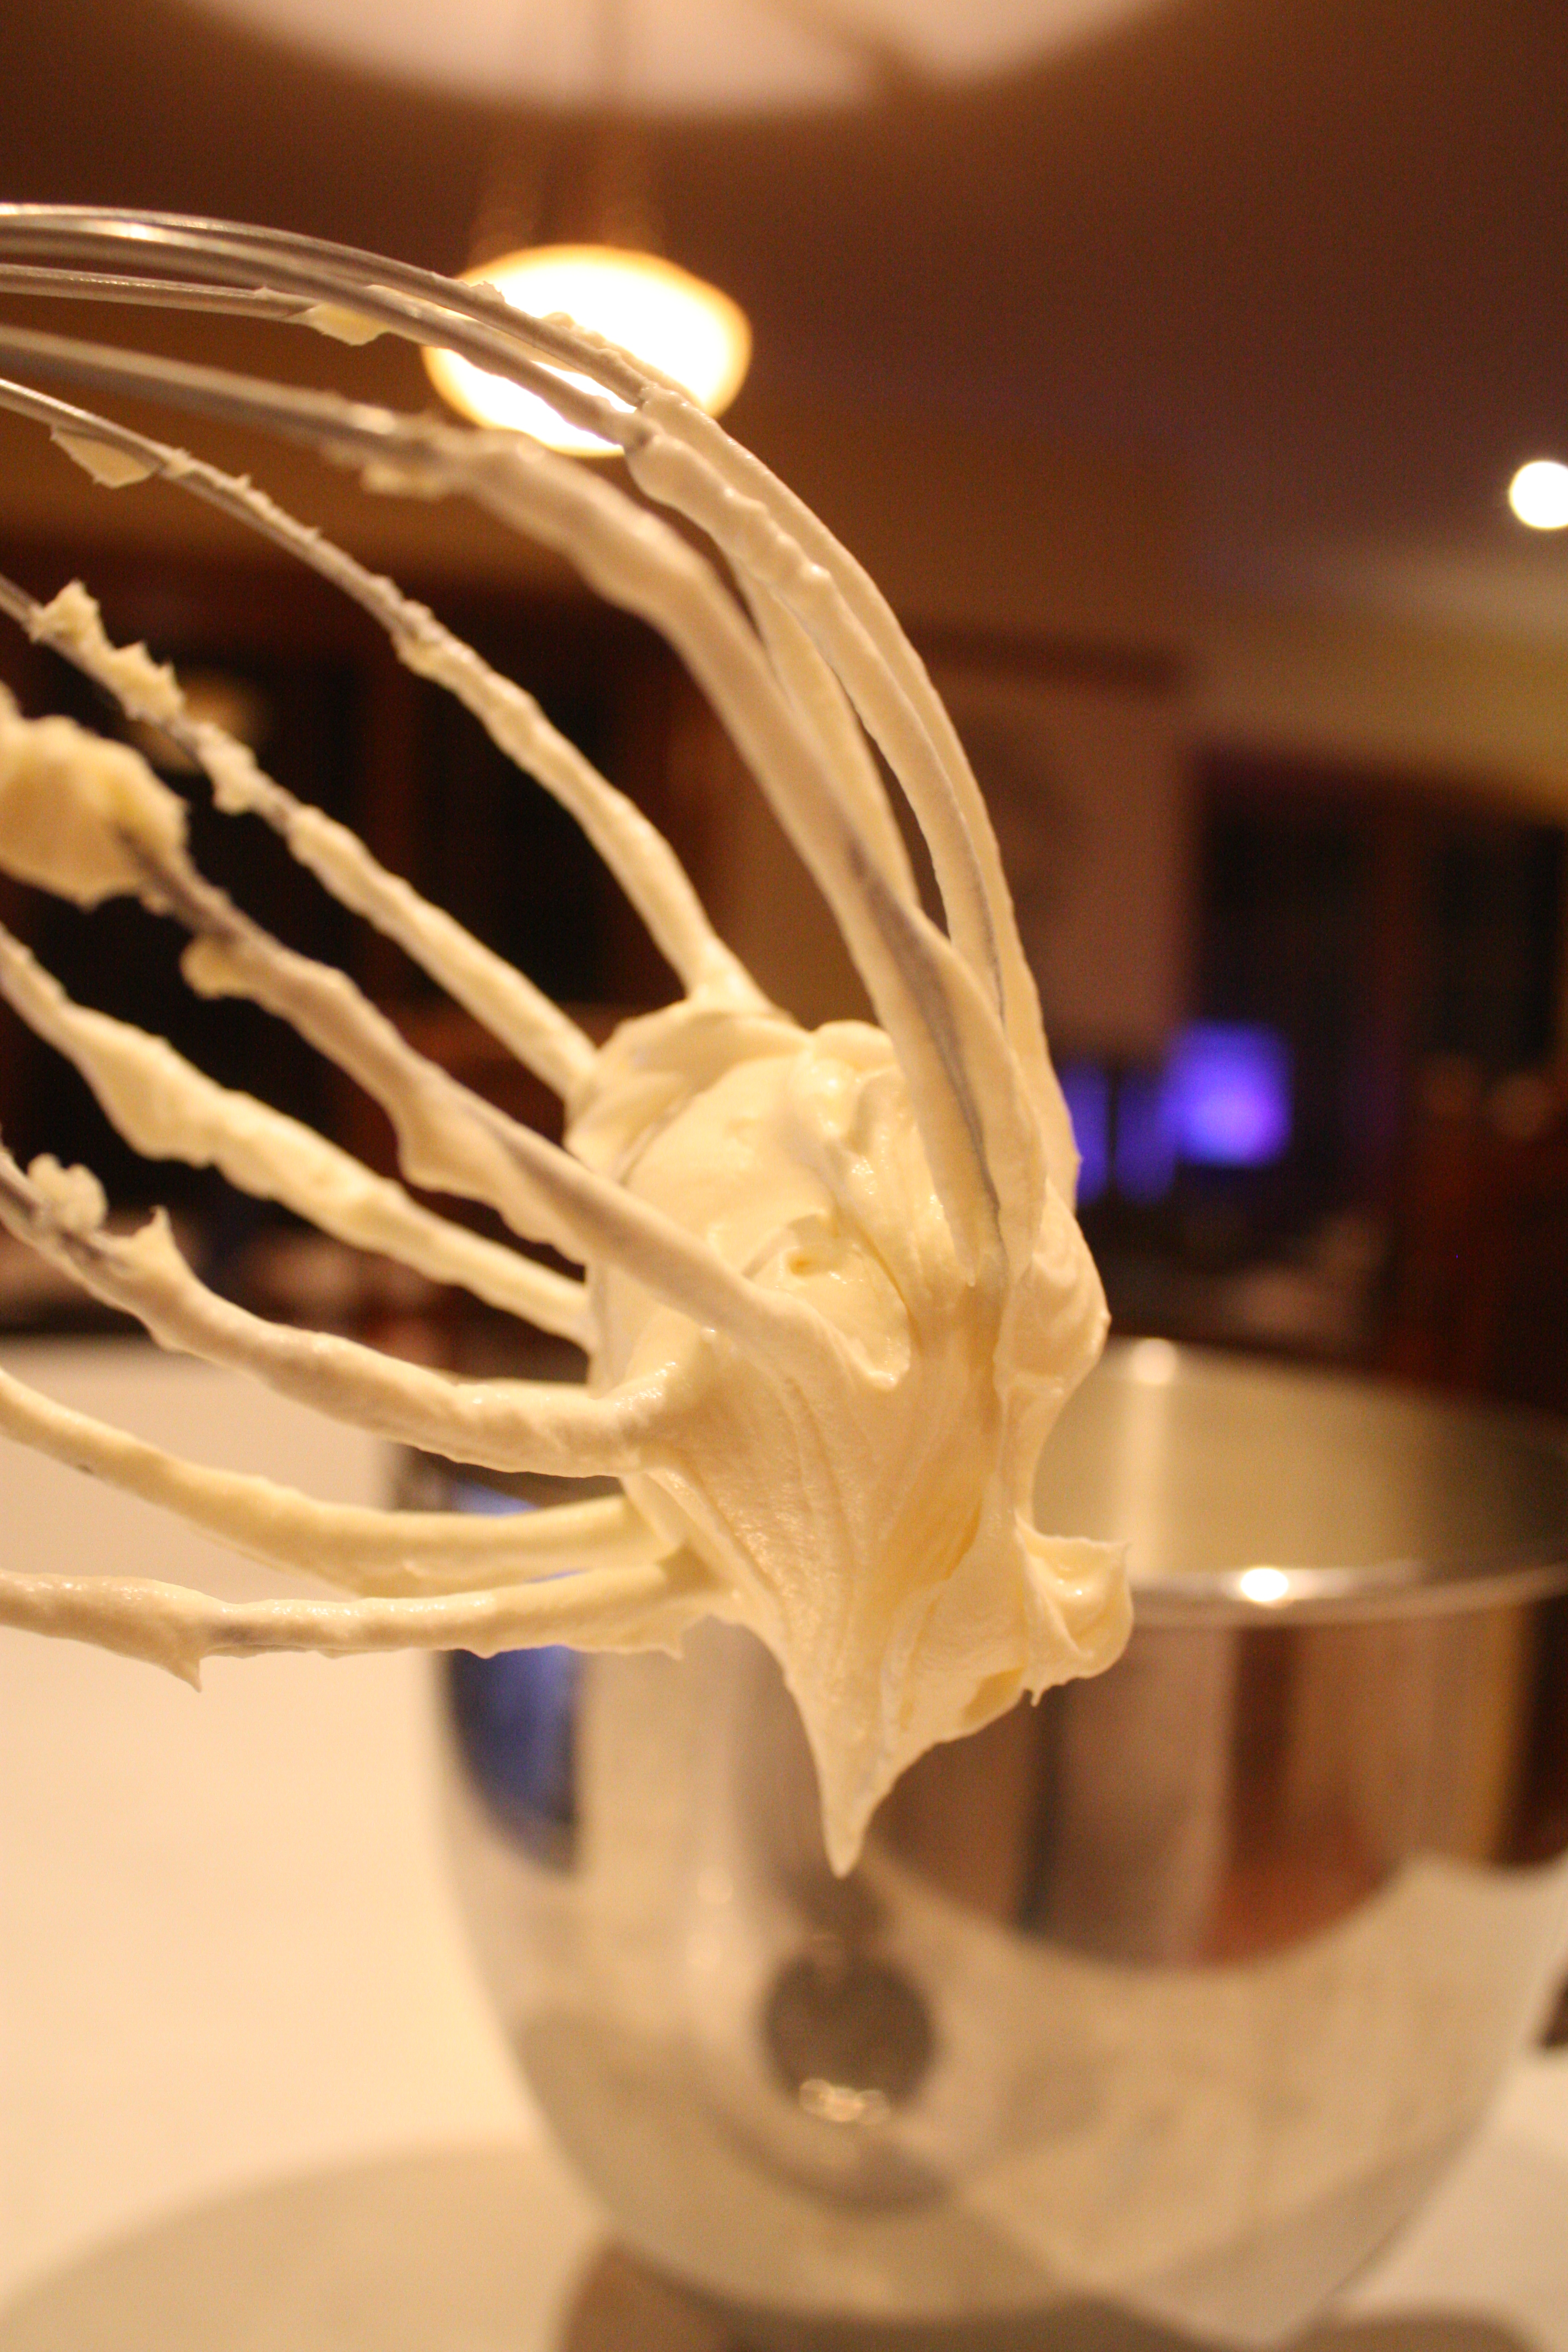 While the tarts cook, beat the cream cheese and sugar together until fluffy in a large mixing bowl (this will take about one minute.) Mix in your egg and egg white, then the vanilla and lemon juice. Melt your white chocolate and stir the cream into the chocolate. When the chocolate and cream are completely combined, add them to the cream cheese mixture and mix thoroughly. It should be a similar consistency to whipped cream – don’t worry, it will cook into a more cheesecakey consistency.
Remove the tart cases from the oven and allow them to cool. Take them out of their cases and put your second batch of cases in to cook. When your second lot of tart dough has come out of the oven and cooled, prepare to put your cheesecake mixture in.
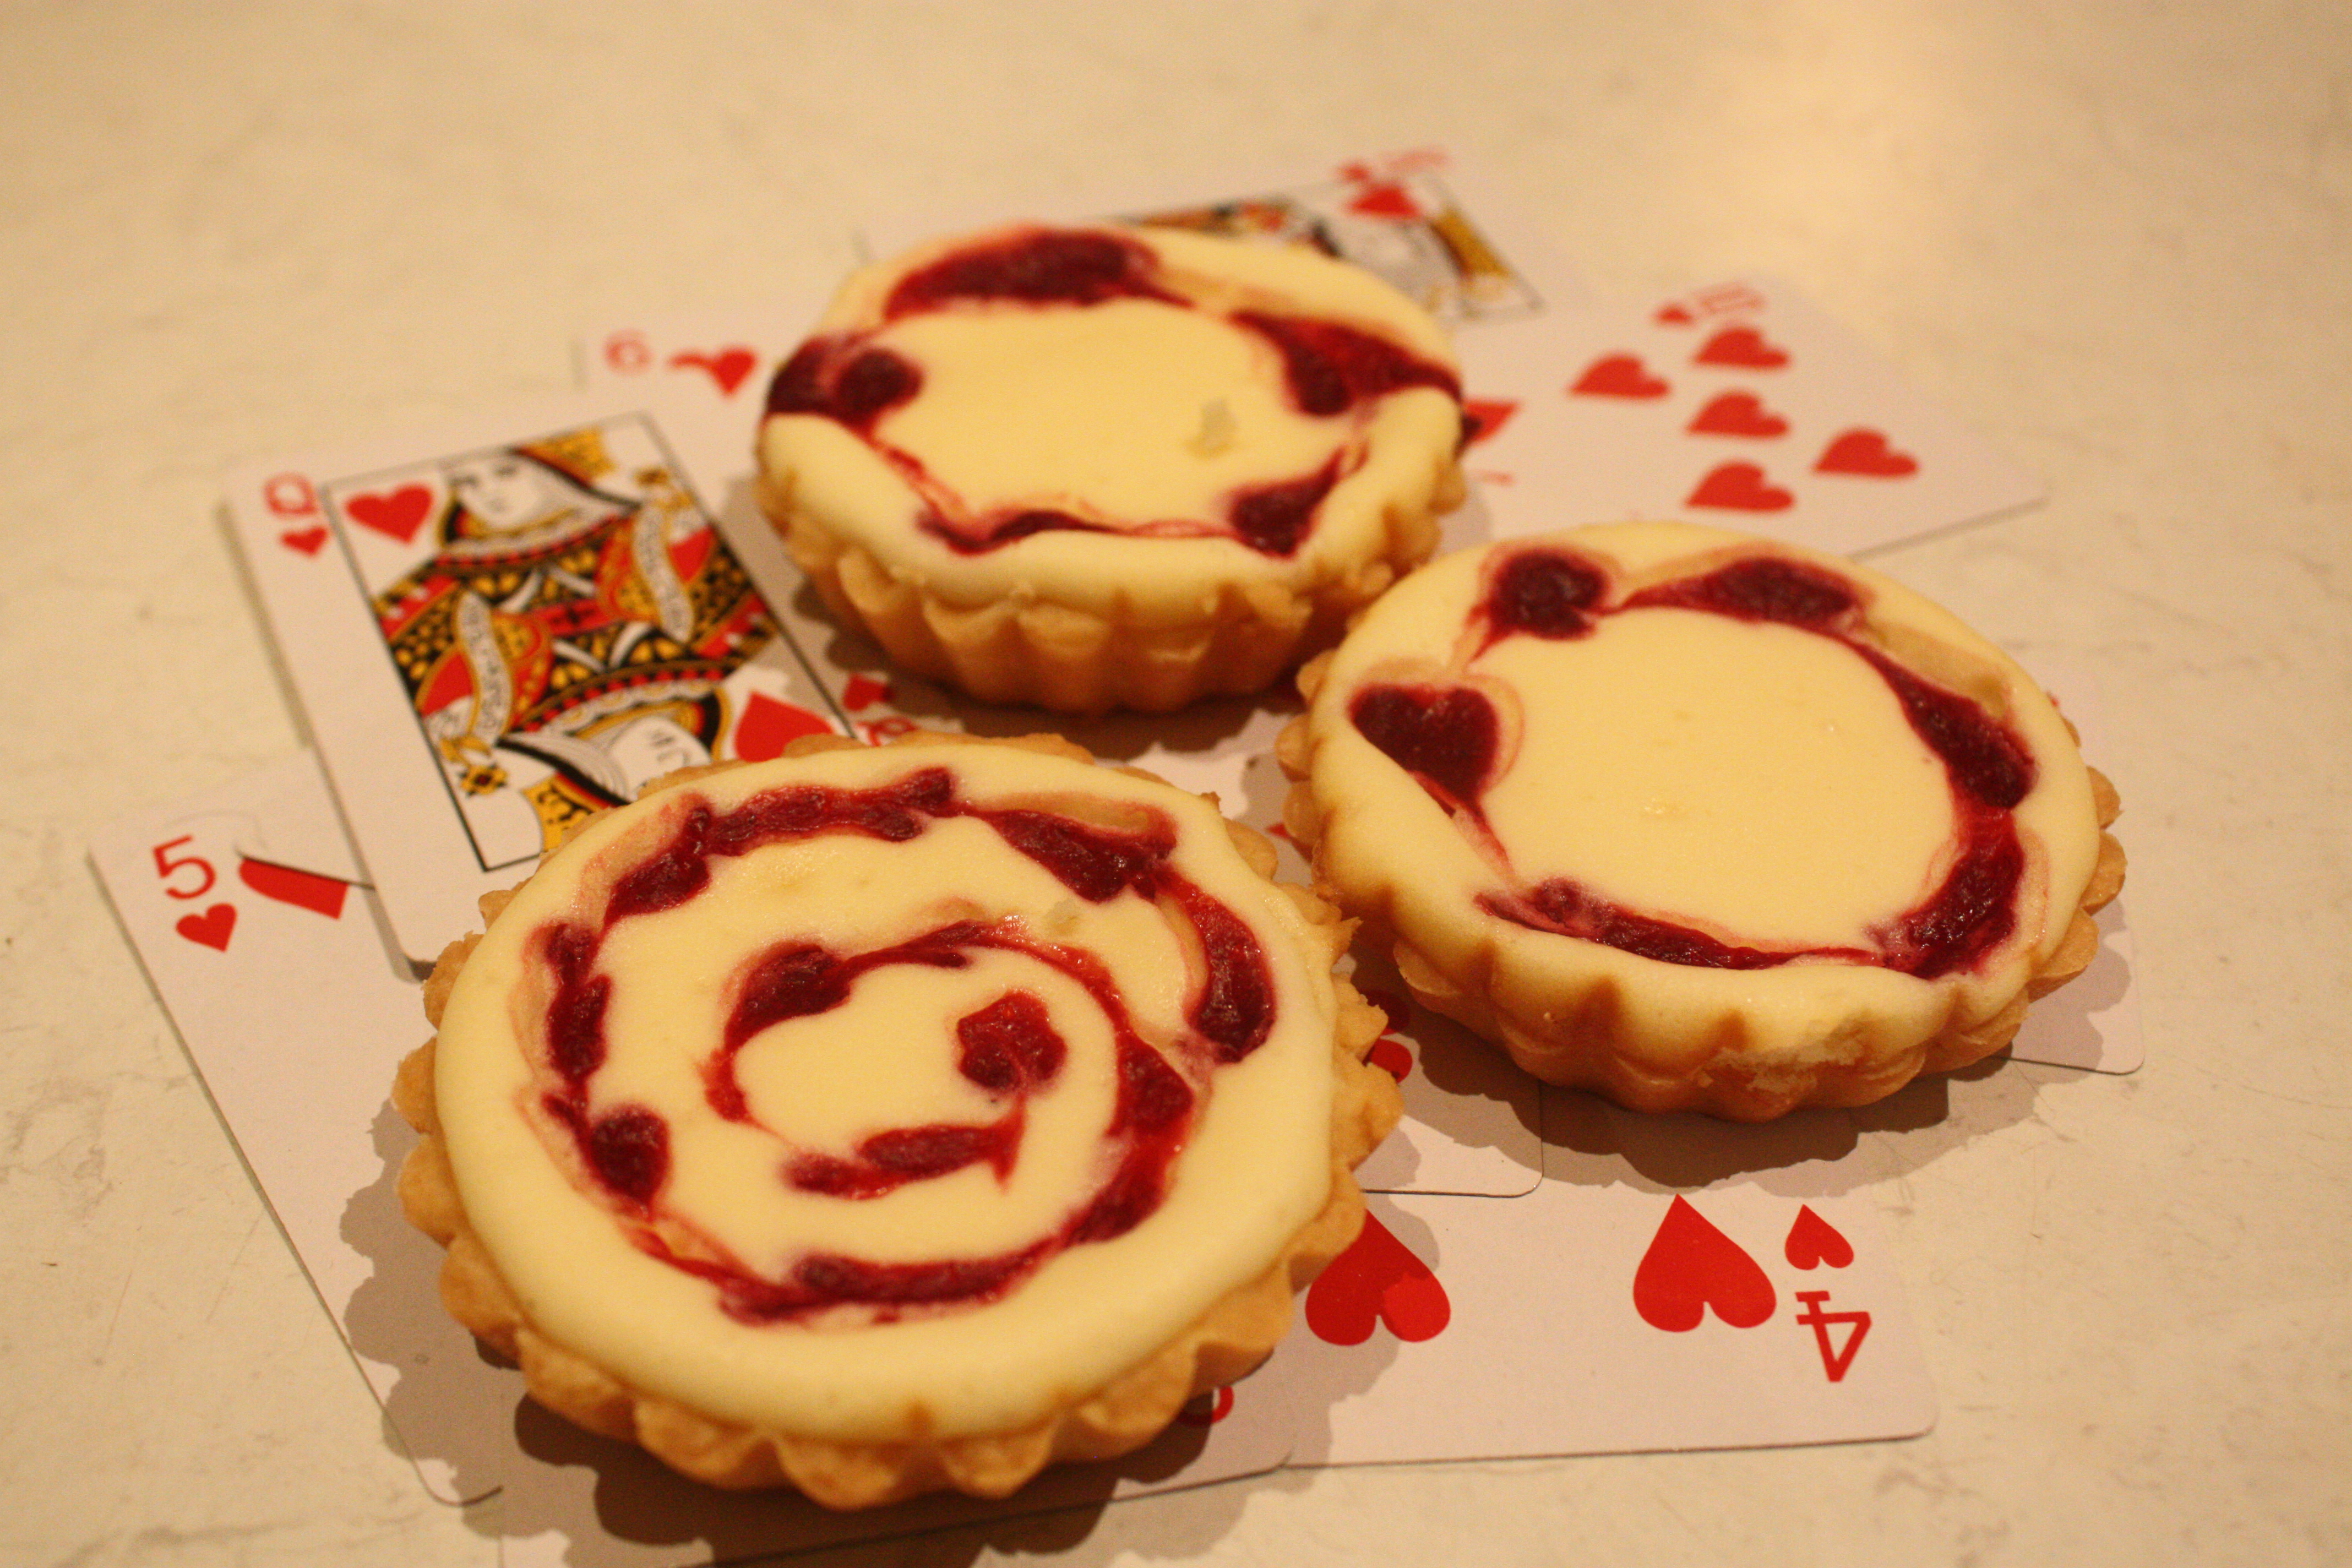
 Spoon the mixture so that the tart cases are about ¾ full (the mixture will rise slightly as it cooks.) Get out your syringe and prepare to get crafty! Grab your bowl of raspberry puree and suck up as much as you can into the syringe. I’d advise you to keep the nozzle moving so you don’t suck up much air, because air bubbles are annoying. Ensure that the tops of your tarts are as smooth as possible and inject small circles of raspberry into them. Don’t crowd the circles because you’ll elongate them later to make the hearts. Once you’ve put circles in all of them, get a toothpick and run it through the centre of each circle in a continuous line. You may want to wipe the toothpick after each tart to make cleaner lines.
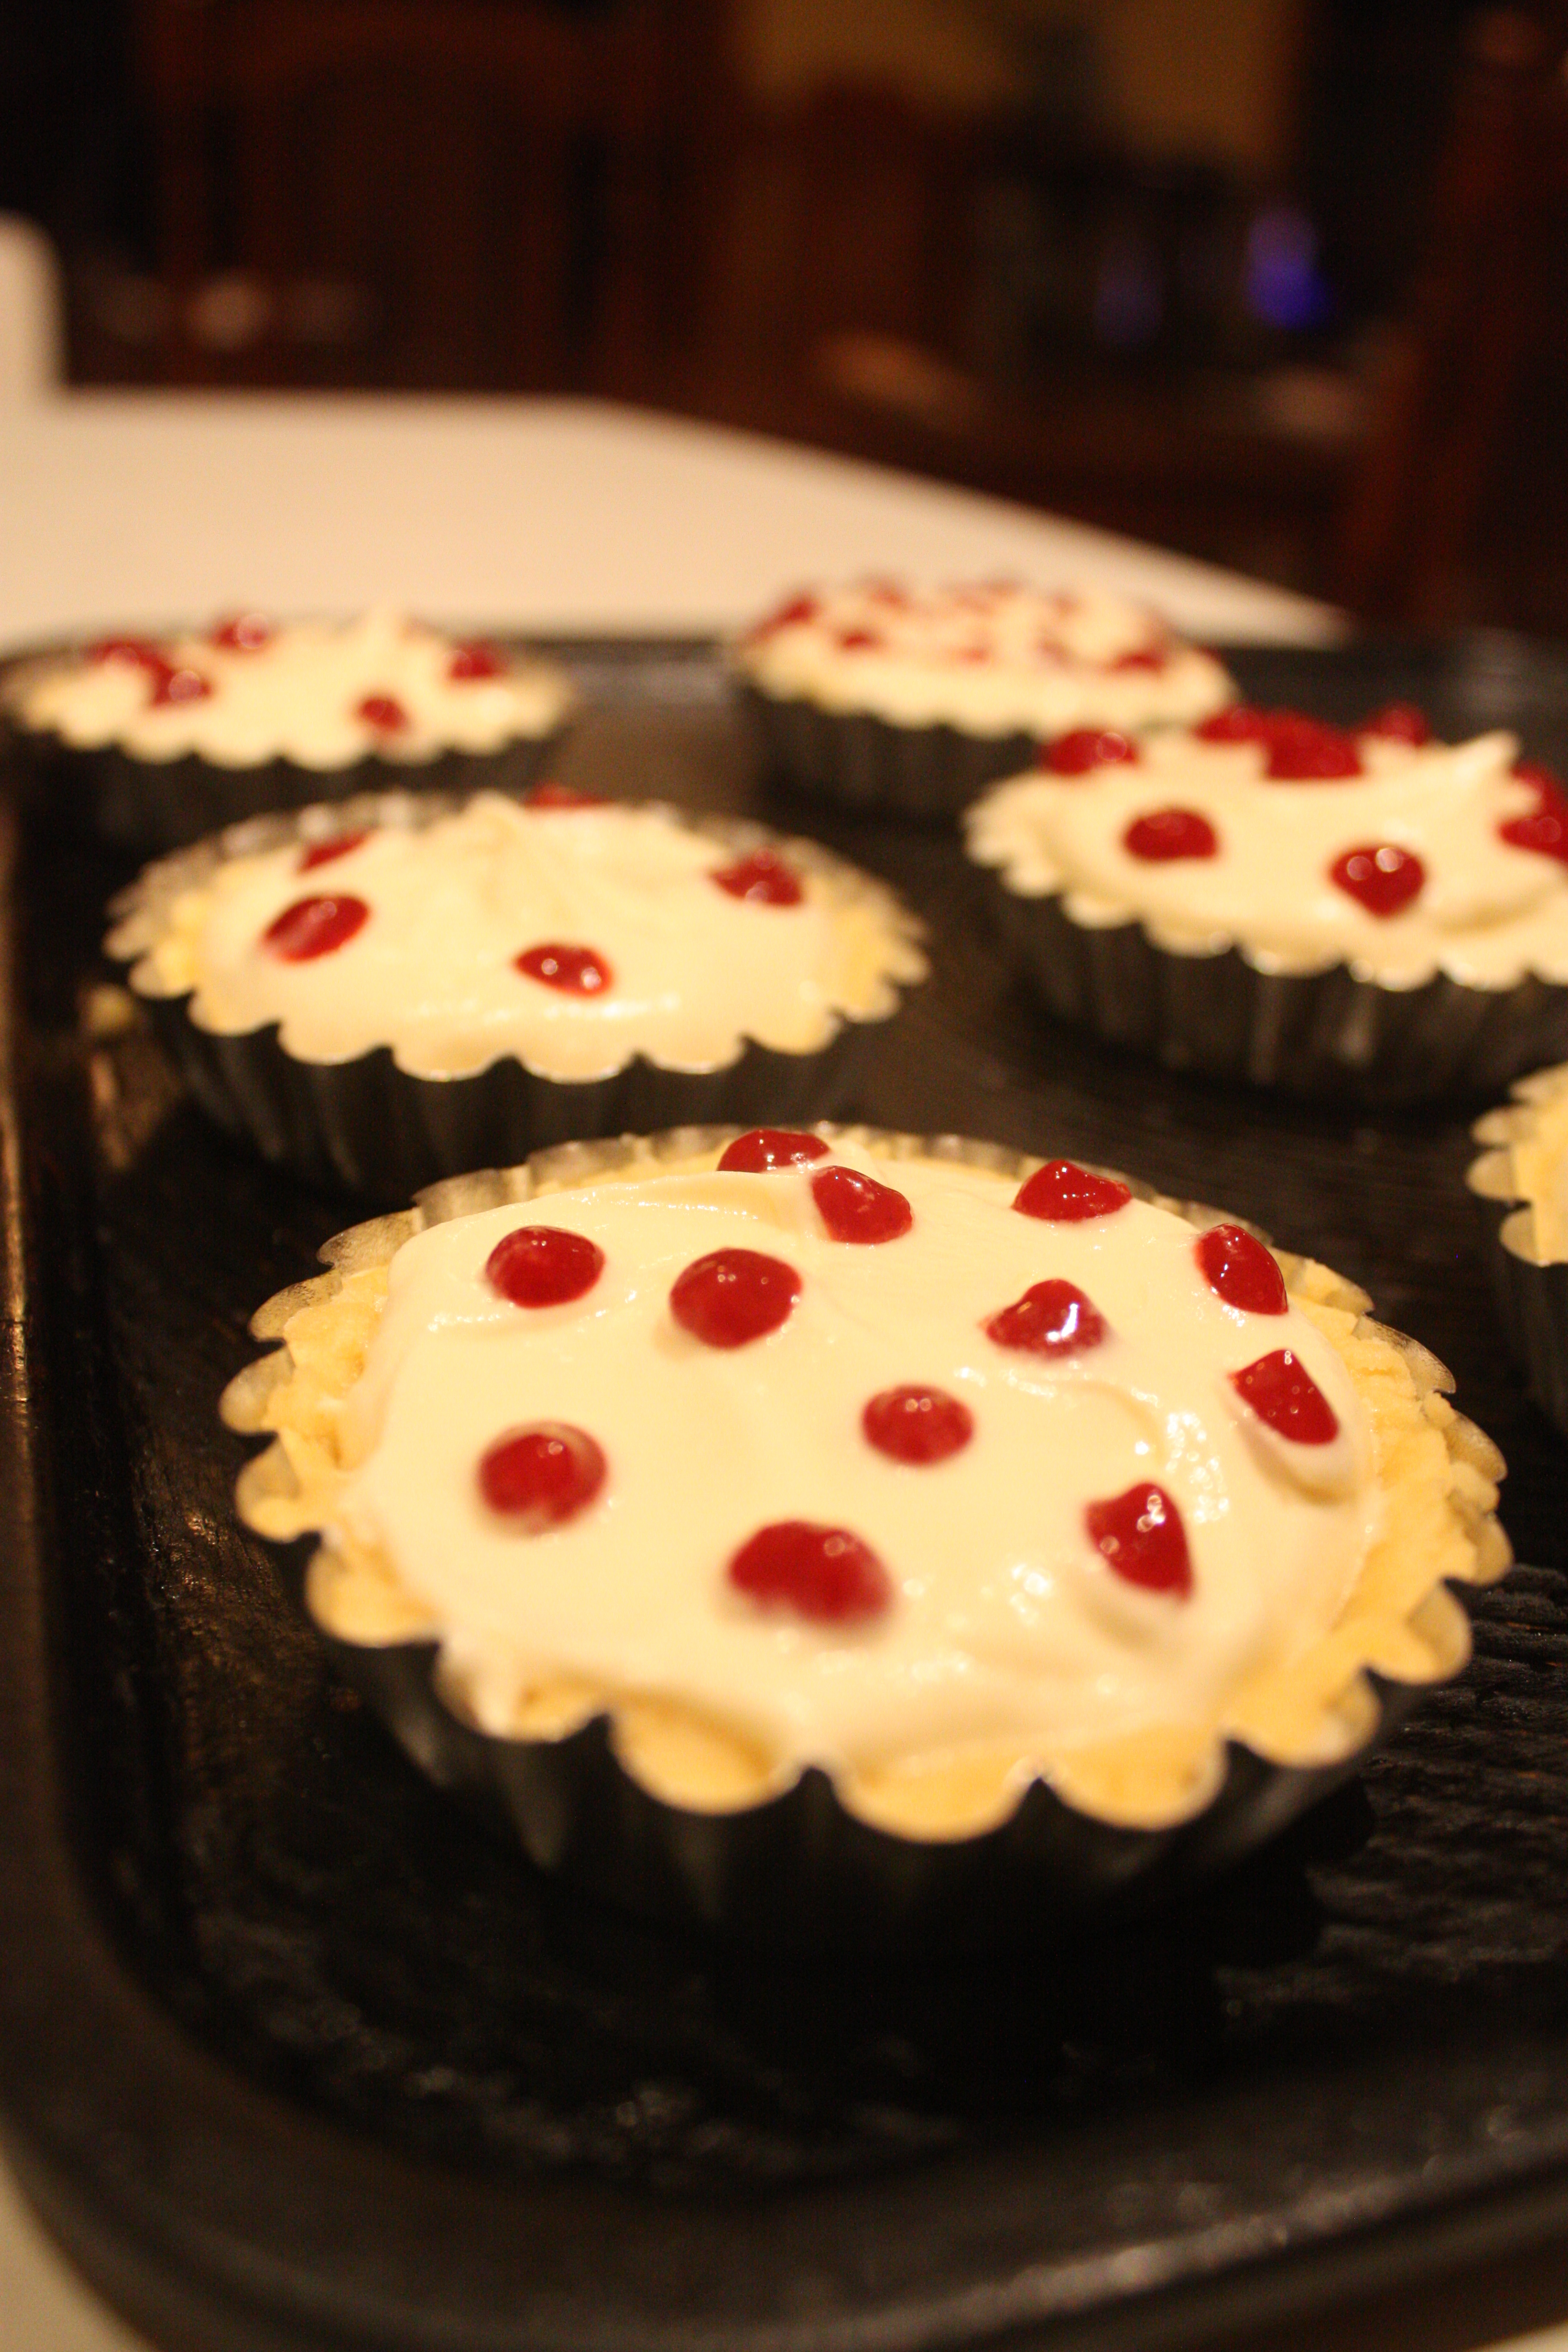

Don’t worry if they’re not completely neat, as long as you run your toothpick through the centre of each circle, they’ll look heart-like. Little tricks like using the syringe or a piping bag may seem fiddly, but get easier with practice, and give your baked goods a professional finish.
Bake tarts back in the oven for 15-20 mins. Take them out of the oven and allow them to cool completely before serving. They’ll set more as they cool, so don’t rush them by eating them warm!