

I’ve decided that I need to add a little bit of Australia into my blog. I included the wattle in my blog here, but that’s not enough! So starting now, there will be a category of recipes which scream Australiana to me. I’m not promising any kangaroo burgers or emu pies, because I don’t have the slightest interest in eating our national symbols. What I do mean is recipes that taste like my childhood, or my parents childhood – many of these sweets (think lamingtons, cream buns), but I’ll do some research to find other dishes that are Australian. Continue reading “Neenish tarts and Australian bakeries”
Tag: shortcrust pastry
Queen of Hearts Tart (White chocolate cheesecake)
I’ve got a friend’s birthday coming up soon and I’m trying to put together a few recipes to make her party special. It will be a high tea style thing because she’s not a big fan of birthdays. I can’t understand why she doesn’t love birthdays, but I’m loving the challenge of finding recipes that will impress her without seeming too celebratory.
I’m keeping plans a little bit secret, so I won’t blab too much. Keep an eye out for her birthday post later this week, I have a feeling that it’s going to be great!
Before you start the recipe, ensure you’ve got a syringe. Like the ones you give kids medicine with. It sounds odd, but it’s a really simple decorating tool.
I appropriated this recipe from one I found at Cooking Classy.
White chocolate cheesecake tart: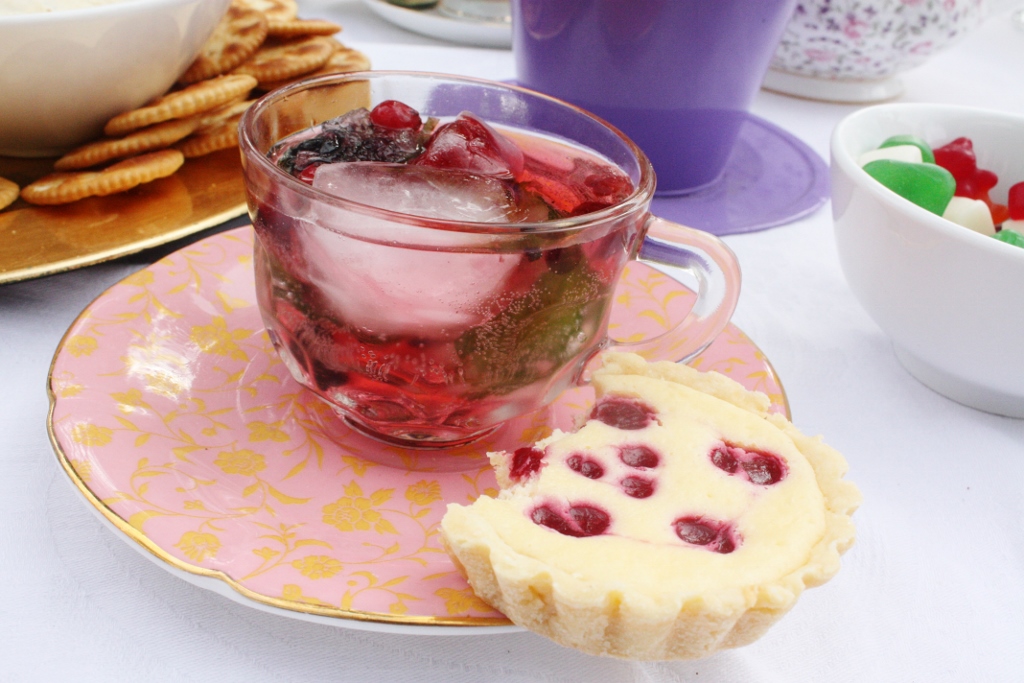
- 2 sheets shortcrust pastry
- 300g cream cheese
- 1/3 cup sugar
- 1 egg
- 1 egg white
- 1 tsp vanilla
- 1 ½ tsp lemon juice
Raspberry puree
- 1 1/2 cups frozen raspberries
- 2 tbsp sugar
- 1 tbsp cornflour
- ¼ cup cold water
Grease six tart tins. Preheat the oven to 180°C.
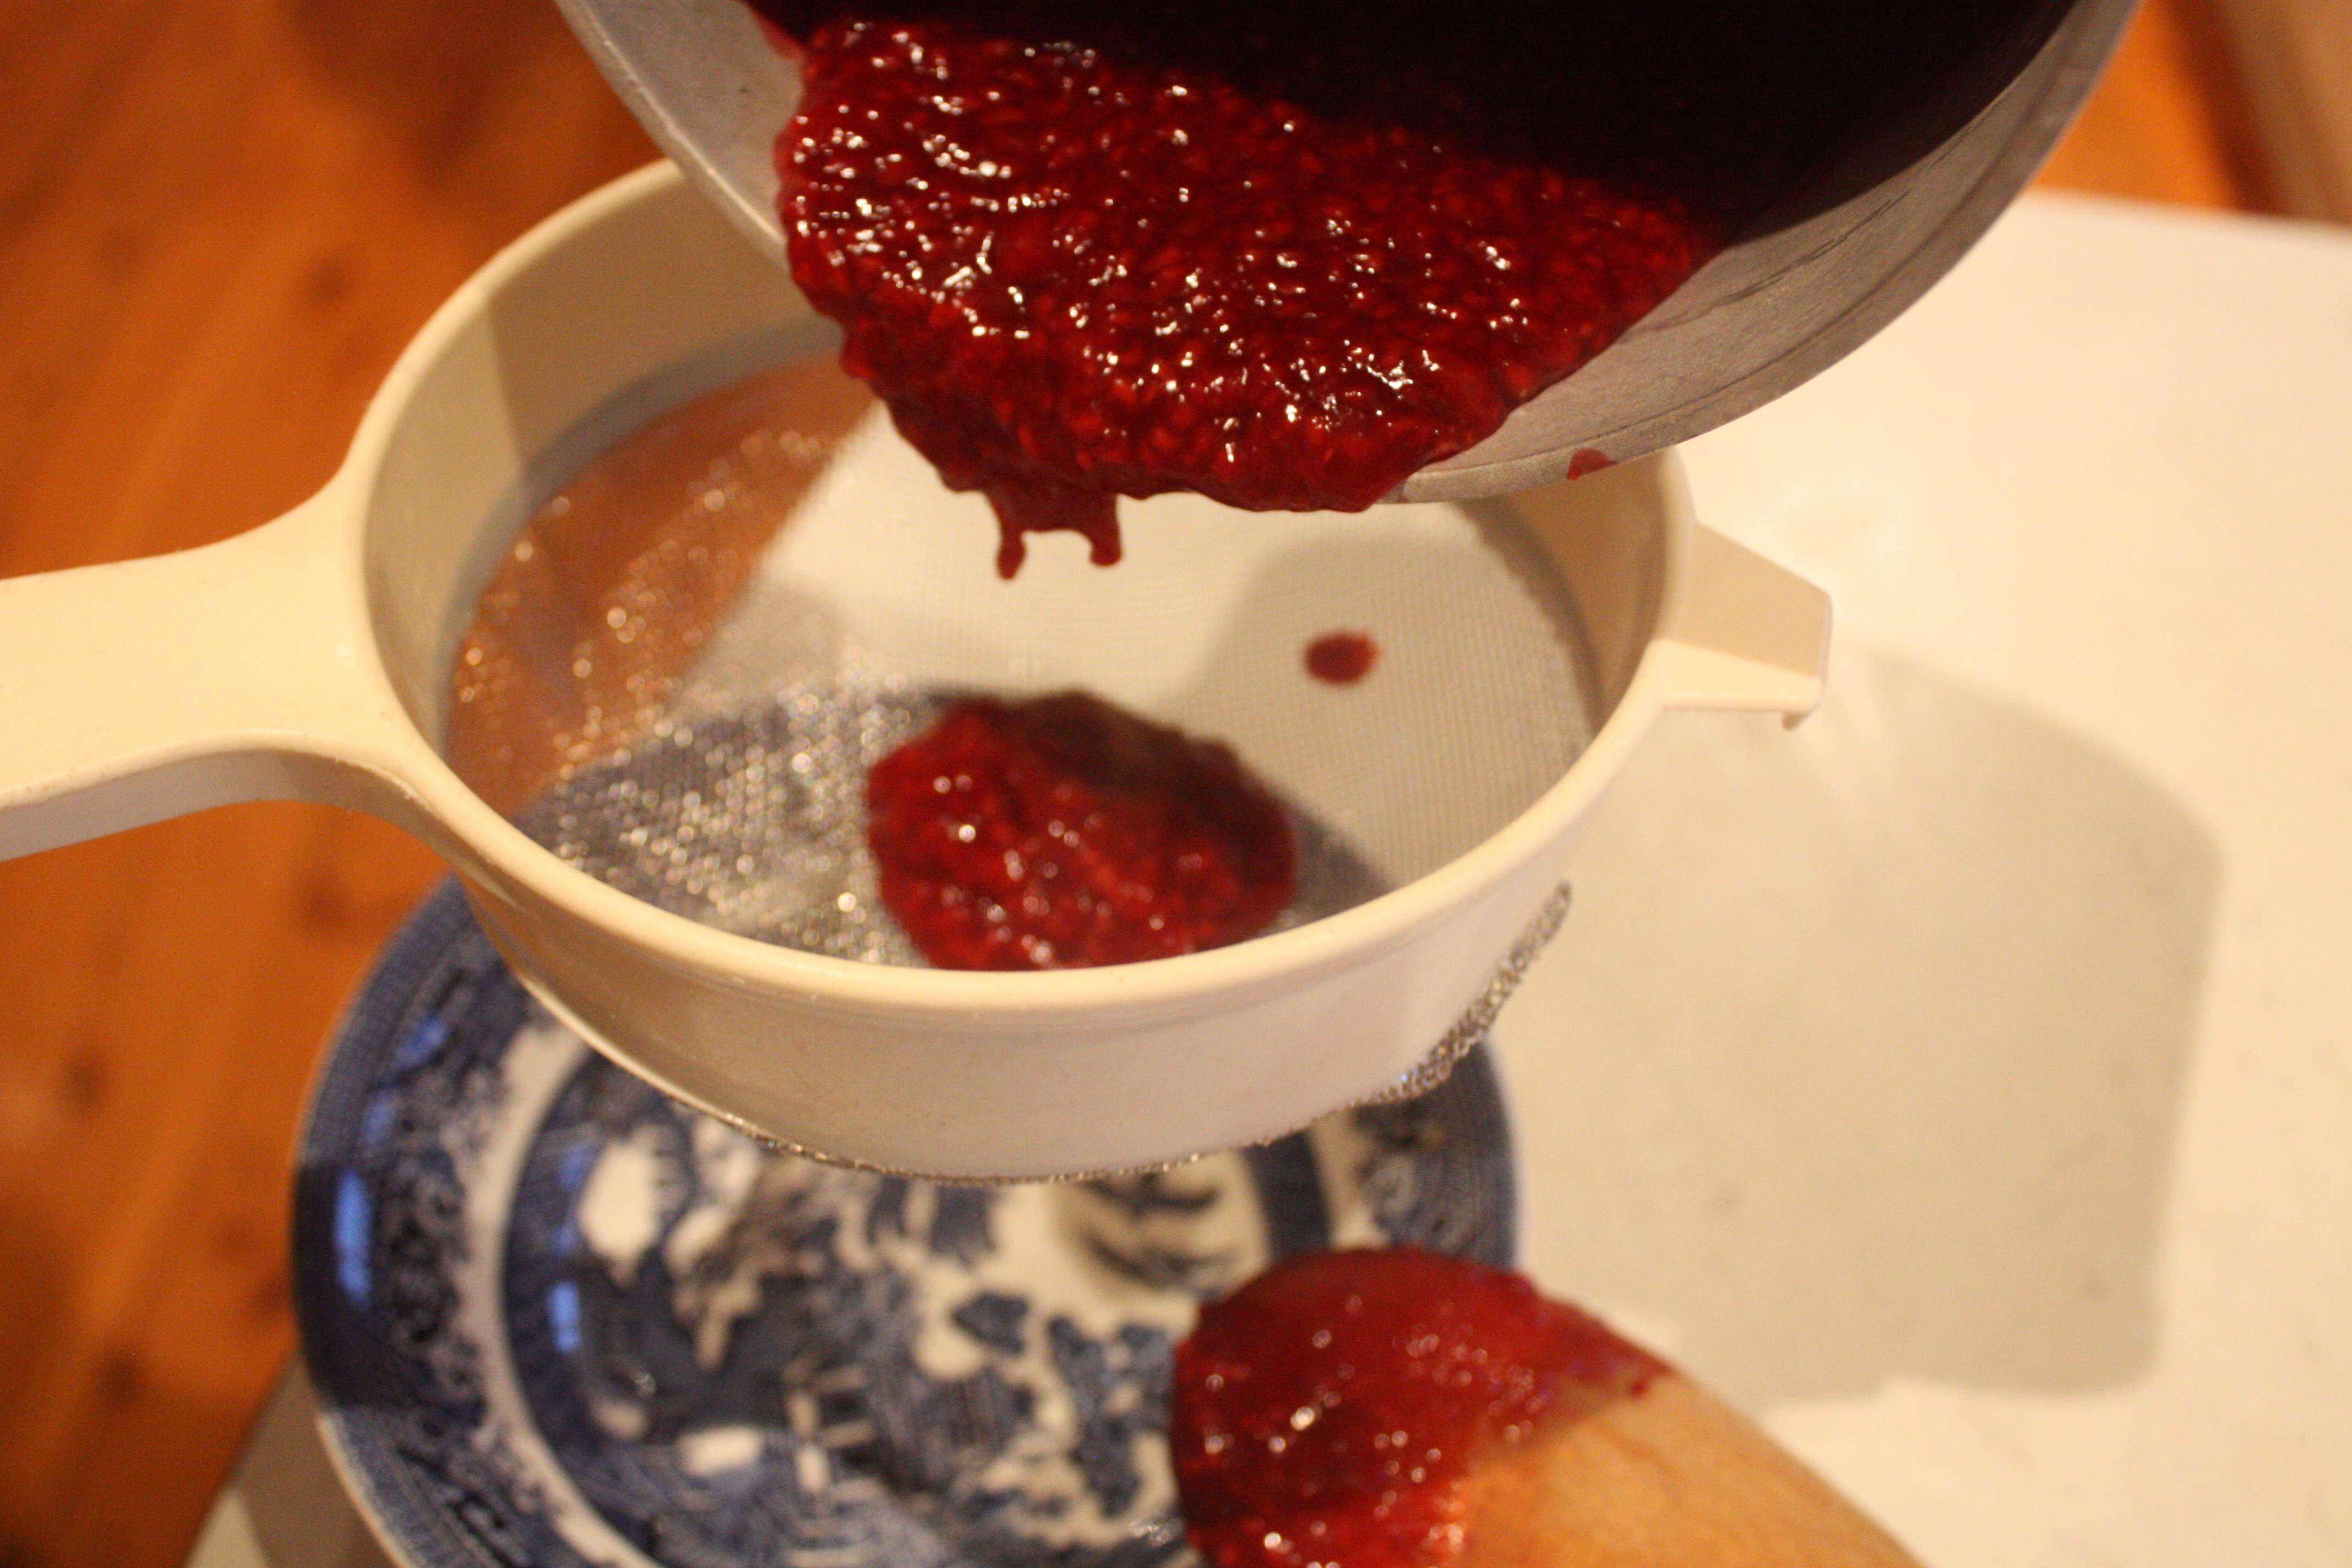 Put your frozen raspberries in a small saucepan over a medium heat and sprinkle the sugar in. When the raspberries start to defrost, add the cornflour and water. Stir it often so that it doesn’t stick to the bottom of the pan and burn. When the raspberries have broken down fully, allow the mixture to come to a boil and thicken for about two minutes. Remove your puree from the heat and put it through a strainer to get rid of all the seeds.
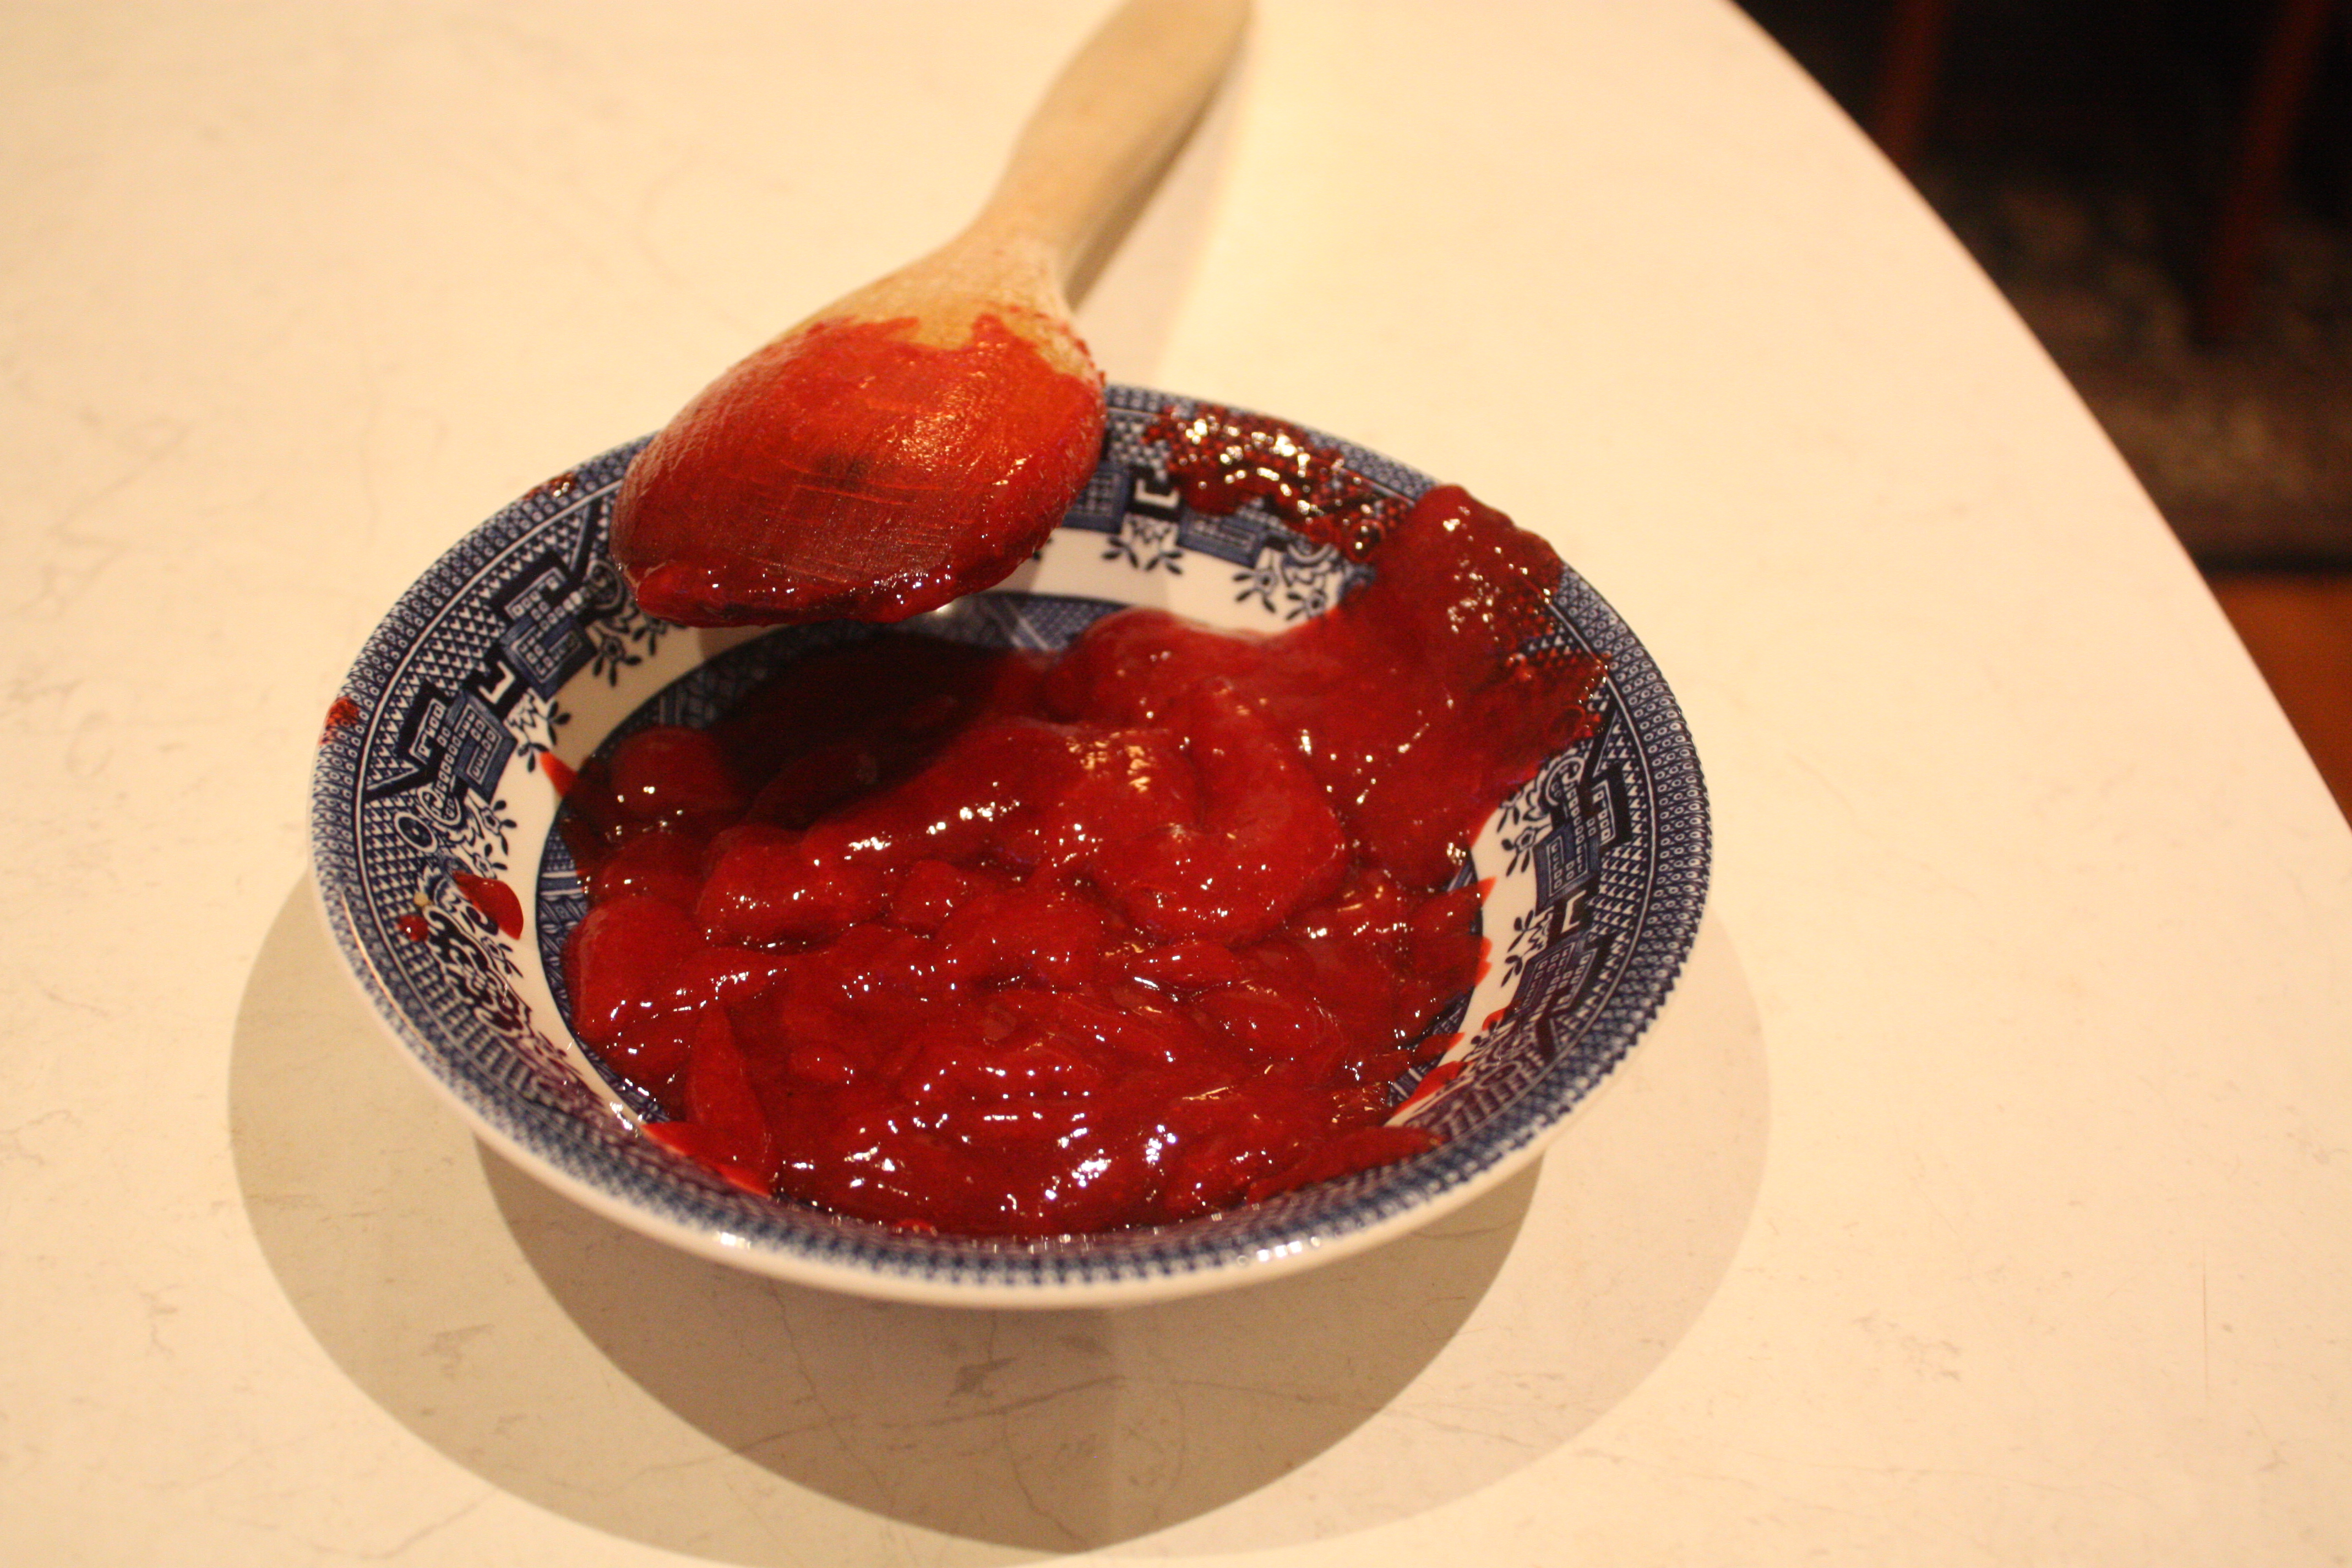
It’s going to look a little bit like something from a bad horror film – all red and gloopy, but it’s delicious. Set your puree aside, you’ll need it in about ten minutes.
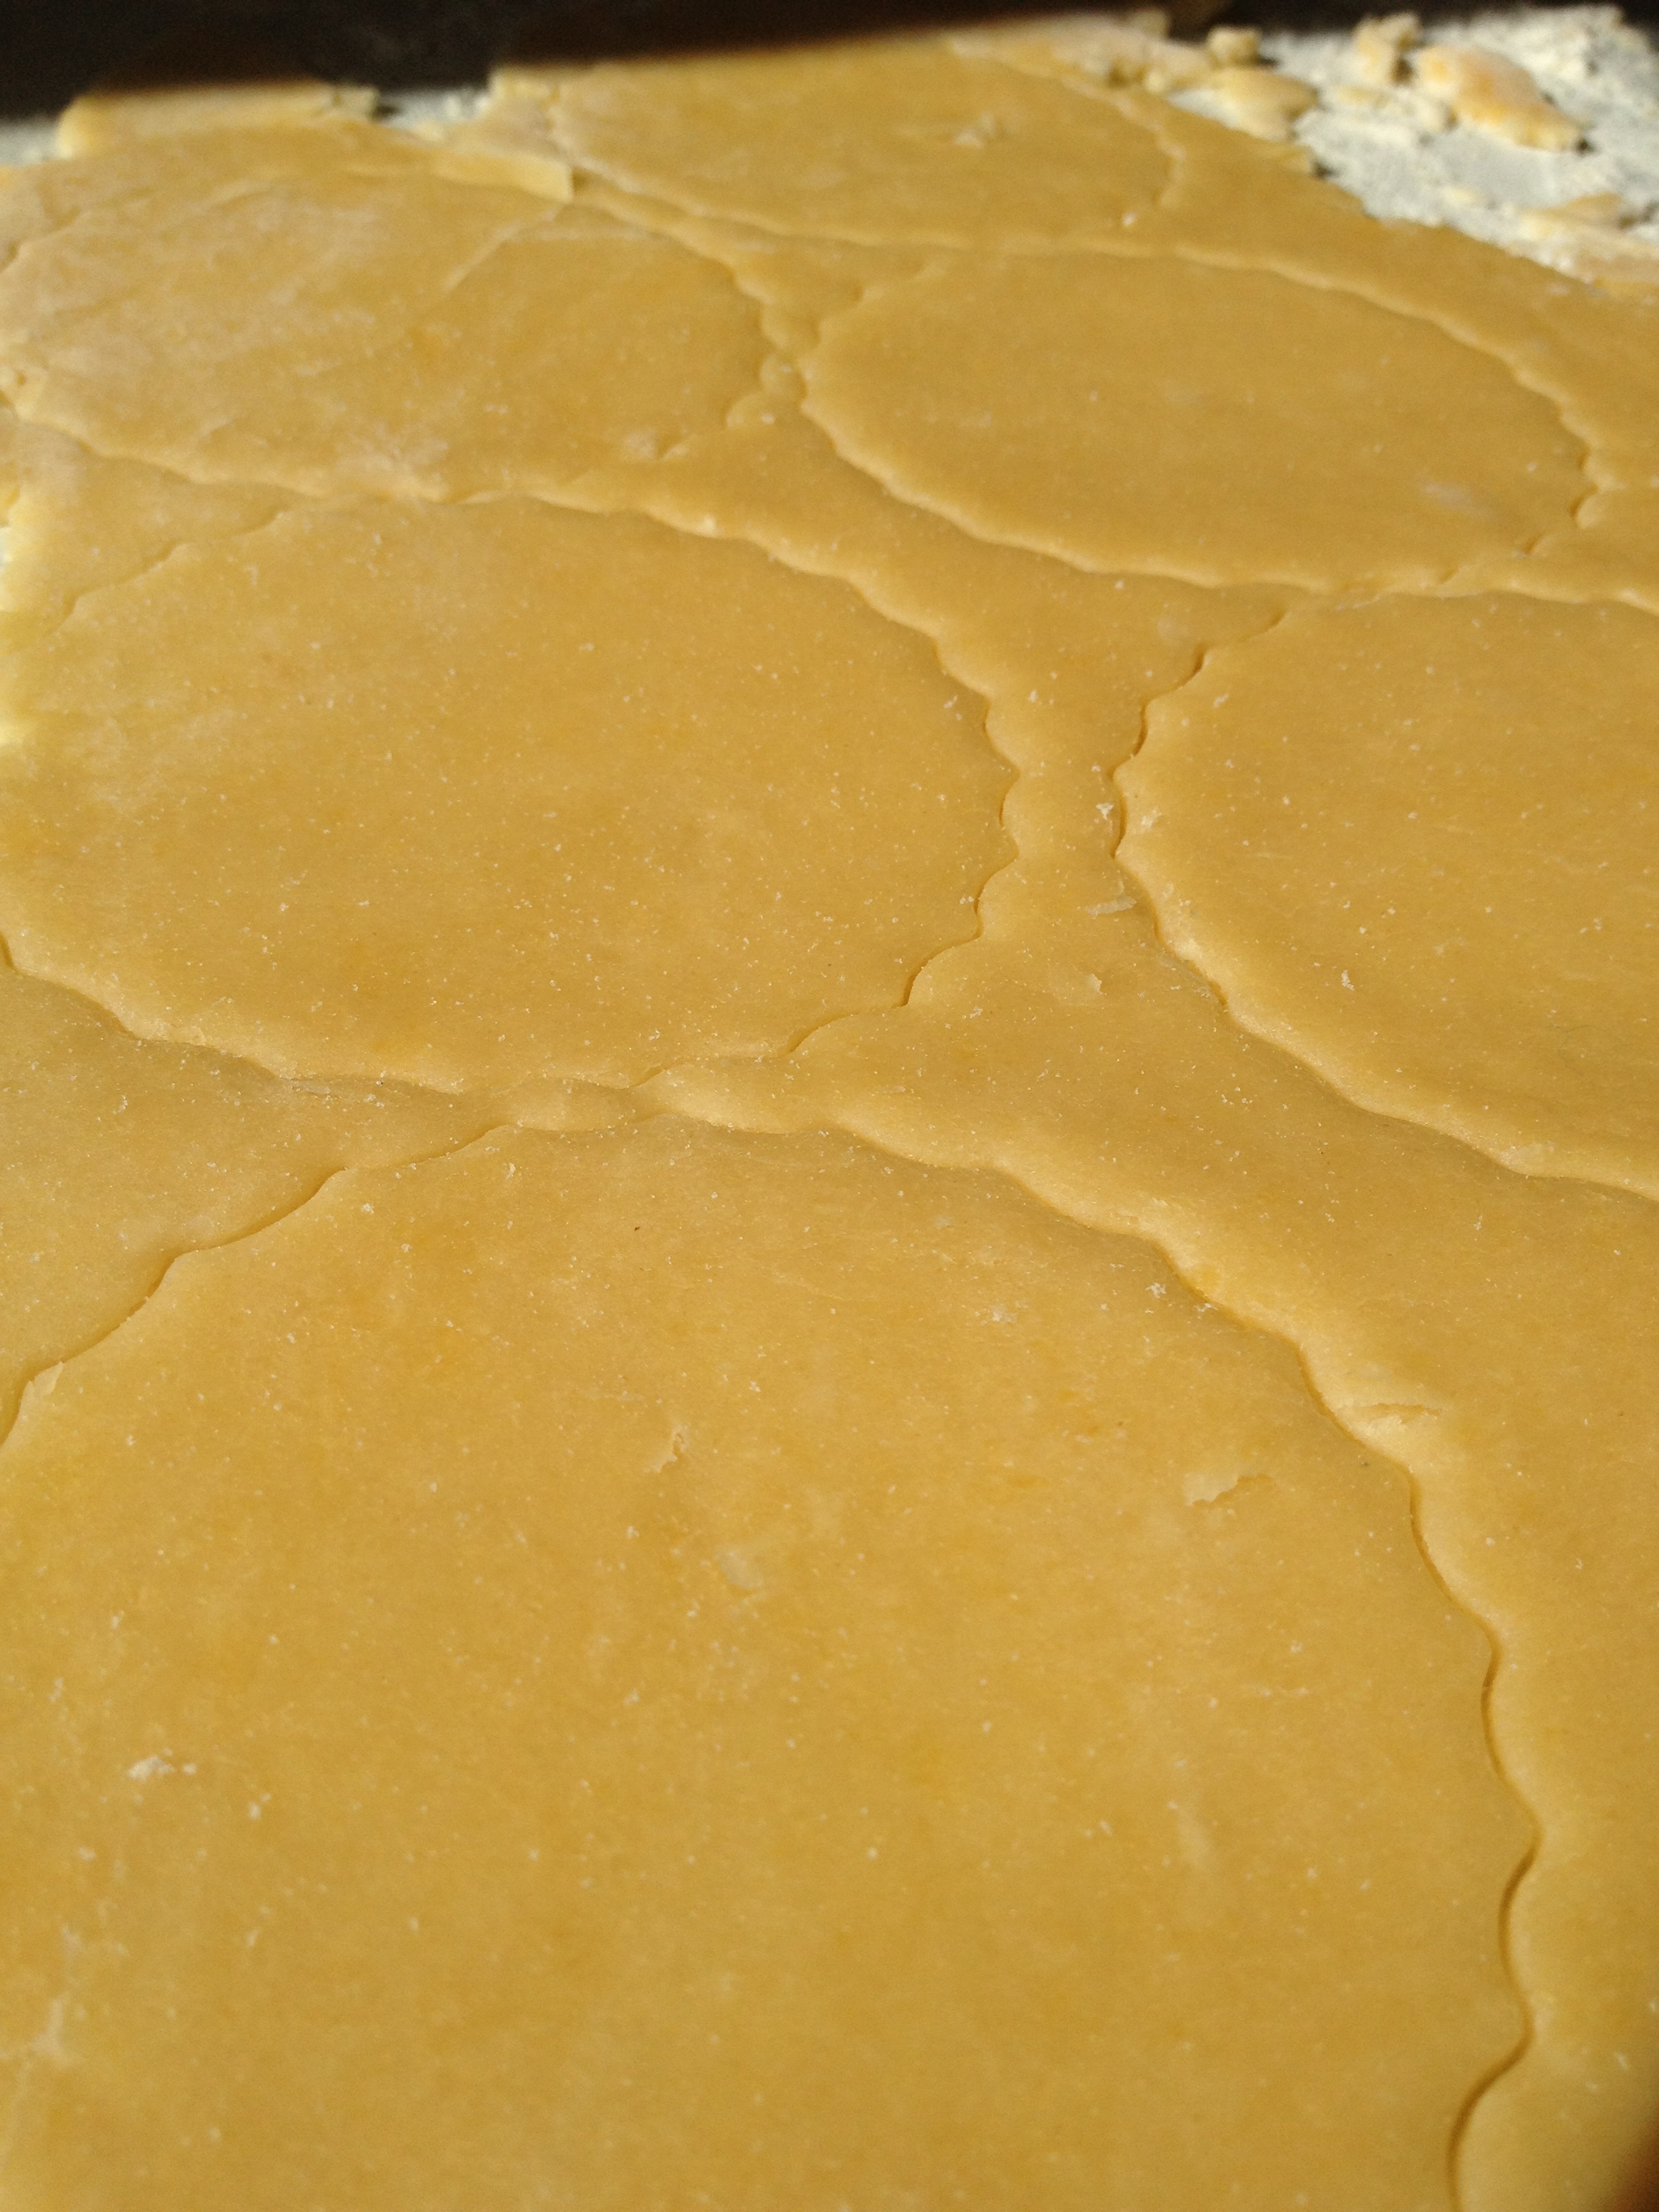
Cut your pastry into squares and fit them into your tart tins. You’ll need to do this in two batches, the recipe makes about 12. Pop them into the oven for 10 minutes so that the pastry cooks slightly – you may want to weight them down with baking weights to stop it from bubbling up.
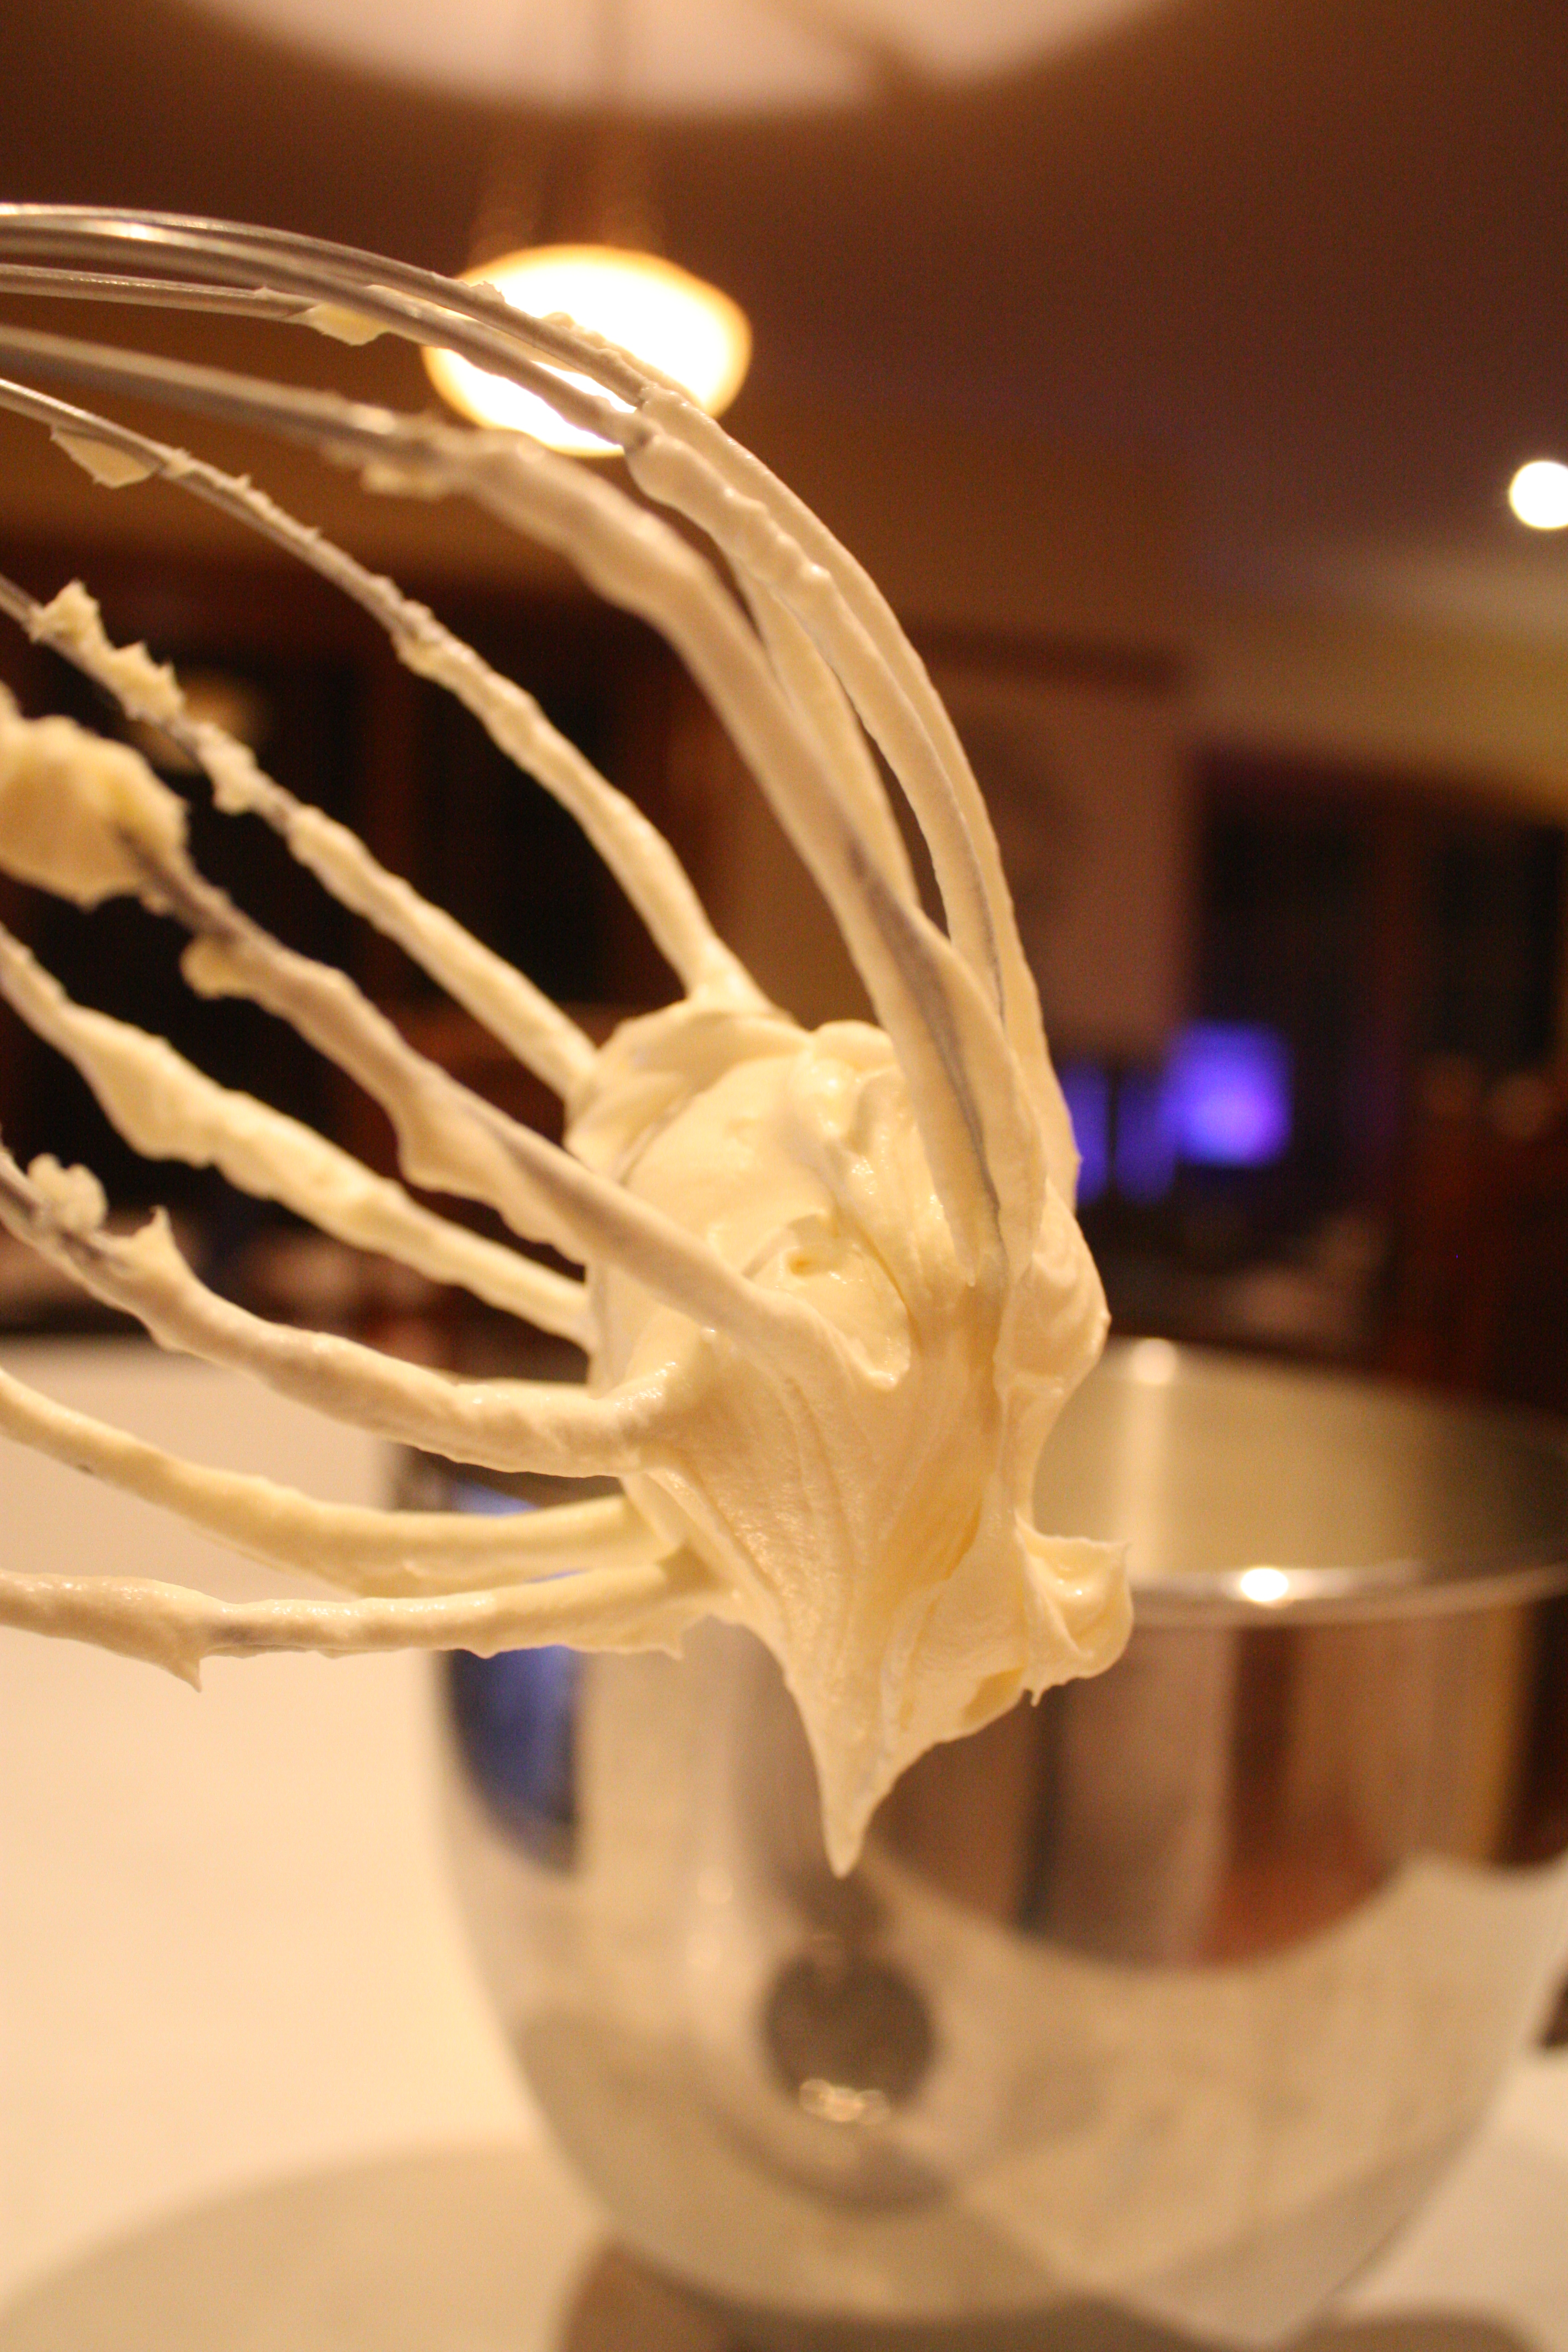 While the tarts cook, beat the cream cheese and sugar together until fluffy in a large mixing bowl (this will take about one minute.) Mix in your egg and egg white, then the vanilla and lemon juice. Melt your white chocolate and stir the cream into the chocolate. When the chocolate and cream are completely combined, add them to the cream cheese mixture and mix thoroughly. It should be a similar consistency to whipped cream – don’t worry, it will cook into a more cheesecakey consistency.
Remove the tart cases from the oven and allow them to cool. Take them out of their cases and put your second batch of cases in to cook. When your second lot of tart dough has come out of the oven and cooled, prepare to put your cheesecake mixture in.
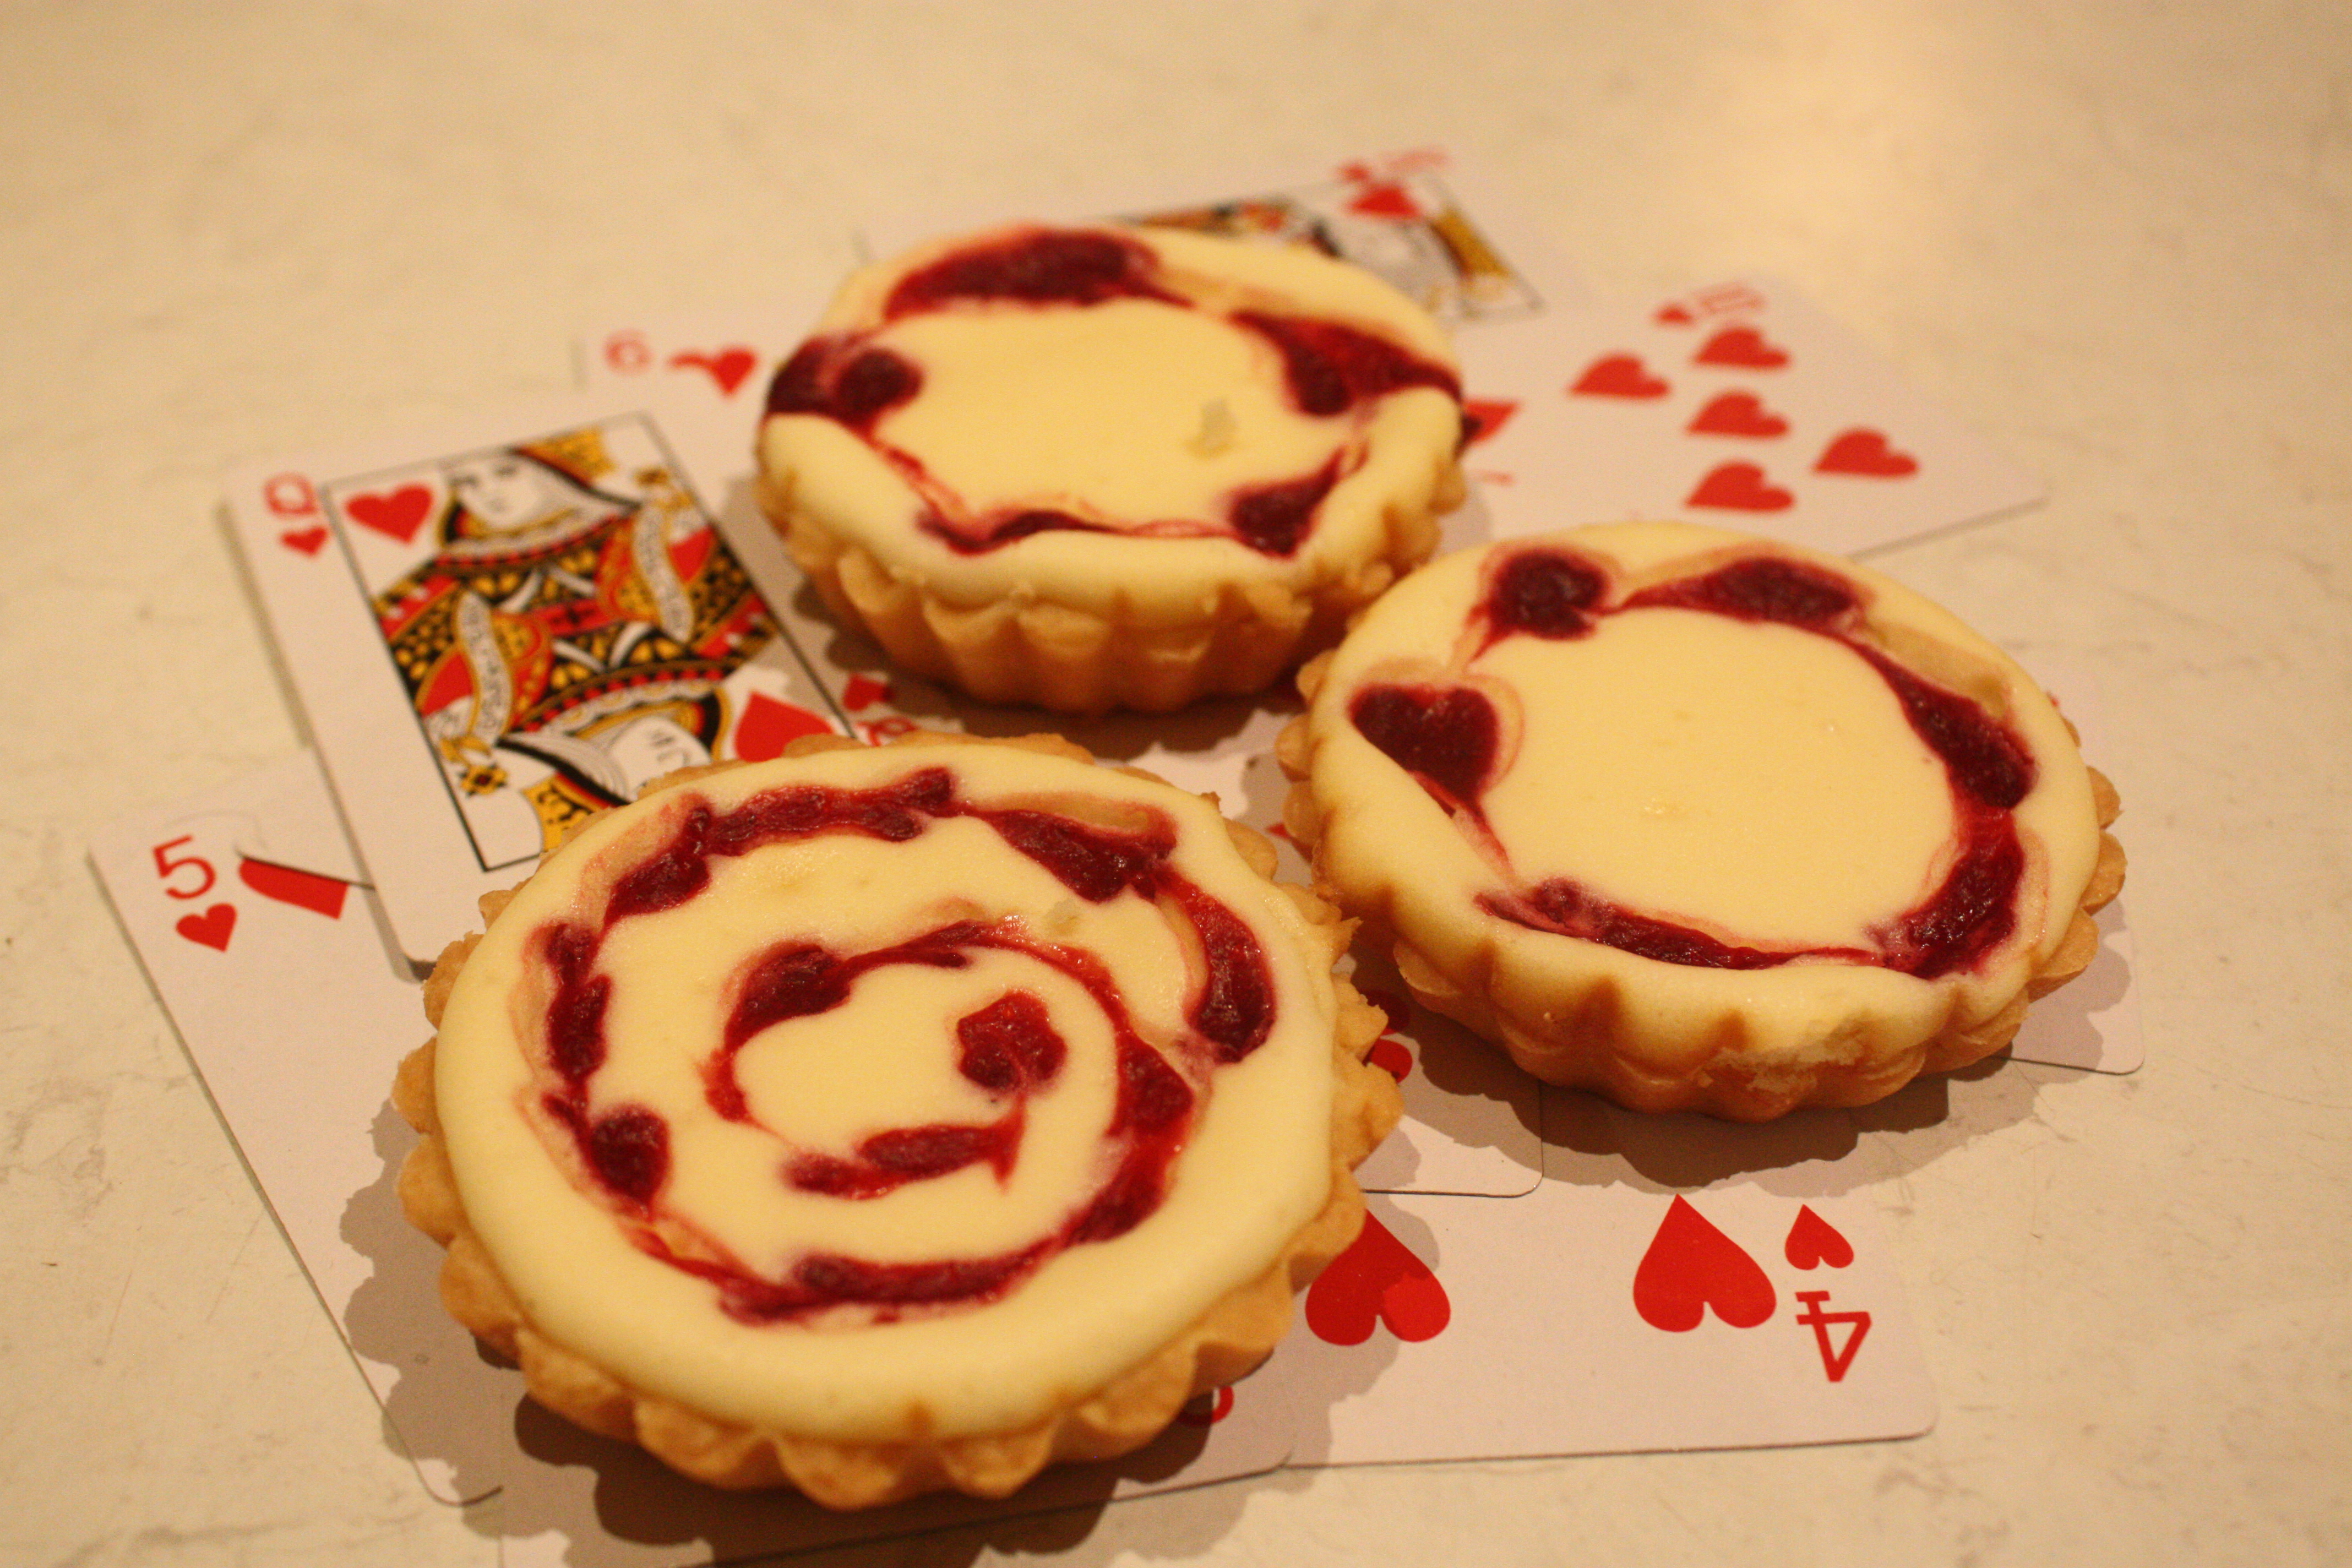
 Spoon the mixture so that the tart cases are about ¾ full (the mixture will rise slightly as it cooks.) Get out your syringe and prepare to get crafty! Grab your bowl of raspberry puree and suck up as much as you can into the syringe. I’d advise you to keep the nozzle moving so you don’t suck up much air, because air bubbles are annoying. Ensure that the tops of your tarts are as smooth as possible and inject small circles of raspberry into them. Don’t crowd the circles because you’ll elongate them later to make the hearts. Once you’ve put circles in all of them, get a toothpick and run it through the centre of each circle in a continuous line. You may want to wipe the toothpick after each tart to make cleaner lines.
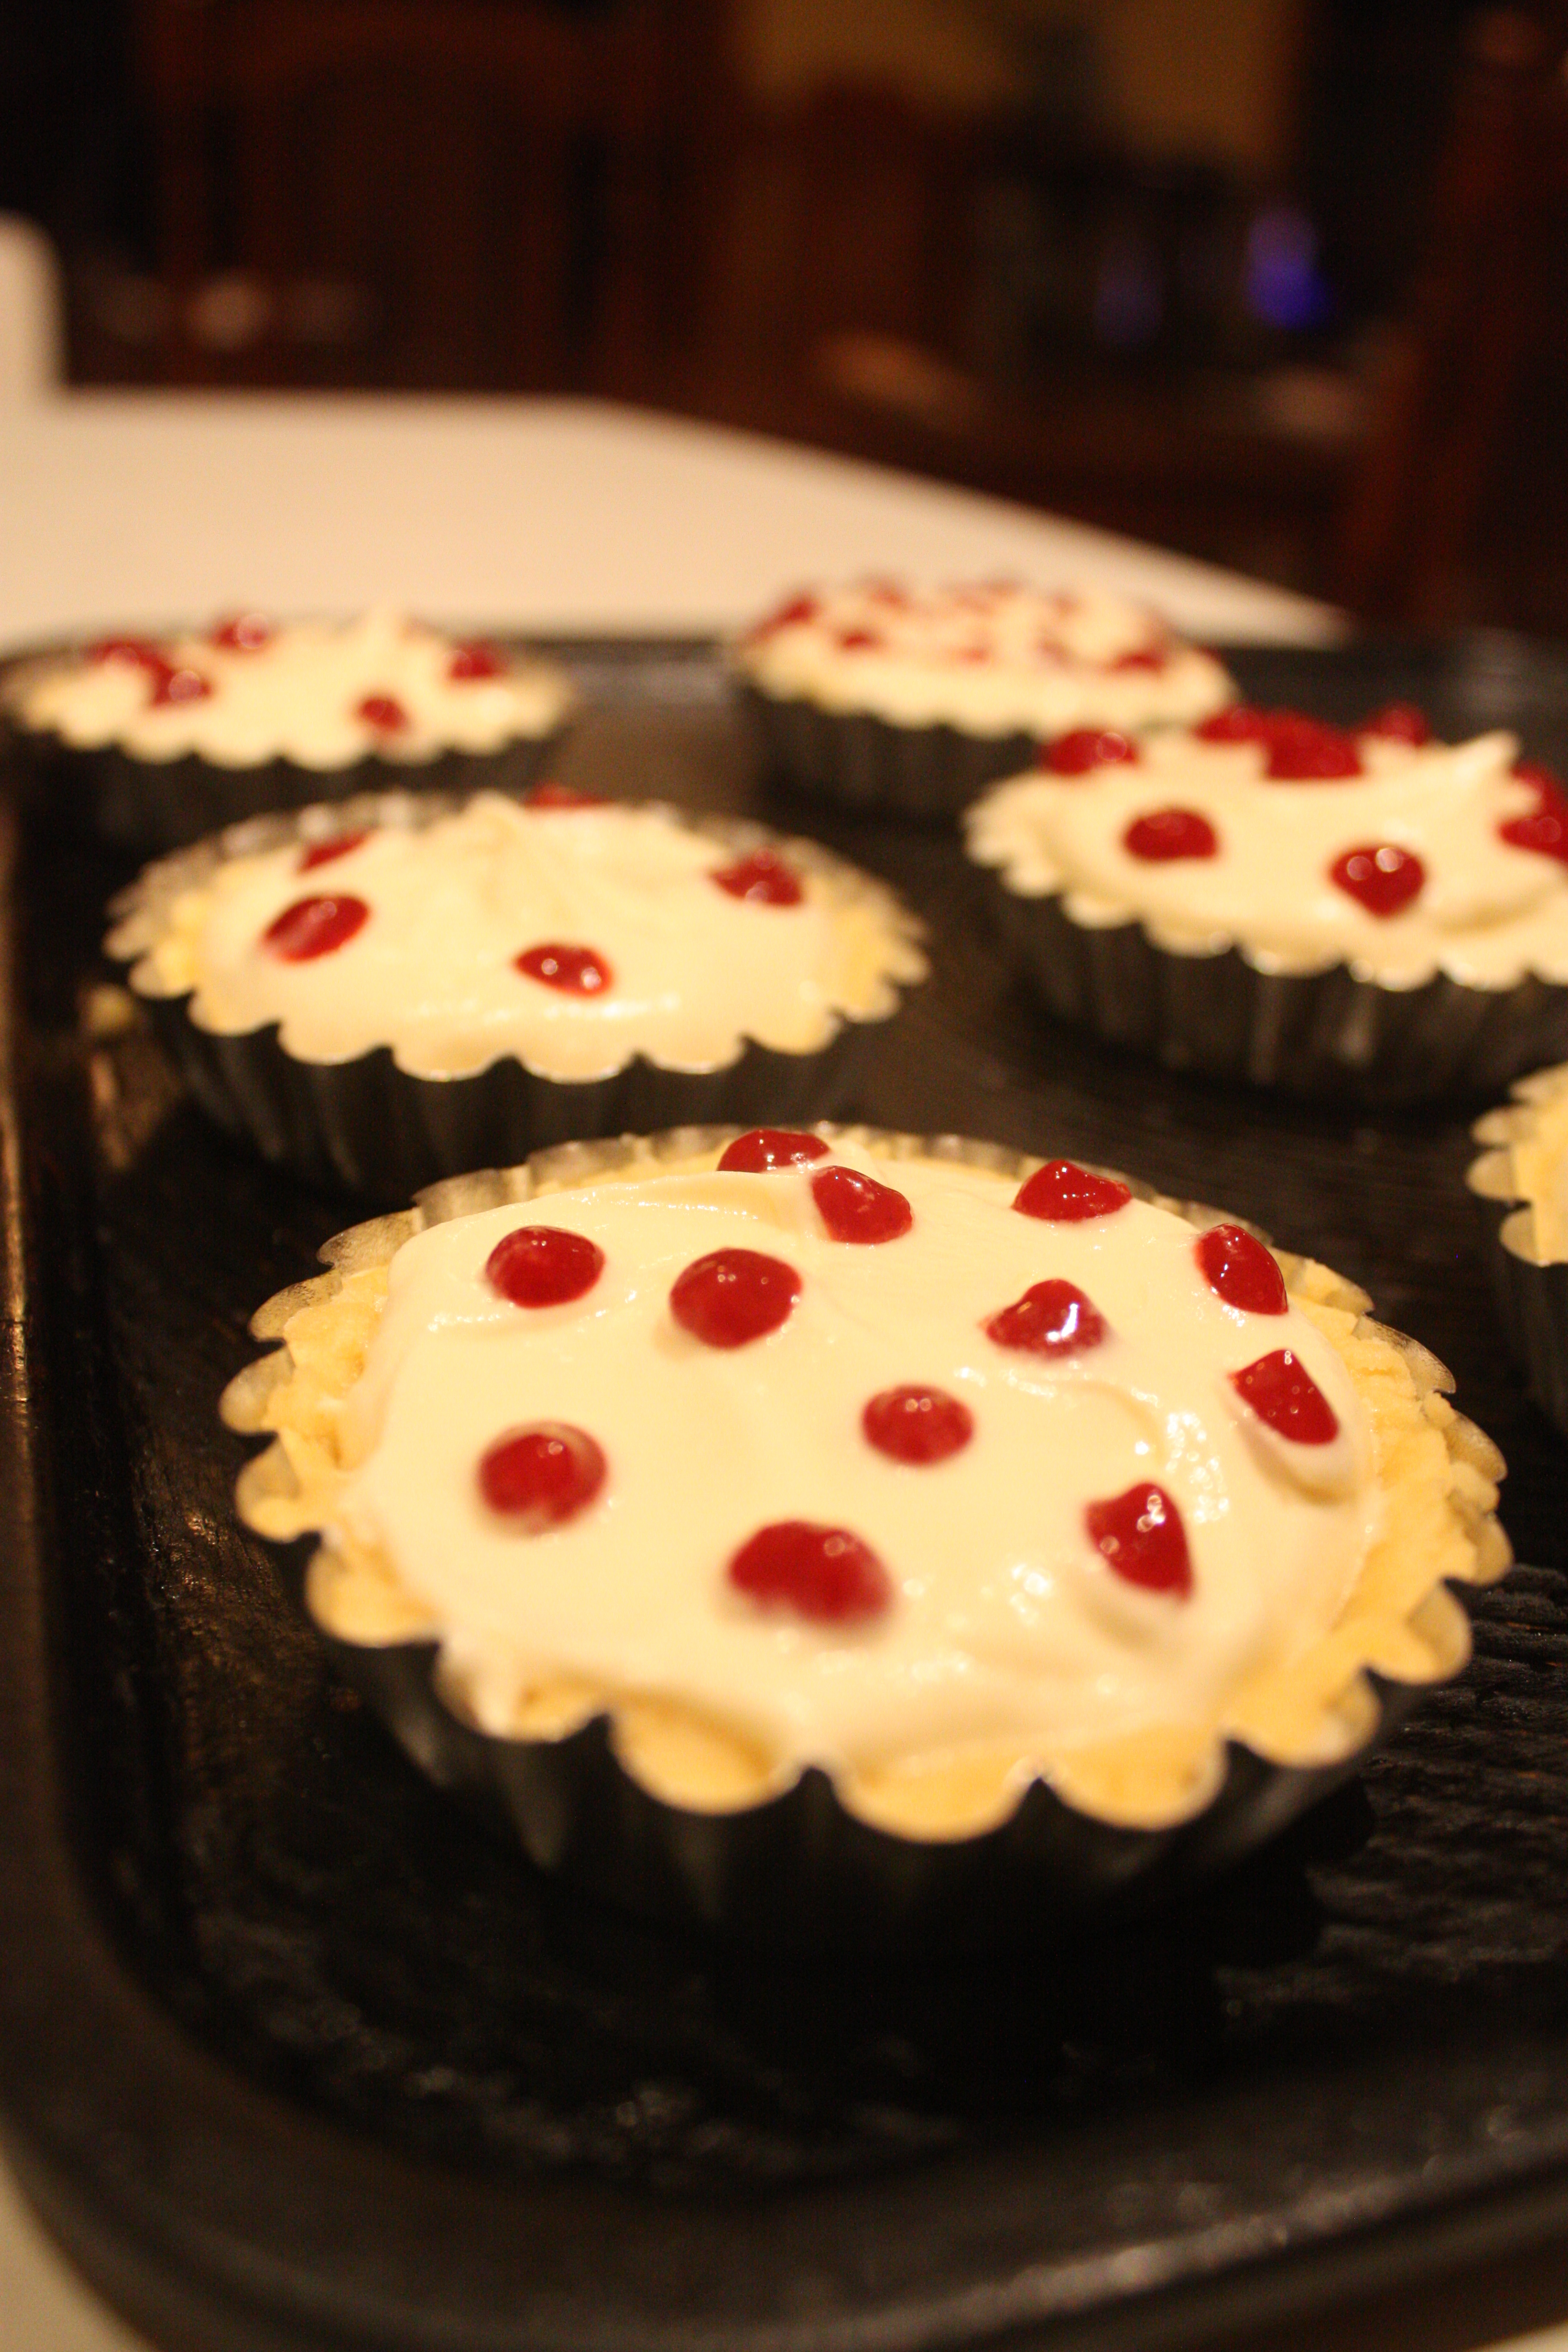

Don’t worry if they’re not completely neat, as long as you run your toothpick through the centre of each circle, they’ll look heart-like. Little tricks like using the syringe or a piping bag may seem fiddly, but get easier with practice, and give your baked goods a professional finish.
Bake tarts back in the oven for 15-20 mins. Take them out of the oven and allow them to cool completely before serving. They’ll set more as they cool, so don’t rush them by eating them warm!
Lemon Raspberry Meringue Pie and Craziness
Today’s post is going to start at the end. I had made Lemon Raspberry Meringue Pies and they were a little bit crazy. The recipe worked perfectly and cooked without a hitch, but I got the feeling that the beautiful bright colours were a little unusual for the humble lemon meringue pie.
 I took a sample down to my neighbour. She’s lived one house away from me for my entire life and always played a bit of a cameo role in my life. I used to play with her grandchildren, see her at church and bump into her on my morning walks. Since I started Baking With Gab I have had so much excess food that I take her some every now and then.
Walking through her dining room I was struck by how beautiful her tea set was. Six cups, plates and saucers were out on the table, each with its own character and story. She explained that she’d been given them all individually and it was known as a ‘crazy tea set.’ Being born in 1989, I had never heard this phrase before, but I’m now completely in love with the idea of it. She told me a little history about each and I marvelled at how beautifully they worked as a set.
My lemon raspberry meringue pie is crazy in its own way. I piped the meringues onto each one differently – they all match, but they’ve got their own little bit of flair. This was done intentionally because:
- I don’t have the patience to agonise over perfect meringues and
- I’m not really that skilled a piper.
This whole thing takes about an hour, provided you time everything right. It could easily take you about half an hour if you cheat and use lemon curd from a jar and frozen puff pastry. I wouldn’t even tell anyone you cheated! I would usually cheat as well, but I had to use up excess lemons from my nan’s tree and surplus eggs that I had in the fridge. This is perfect for using up lemons and eggs!
Crazy Lemon Raspberry Meringue Pie:
 Shortcrust pastry:
- 150g butter
- 1 ¾ cups plain flour
- ¼ cup icing sugar
- 1 egg
- 1 tsp cold water
- 3 lemons
- 1 cup sugar*
- 100g butter
- 3 eggs + one egg yolk
 *you can cut this back to ½ a cup if you want it to be super tart!
Raspberry meringue:
- 3 egg whites
- Juice of half a lemon
- 2 cups sugar
- 200g frozen raspberries
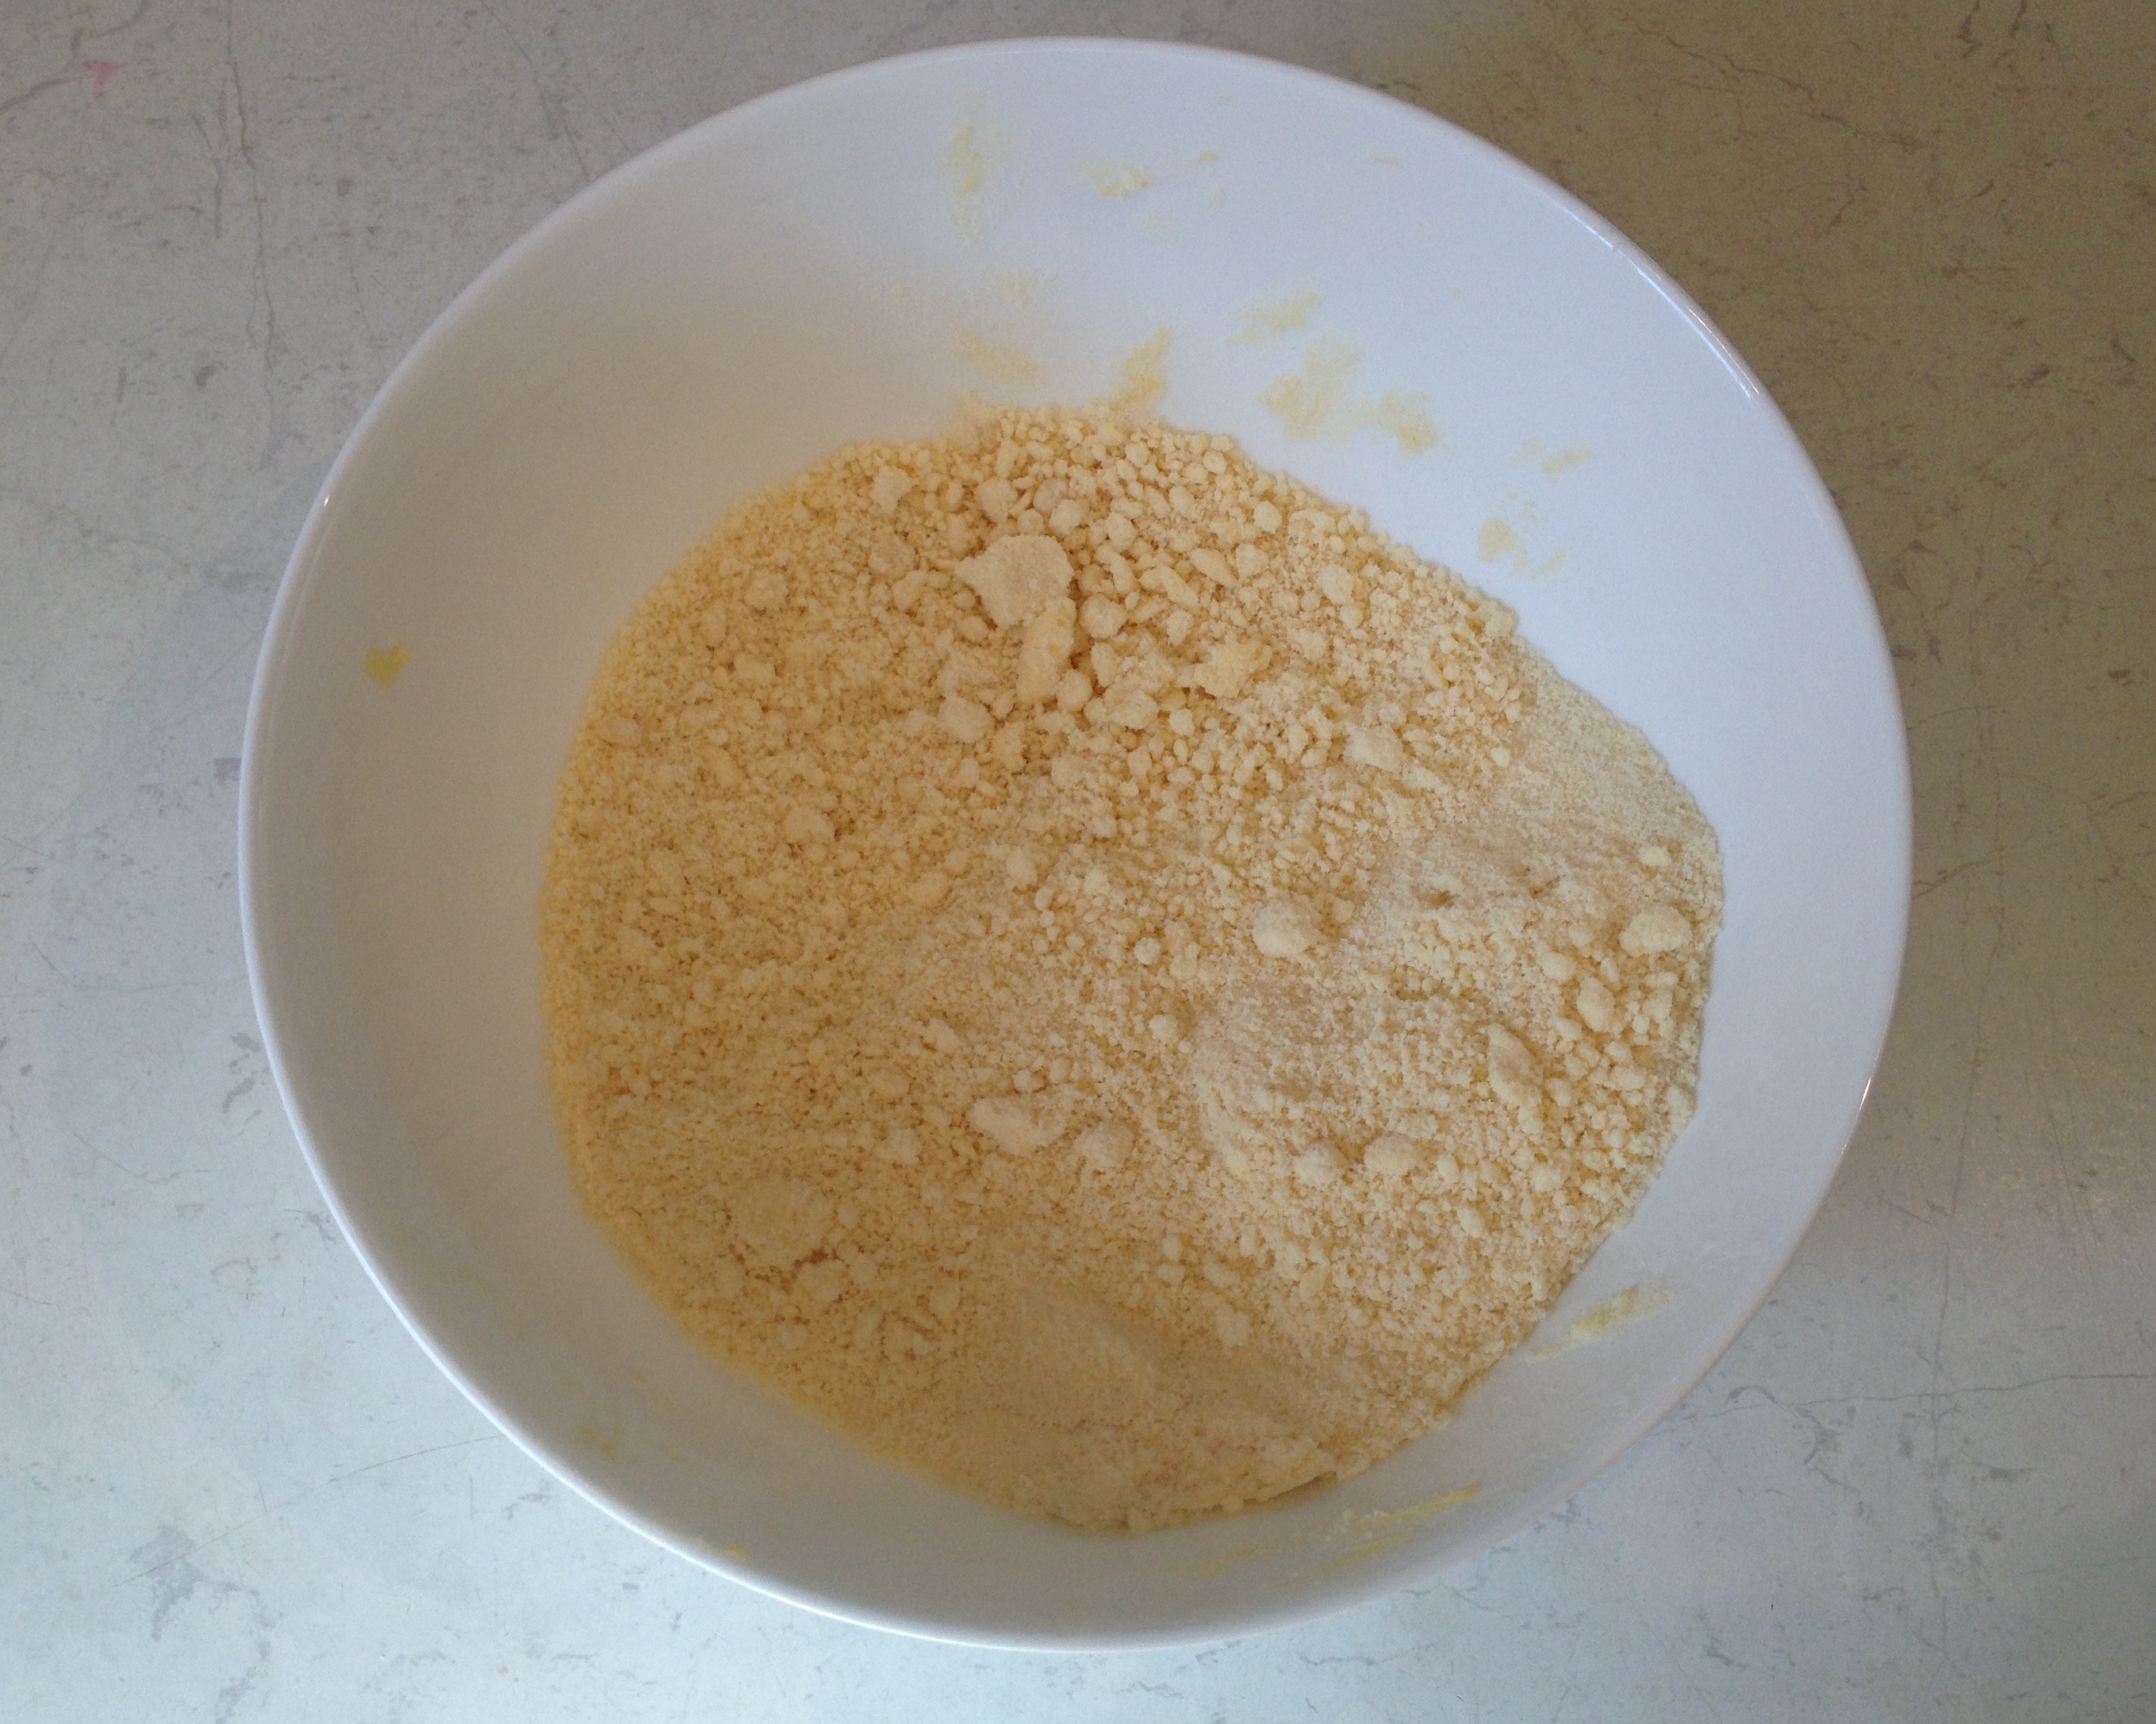 Dice up the butter and put it in a bowl with the flour and sugar. Grab a butter knife and cut through the butter to mix the flour and sugar into it (I use this method because my hands don’t get as dirty.) When the butter is in small pieces and covered in flour, use your fingertips to rub the mixture together until it resembles breadcrumbs. Add in your egg and teaspoon of water so that the breadcrumbs combine to make a pastry. Try not to knead, but gently squash it into a ball. Cover the bowl with cling wrap and pop it in the fridge for about 20 minutes while you make the lemon curd.
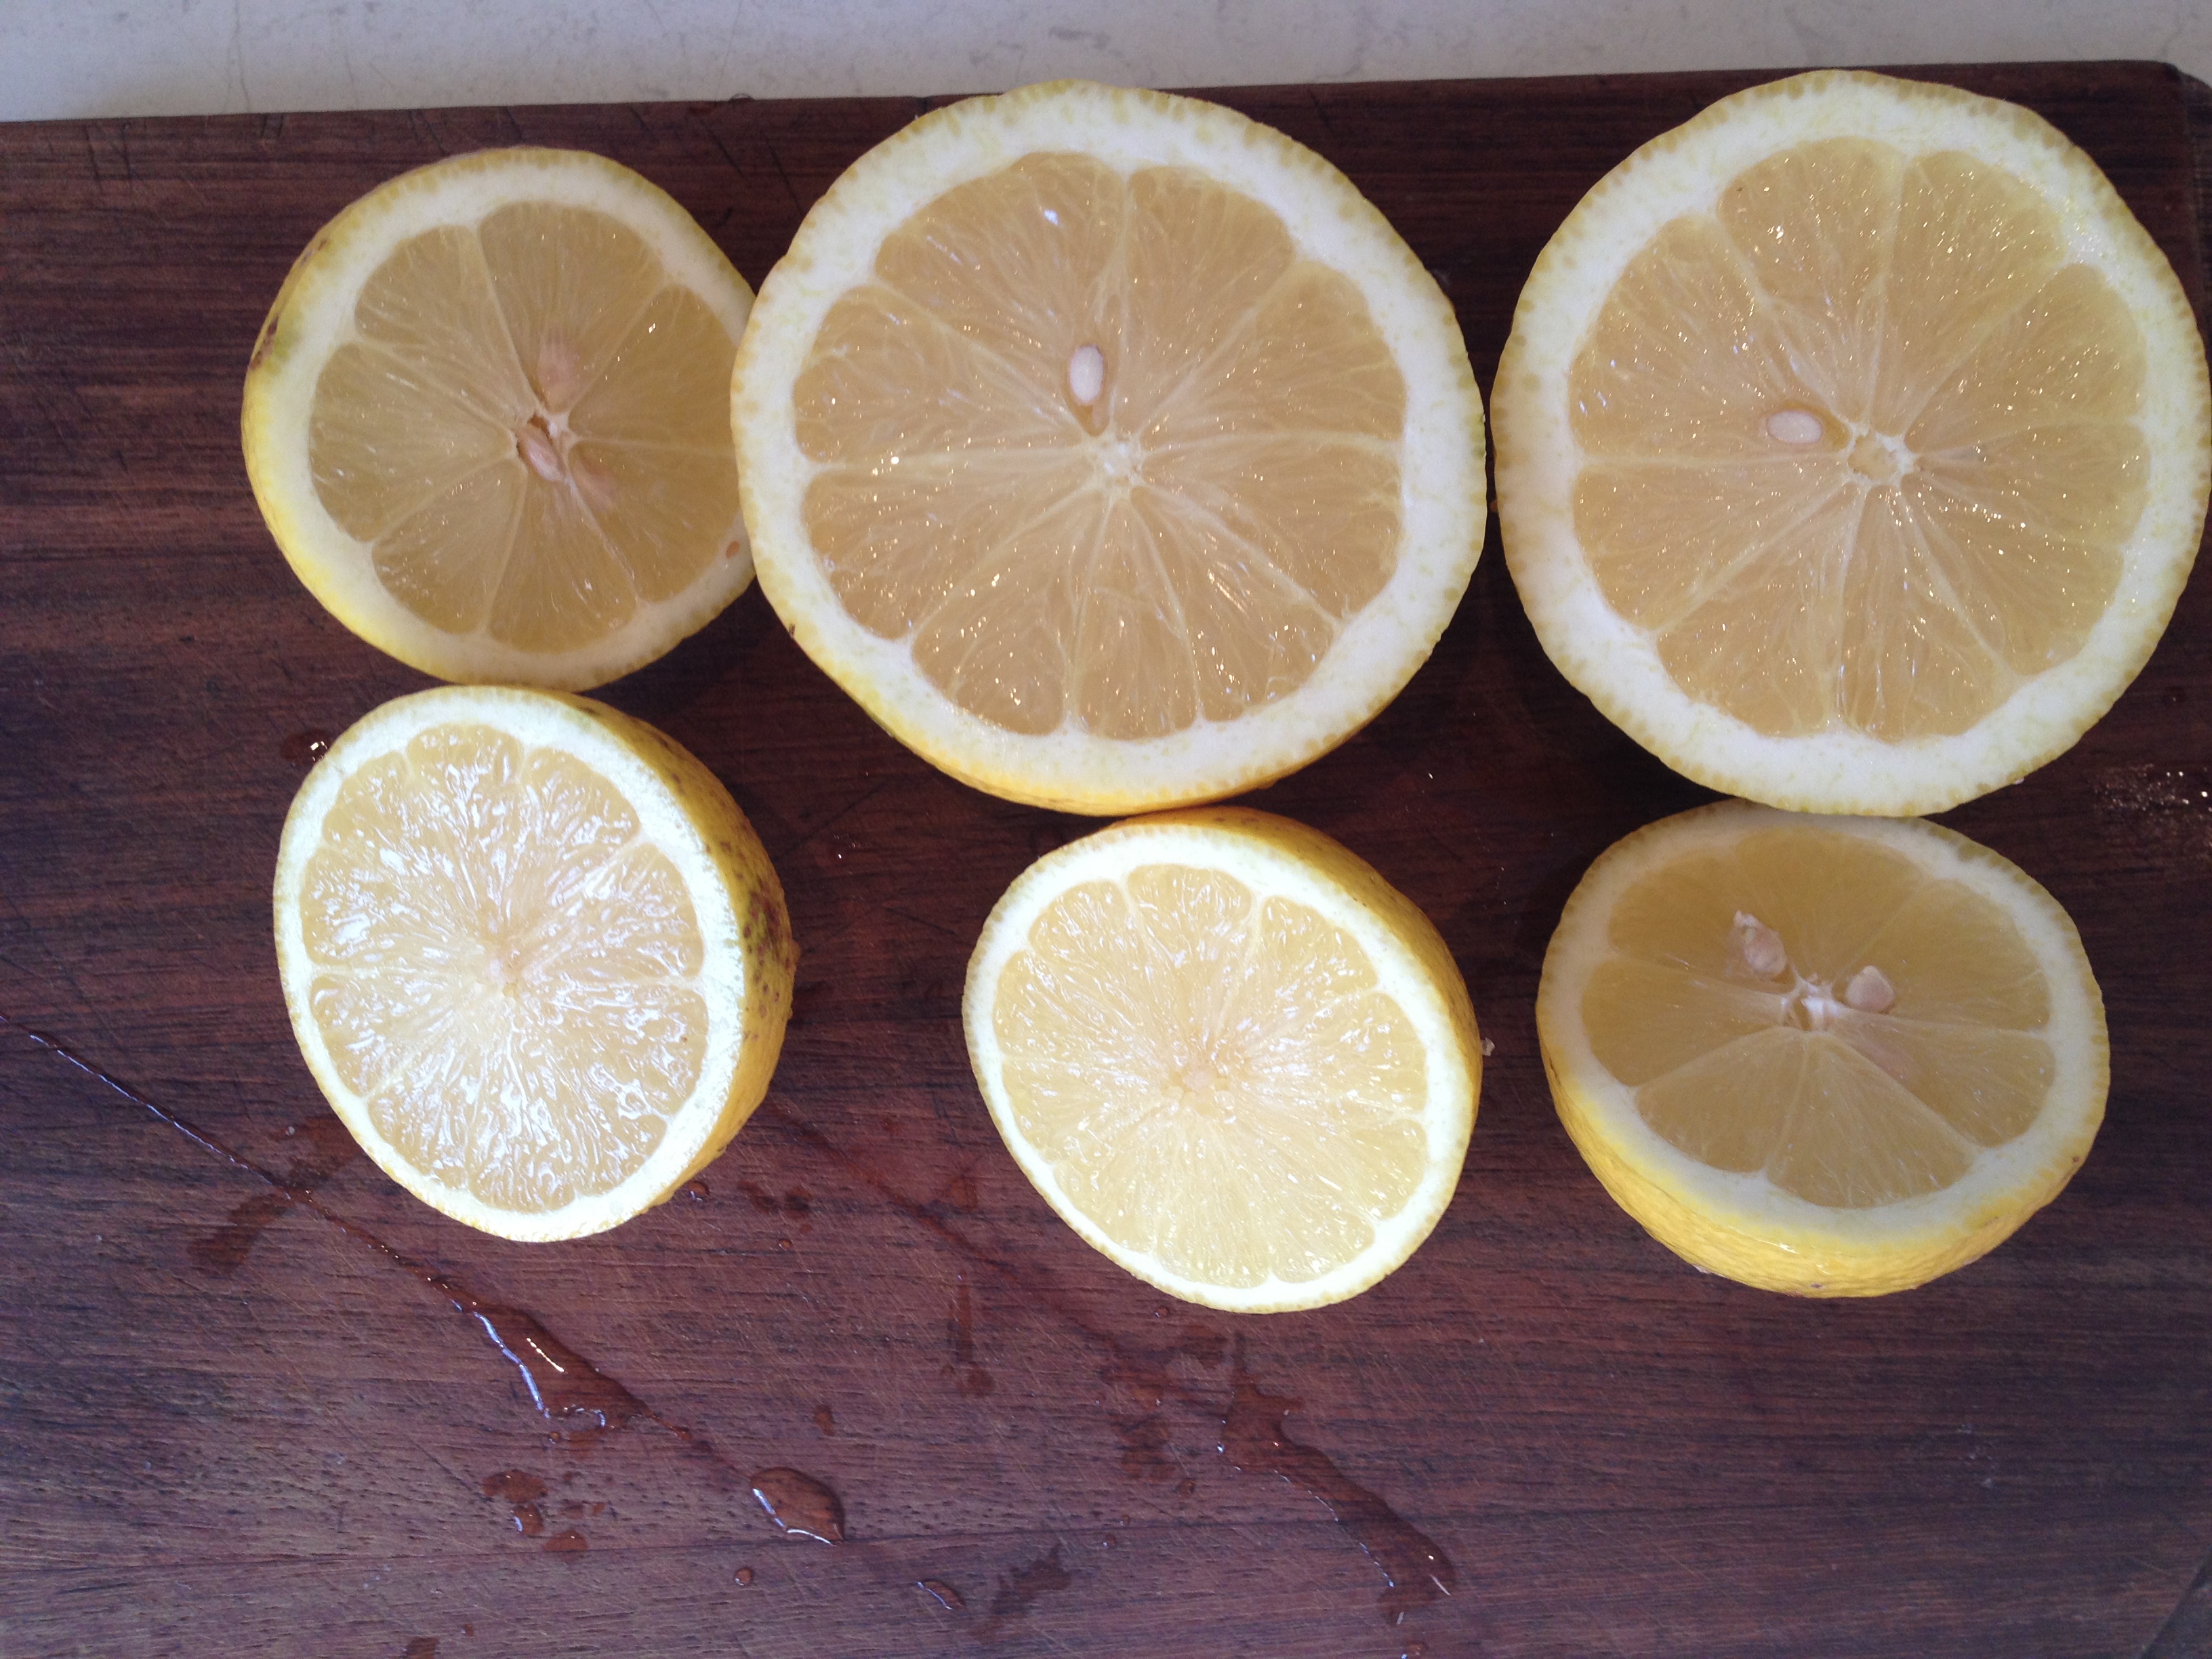 Zest and juice your lemons. Or juice then zest them – whatever works for you. Put the lemon juice, zest, sugar and butter into a pan over a medium heat. Stir the mixture until the butter is melted. Whisk the eggs and egg yolk together, then add it slowly to the lemony mixture. Turn the heat up to high and allow it bubble quite fiercely. Whisk it for about five minutes (making sure it doesn’t burn) until it starts to thicken. You can also use your whisk to fish out any chunky bits of lemon that may have snuck through when you juiced the lemons. Take off the heat and transfer into a cool bowl so it can cool.
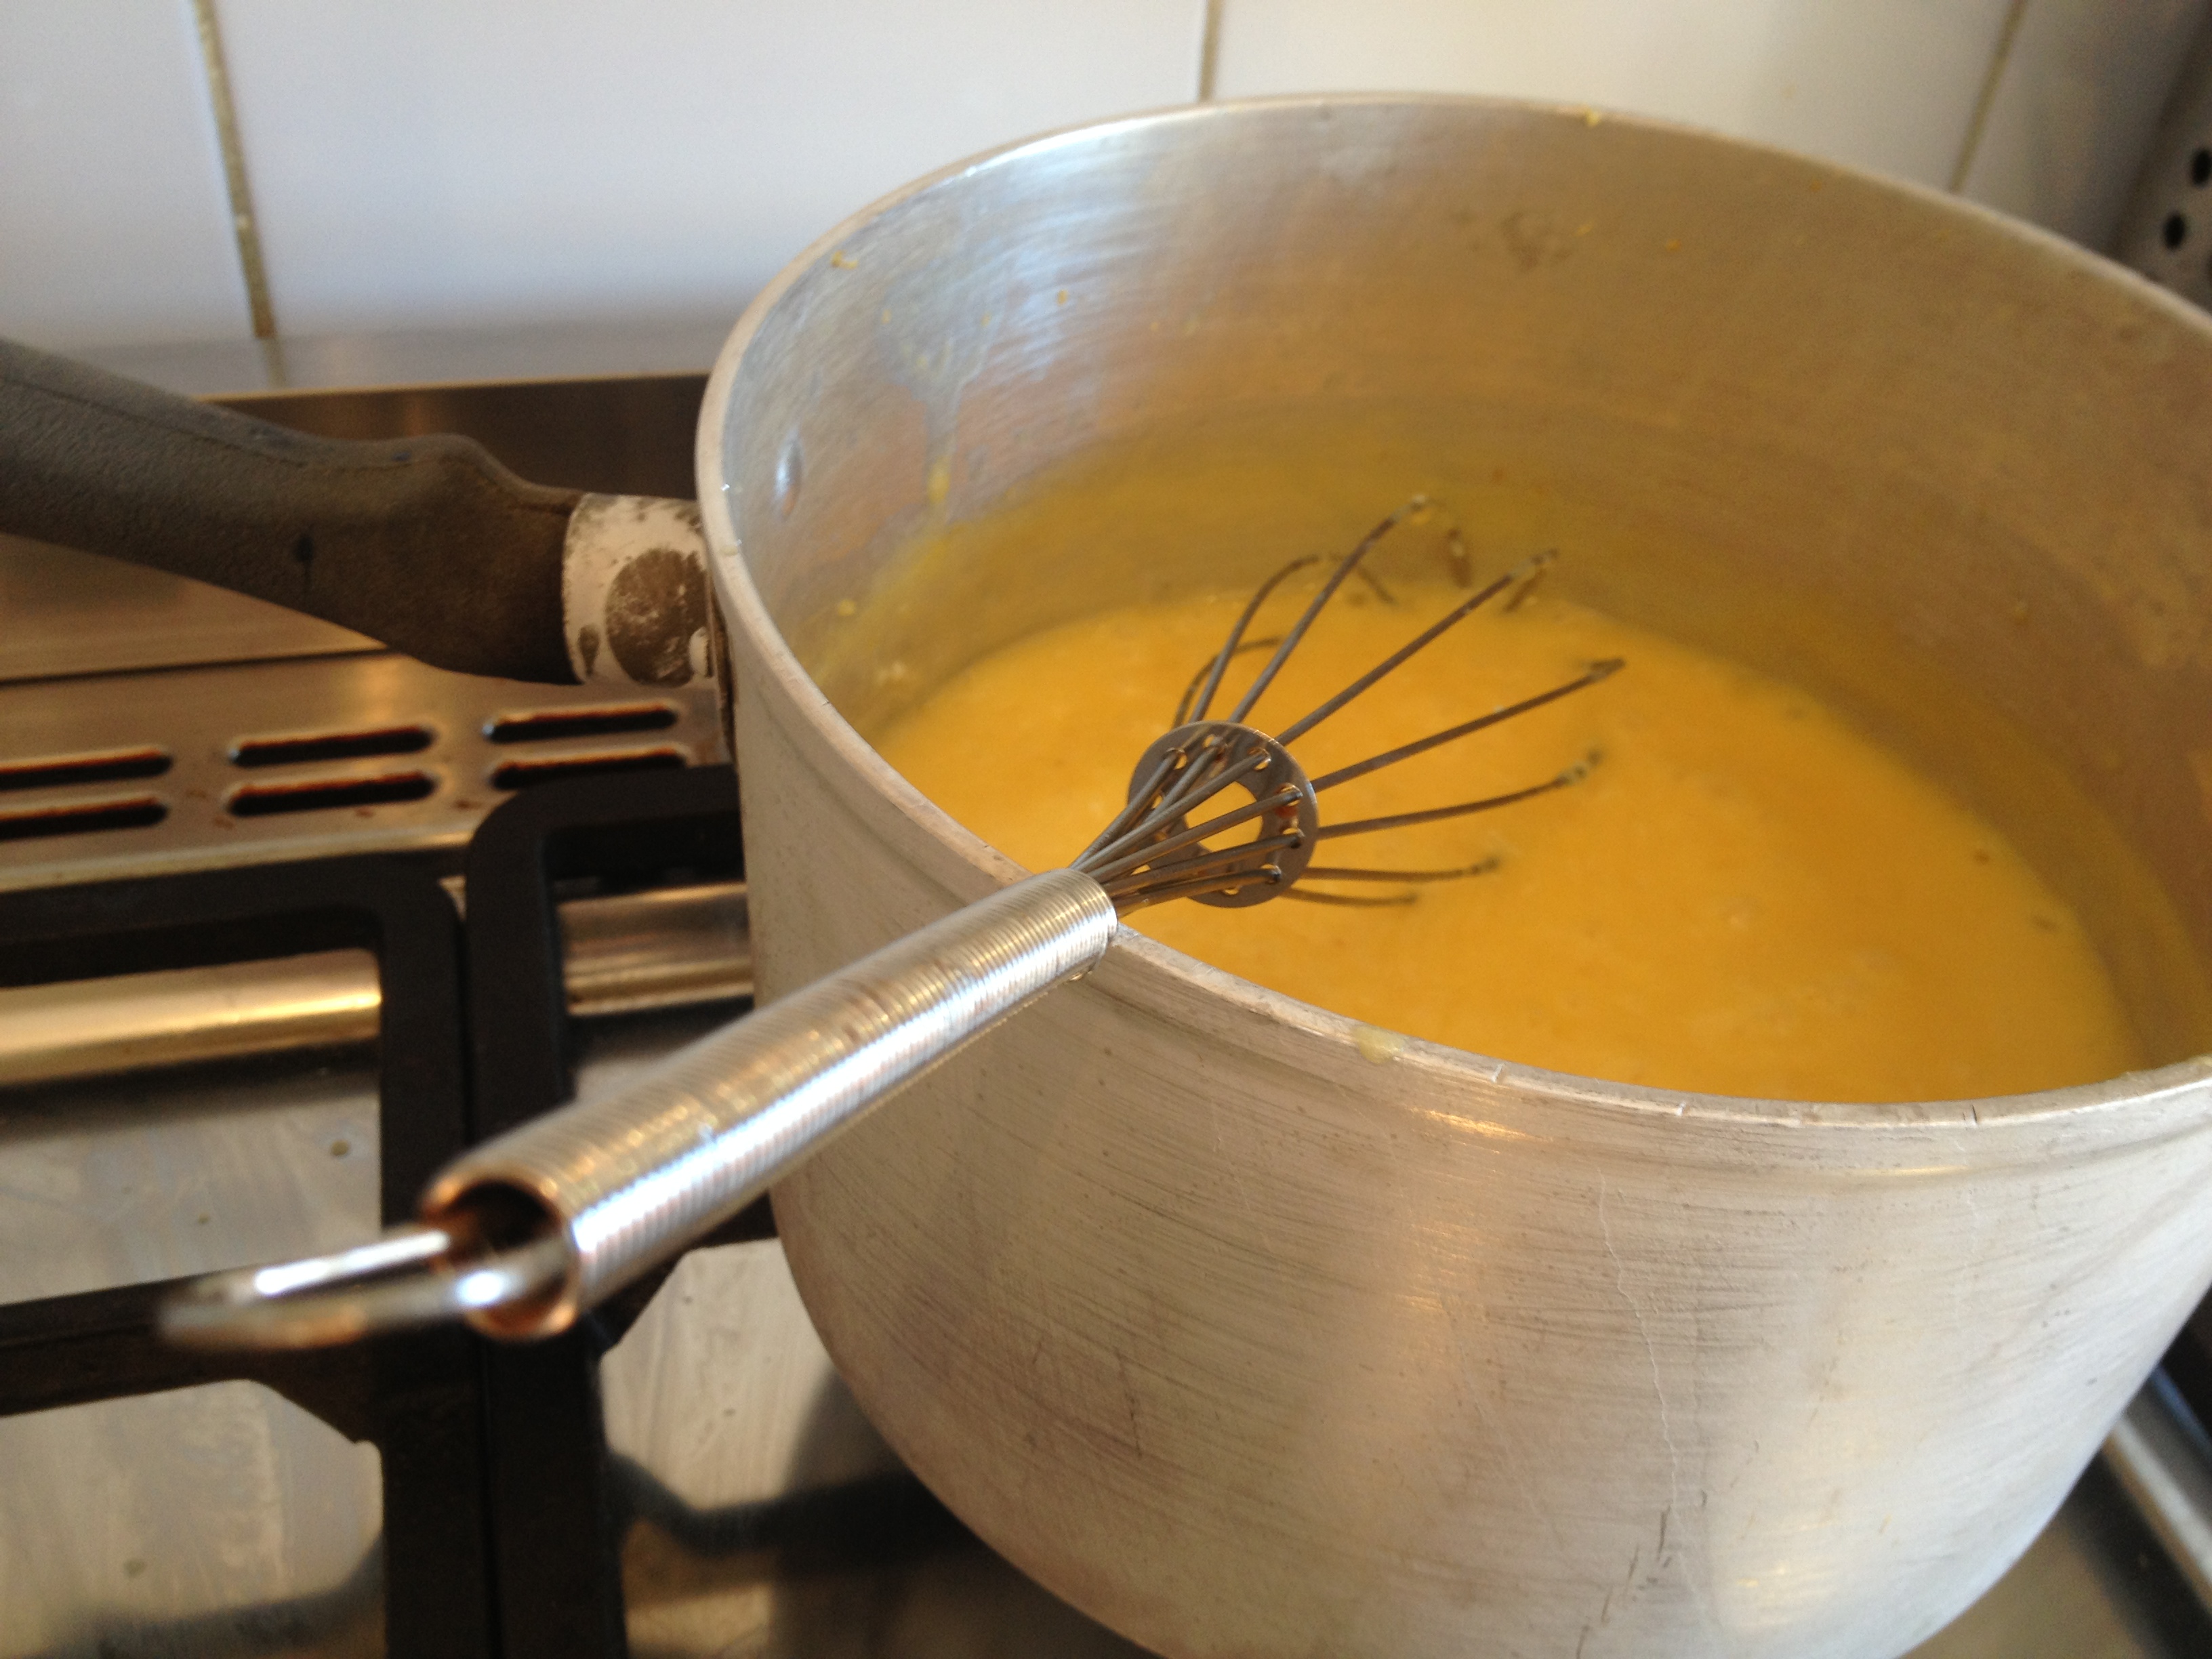
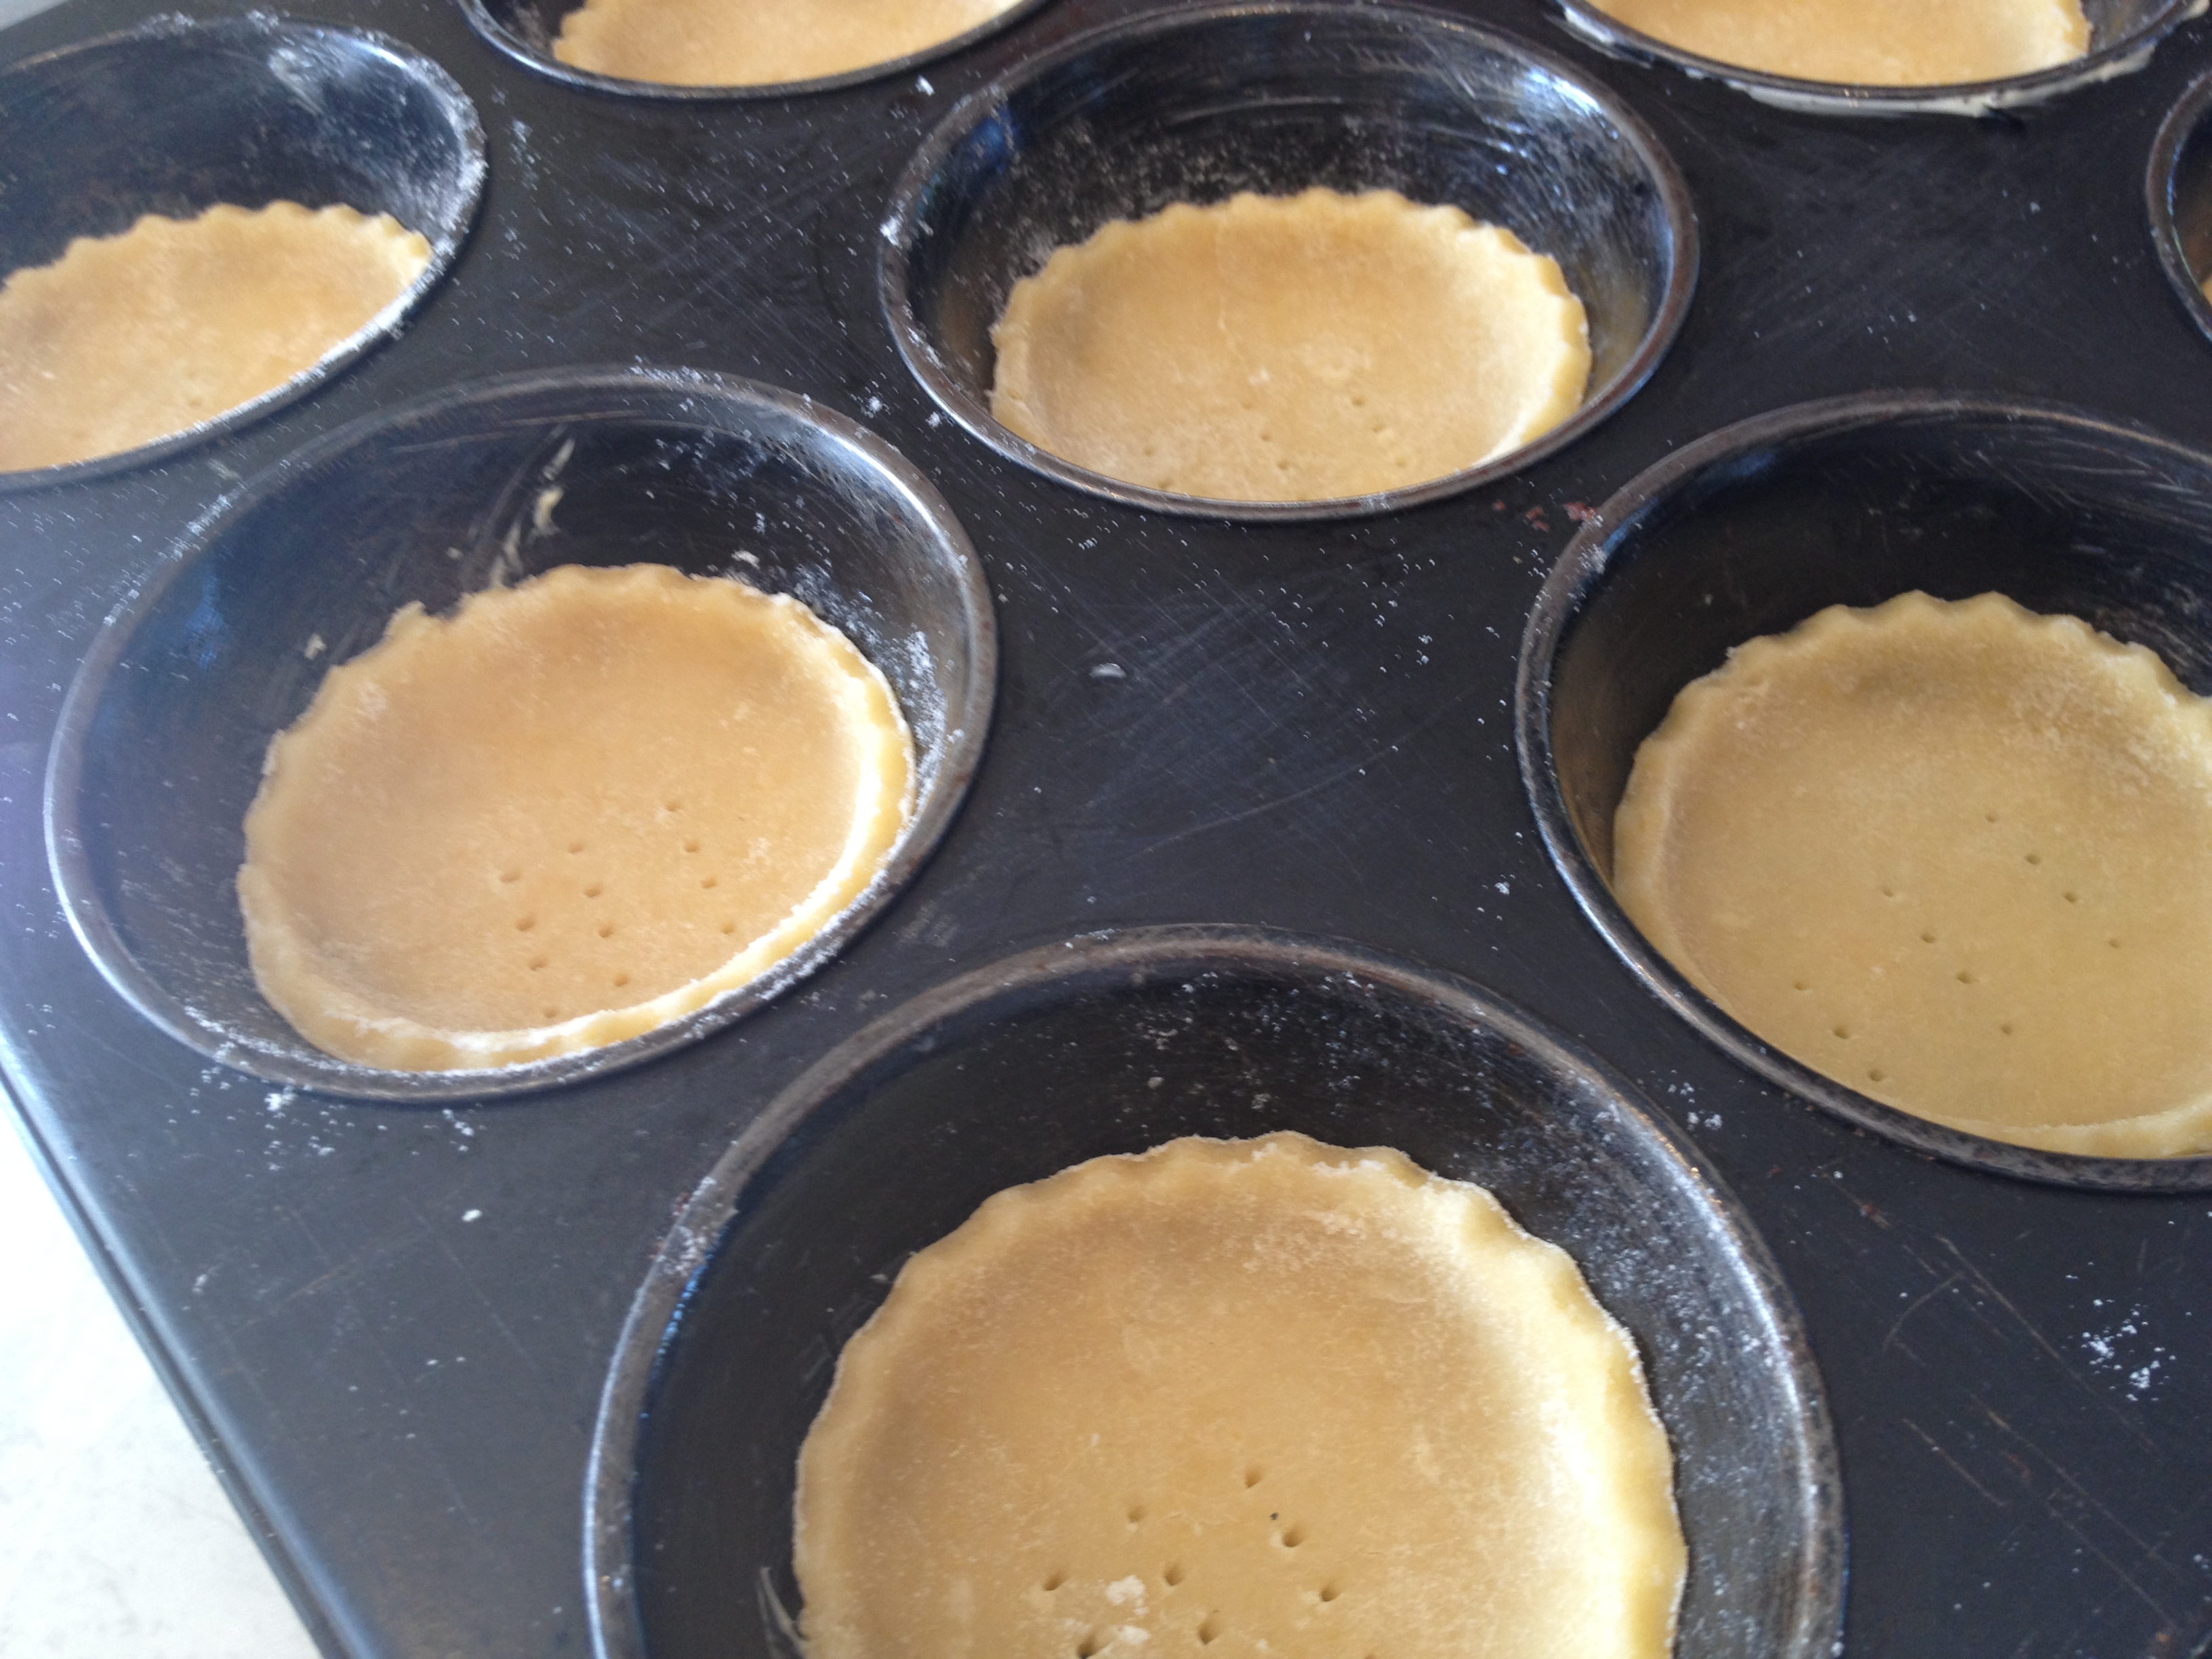
Grease two 12 cup muffin moulds and preheat the oven to 180 degrees. Take the dough out of the fridge and spread flour over a clean surface. Spread your rolling pin with flour too to stop the dough from sticking to it. Roll your dough out very thinly and use a cutter that is bigger than your muffin cups. Press the circles of pastry into your greased tins. Prick each circle at least three times and then pop them into the oven for ten minutes.
 You’ll have one egg white left over from making pastry, use this and two extra egg whites for the meringue while the cases cook.
Whip up your egg whites with half a cup of sugar and the lemon juice. In a separate bowl, pour one cup of sugar over your raspberries and mix to combine them. Set them to one side so that they make a raspberry-sugary mush. Once the meringue
 forms stiff peaks, add the final half cup of sugar to the mixture. Mash the raspberry and sugar together so it’s smooth and spoon it gradually into the meringue mixture.

Take the muffin cases out of oven and let them cool for five minutes. Spoon two tablespoons of lemon curd into each pastry case and pop them back into the oven for ten minutes. When they come out of the oven set them to one side and turn the oven up to 240 degrees. Pipe or spoon the raspberry meringue onto the lemon curd (be generous!) and then put them in the middle tray of the oven with the door open for 10-15 minutes.
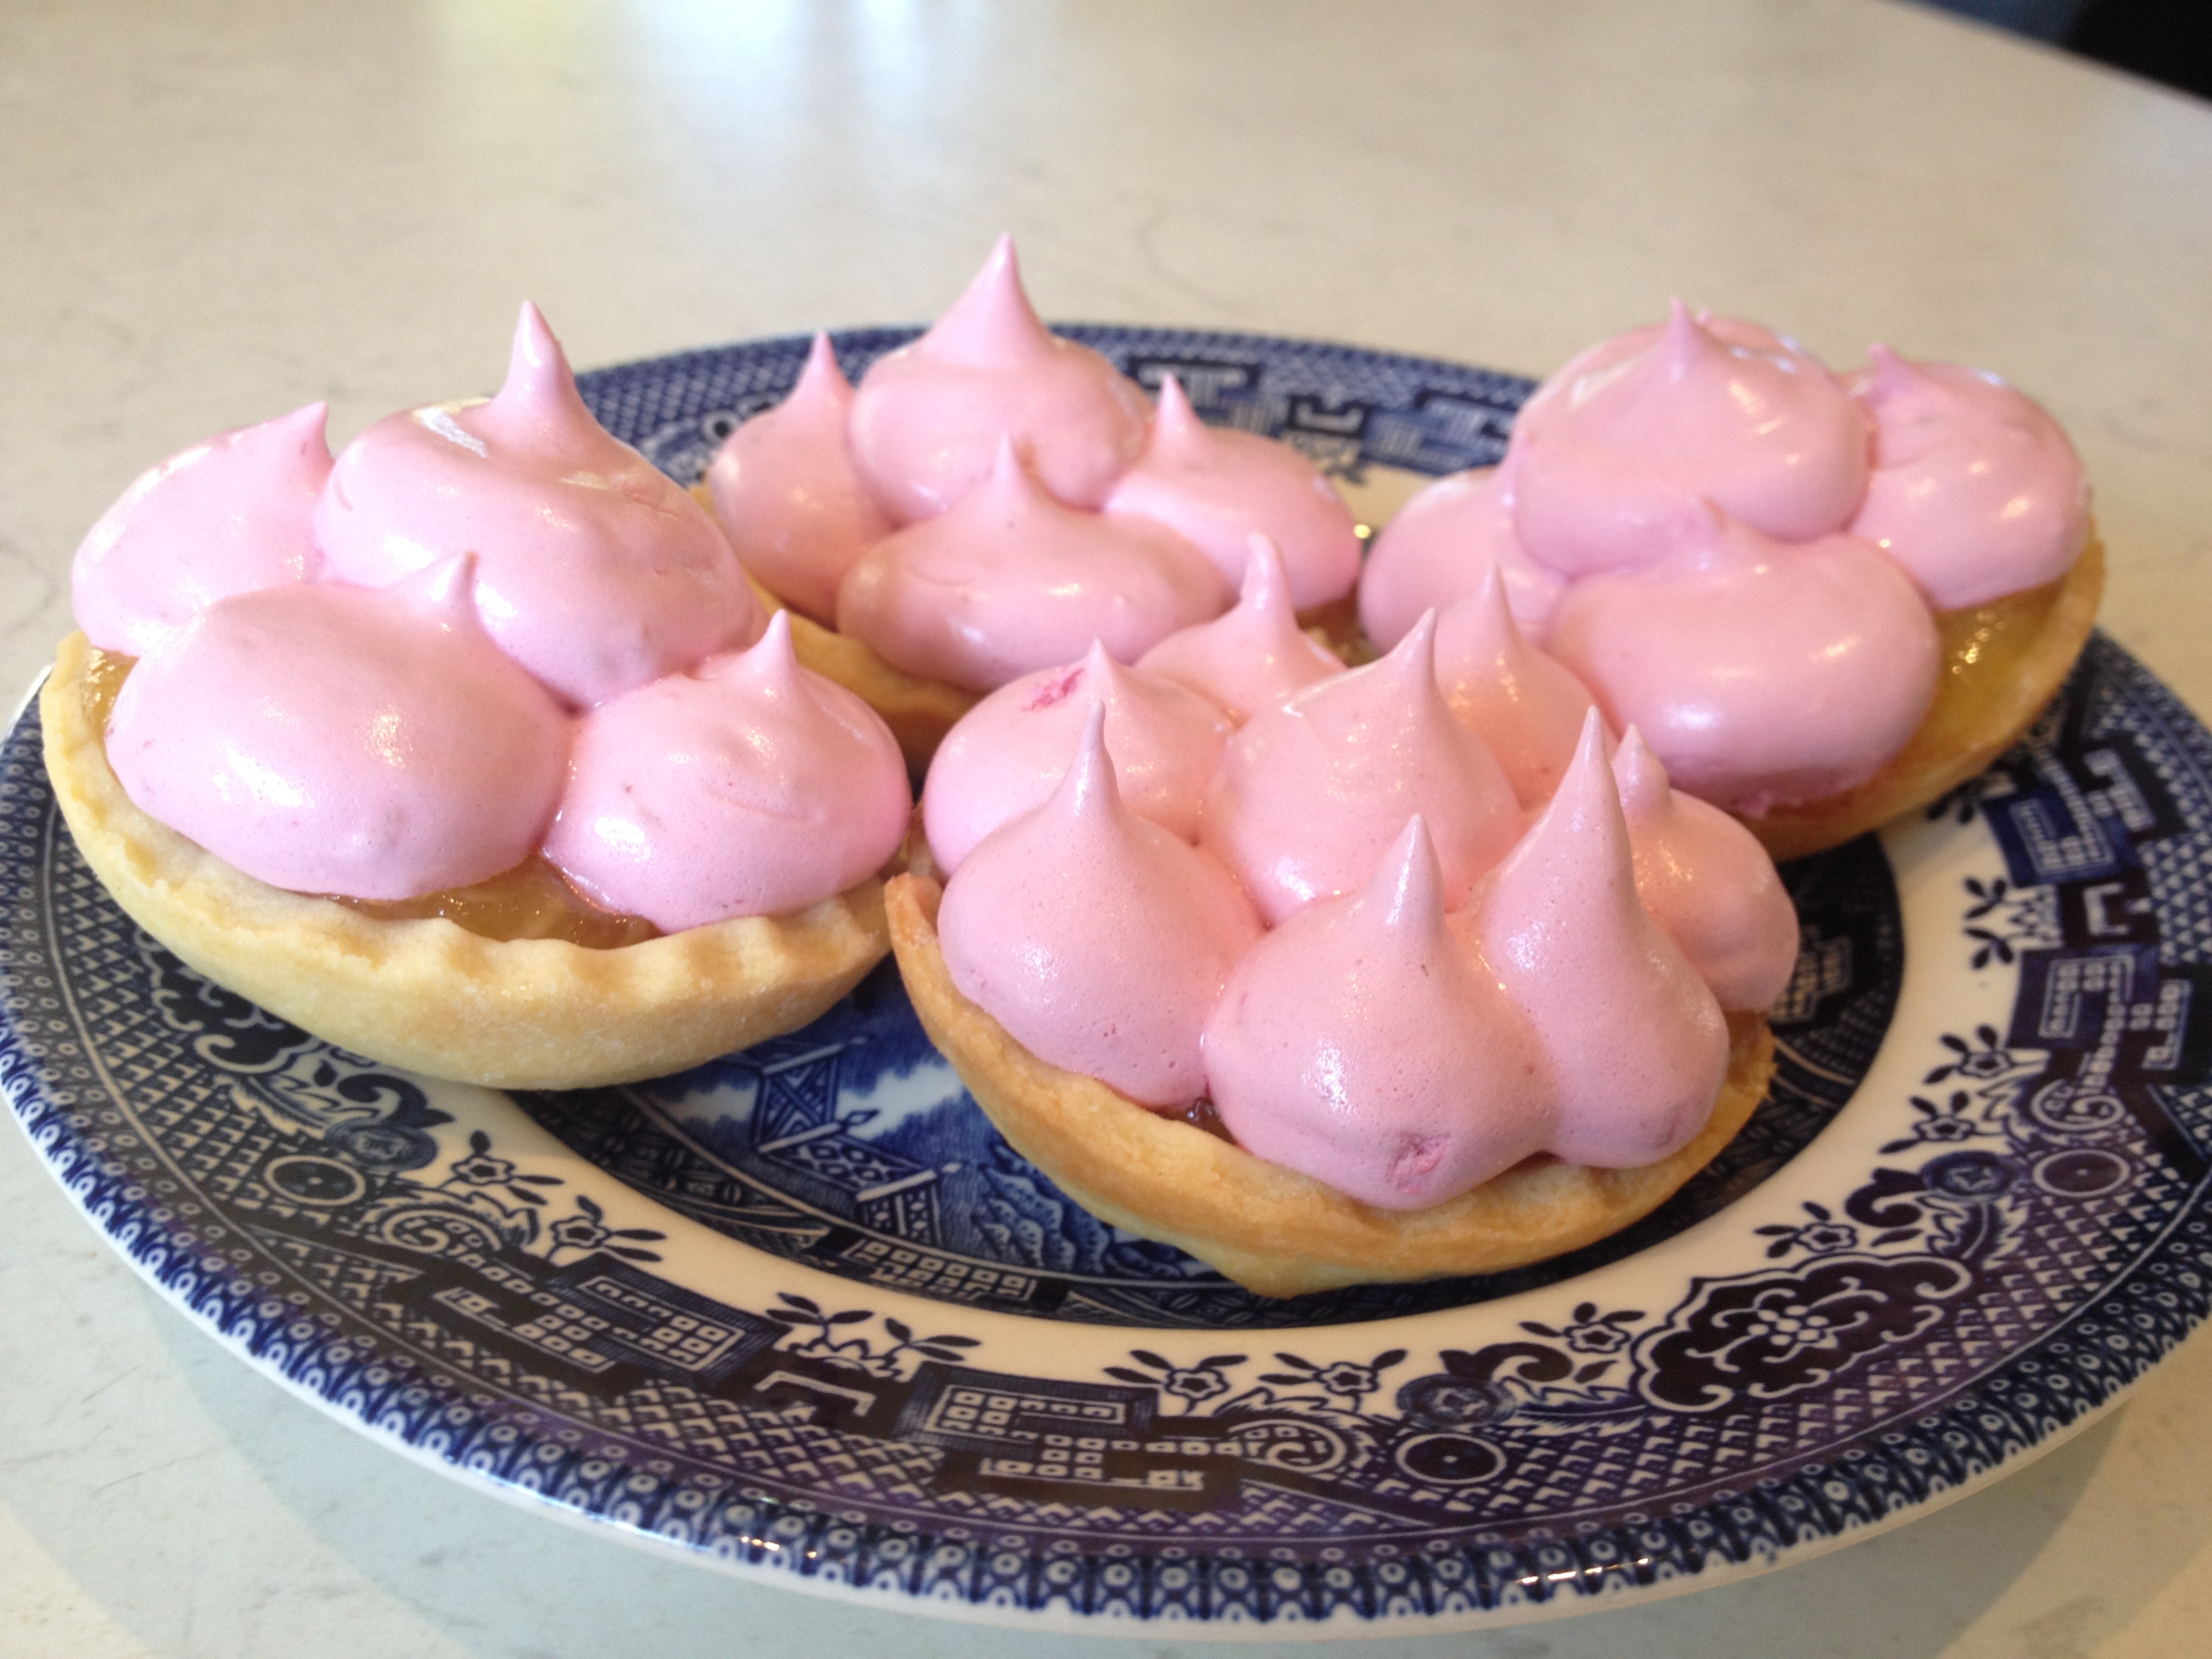 Allow them to cool before serving. Sprinkle them with icing sugar and serve with raspberries on top!
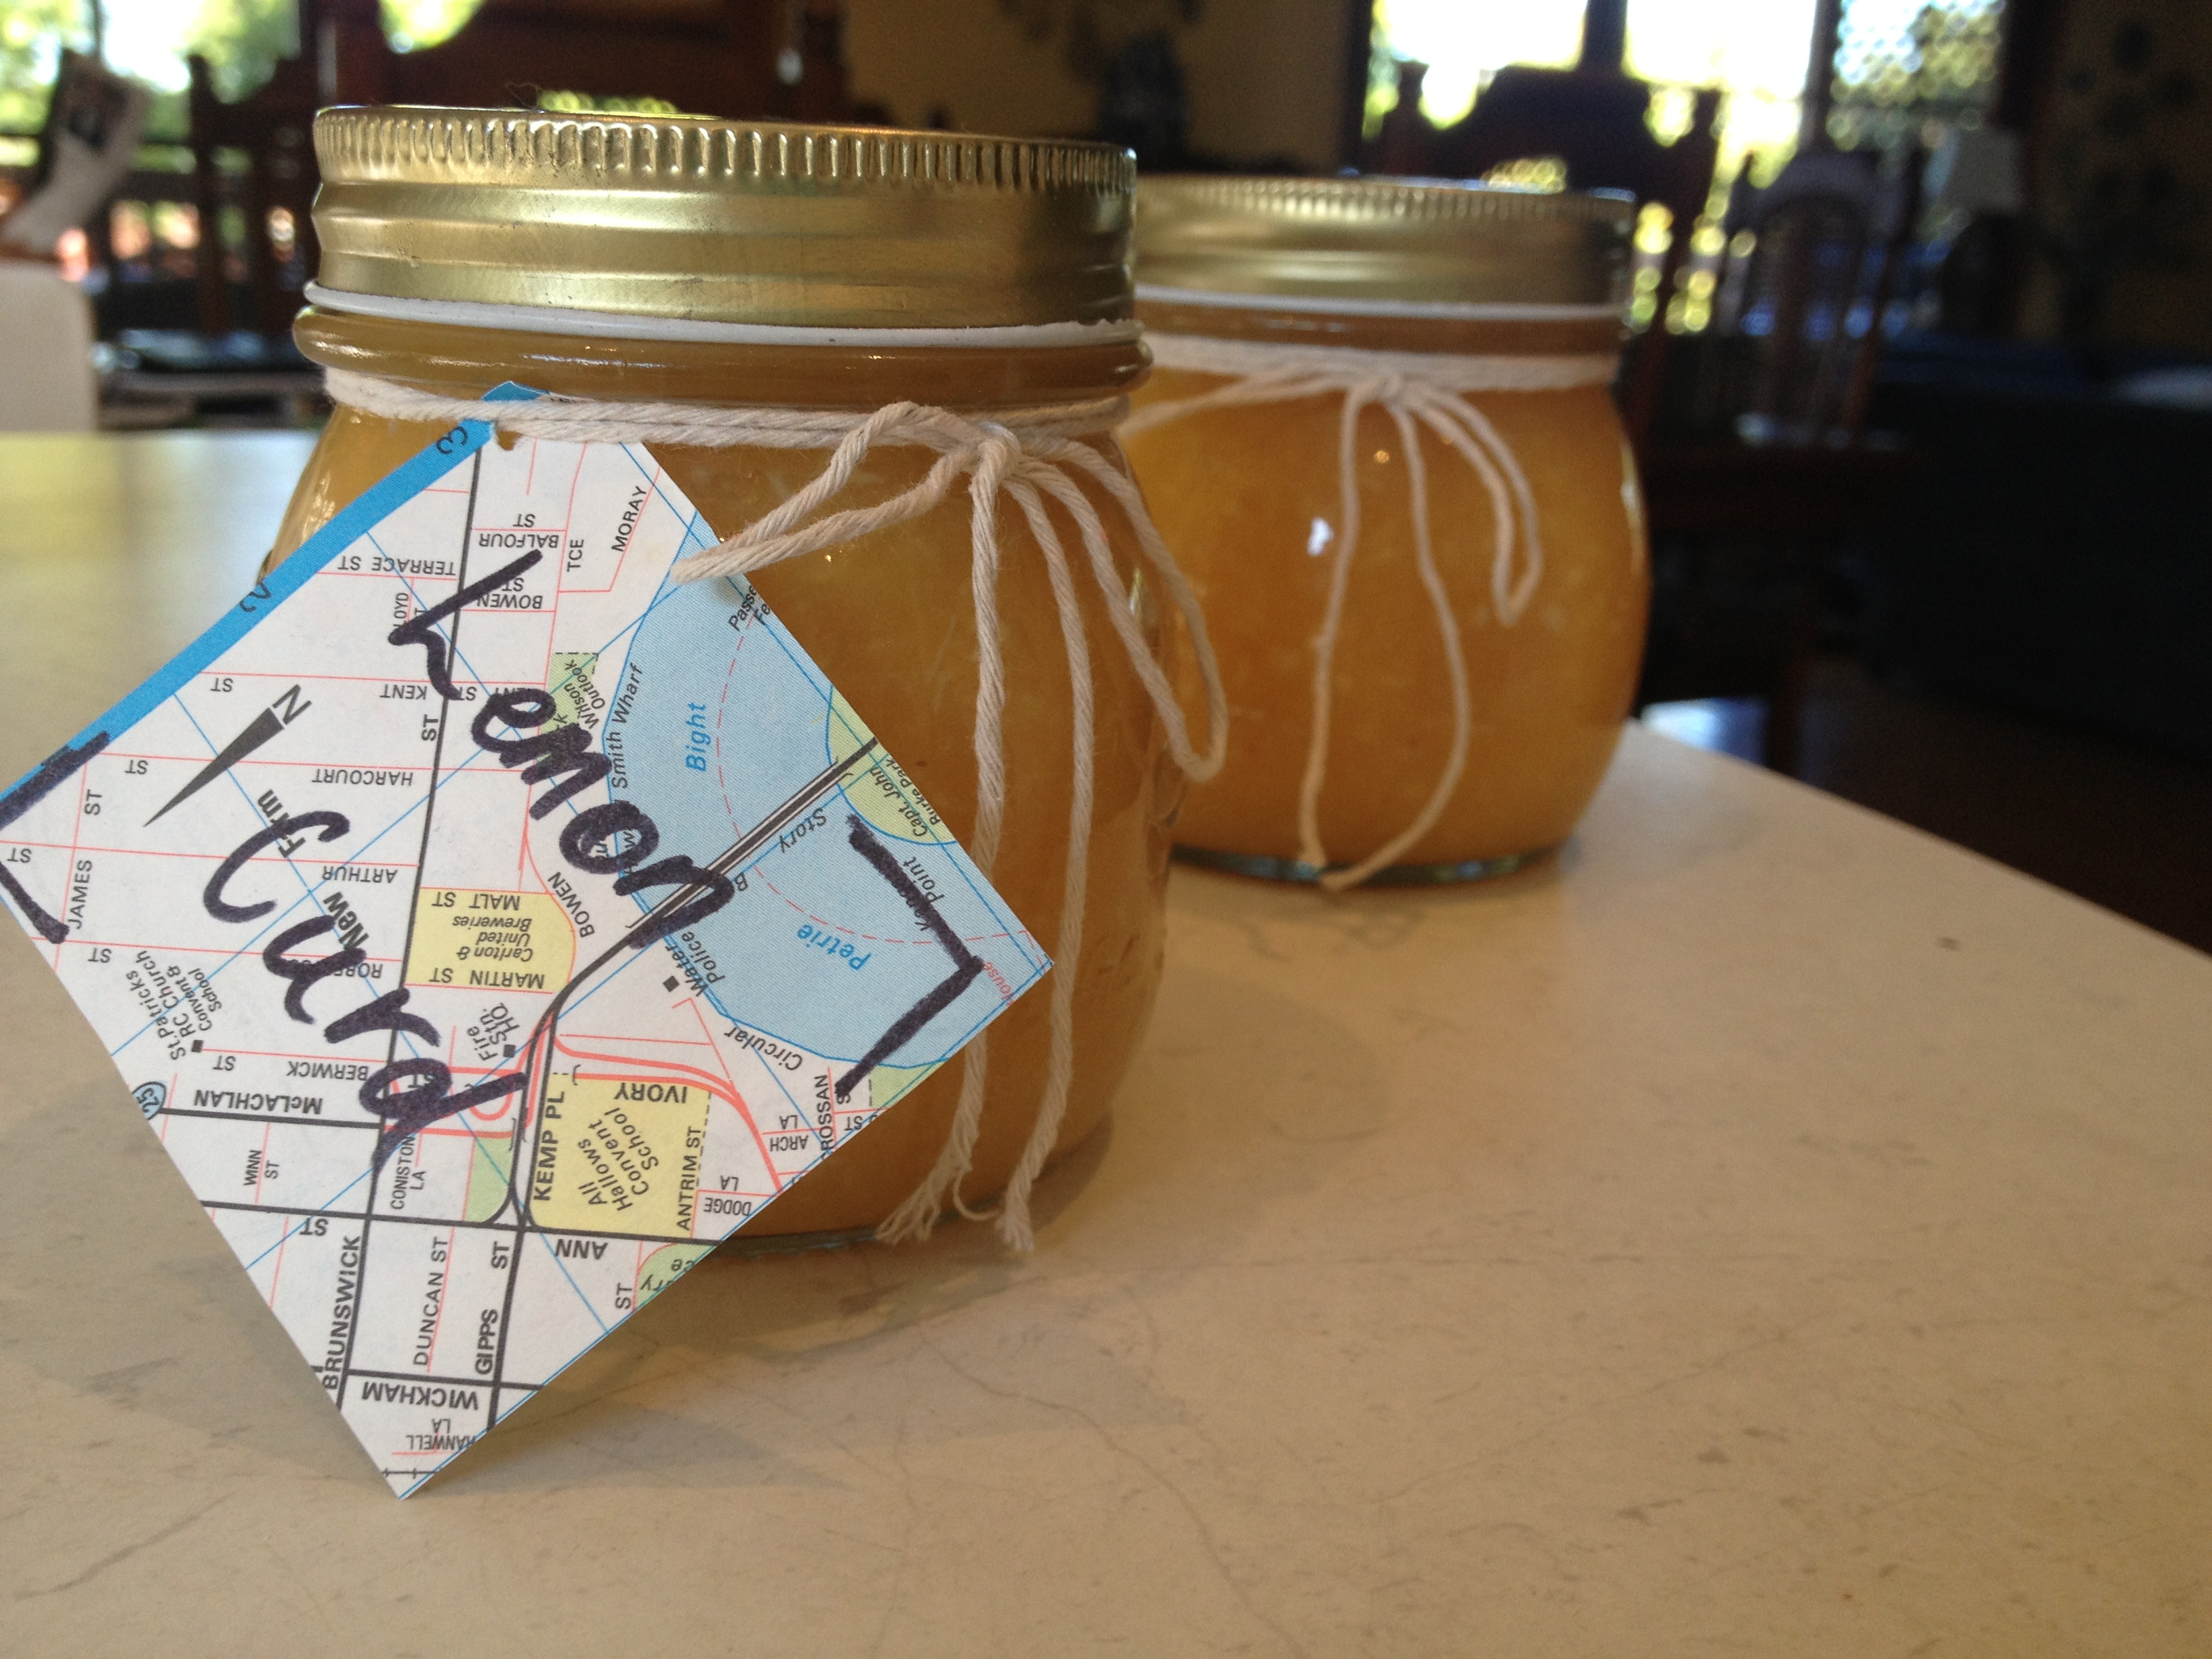
*I doubled the lemon curd recipe that I listed in this recipe to use up the ginormous lemons that had come from my nan’s tree, but also because it means I have some ready for the next time I want to make this! Home made lemon curd is worth the extra effort, it’s tart and zesty – far superior to even the best store-bought stuff. Plus there are no preservatives or sneaky additives, just sugar, butter, lemons and eggs!