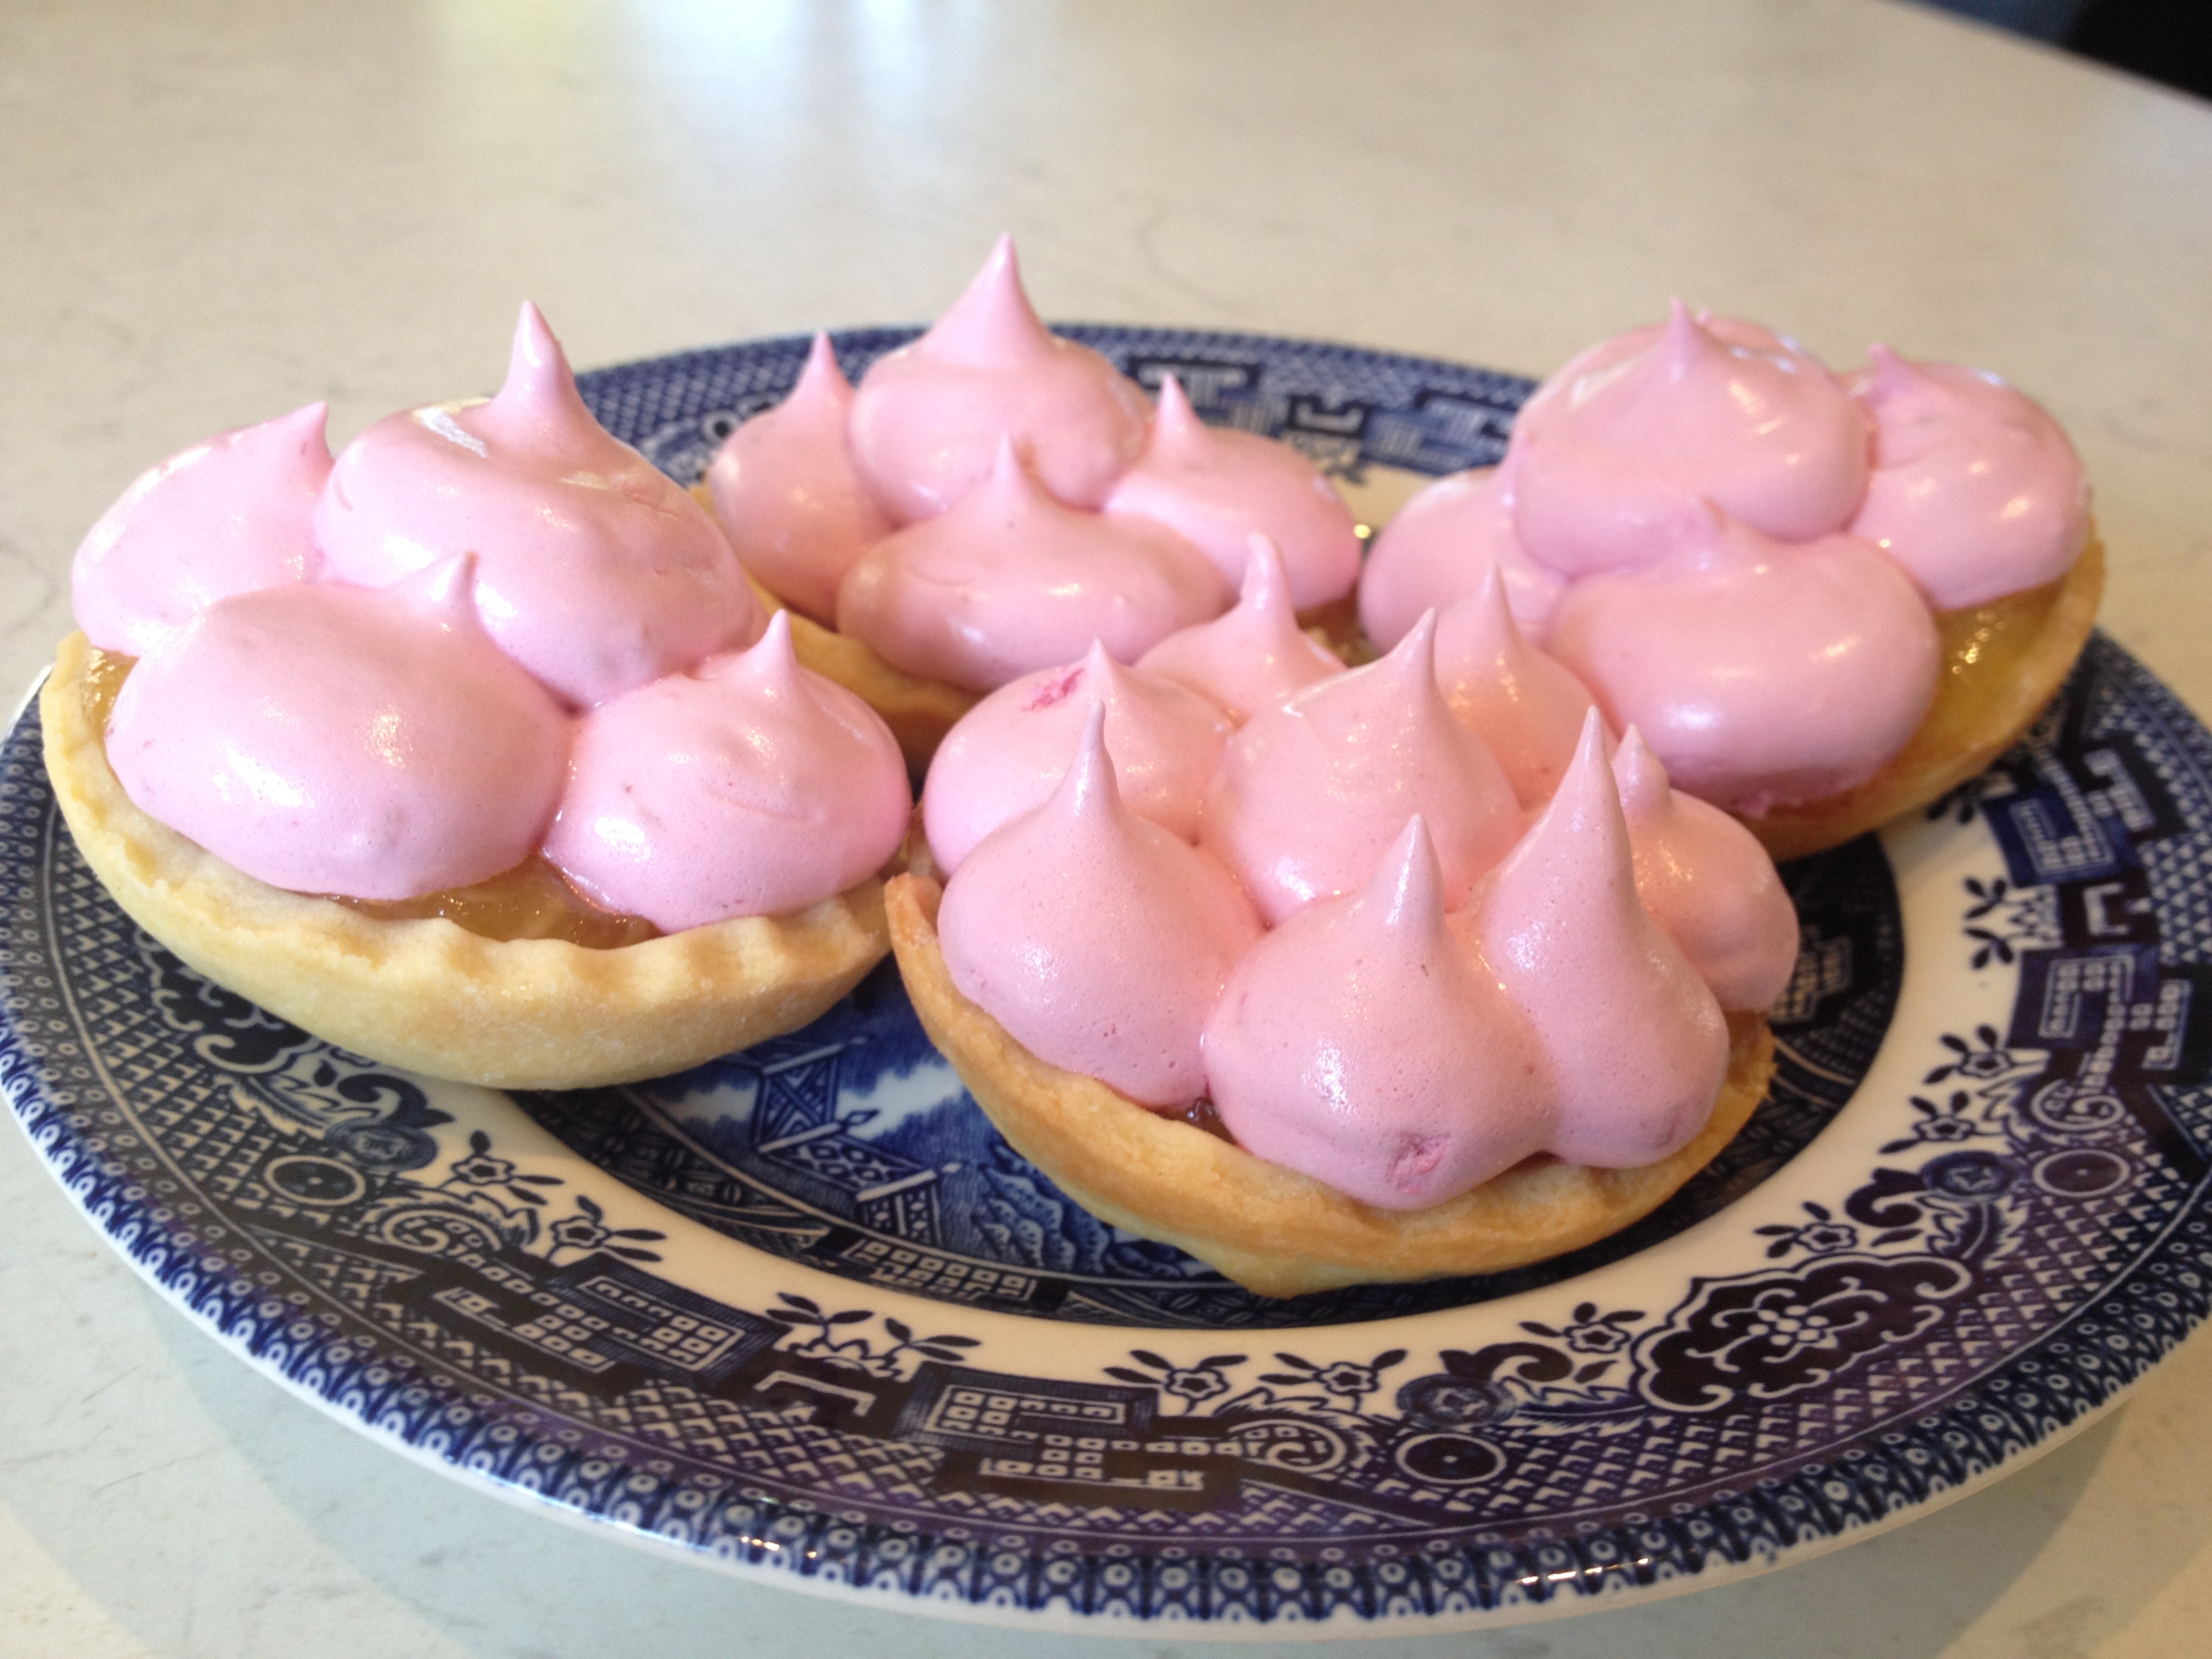
Today’s post is going to start at the end. I had made Lemon Raspberry Meringue Pies and they were a little bit crazy. The recipe worked perfectly and cooked without a hitch, but I got the feeling that the beautiful bright colours were a little unusual for the humble lemon meringue pie.
 I took a sample down to my neighbour. She’s lived one house away from me for my entire life and always played a bit of a cameo role in my life. I used to play with her grandchildren, see her at church and bump into her on my morning walks. Since I started Baking With Gab I have had so much excess food that I take her some every now and then.
Walking through her dining room I was struck by how beautiful her tea set was. Six cups, plates and saucers were out on the table, each with its own character and story. She explained that she’d been given them all individually and it was known as a ‘crazy tea set.’ Being born in 1989, I had never heard this phrase before, but I’m now completely in love with the idea of it. She told me a little history about each and I marvelled at how beautifully they worked as a set.
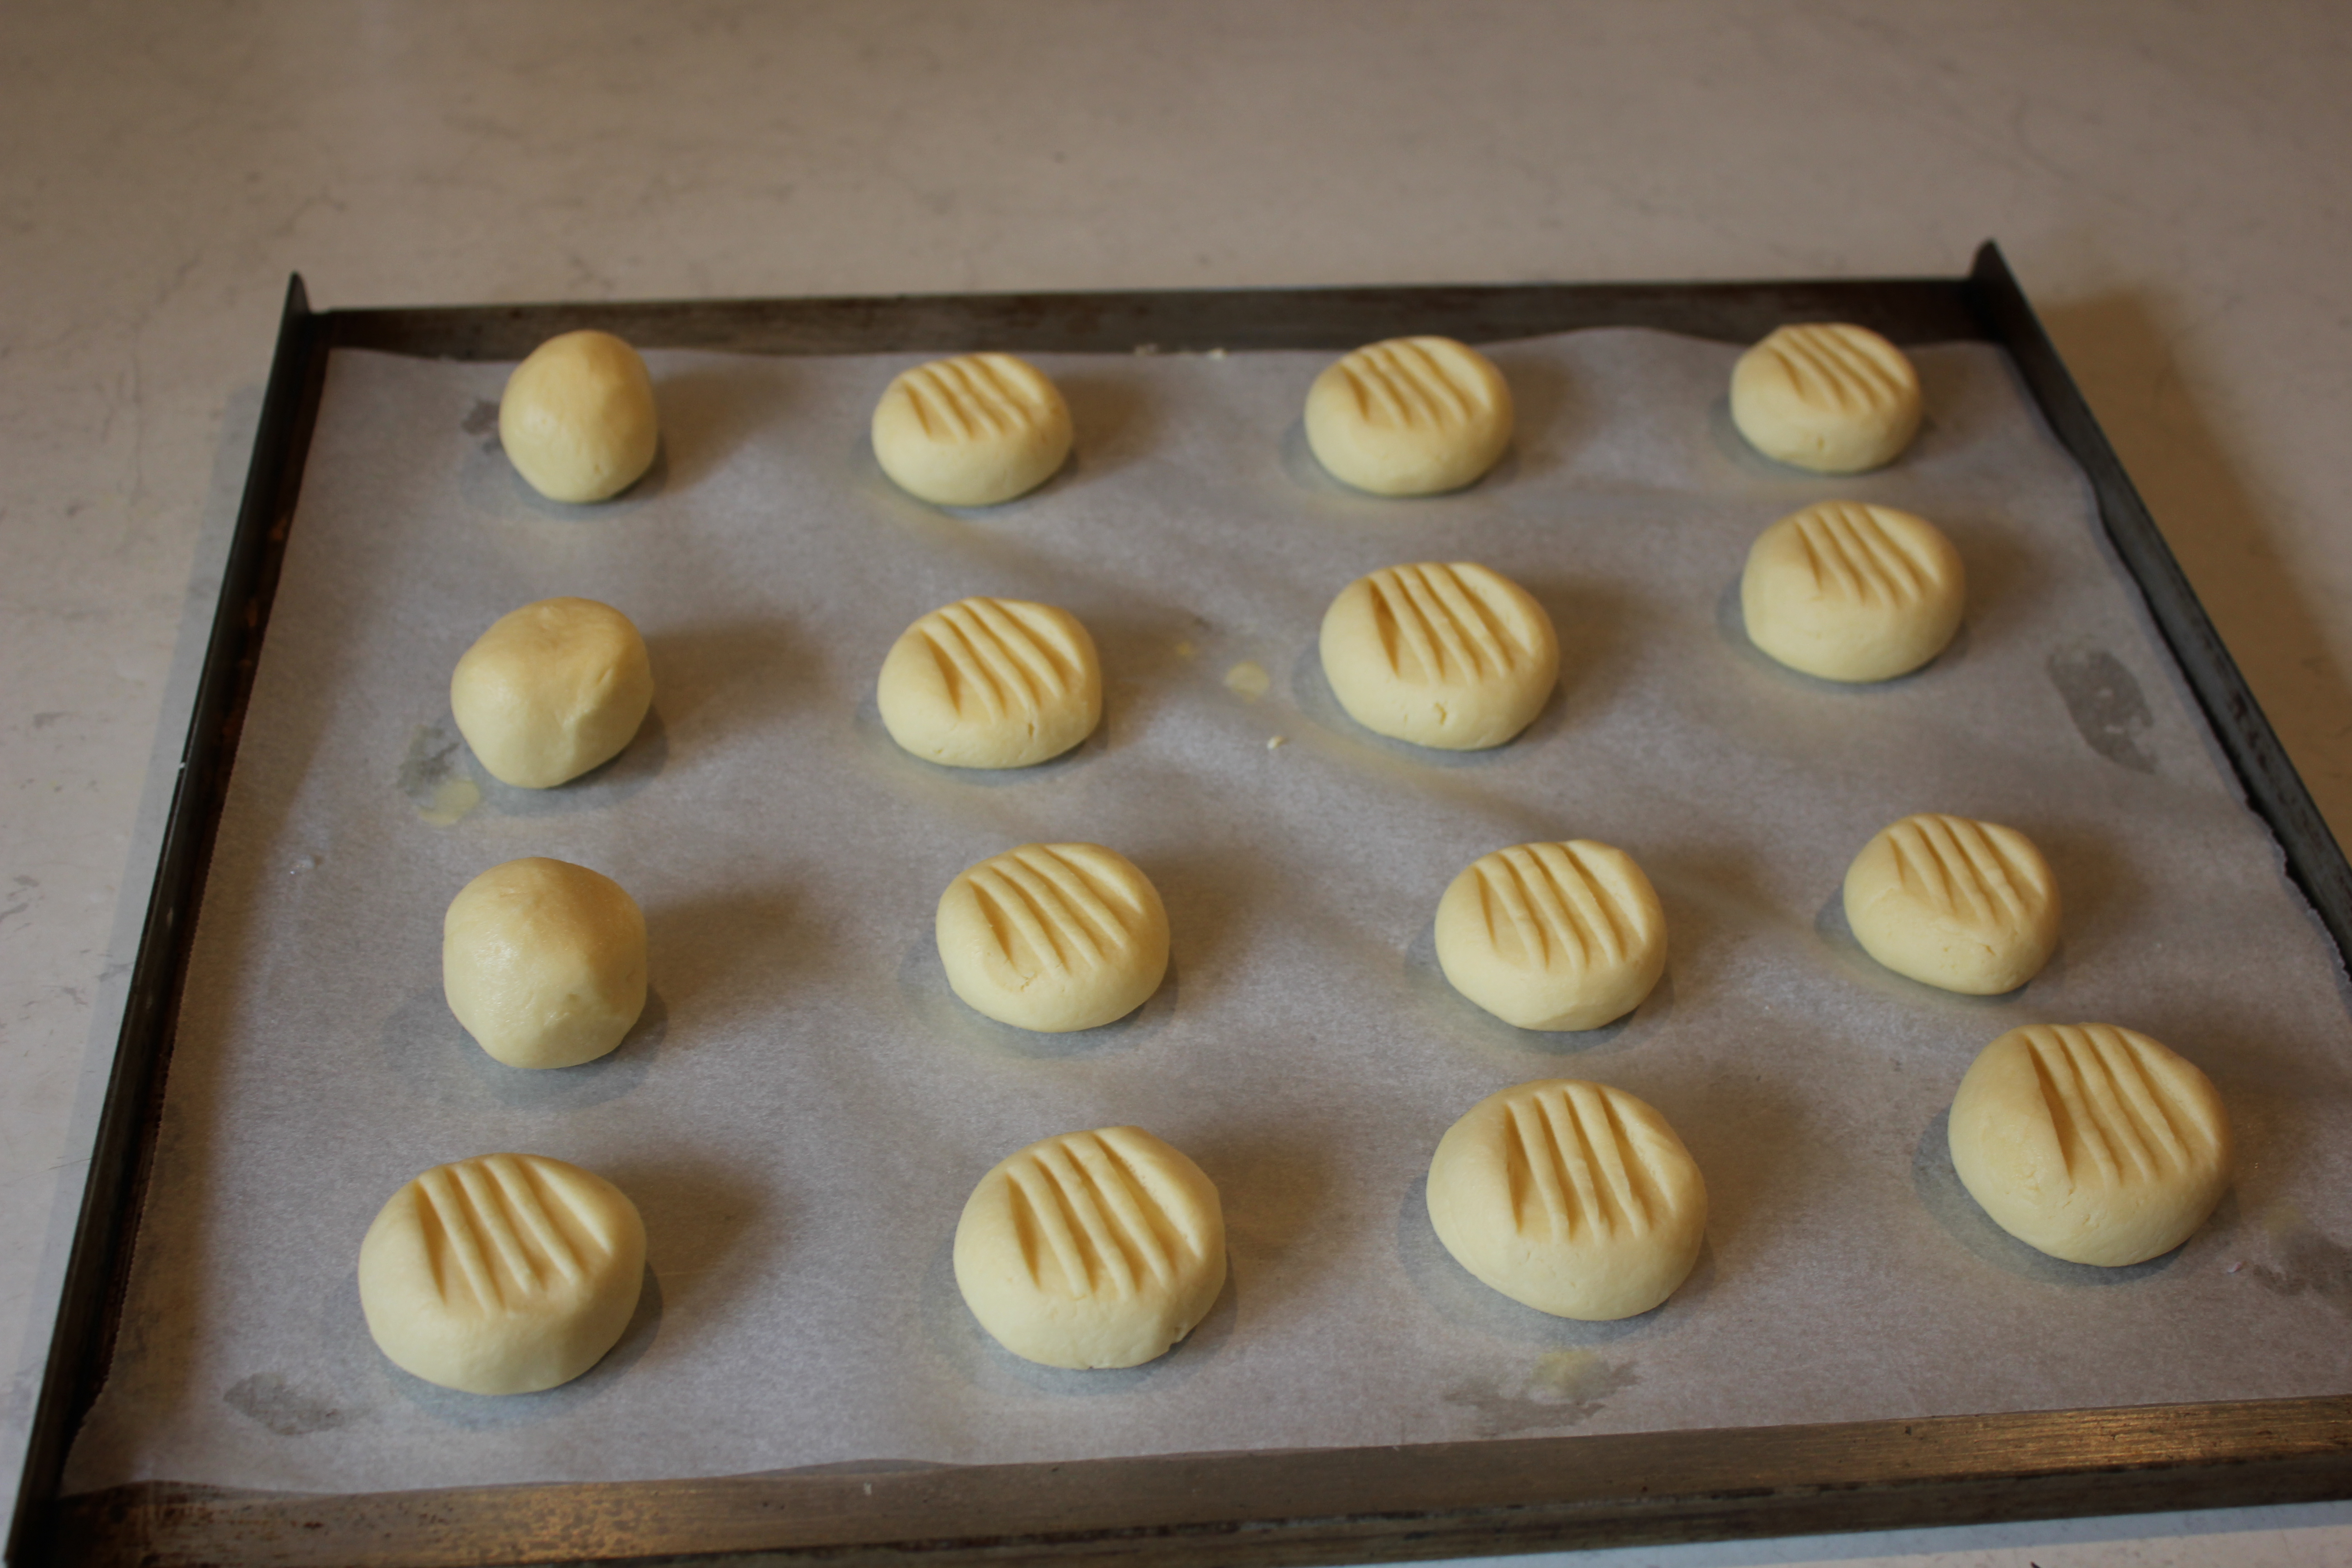
My lemon raspberry meringue pie is crazy in its own way. I piped the meringues onto each one differently – they all match, but they’ve got their own little bit of flair. This was done intentionally because:
- I don’t have the patience to agonise over perfect meringues and
- I’m not really that skilled a piper.
This whole thing takes about an hour, provided you time everything right. It could easily take you about half an hour if you cheat and use lemon curd from a jar and frozen puff pastry. I wouldn’t even tell anyone you cheated! I would usually cheat as well, but I had to use up excess lemons from my nan’s tree and surplus eggs that I had in the fridge. This is perfect for using up lemons and eggs!
Crazy Lemon Raspberry Meringue Pie:
 Shortcrust pastry:
- 150g butter
- 1 ¾ cups plain flour
- ¼ cup icing sugar
- 1 egg
- 1 tsp cold water
Lemon curd:
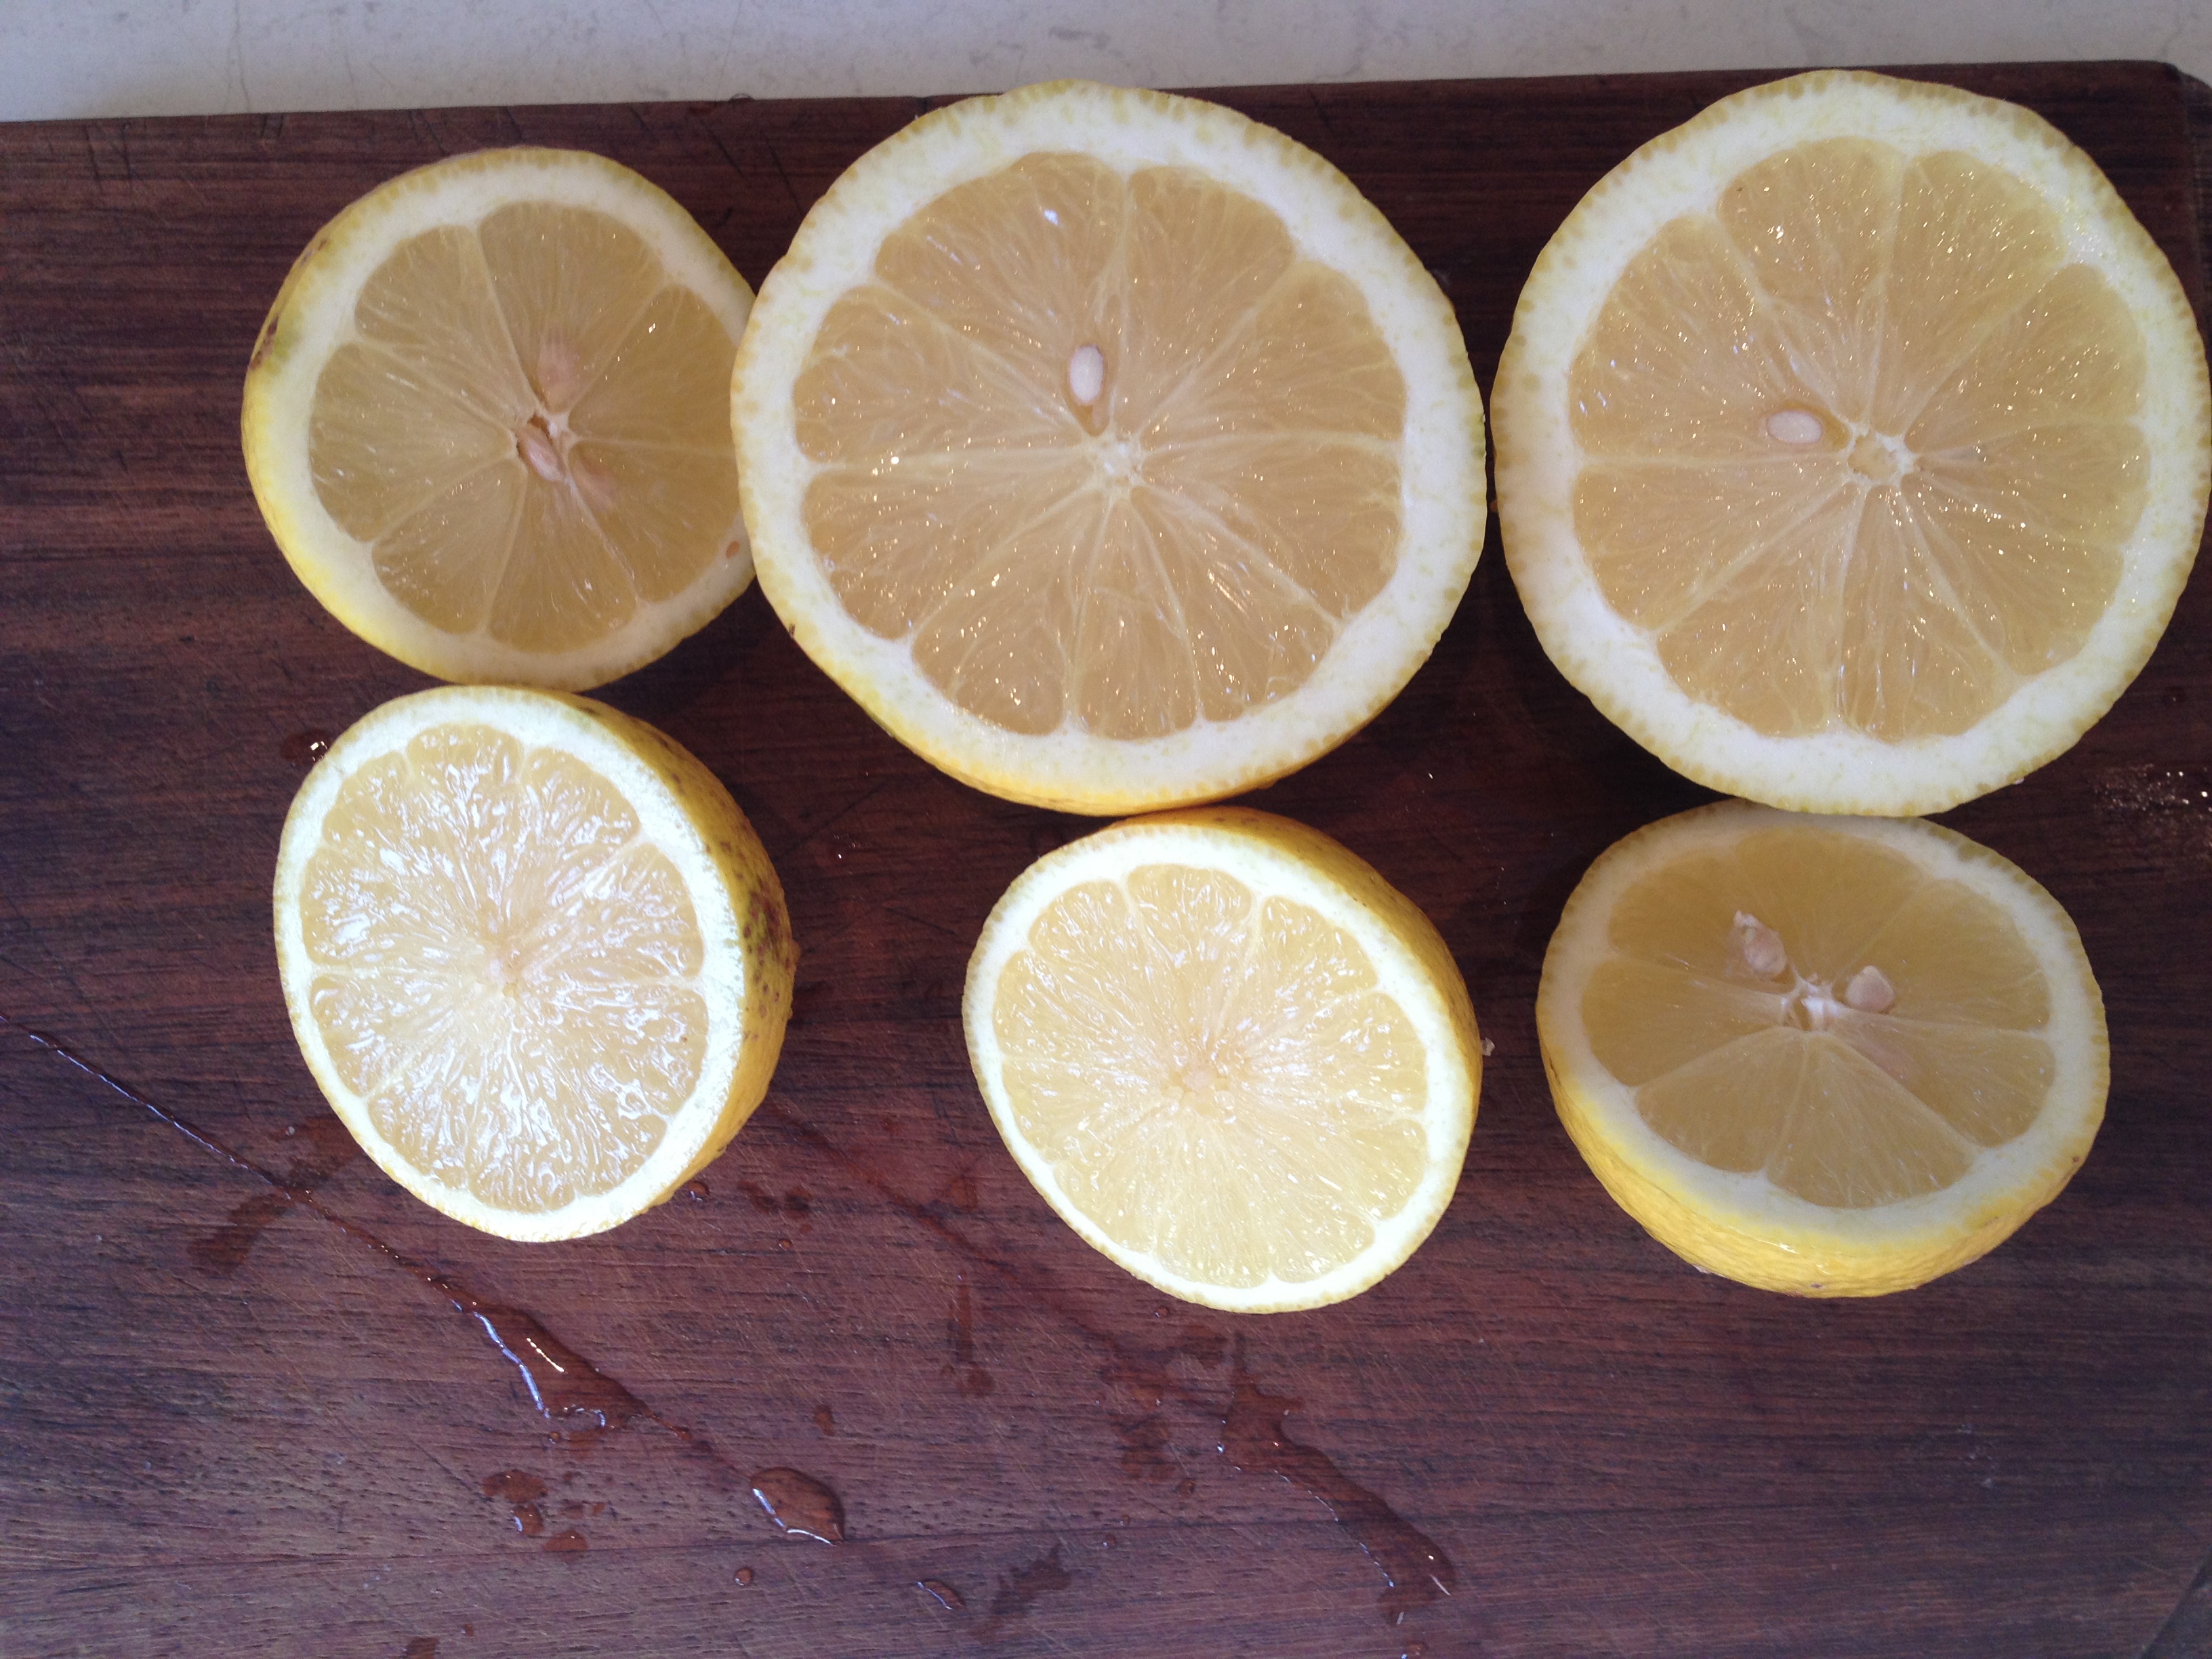
- 3 lemons
- 1 cup sugar*
- 100g butter
- 3 eggs + one egg yolk
 *you can cut this back to ½ a cup if you want it to be super tart!
Raspberry meringue:
- 3 egg whites
- Juice of half a lemon
- 2 cups sugar
- 200g frozen raspberries
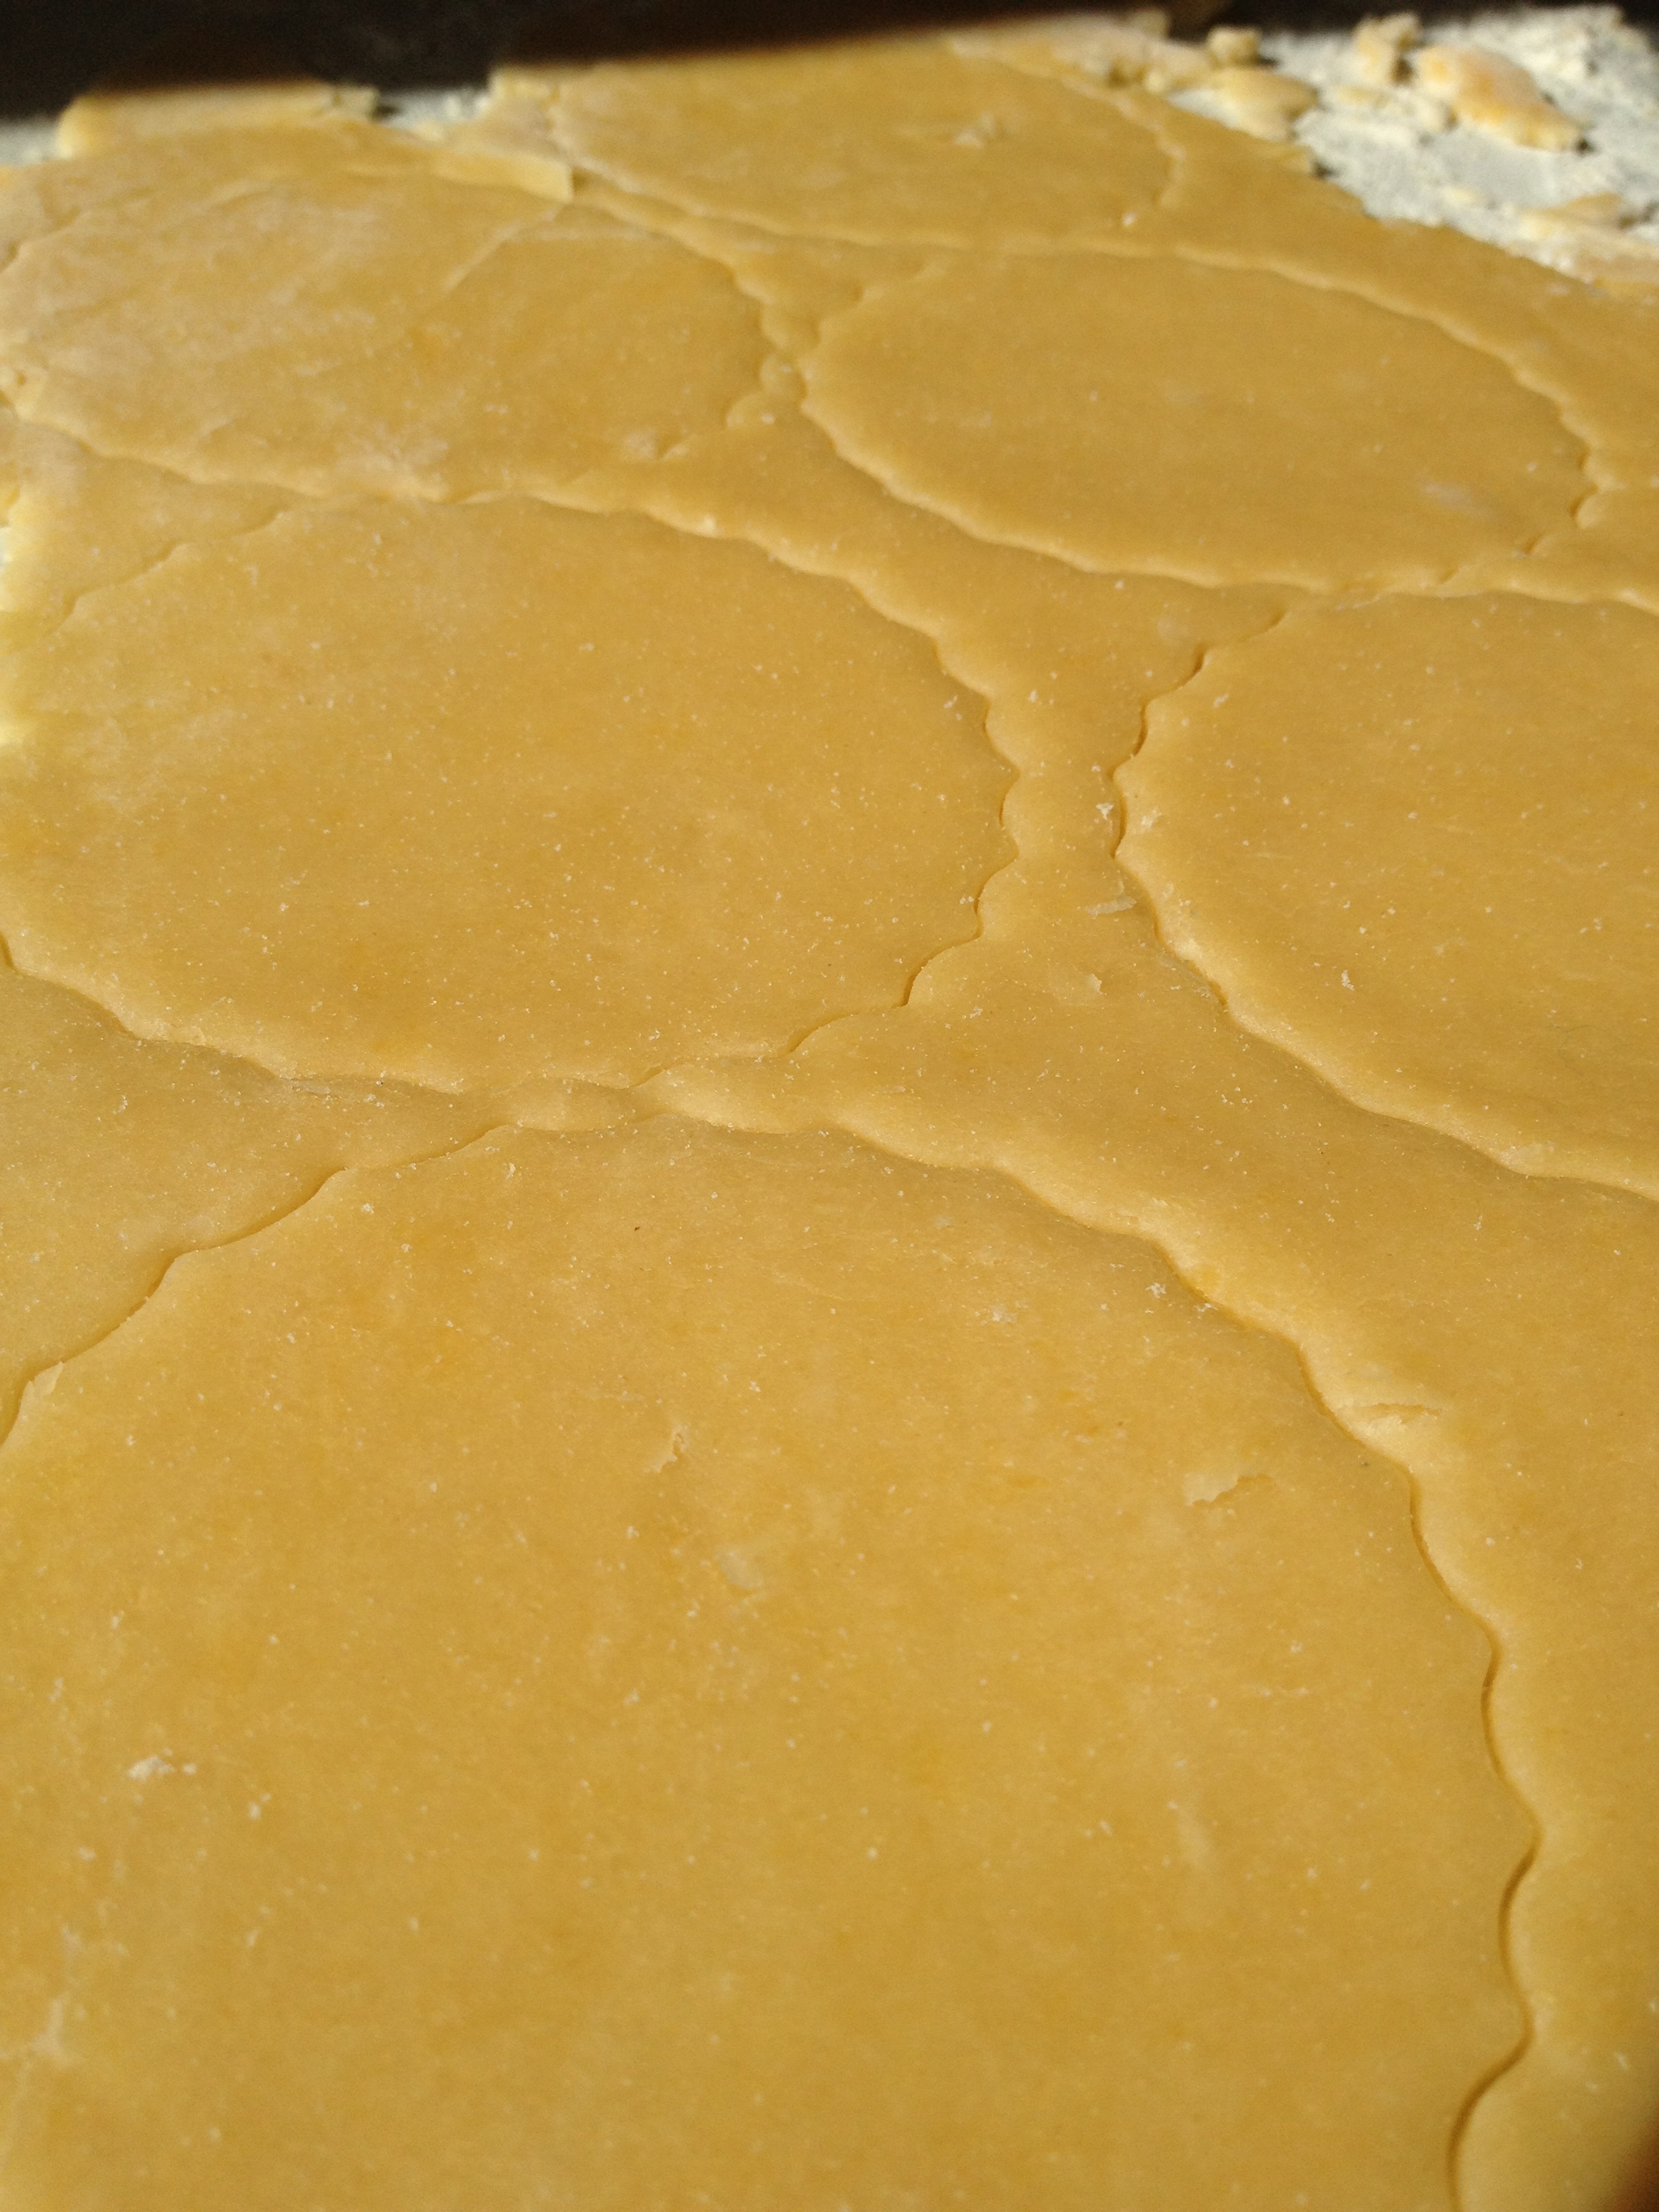
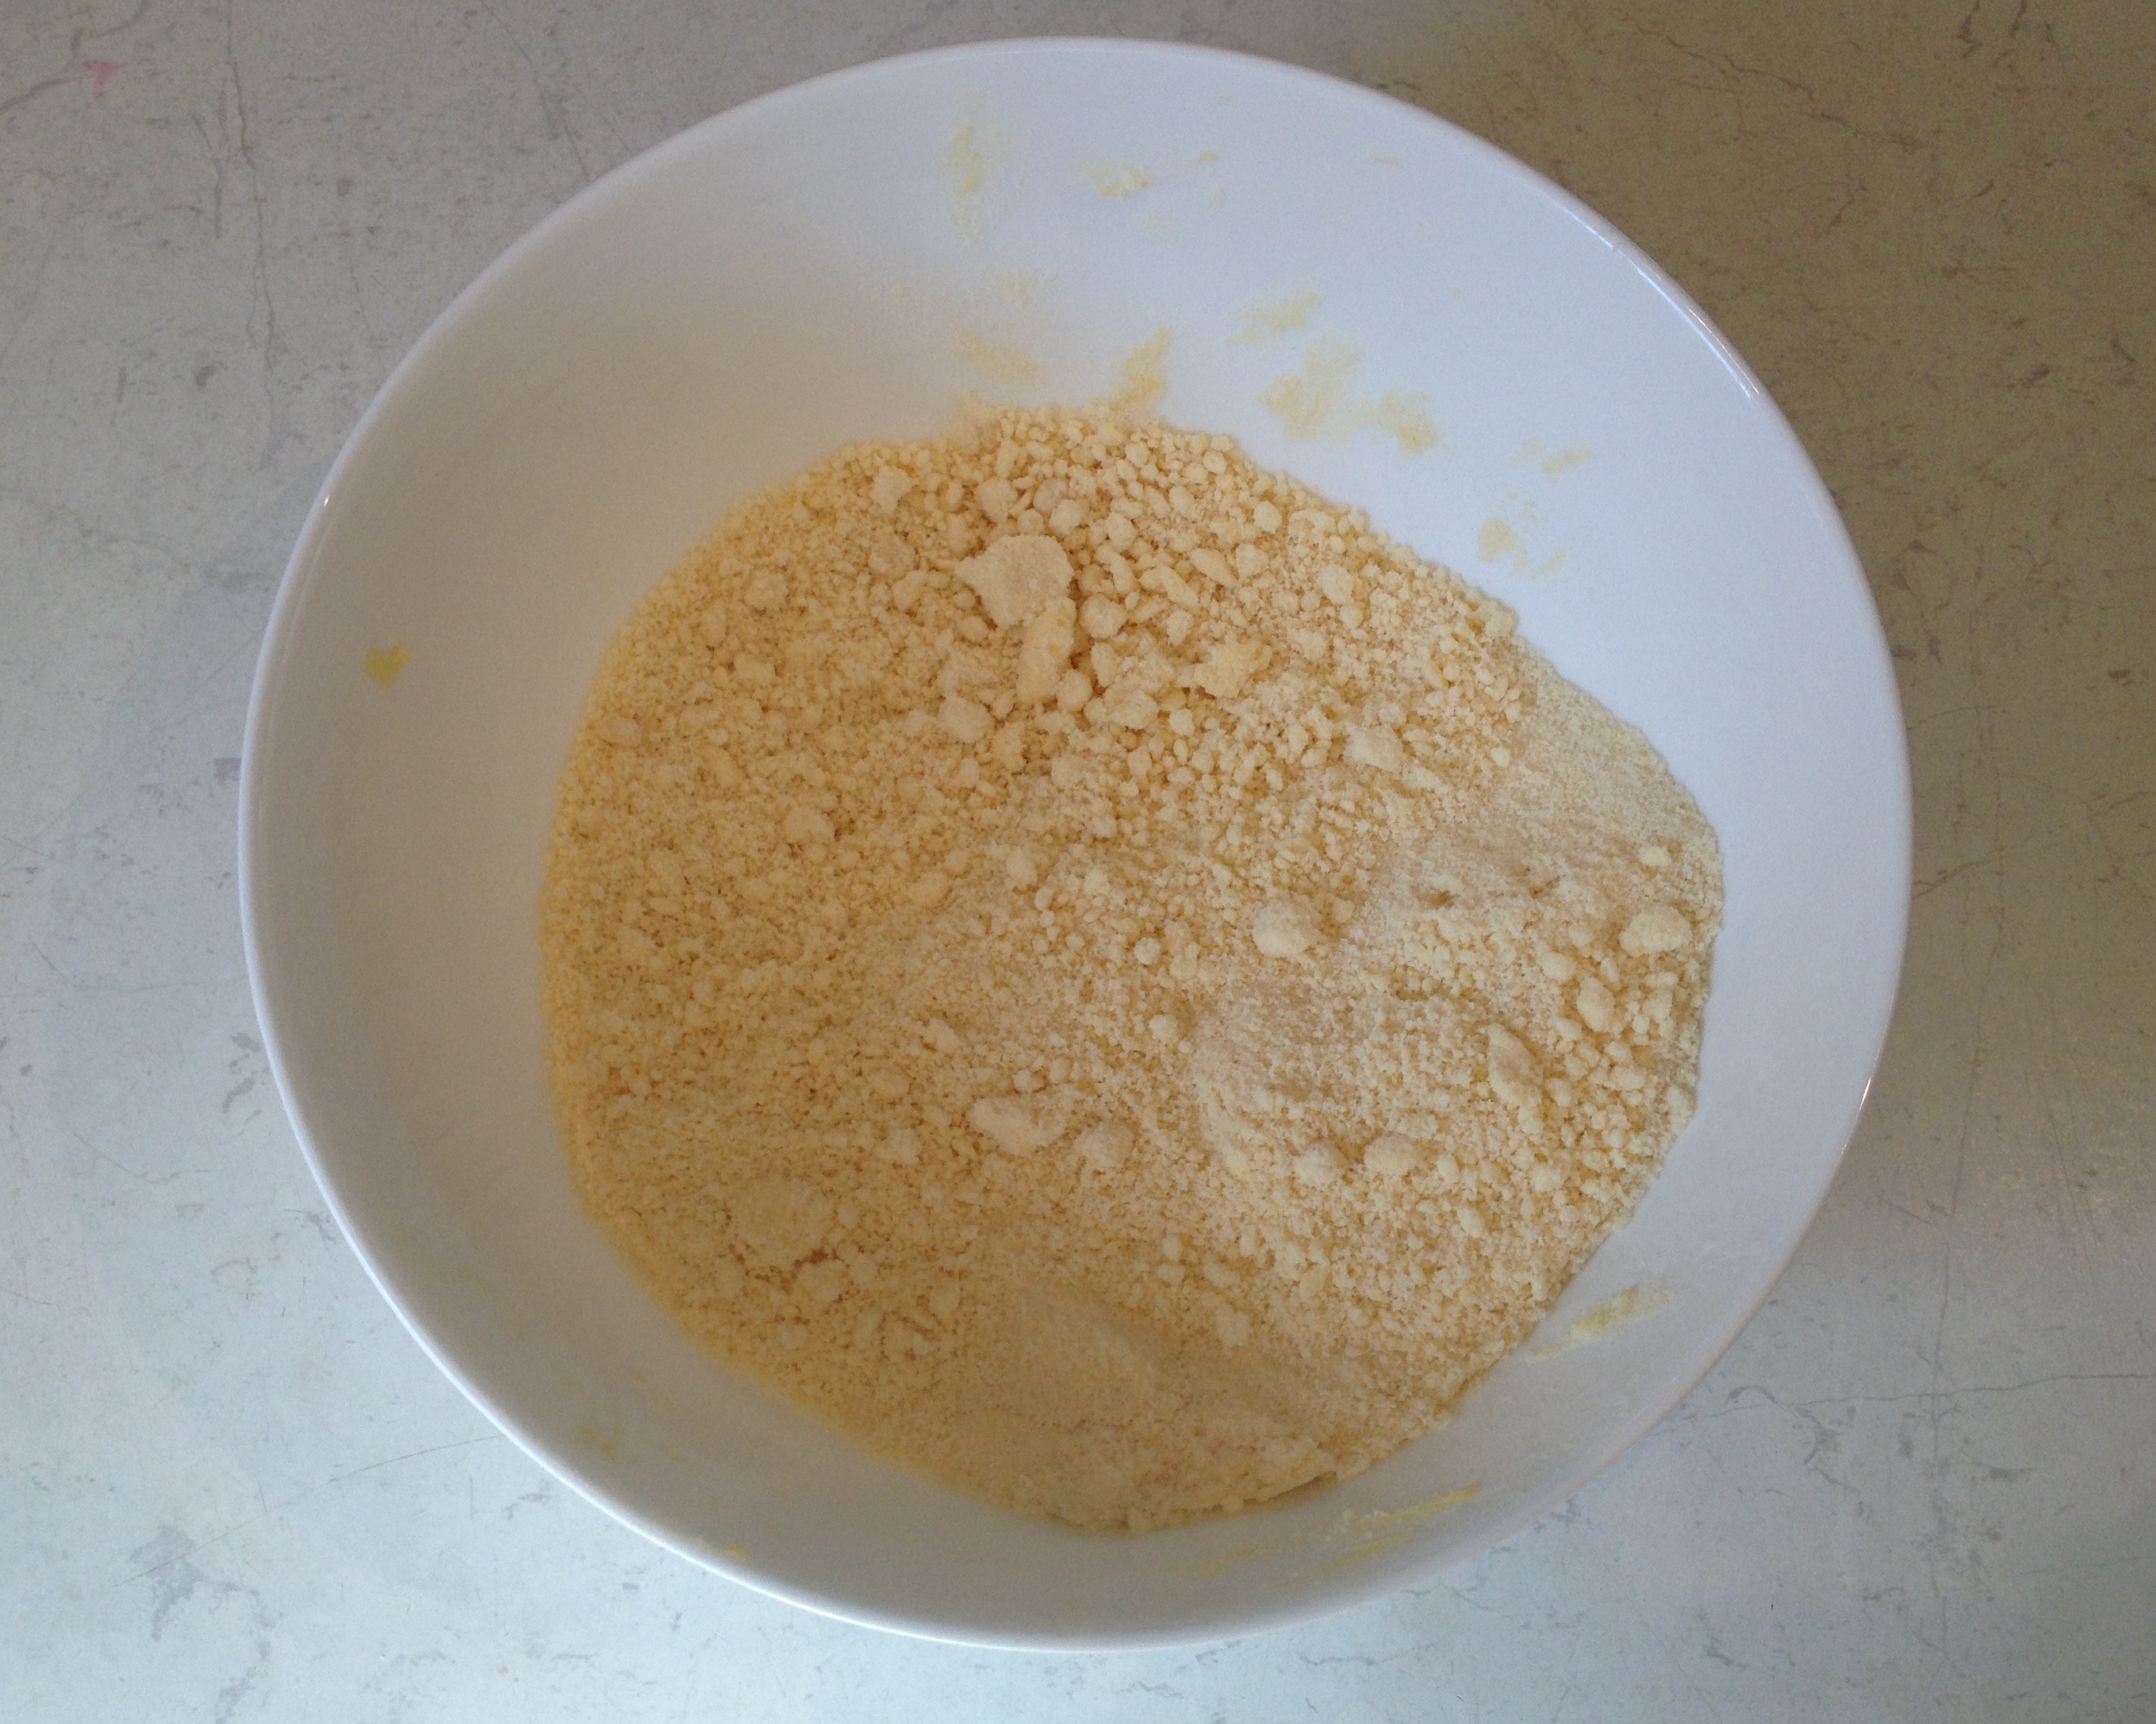
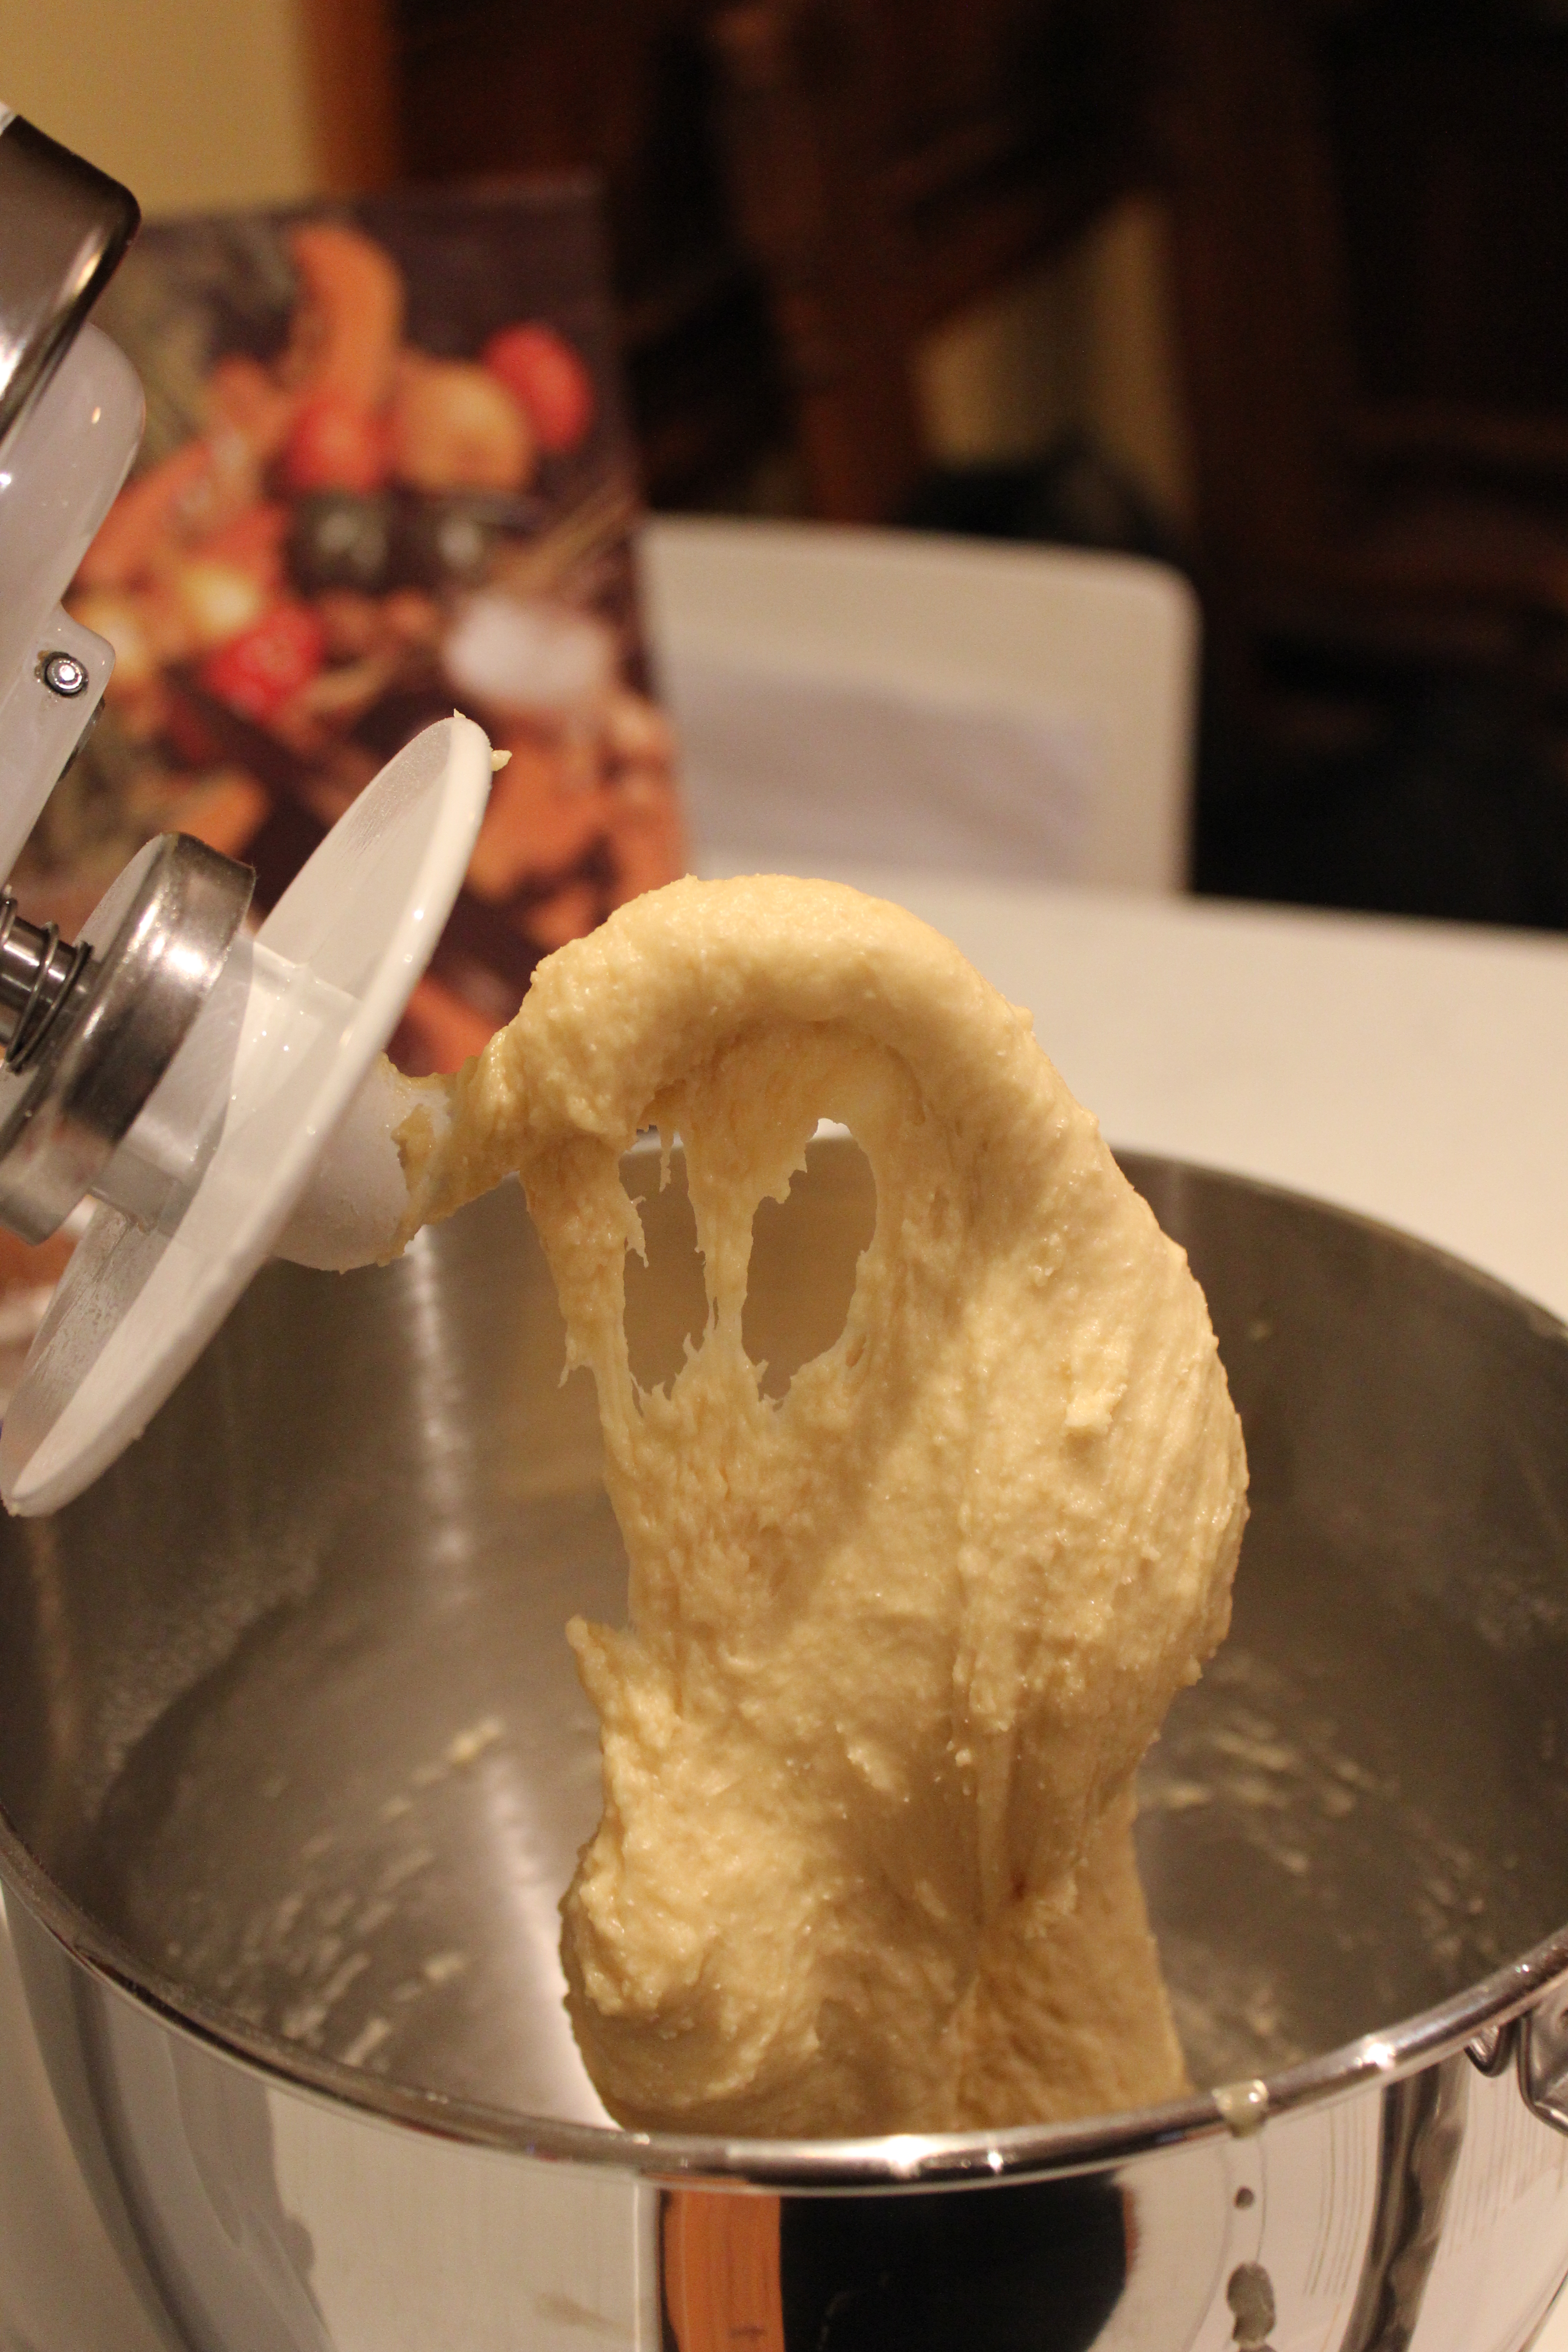
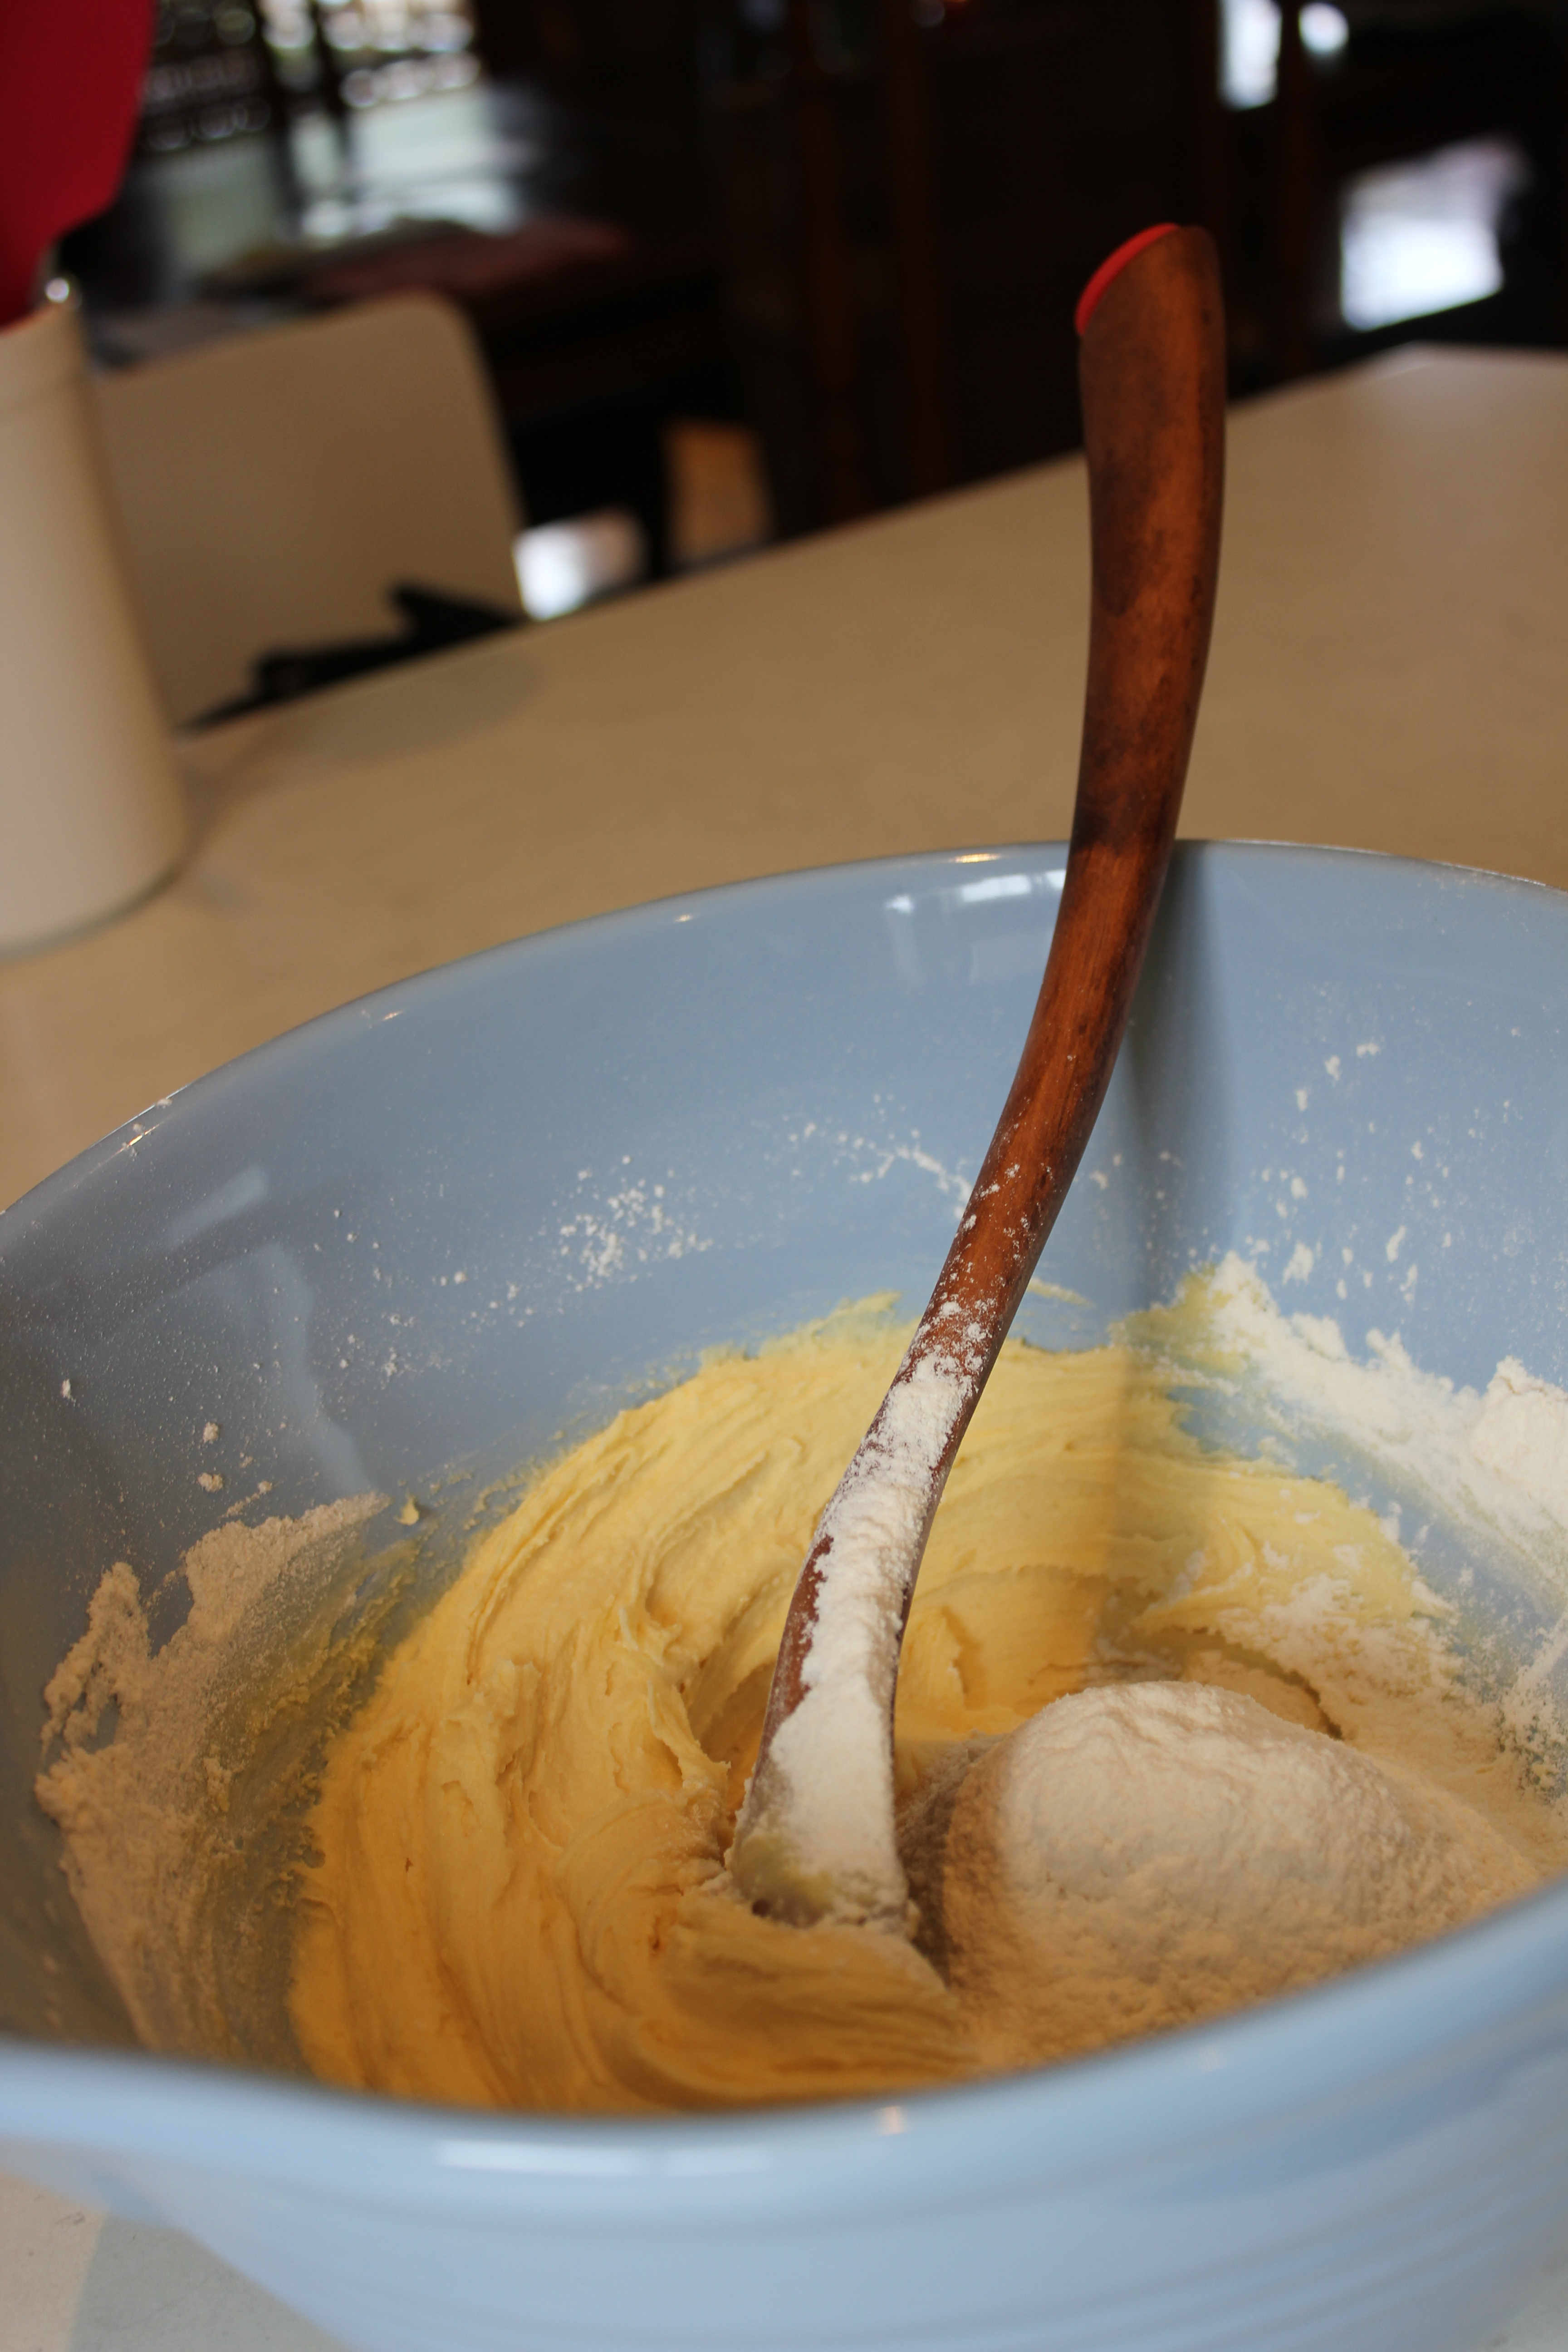
 Dice up the butter and put it in a bowl with the flour and sugar. Grab a butter knife and cut through the butter to mix the flour and sugar into it (I use this method because my hands don’t get as dirty.) When the butter is in small pieces and covered in flour, use your fingertips to rub the mixture together until it resembles breadcrumbs. Add in your egg and teaspoon of water so that the breadcrumbs combine to make a pastry. Try not to knead, but gently squash it into a ball. Cover the bowl with cling wrap and pop it in the fridge for about 20 minutes while you make the lemon curd.
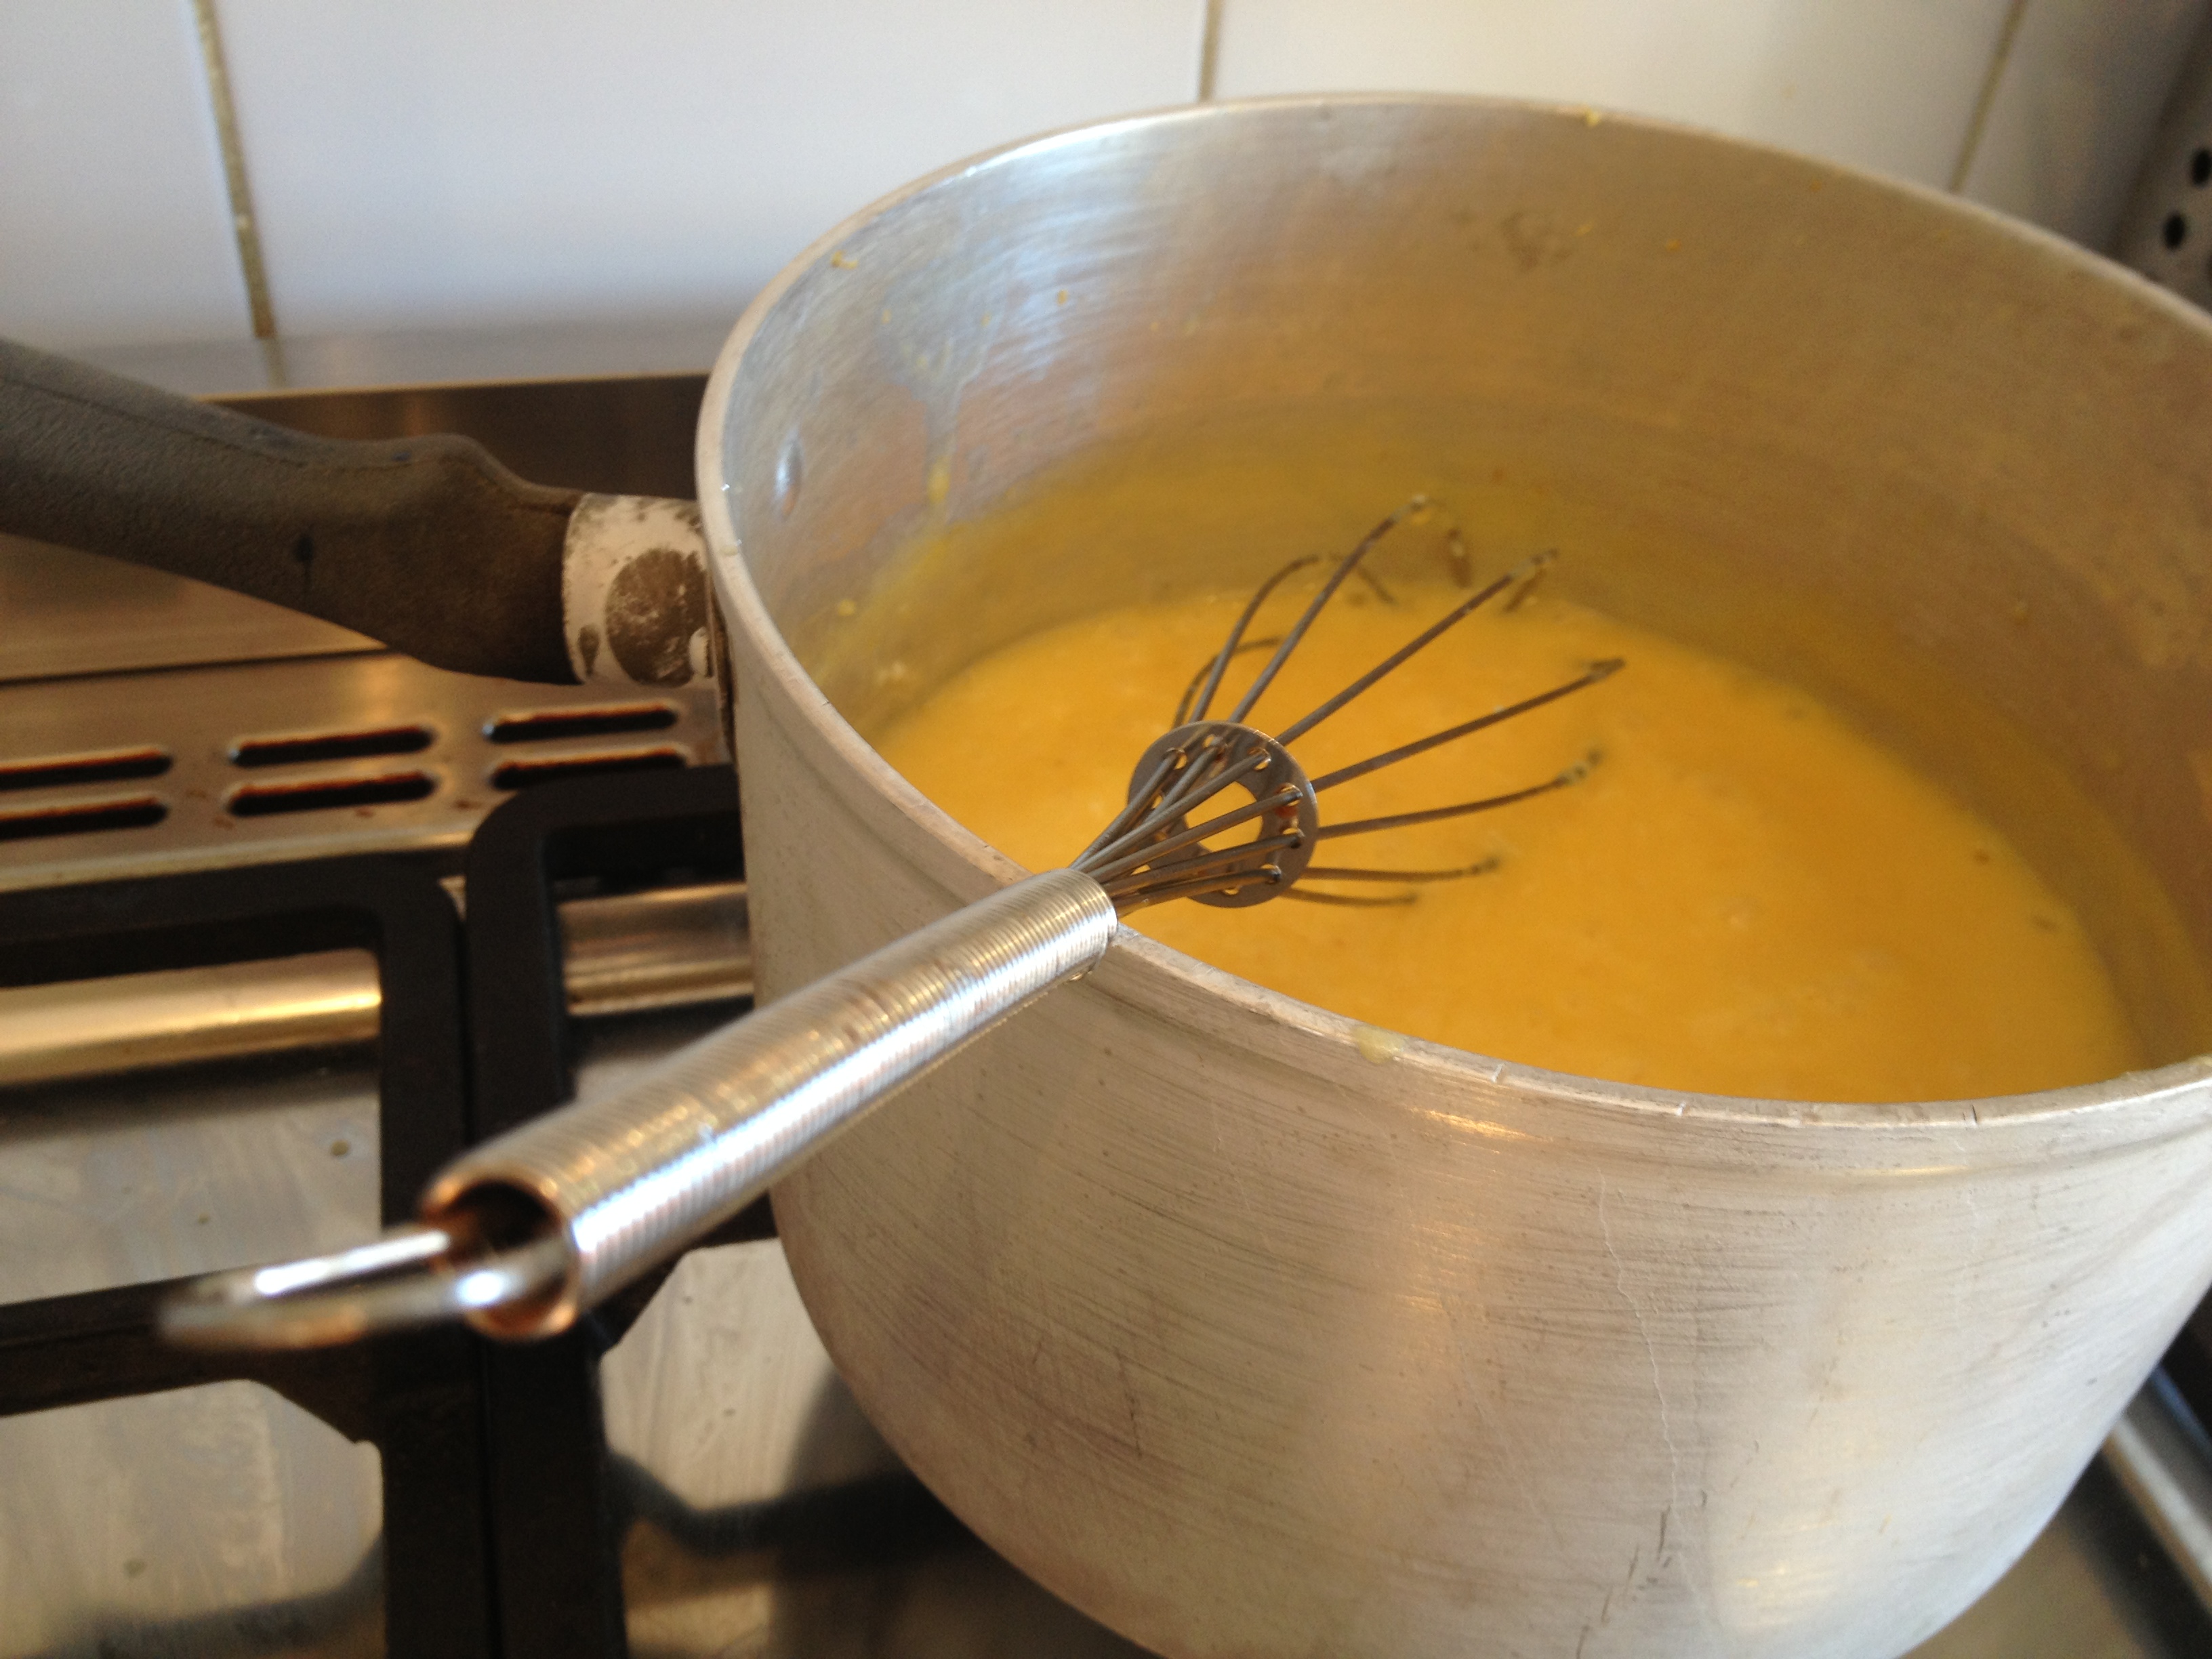
 Zest and juice your lemons. Or juice then zest them – whatever works for you. Put the lemon juice, zest, sugar and butter into a pan over a medium heat. Stir the mixture until the butter is melted. Whisk the eggs and egg yolk together, then add it slowly to the lemony mixture. Turn the heat up to high and allow it bubble quite fiercely. Whisk it for about five minutes (making sure it doesn’t burn) until it starts to thicken. You can also use your whisk to fish out any chunky bits of lemon that may have snuck through when you juiced the lemons. Take off the heat and transfer into a cool bowl so it can cool.
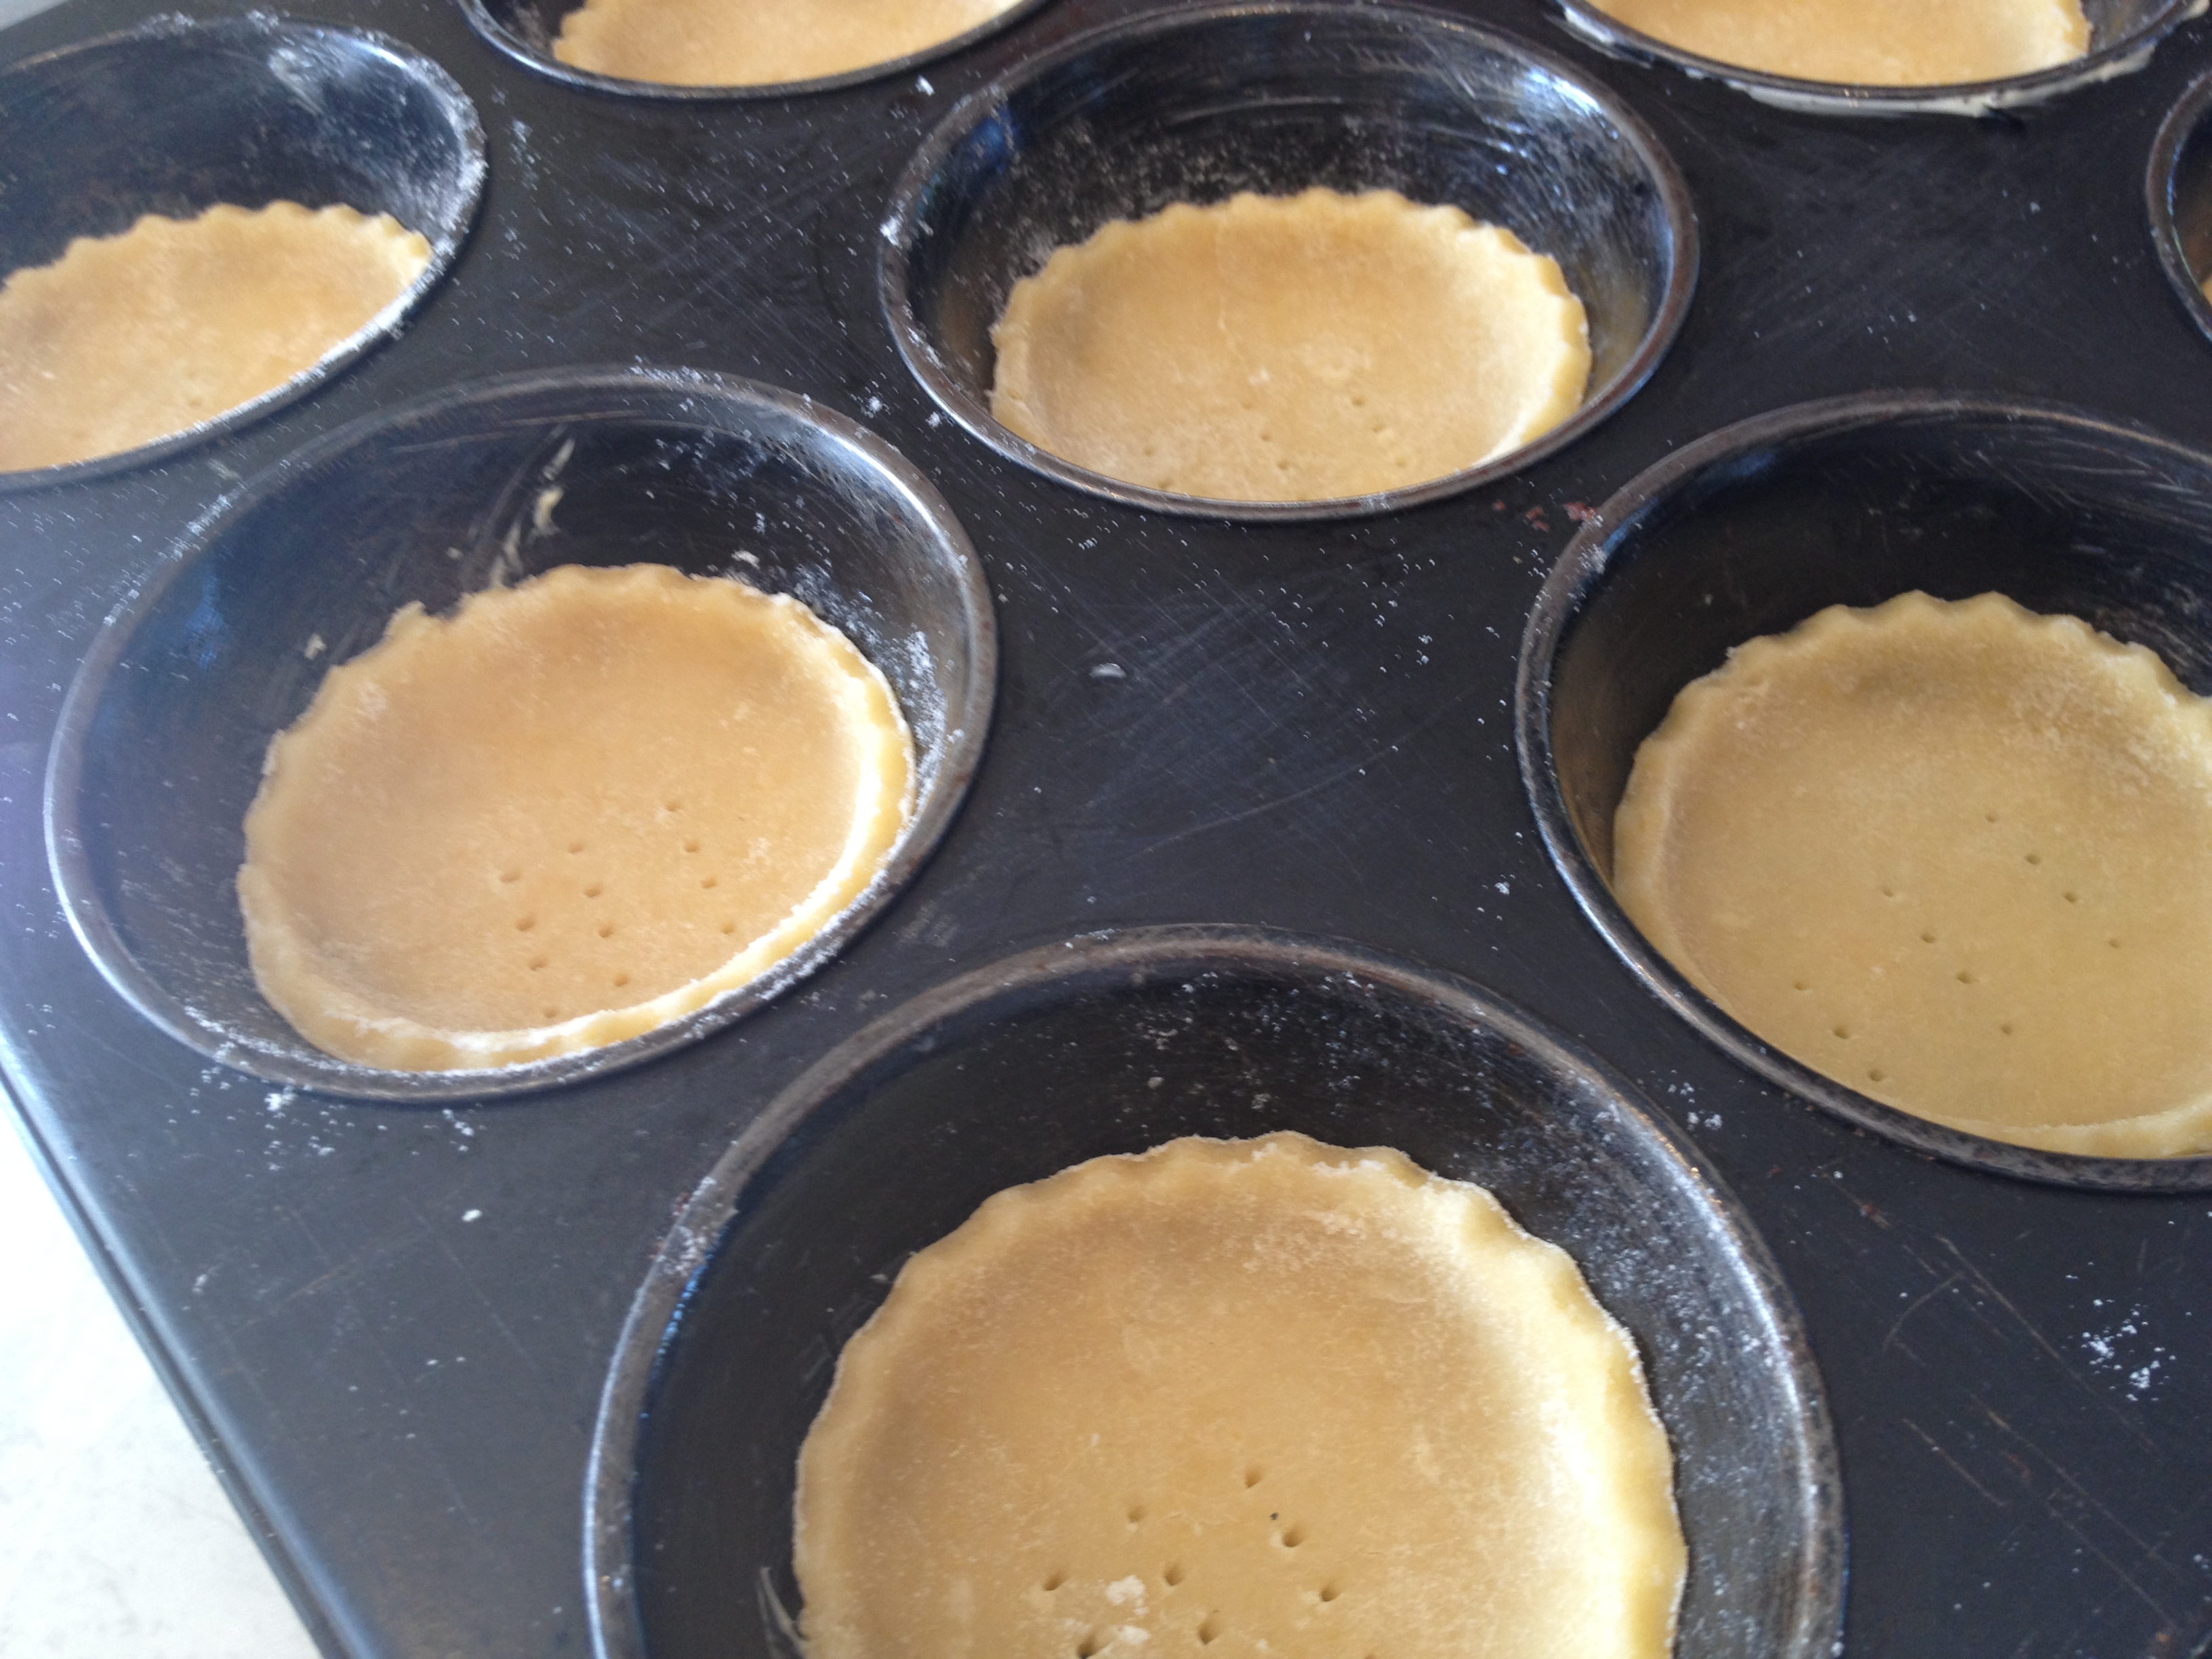
Grease two 12 cup muffin moulds and preheat the oven to 180 degrees. Take the dough out of the fridge and spread flour over a clean surface. Spread your rolling pin with flour too to stop the dough from sticking to it. Roll your dough out very thinly and use a cutter that is bigger than your muffin cups. Press the circles of pastry into your greased tins. Prick each circle at least three times and then pop them into the oven for ten minutes.
 You’ll have one egg white left over from making pastry, use this and two extra egg whites for the meringue while the cases cook.
Whip up your egg whites with half a cup of sugar and the lemon juice. In a separate bowl, pour one cup of sugar over your raspberries and mix to combine them. Set them to one side so that they make a raspberry-sugary mush. Once the meringue
 forms stiff peaks, add the final half cup of sugar to the mixture. Mash the raspberry and sugar together so it’s smooth and spoon it gradually into the meringue mixture.

Take the muffin cases out of oven and let them cool for five minutes. Spoon two tablespoons of lemon curd into each pastry case and pop them back into the oven for ten minutes. When they come out of the oven set them to one side and turn the oven up to 240 degrees. Pipe or spoon the raspberry meringue onto the lemon curd (be generous!) and then put them in the middle tray of the oven with the door open for 10-15 minutes.
 Allow them to cool before serving. Sprinkle them with icing sugar and serve with raspberries on top!
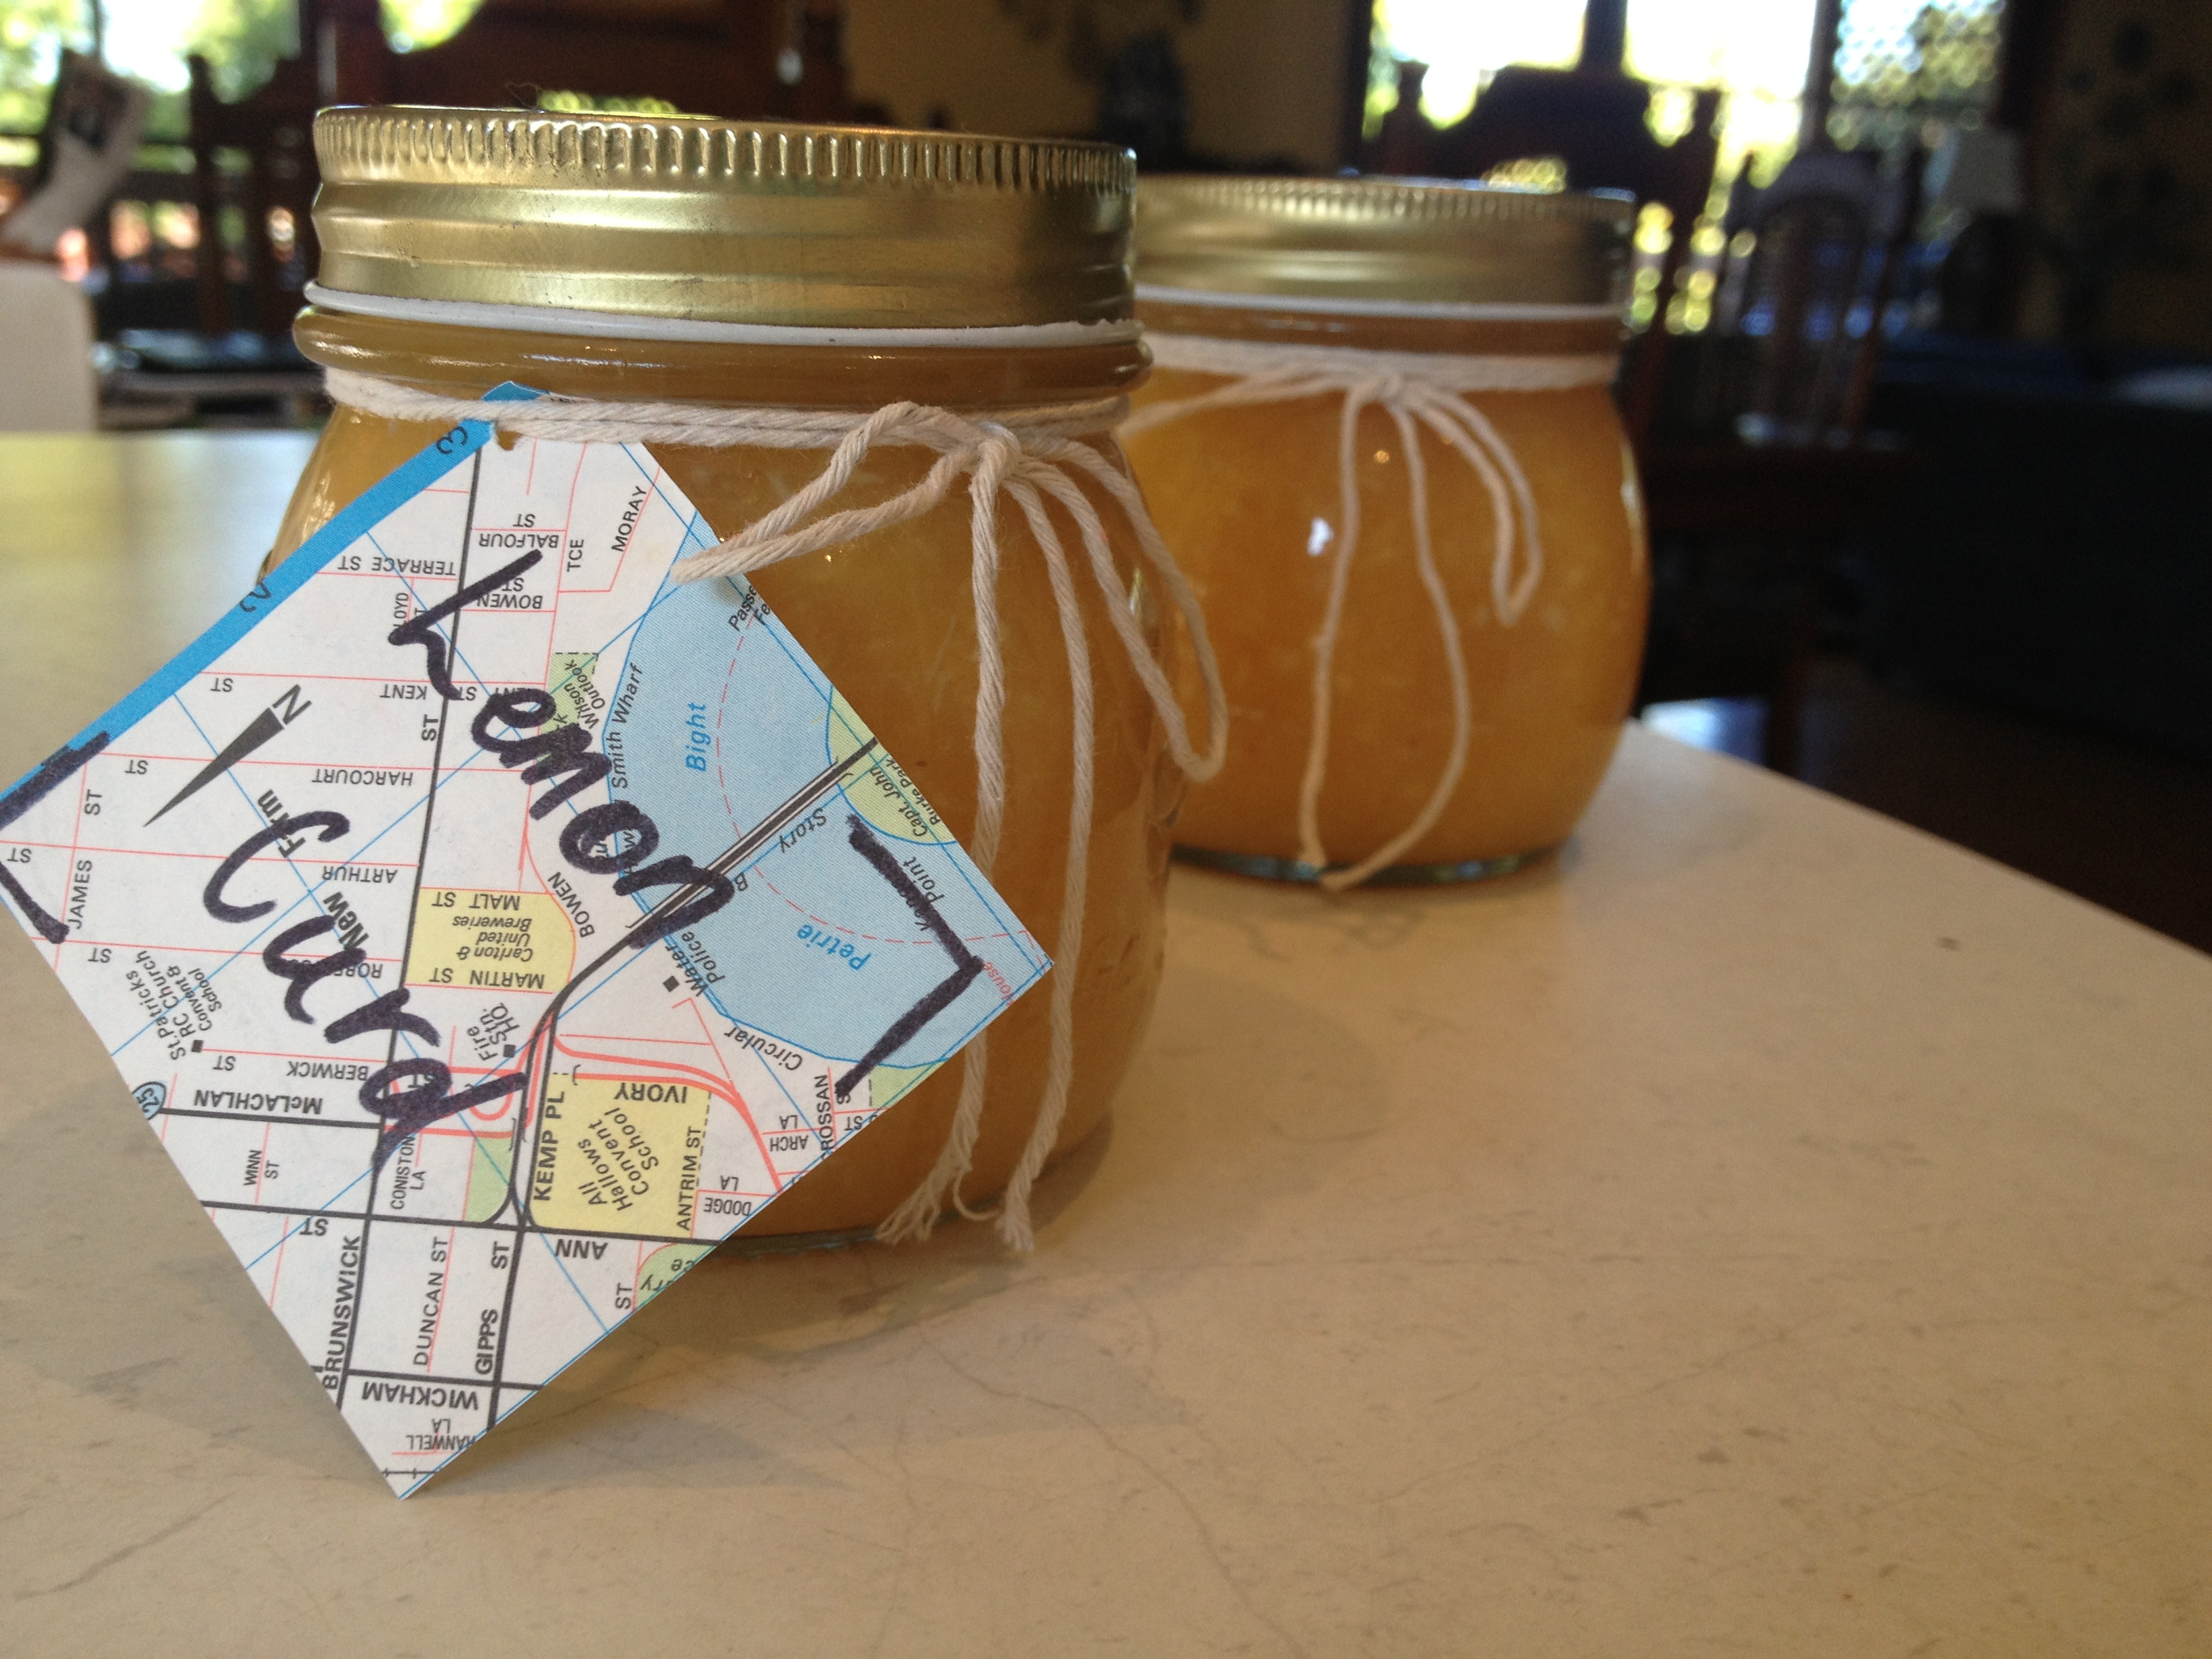
*I doubled the lemon curd recipe that I listed in this recipe to use up the ginormous lemons that had come from my nan’s tree, but also because it means I have some ready for the next time I want to make this! Home made lemon curd is worth the extra effort, it’s tart and zesty – far superior to even the best store-bought stuff. Plus there are no preservatives or sneaky additives, just sugar, butter, lemons and eggs!

 My love for parmesan borders on the obsessive. I don’t mean that weird dry yellow powder that comes in a shaker bottle; I mean realparmesan cheese.