Baileys brownies and chocolate

I’m attempting to make healthier food choices to balance out my baking. How is it going, you ask?

Interestingly.

screen-shot-2016-09-29-at-8-13-20-pm

Day one: the earth conspired against me and my delicious berry smoothie to ensure that I didn’t get the clean start I was looking for. And there’s that box of chocolate that Nestle sent me, just sitting there, packed to the brim with tempting goodies.

Continue reading “Baileys brownies and chocolate”

White chocolate peanut butter cheesecake and deliveries

sceneI got sent some peanut butter recently. It was probably one of the most wonderful things I’ve ever received in the post. If I could set it up so that I got surprise deliveries of peanut butter in the mail every now and then, I would be ecstatic. This was a one-off kind of thing, but no less exciting.

Pic’s Really Good Peanut Butter were the geniuses behind my letter box peanut butter, and I’m so grateful for it! The contents of the jar are super crunchy and the ingredients are all natural, which I love! Continue reading “White chocolate peanut butter cheesecake and deliveries”

Rhubarb doughnuts and plenty

previewLacking doughnut tins, I constantly avoid making doughnuts. Over the weekend, however, my will was not strong enough to resist my cravings for doughnuts, and I made them without the proper tin. And I made lots of them. Seriously, lots.

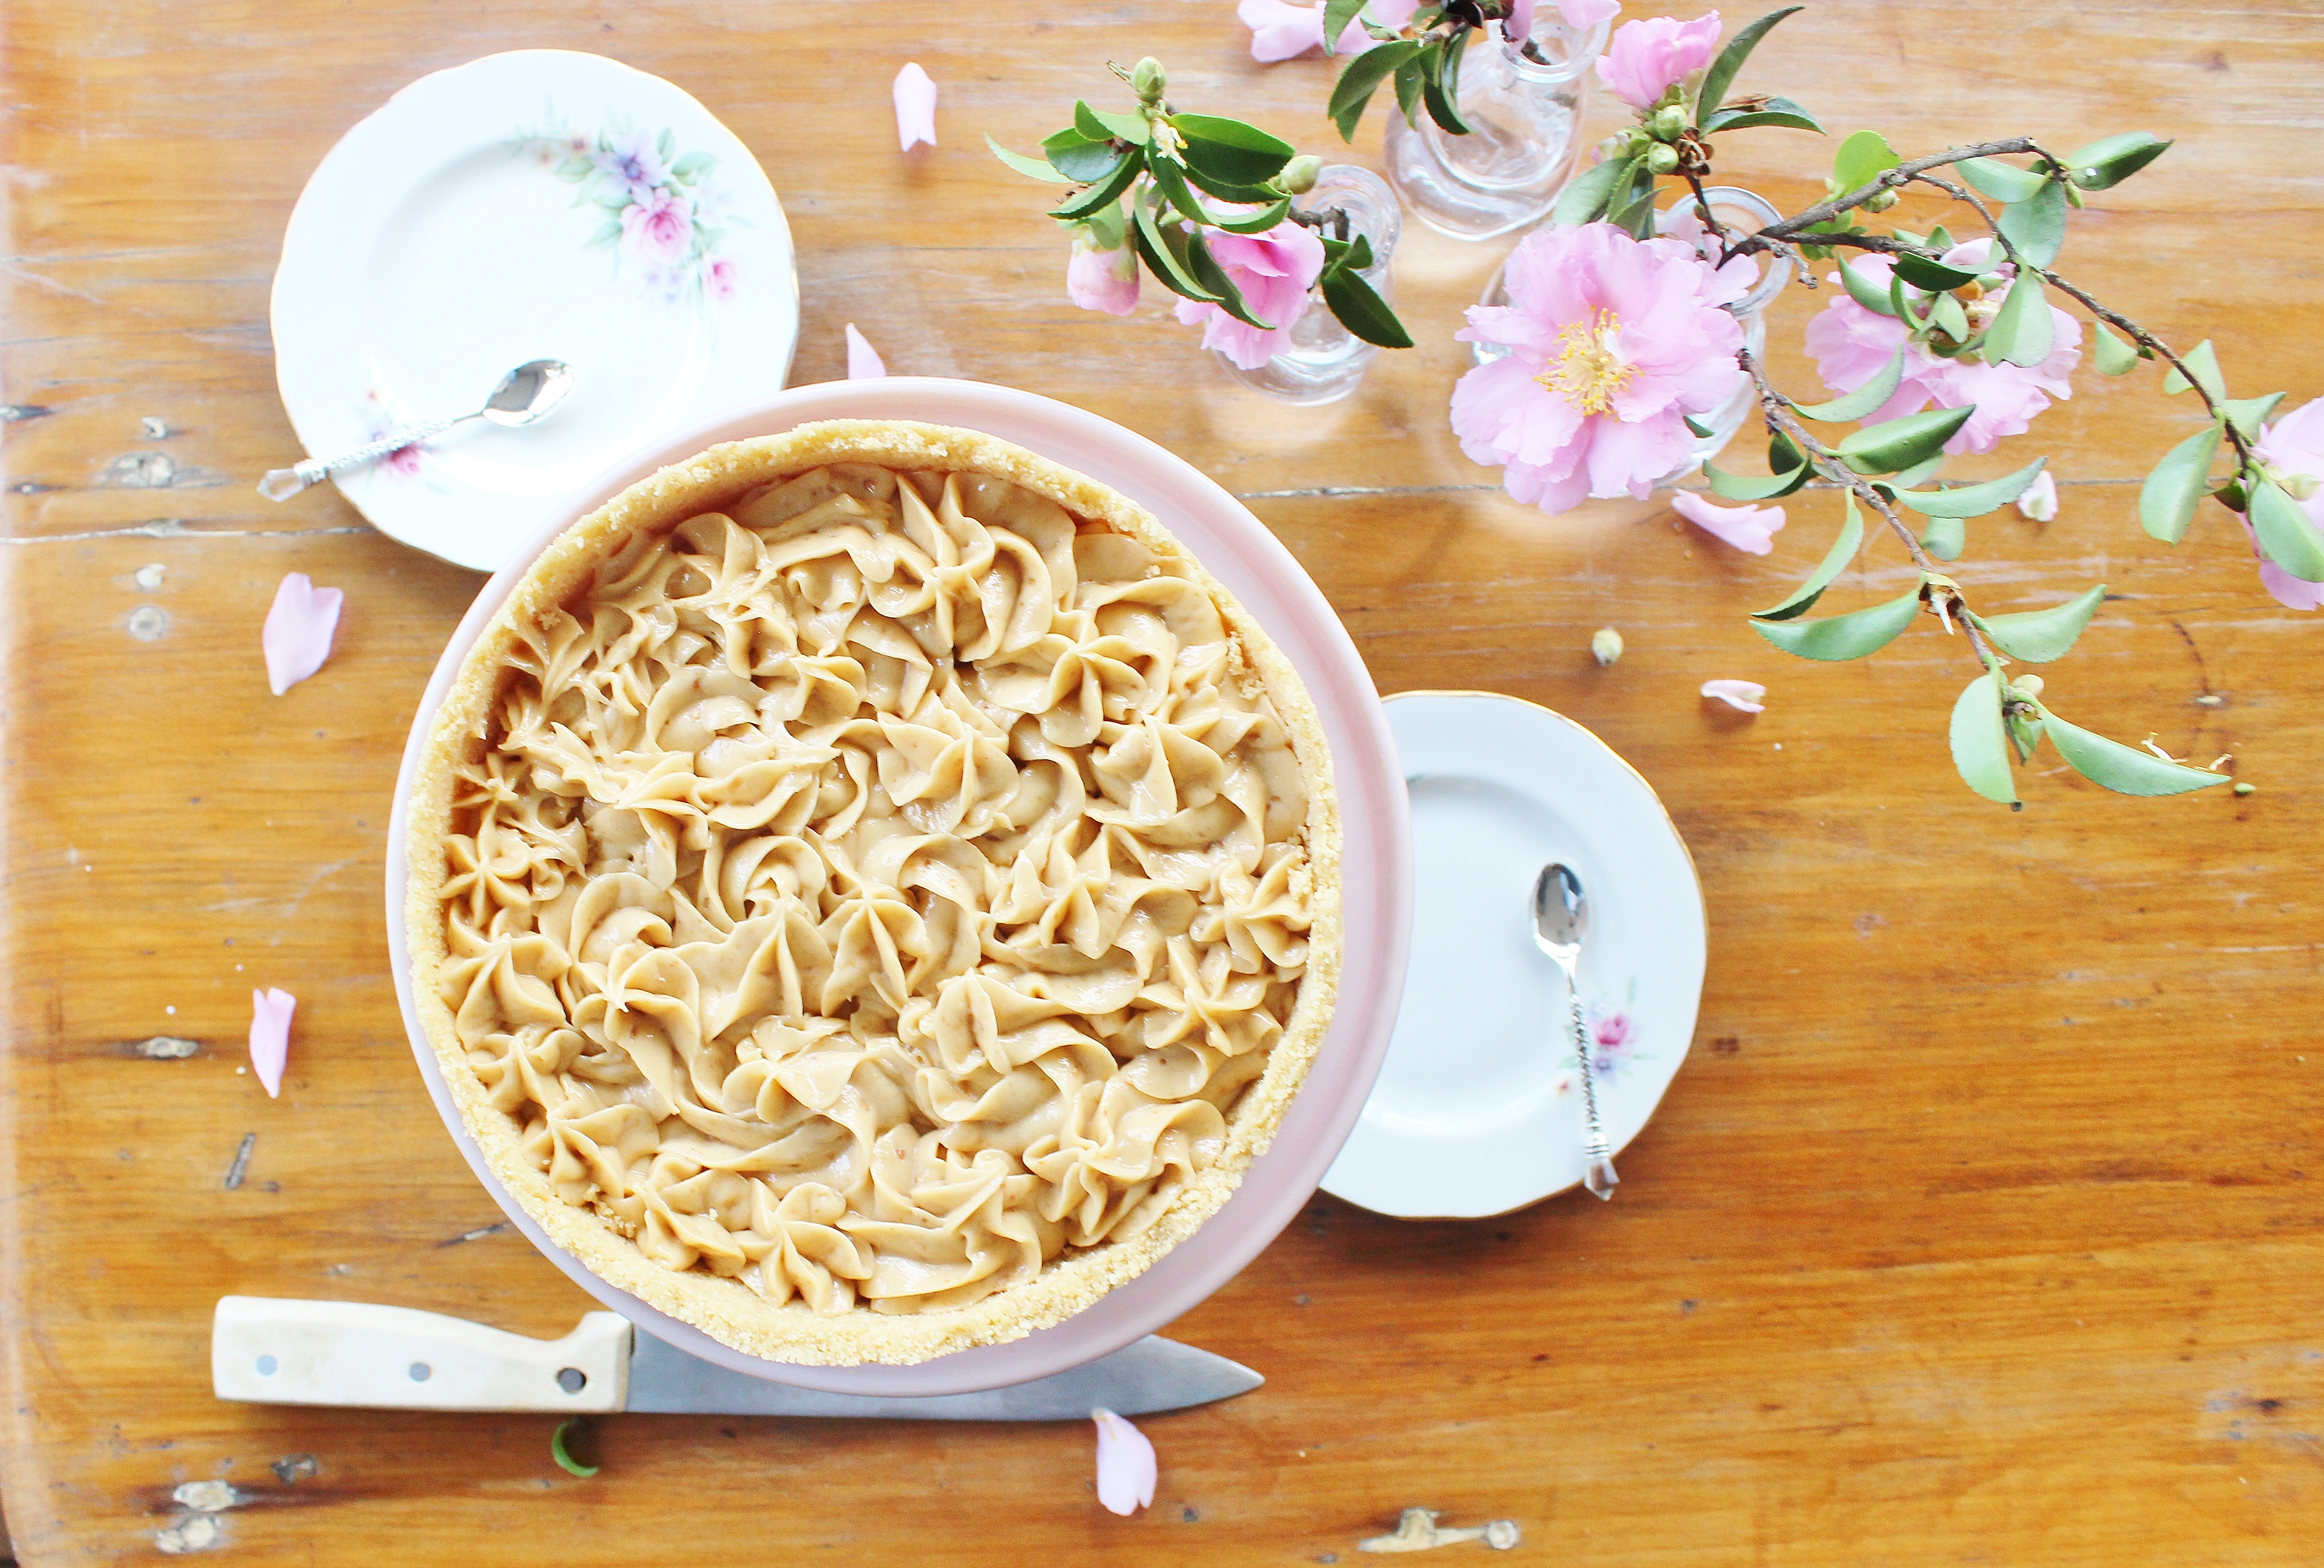
Was it an issue? Not at all. In fact, I’d say they were a resounding success. They were slightly heavier than a fried doughnut, but the taste was perfect. The Boy took one bite, and, eyes widened, exclaimed “they actually taste like doughnuts.”

As though my doughnut cravings would have settled for anything less!

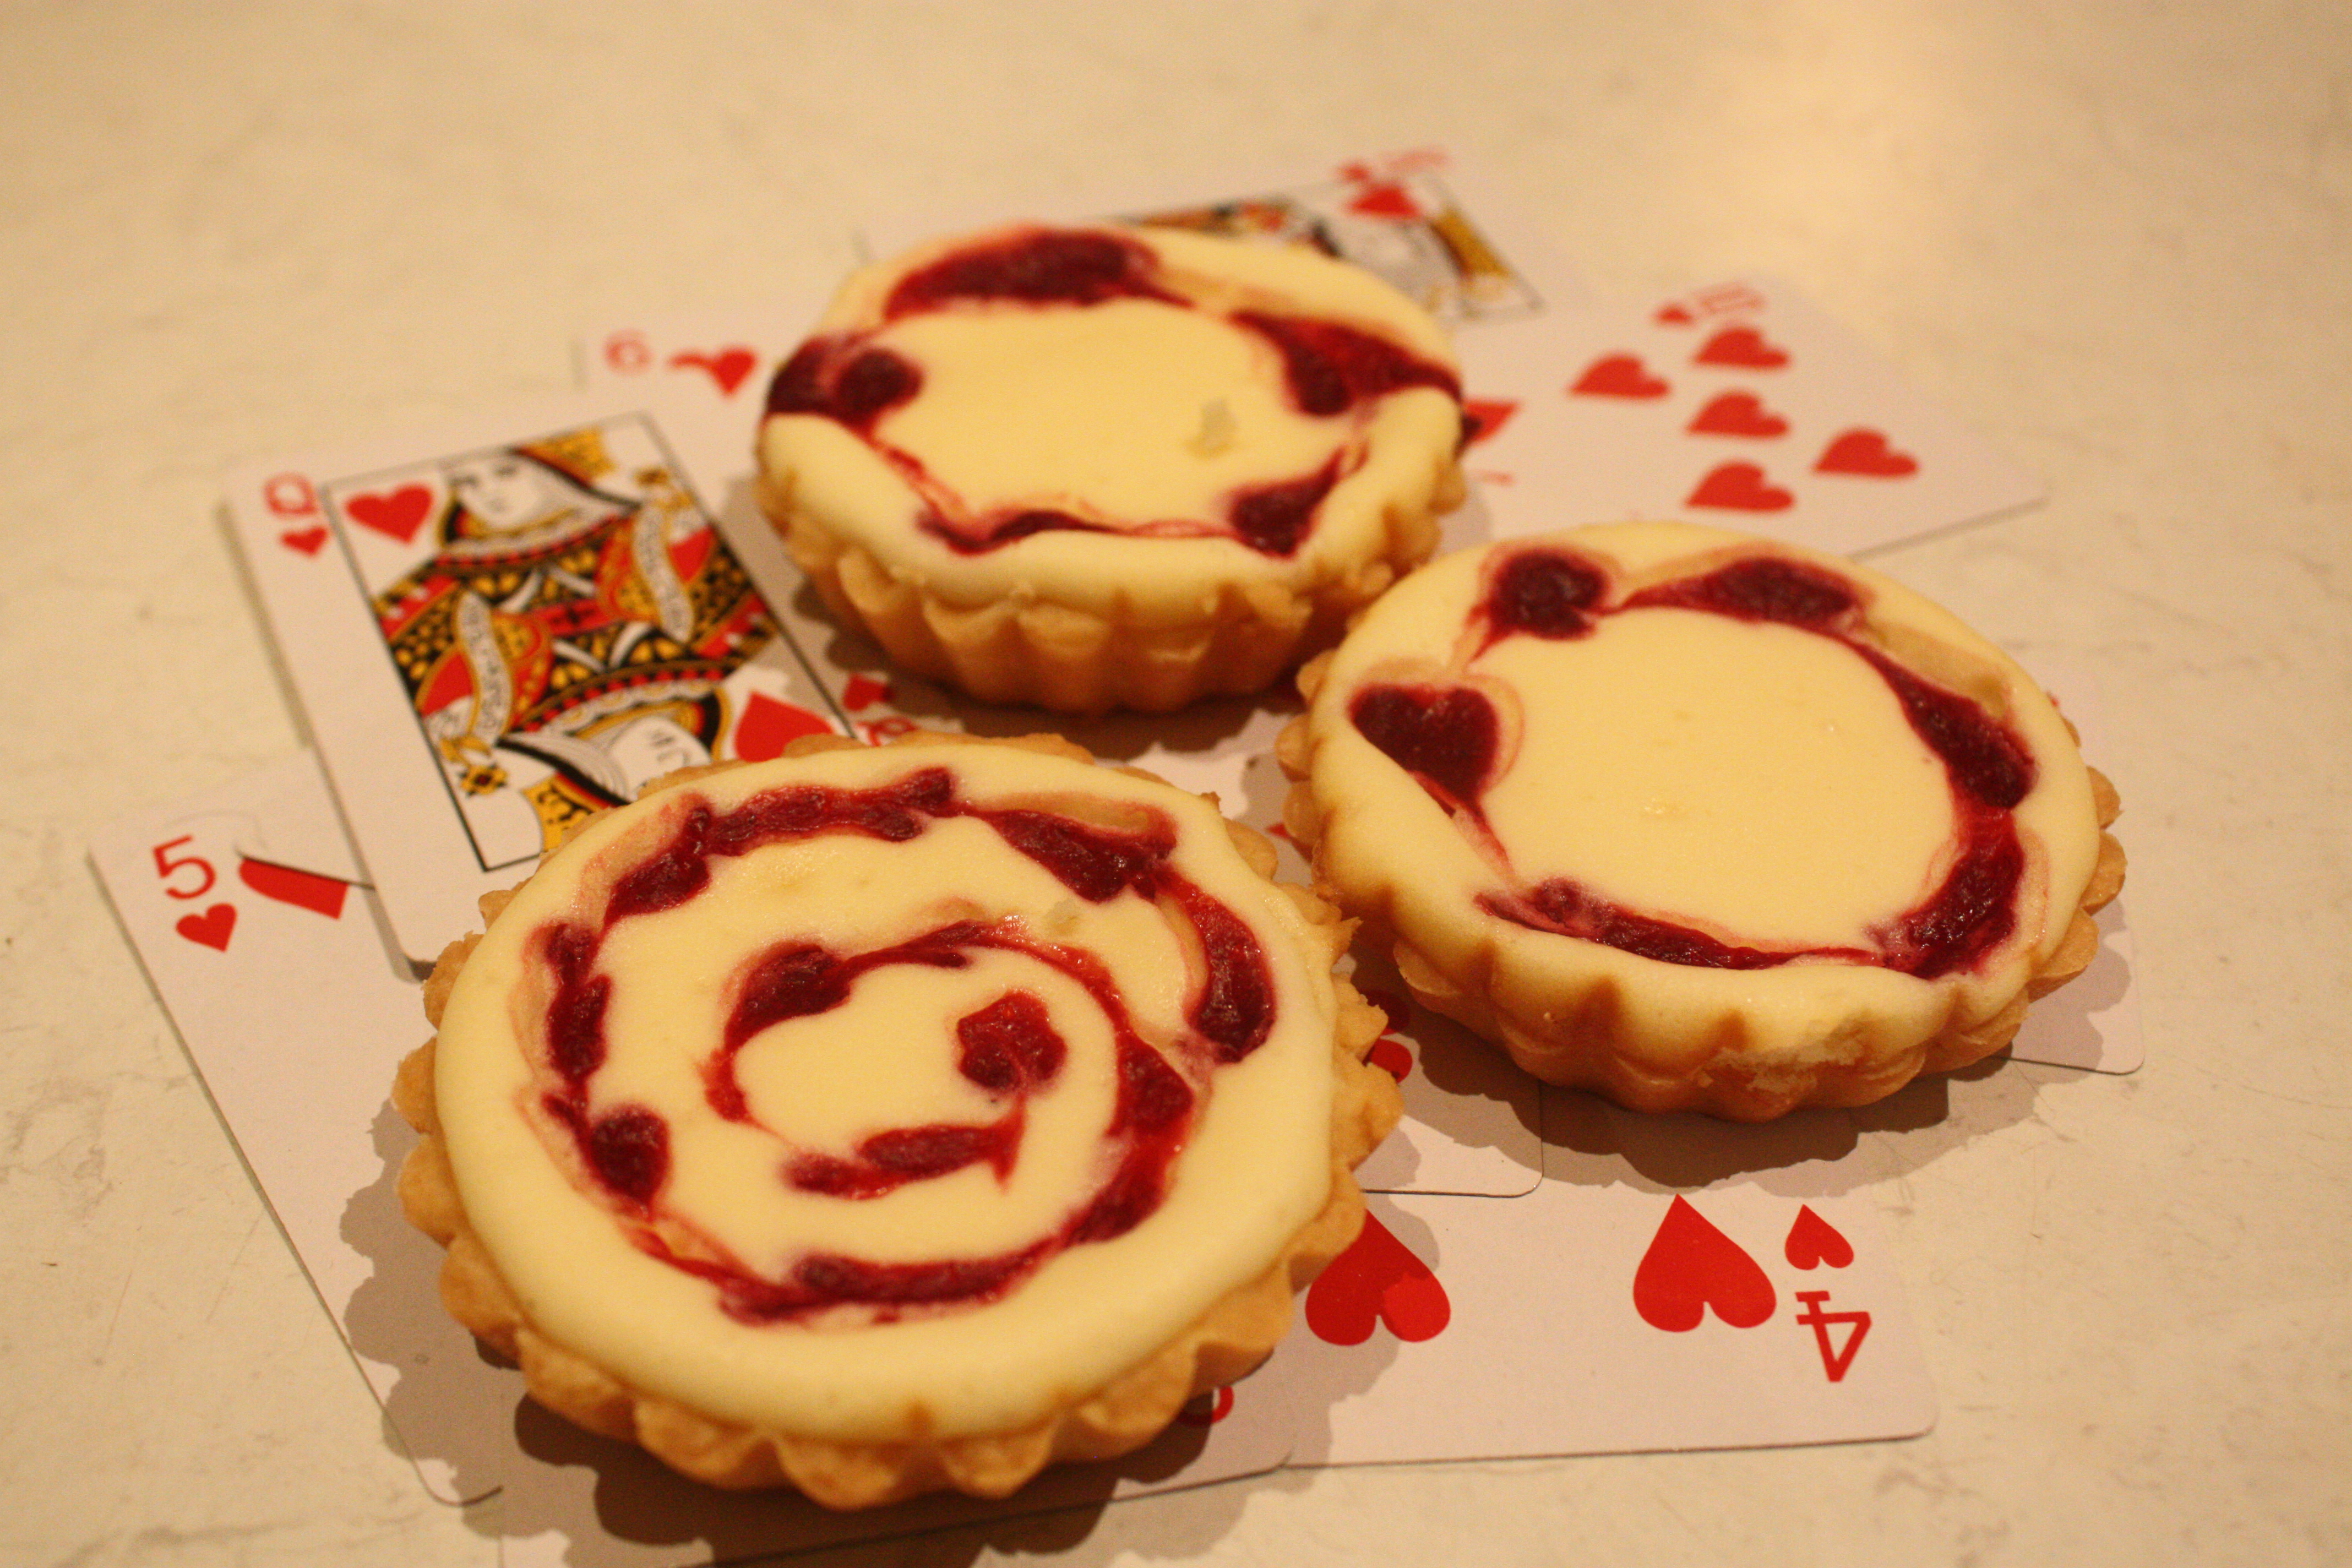
The only tip in would offer for future doughnut bakers is to use thin jam. My jam had strawberry chunks in it (which is usually a good thing!), which made it difficult to squirt them into the centre of my doughnuts.

Mini rhubarb doughnut cupcakes:jam

Makes 48 minis, or 24 large

  • 6 cups flour
  • 3/4 cup sugar
  • 2 x 8g sachets yeast
  • 1 tsp salt
  • 200g butter, melted
  • 2 eggs
  • 1 tsp vanilla
  • 1.5 cups milk

Chocolate rhubarb glaze:

  • 20g butter
  • 1 ½ cups rhubarb, chopped
  • ½ cup cream
  • 100g white chocolate
  • 1 cup icing sugar
  • ½ cup jam or custard

mixture
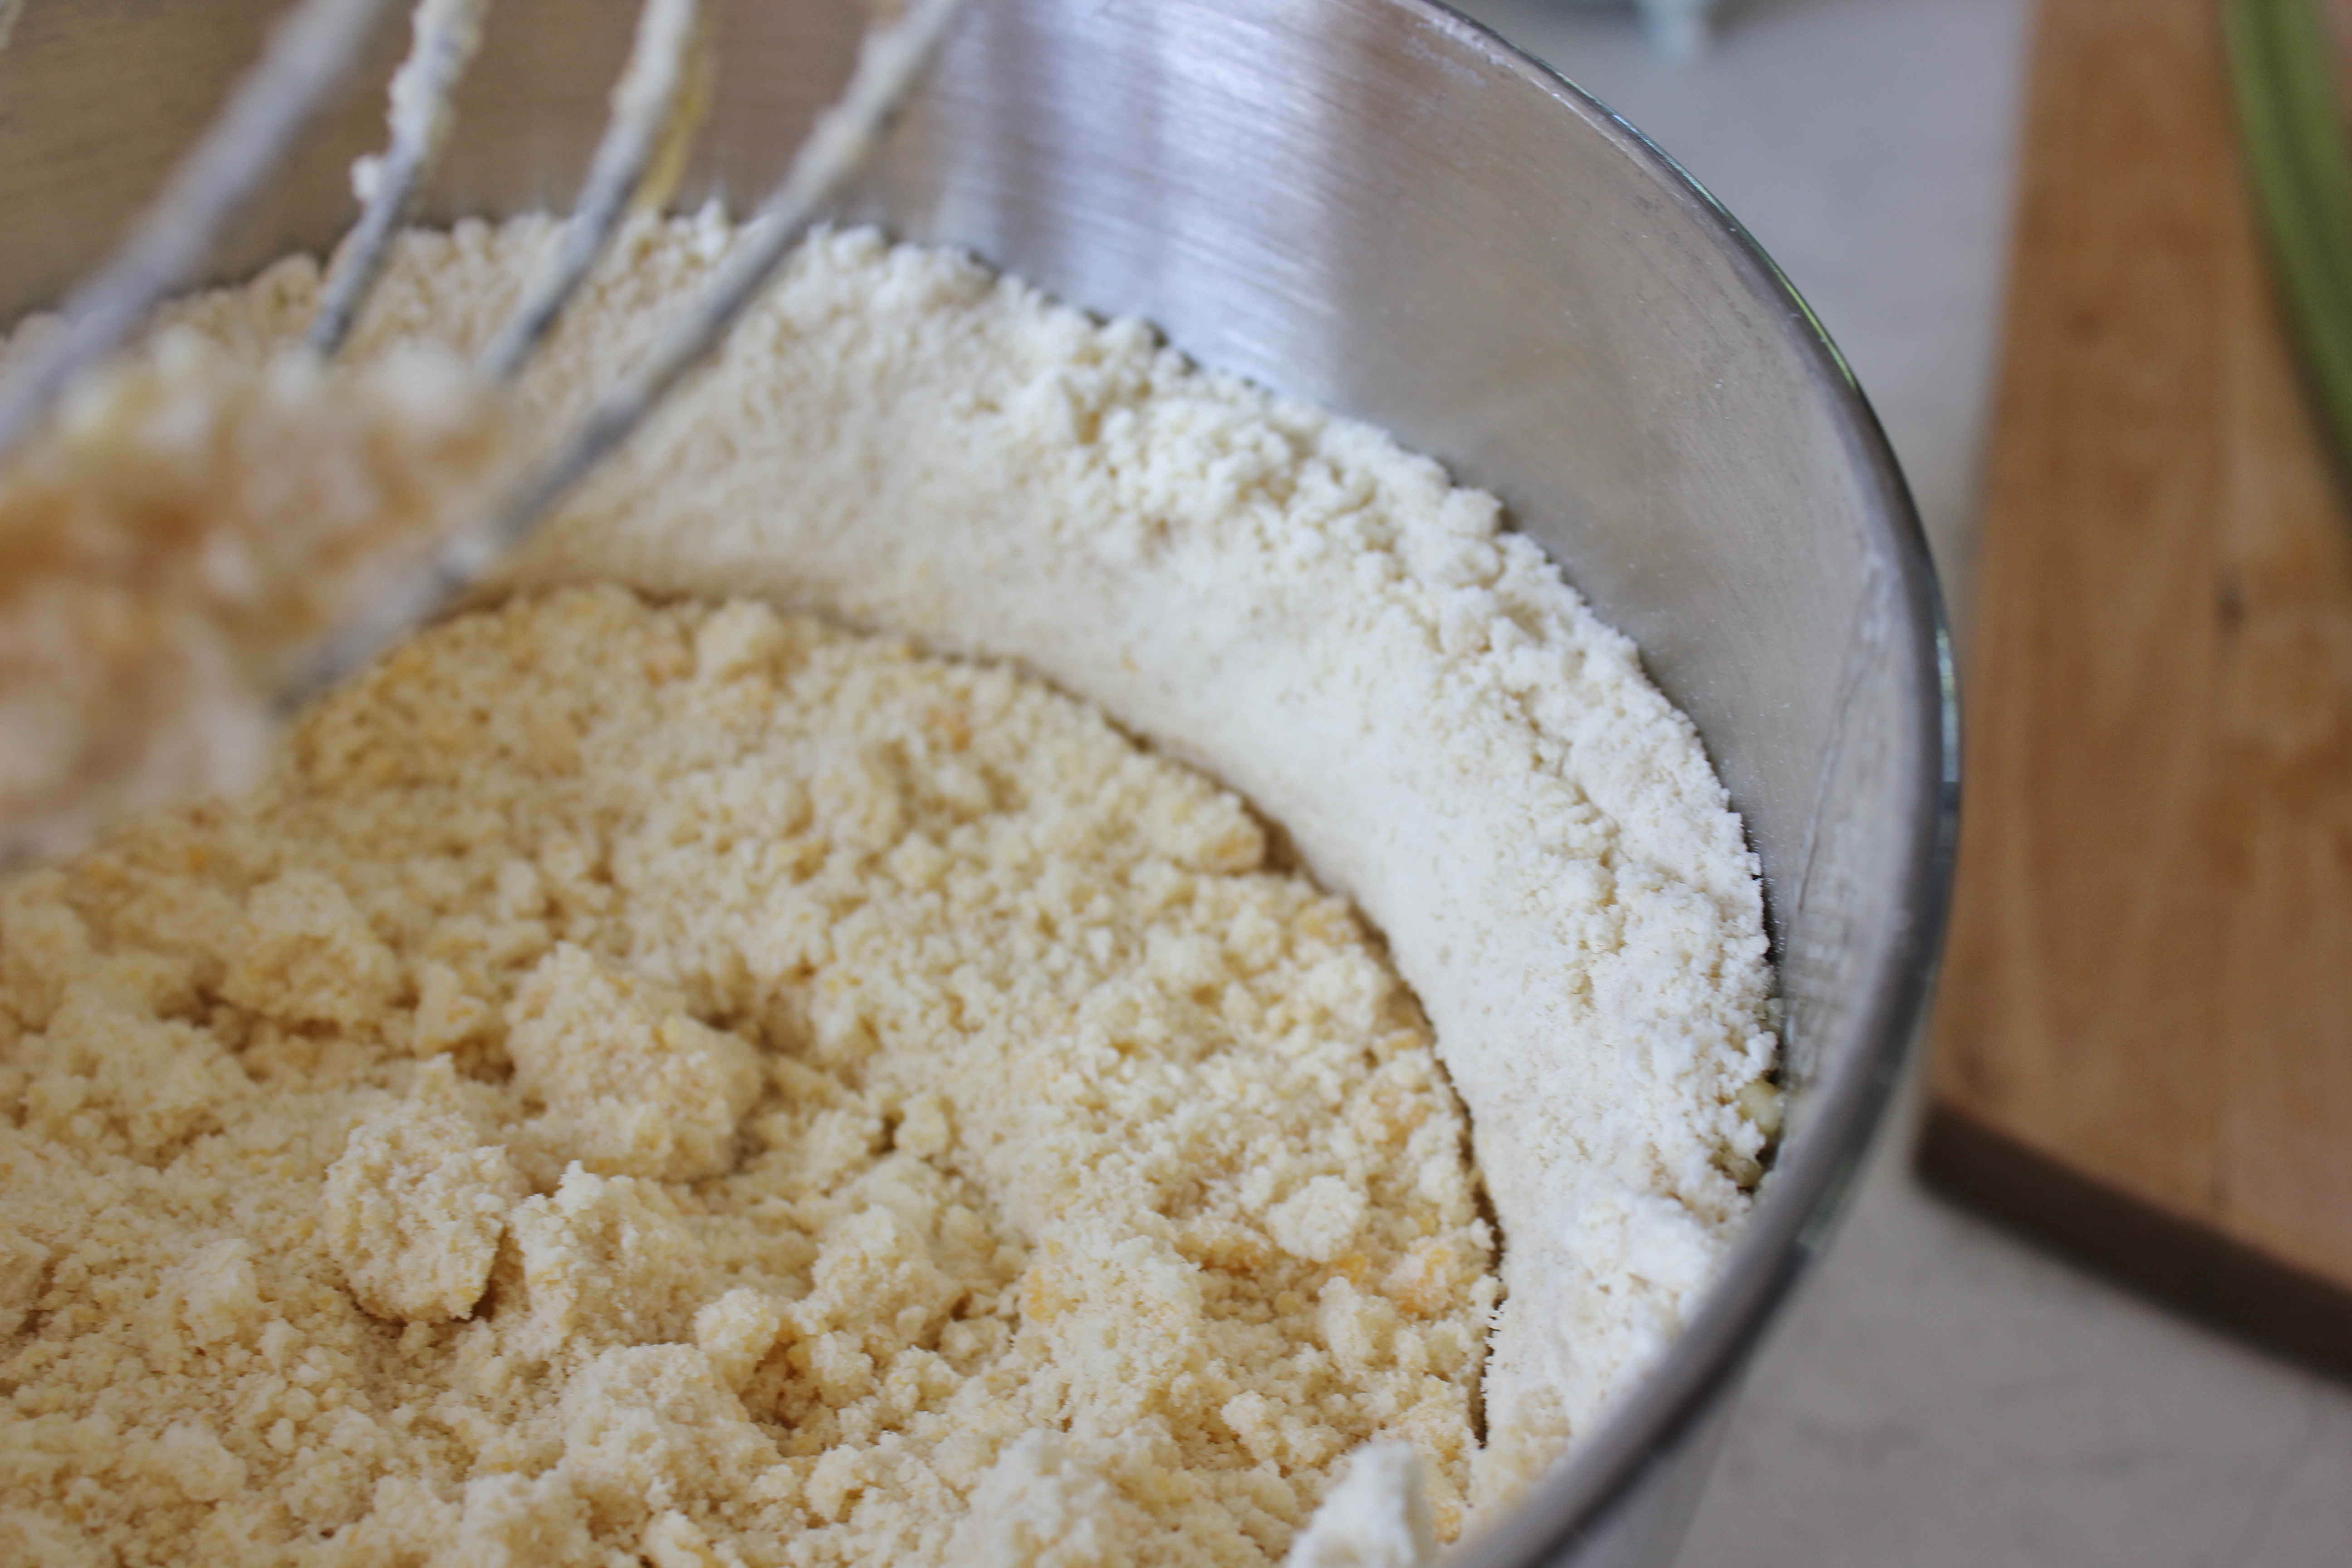
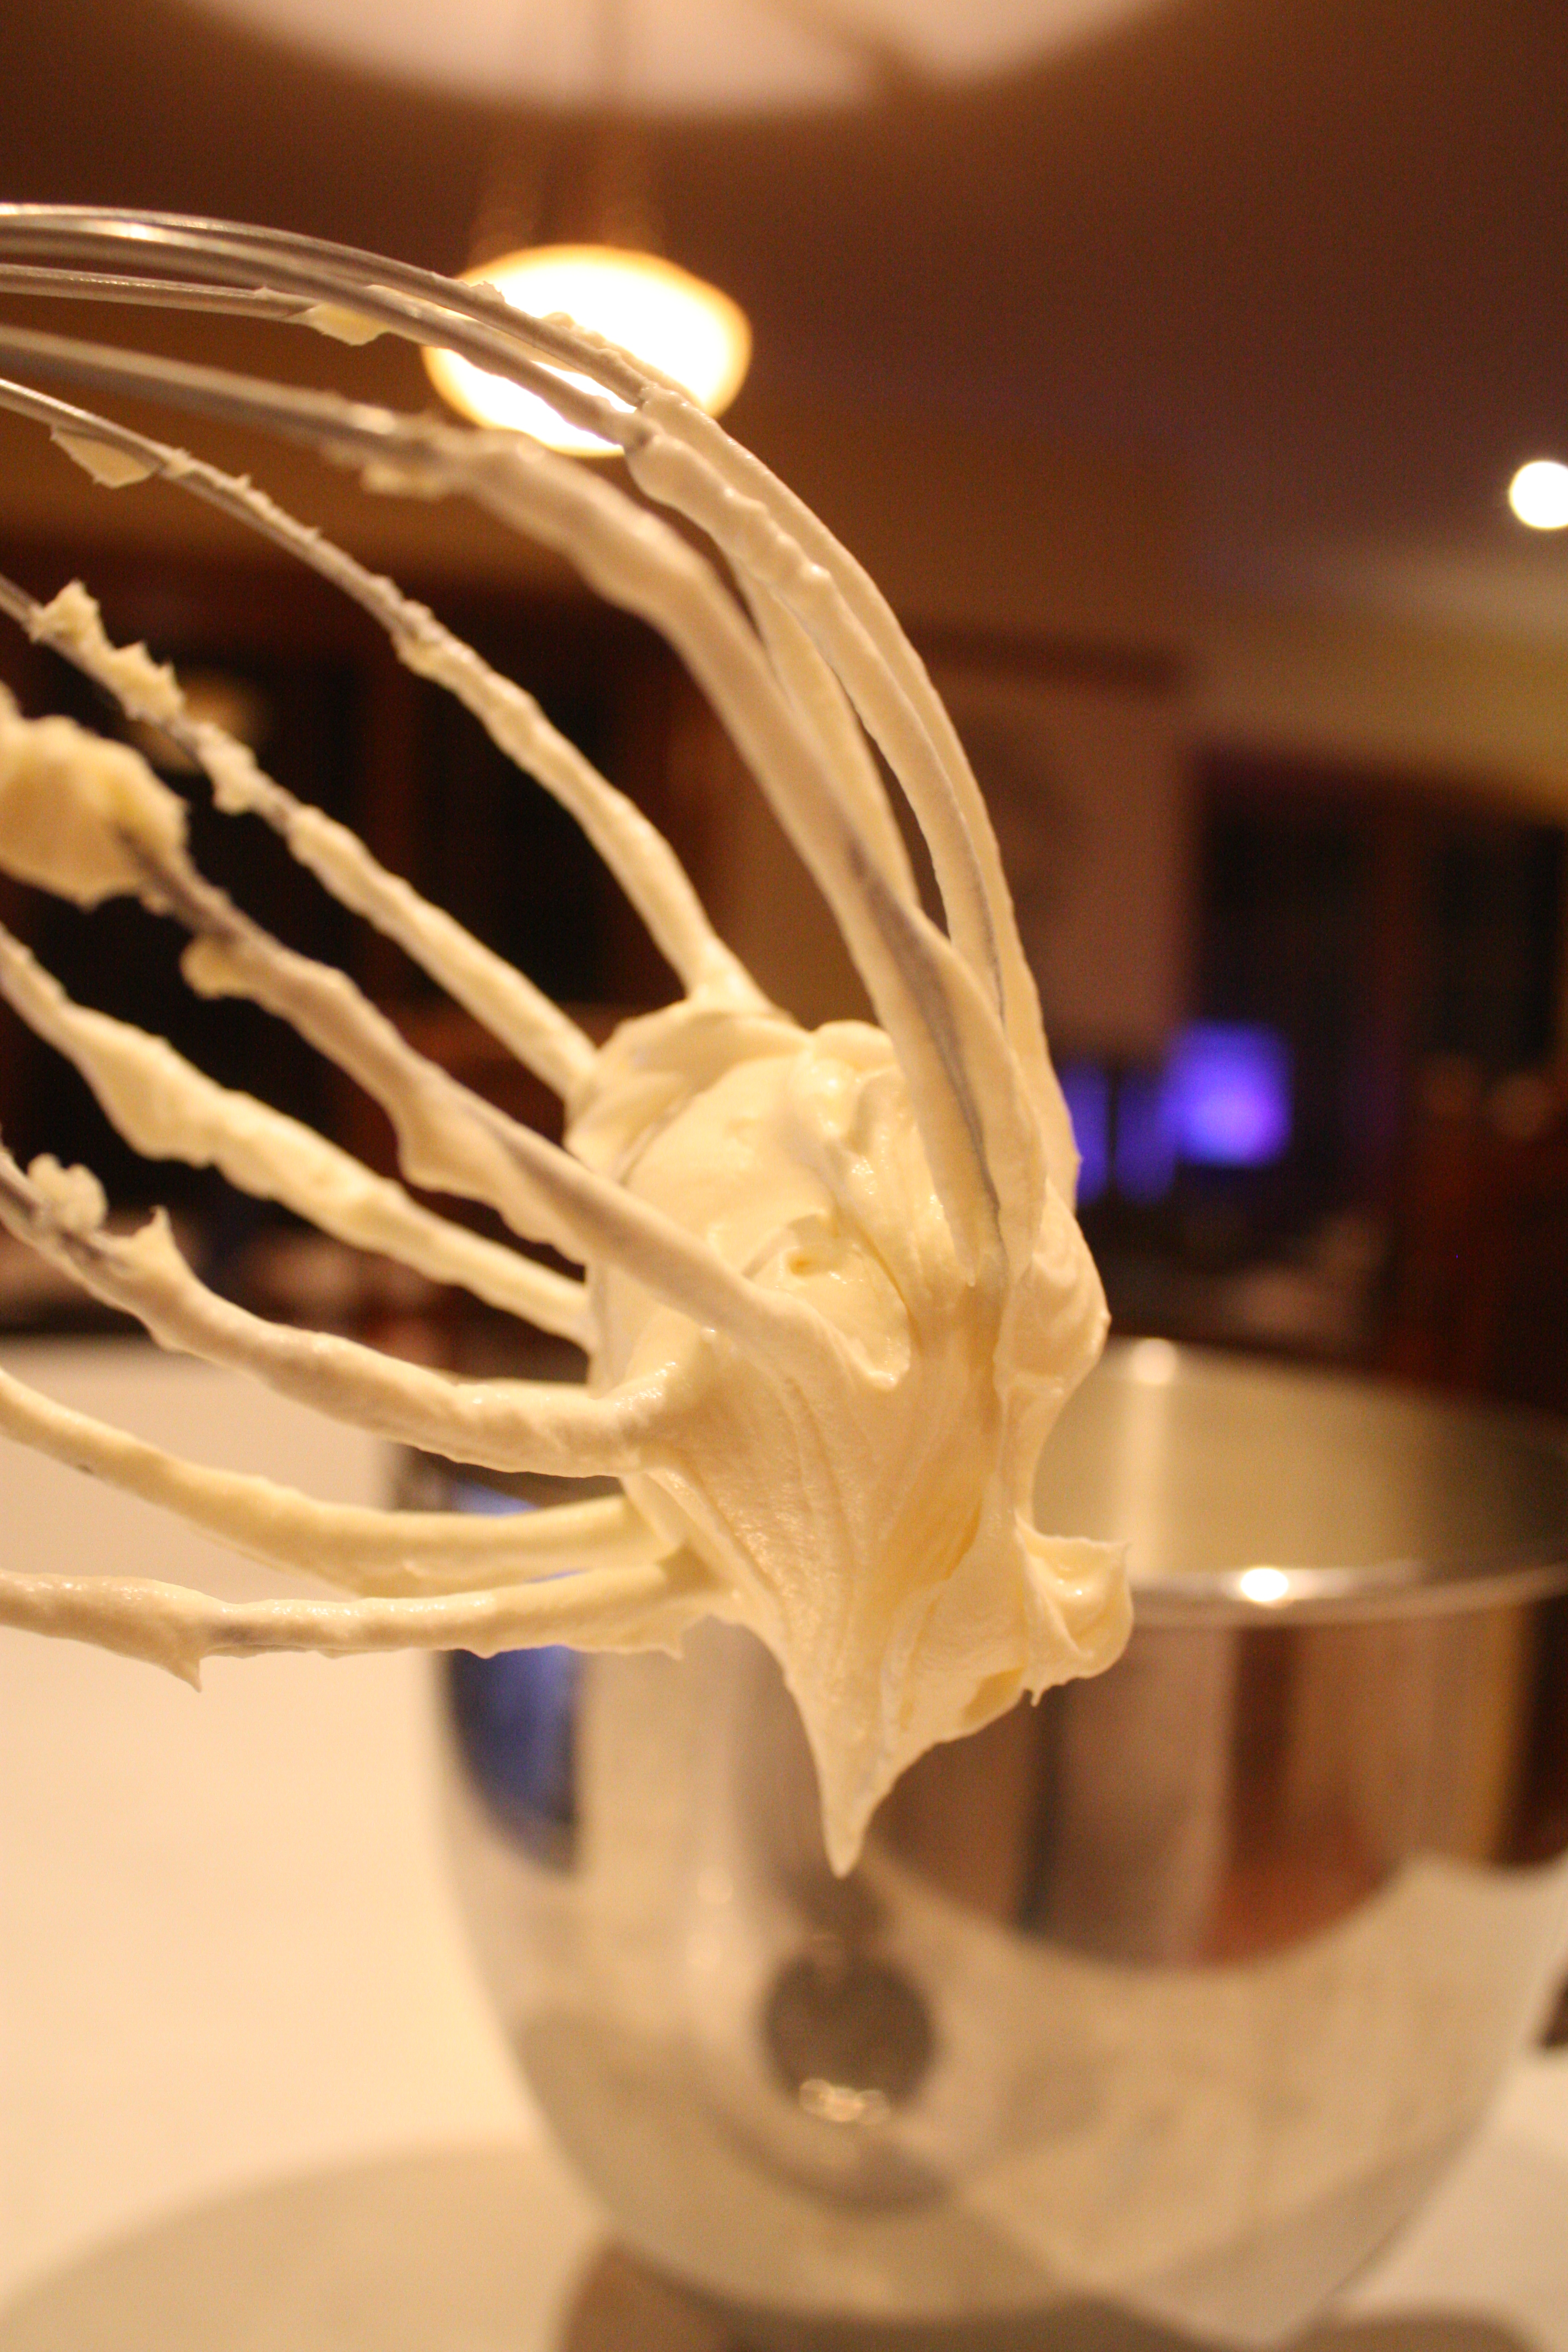
Fit your mixer with your bread hook attachment*. Combine your flour, sugar, yeast and salt. Add in your melted butter, slowly, allowing it to start to bring the mixture together. Mix for two more minutes, adding the eggs and vanilla as you go. Mix in the milk, half a cup at a time, until you have a cohesive dough, then continue kneading for 6 minutes.

*If you don’t have a stand mixer, a wooden spoon will work too, it will just take a little more muscle! When it comes to kneading, you can do this by hand as well, just adjust the kneading time by about half, so instead of stand mixing it for 6 minutes, you’ll hand knead it for 9.

Divide the mixture into two and put them in separate bowls. Cover your bowls with cling wrap, then leave it in a warm, dry place to sit for 1-1.5 hours. I left mine for 1.5, just to make sure I got maximum doughnuts out of mixture.

rhubarb
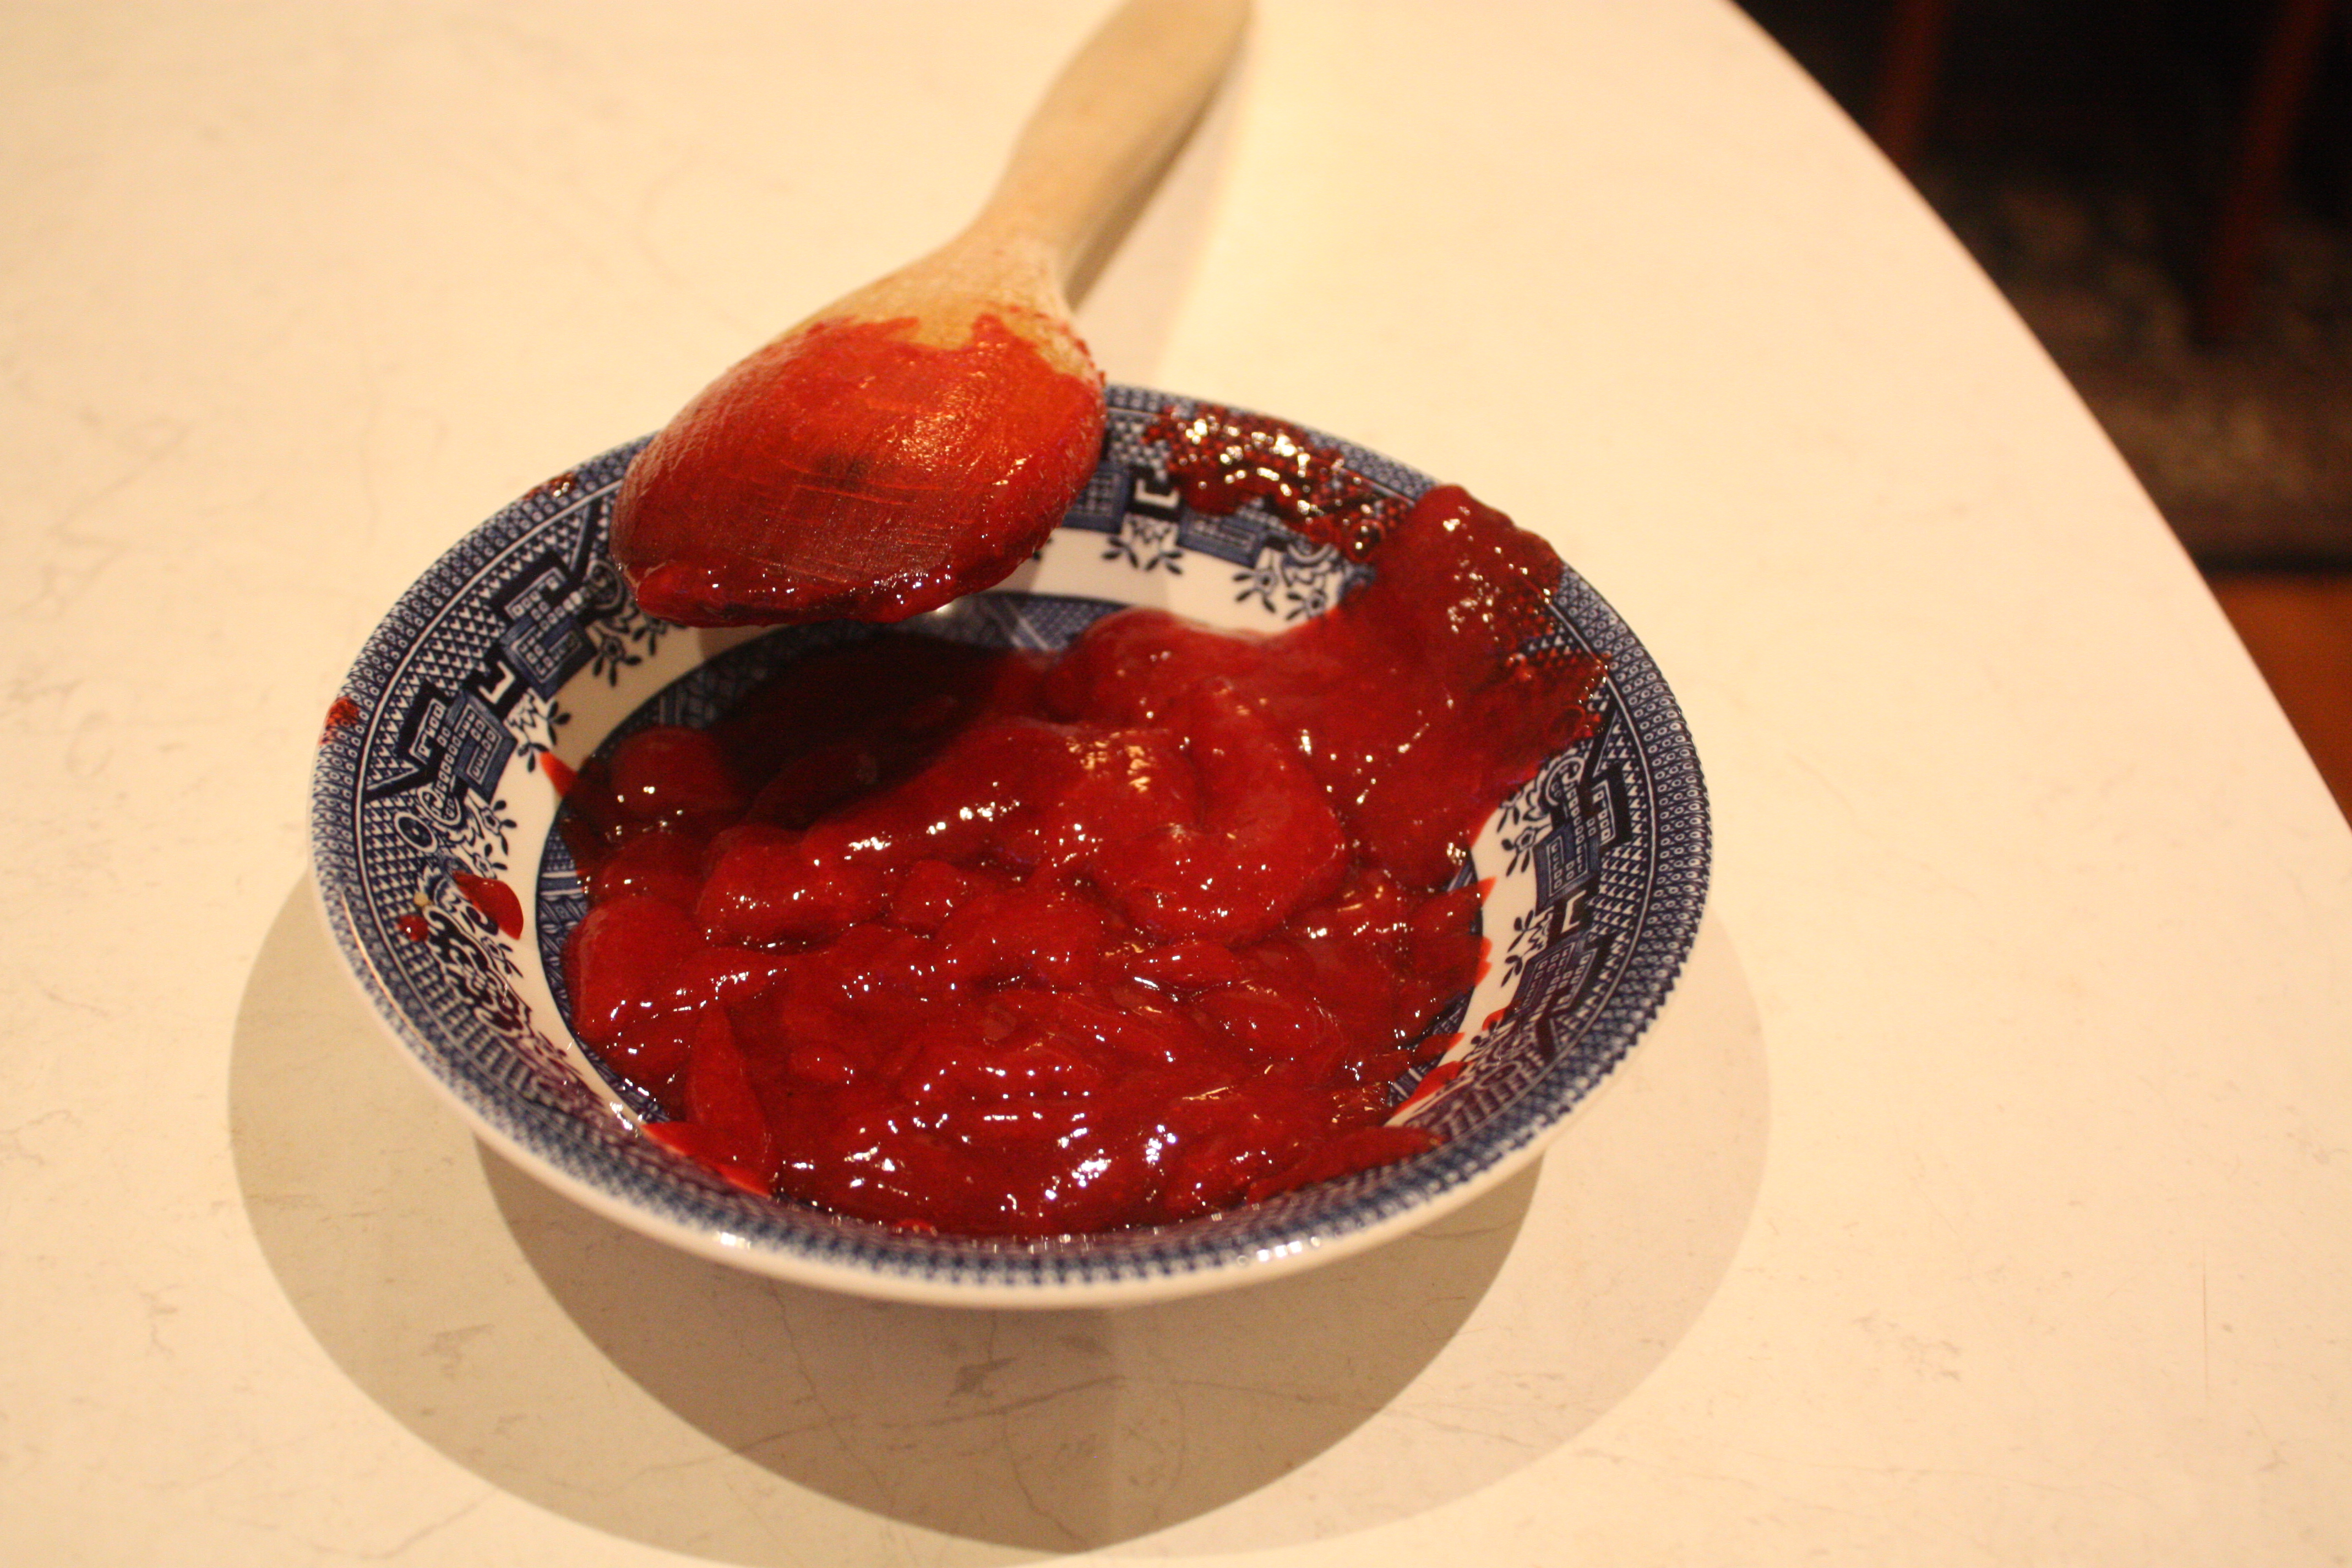
When your dough has 30 minutes of rising left, preheat your oven to 180°. Grease a large baking tray with the 20g of butter and put your rhubarb in the tray. Roast for 20 minutes, until softened. Take them out of the oven and allow them to cool slightly, then mash into a pulp.

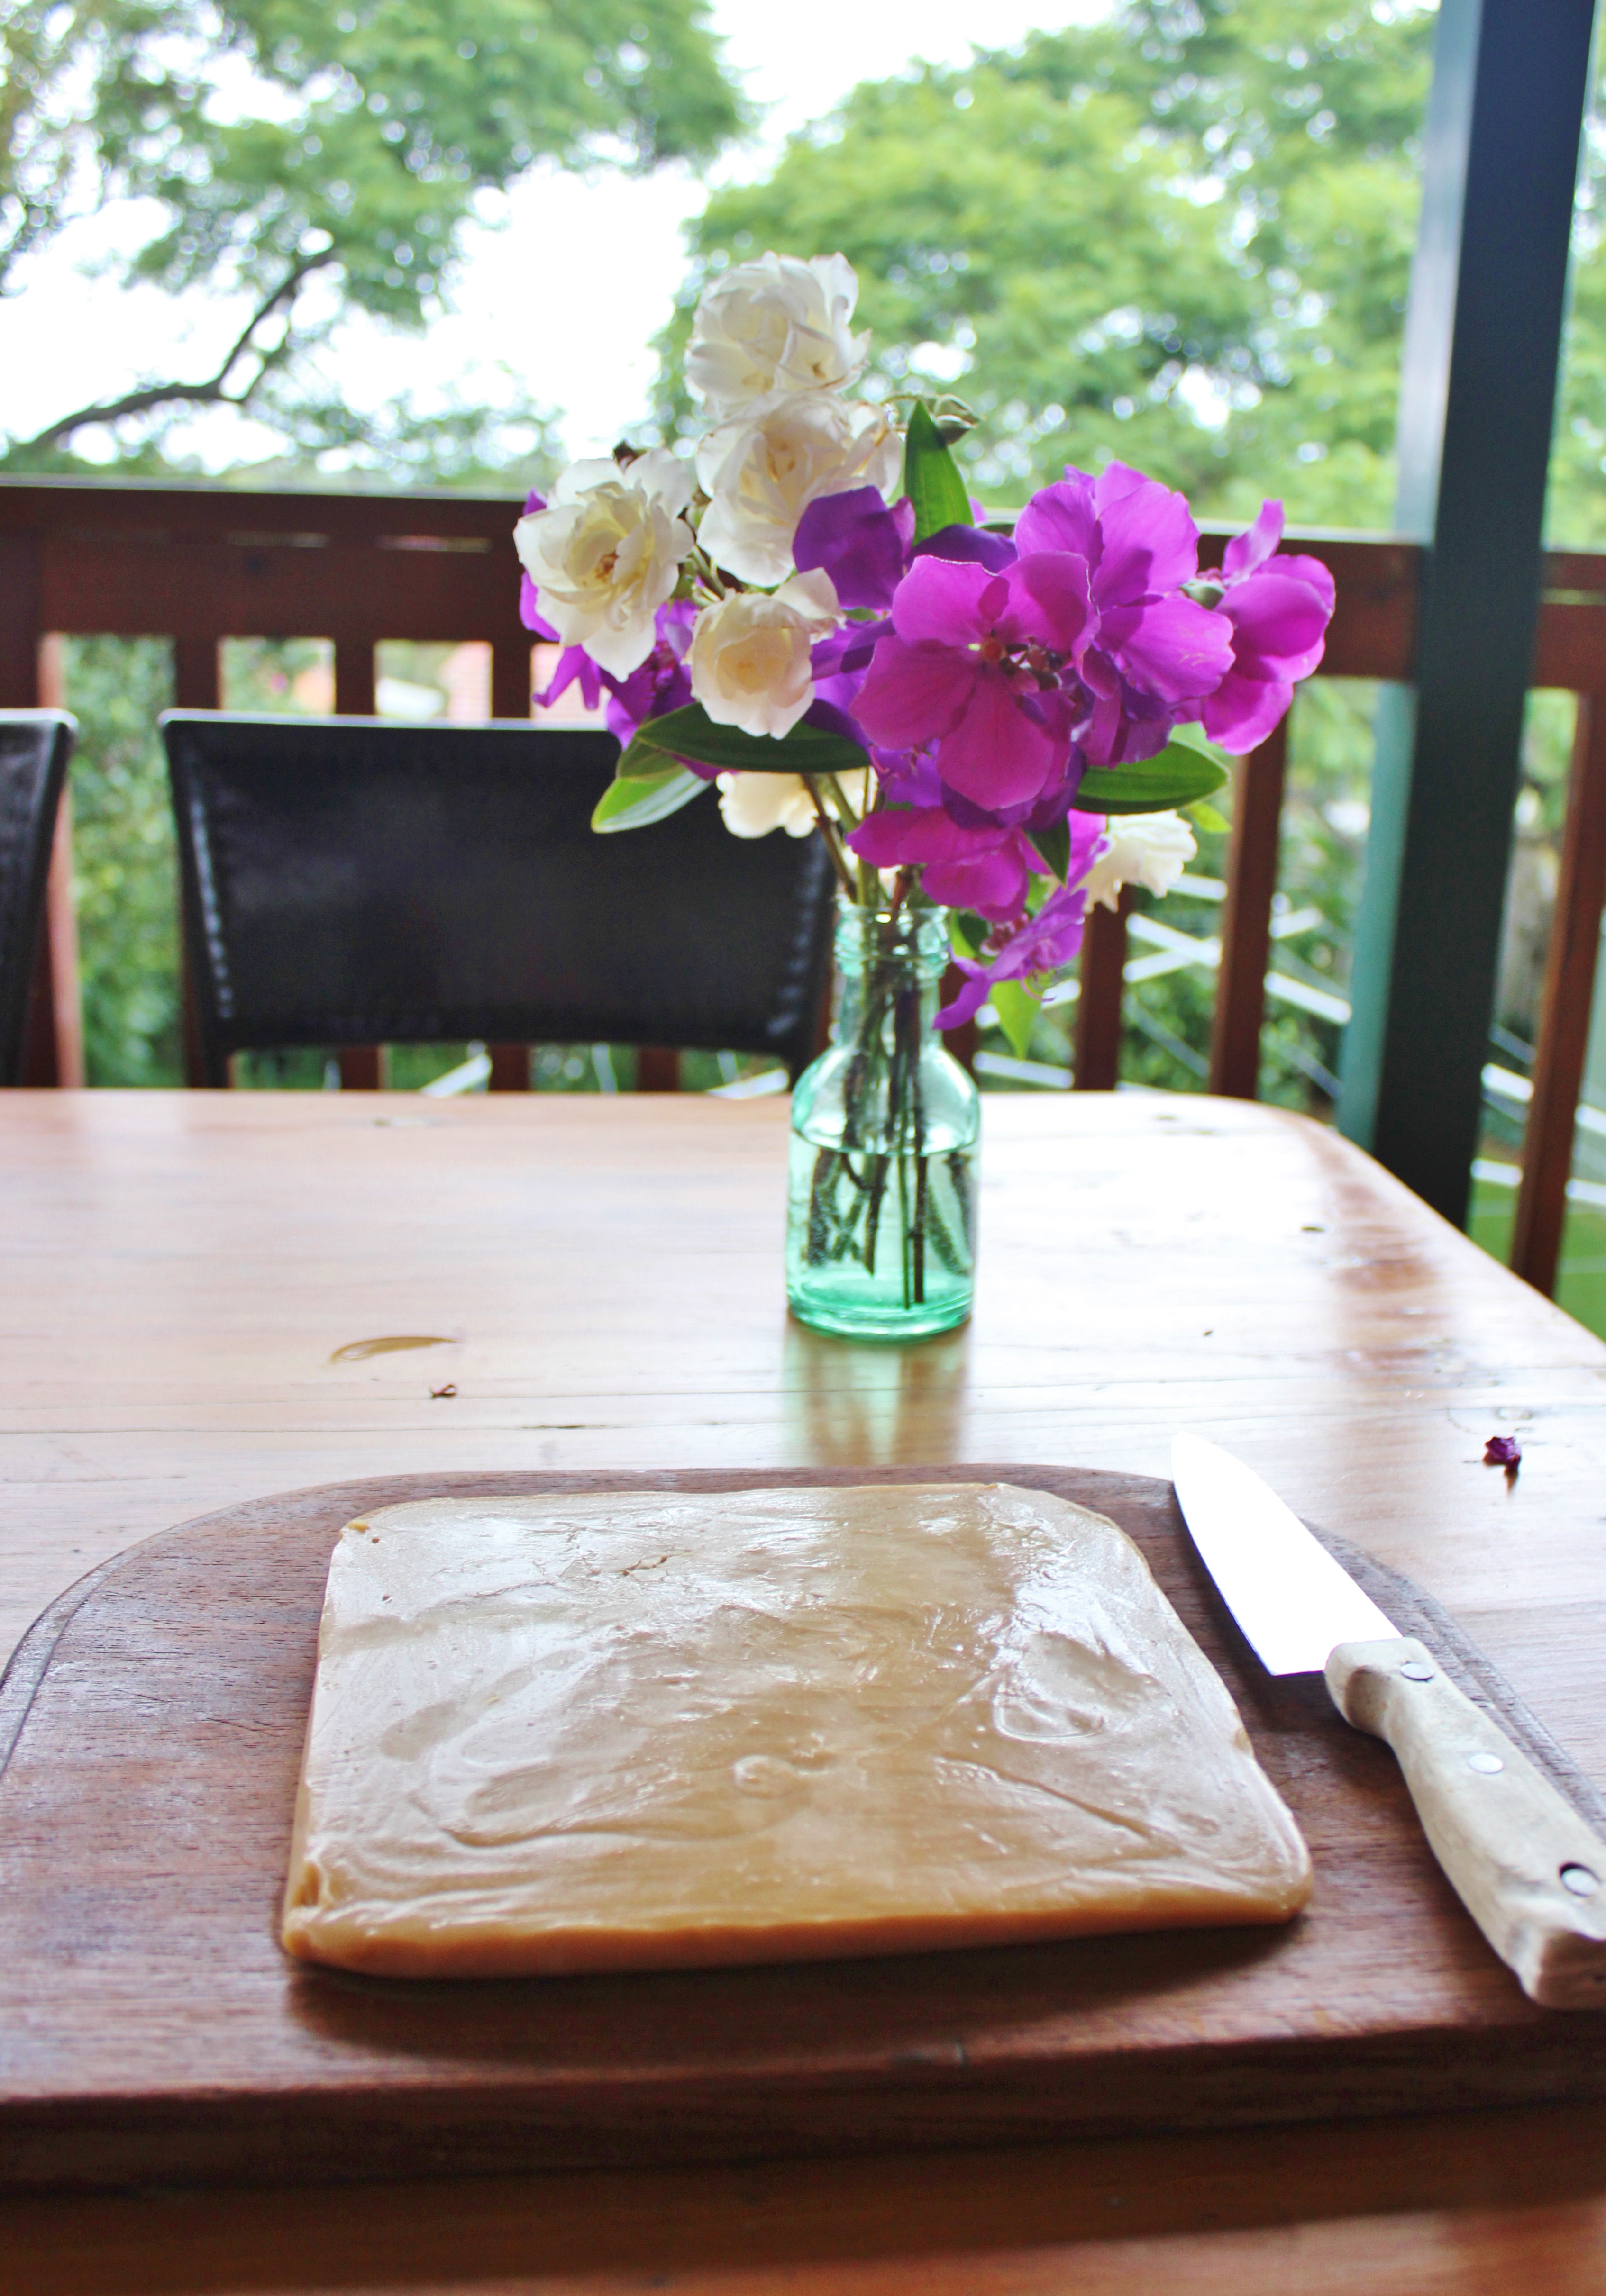
Once the dough is risen, divide the dough in each bowl (use a sharp knife to easily slice through the dough) into 24. I find the best way to ensure even-sized doughnuts is to weigh the portions out on scales.

Once you have 48 bits of dough, roll them into balls by turning the dough in on itself and tucking the excess under.

Pop the balls into a greased 24 capacity mini cupcake tin, then let them sit for a further 15 minutes.

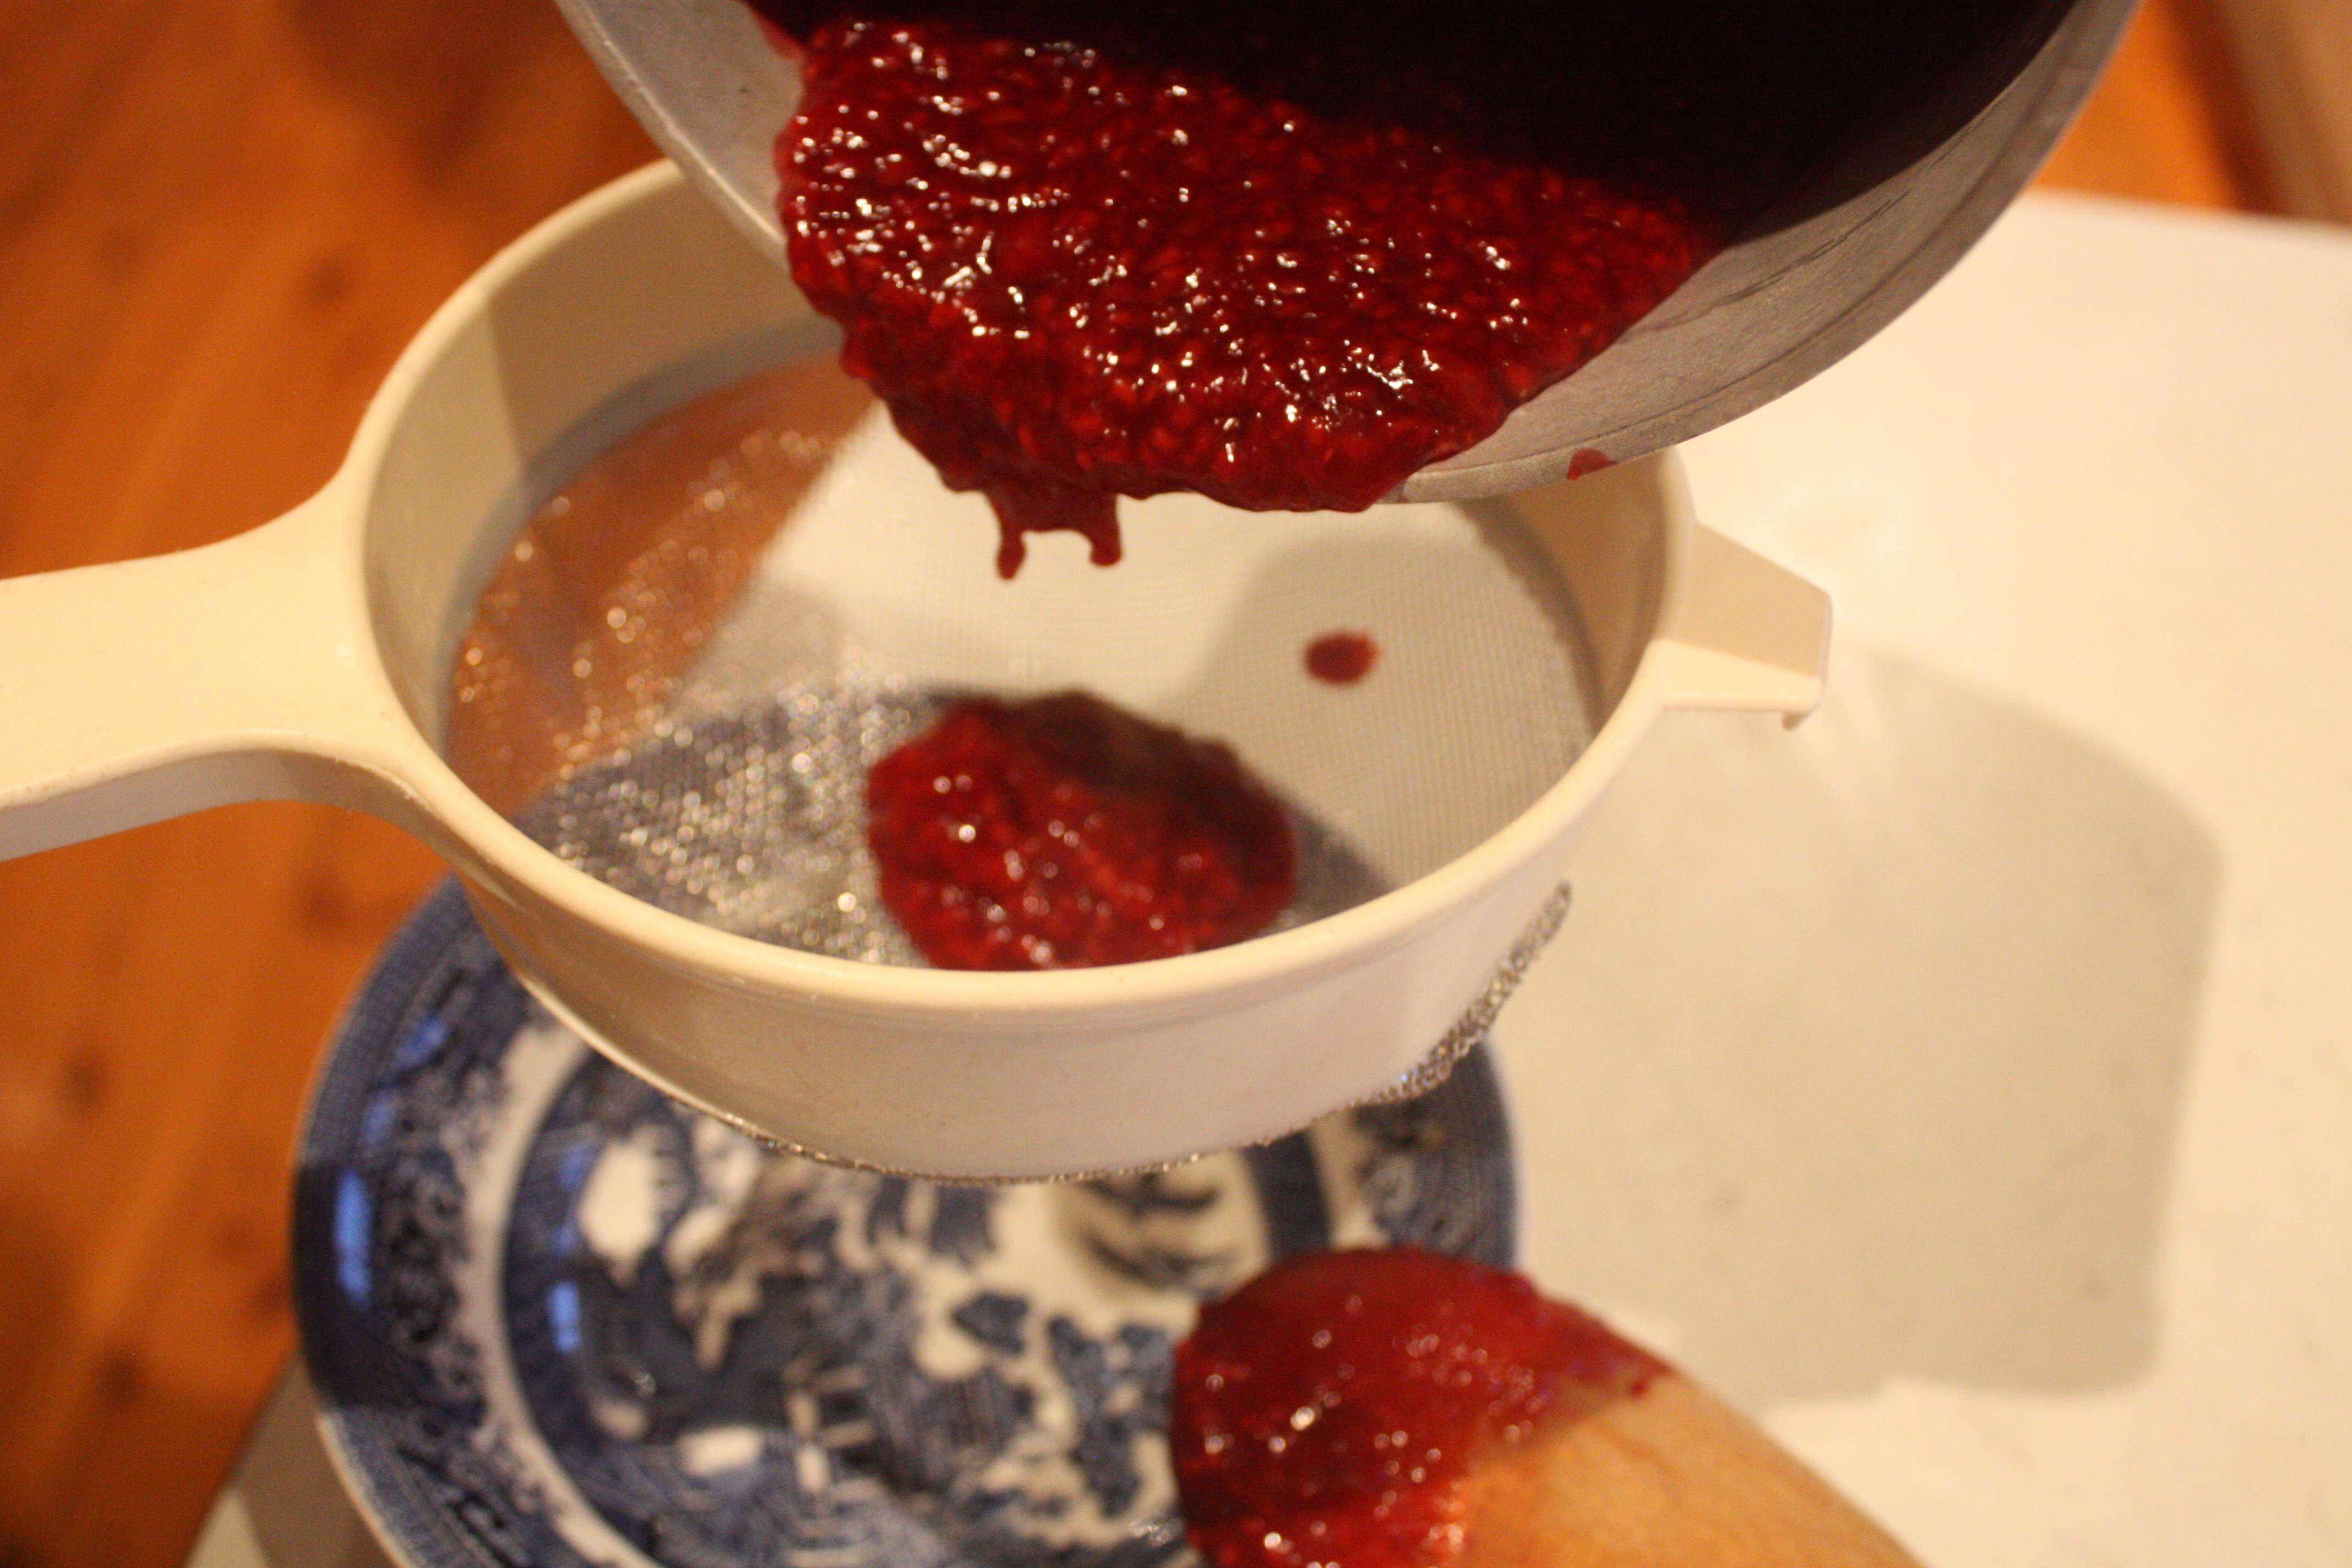
While they’re cooking, melt the chocolate, sieve the rhubarb pulp into the melted chocolate and mix in the cream. Sift the icing sugar into the mixture, then mix until smooth. If they icing isn’t looking pink enough, add a few drops of pink food colouring.

unicedPreheat your oven to 180C°.

Bake for 10-12 minutes, or until they sound hollow when tapped. (If you choose to make 12 regular cupcake sized doughnuts, bake for 15-18 minutes.)

drip (1280x853)
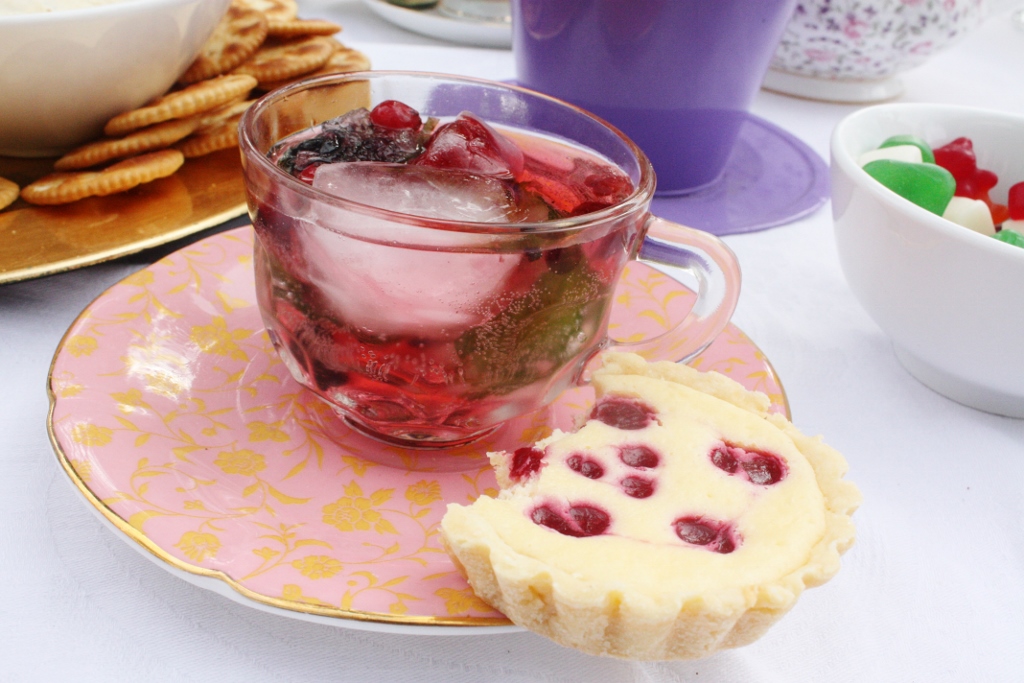
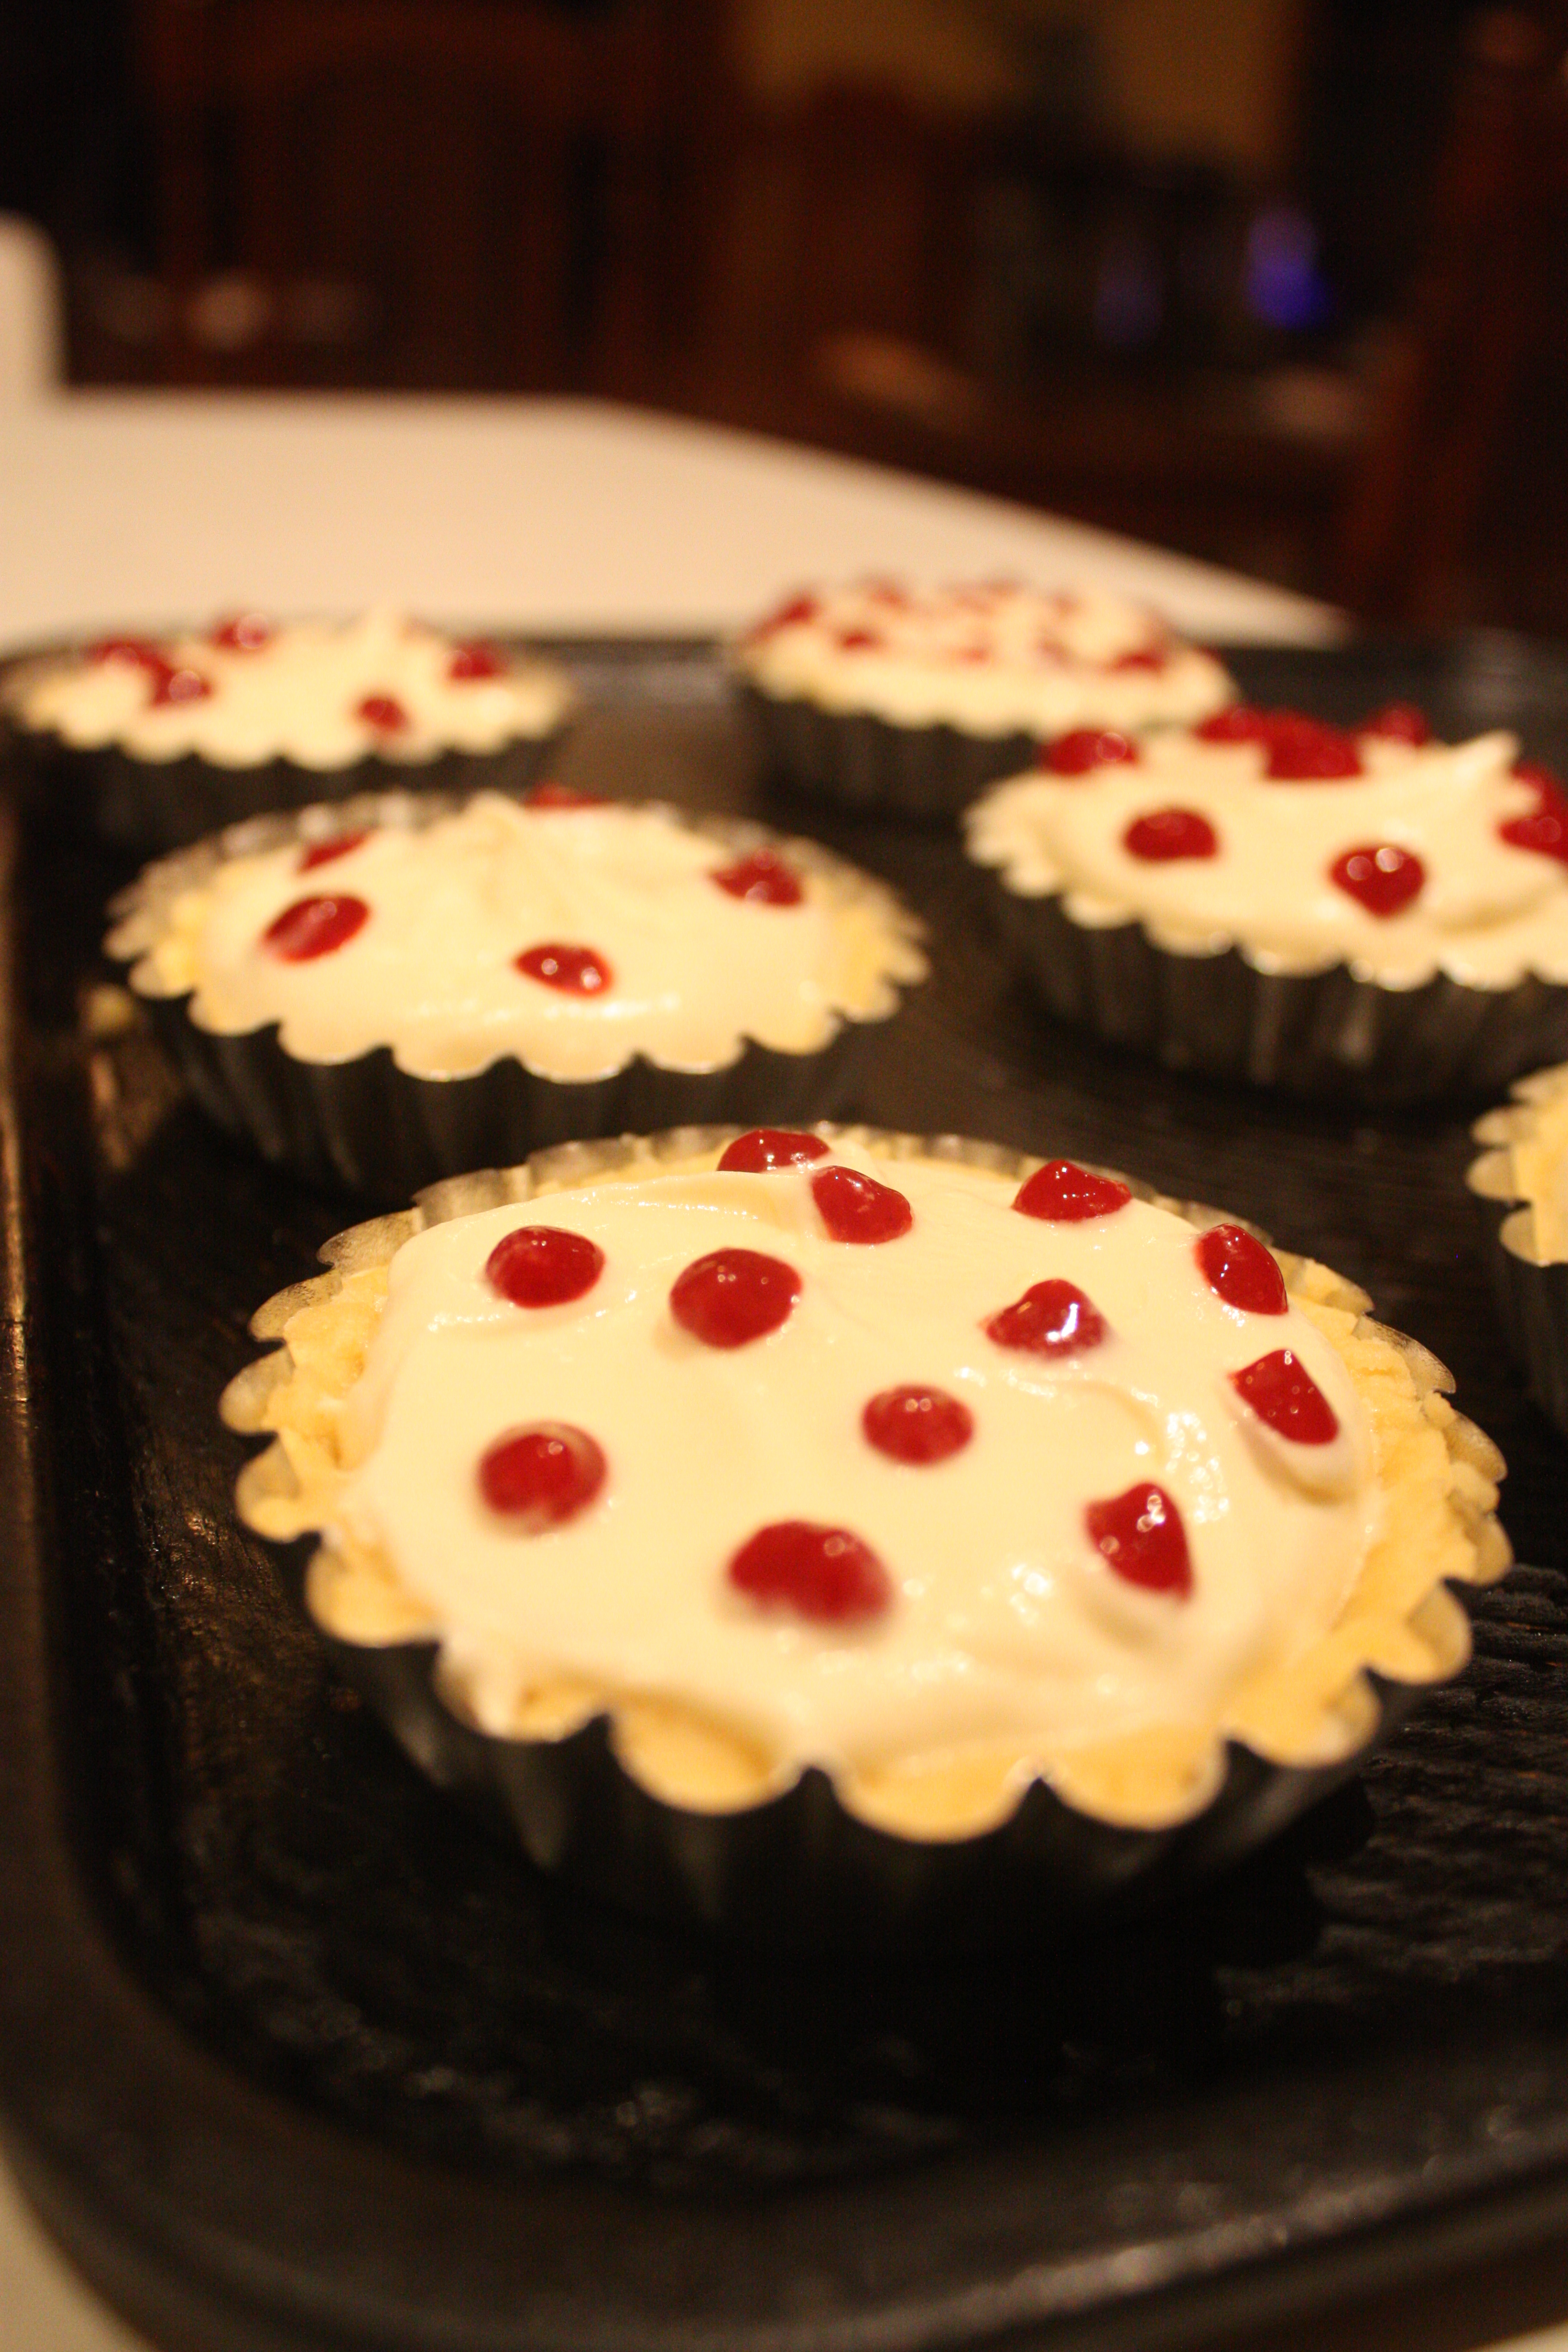
When the doughnuts are cooled, use a squeezy bottle to put a small amount of jam or runny custard at the centre, then spoon the glaze over the top. Top with sprinkles for an extra doughnut-y feel.

Chai chocolate fudge and acceptance

sceneA friend of mine refuses to accept that white chocolate is chocolate. She also refuses to eat it because of its ambiguity, the fact that it masquerades as something that it isn’t.

This is fine, it’s her choice (actually it’s rather advantageous to me, more white chocolate consumption on my part), but she is definitely missing out. I never really sided with my friend until this recipe, when I actually contemplated white chocolate.

White chocolate, I’ve realised, is not really chocolatey tasting at all – it’s smooth and sweet and that’s about it…not that there’s anything wrong with this! In being so indistinct, white chocolate lends itself perfectly to other flavours, it welcomes them openly – it works perfectly with the caramel of the sweetened condensed milk, and also complements the spicy, warm notes of the chai flavouring. Continue reading “Chai chocolate fudge and acceptance”

Chocolate milkshakes and childhood

aboveIt turns out that yesterday was chocolate milkshake day.

How did I miss such a glorious day??

As soon as I found out that I’d missed it, I set about to make amends (mainly for my own benefit, but hopefully my readers will appreciate it as well!) I made six variations on the humble old chocolate milkshake – I hope one (or more) of them take your fancy.

NormanNorman wasn’t too impressed with my recipe choice today – he spent the day snuggled on the lounge because he decided it was too cold for milkshakes.

I love everything about milkshakes. I love how milk straight from the fridge is the coldest liquid substance you can drink, how lovely milkshakes are when they’re jam-packed with ice cubes, how some chunks of ice cream get stuck in your straw as you drink them. And how satisfying those last few chocolatey bubbles are when you get to the bottom. Continue reading “Chocolate milkshakes and childhood”

Queen of Hearts Tart (White chocolate cheesecake)

I’ve got a friend’s birthday coming up soon and I’m trying to put together a few recipes to make her party special. It will be a high tea style thing because she’s not a big fan of birthdays. I can’t understand why she doesn’t love birthdays, but I’m loving the challenge of finding recipes that will impress her without seeming too celebratory.

I’m keeping plans a little bit secret, so I won’t blab too much. Keep an eye out for her birthday post later this week, I have a feeling that it’s going to be great!

Before you start the recipe, ensure you’ve got a syringe. Like the ones you give kids medicine with. It sounds odd, but it’s a really simple decorating tool.

I appropriated this recipe from one I found at Cooking Classy.

White chocolate cheesecake tart:punch glass (1024x683)

  • 2 sheets shortcrust pastry
  • 300g cream cheese
  • 1/3 cup sugar
  • 1 egg
  • 1 egg white
  • 1 tsp vanilla
  • 1 ½ tsp lemon juice

Raspberry puree

  • 1 1/2 cups frozen raspberries
  • 2 tbsp sugar
  • 1 tbsp cornflour
  • ¼ cup cold water

Grease six tart tins. Preheat the oven to 180°C.
strainPut your frozen raspberries in a small saucepan over a medium heat and sprinkle the sugar in. When the raspberries start to defrost, add the cornflour and water. Stir it often so that it doesn’t stick to the bottom of the pan and burn. When the raspberries have broken down fully, allow the mixture to come to a boil and thicken for about two minutes. Remove your puree from the heat and put it through a strainer to get rid of all the seeds.strained

It’s going to look a little bit like something from a bad horror film – all red and gloopy, but it’s delicious. Set your puree aside, you’ll need it in about ten minutes.

Cut your pastry into squares and fit them into your tart tins. You’ll need to do this in two batches, the recipe makes about 12. Pop them into the oven for 10 minutes so that the pastry cooks slightly – you may want to weight them down with baking weights to stop it from bubbling up.

like creamWhile the tarts cook, beat the cream cheese and sugar together until fluffy in a large mixing bowl (this will take about one minute.) Mix in your egg and egg white, then the vanilla and lemon juice. Melt your white chocolate and stir the cream into the chocolate. When the chocolate and cream are completely combined, add them to the cream cheese mixture and mix thoroughly. It should be a similar consistency to whipped cream – don’t worry, it will cook into a more cheesecakey consistency.

Remove the tart cases from the oven and allow them to cool. Take them out of their cases and put your second batch of cases in to cook. When your second lot of tart dough has come out of the oven and cooled, prepare to put your cheesecake mixture in.

syringeSpoon the mixture so that the tart cases are about ¾ full (the mixture will rise slightly as it cooks.) Get out your syringe and prepare to get crafty! Grab your bowl of raspberry puree and suck up as much as you can into the syringe. I’d advise you to keep the nozzle moving so you don’t suck up much air, because air bubbles are annoying. Ensure that the tops of your tarts are as smooth as possible and inject small circles of raspberry into them. Don’t crowd the circles because you’ll elongate them later to make the hearts. Once you’ve put circles in all of them, get a toothpick and run it through the centre of each circle in a continuous line. You may want to wipe the toothpick after each tart to make cleaner lines.spotsswirl

Don’t worry if they’re not completely neat, as long as you run your toothpick through the centre of each circle, they’ll look heart-like. Little tricks like using the syringe or a piping bag may seem fiddly, but get easier with practice, and give your baked goods a professional finish.norman watched

Bake tarts back in the oven for 15-20 mins. Take them out of the oven and allow them to cool completely before serving. They’ll set more as they cool, so don’t rush them by eating them warm!

trio