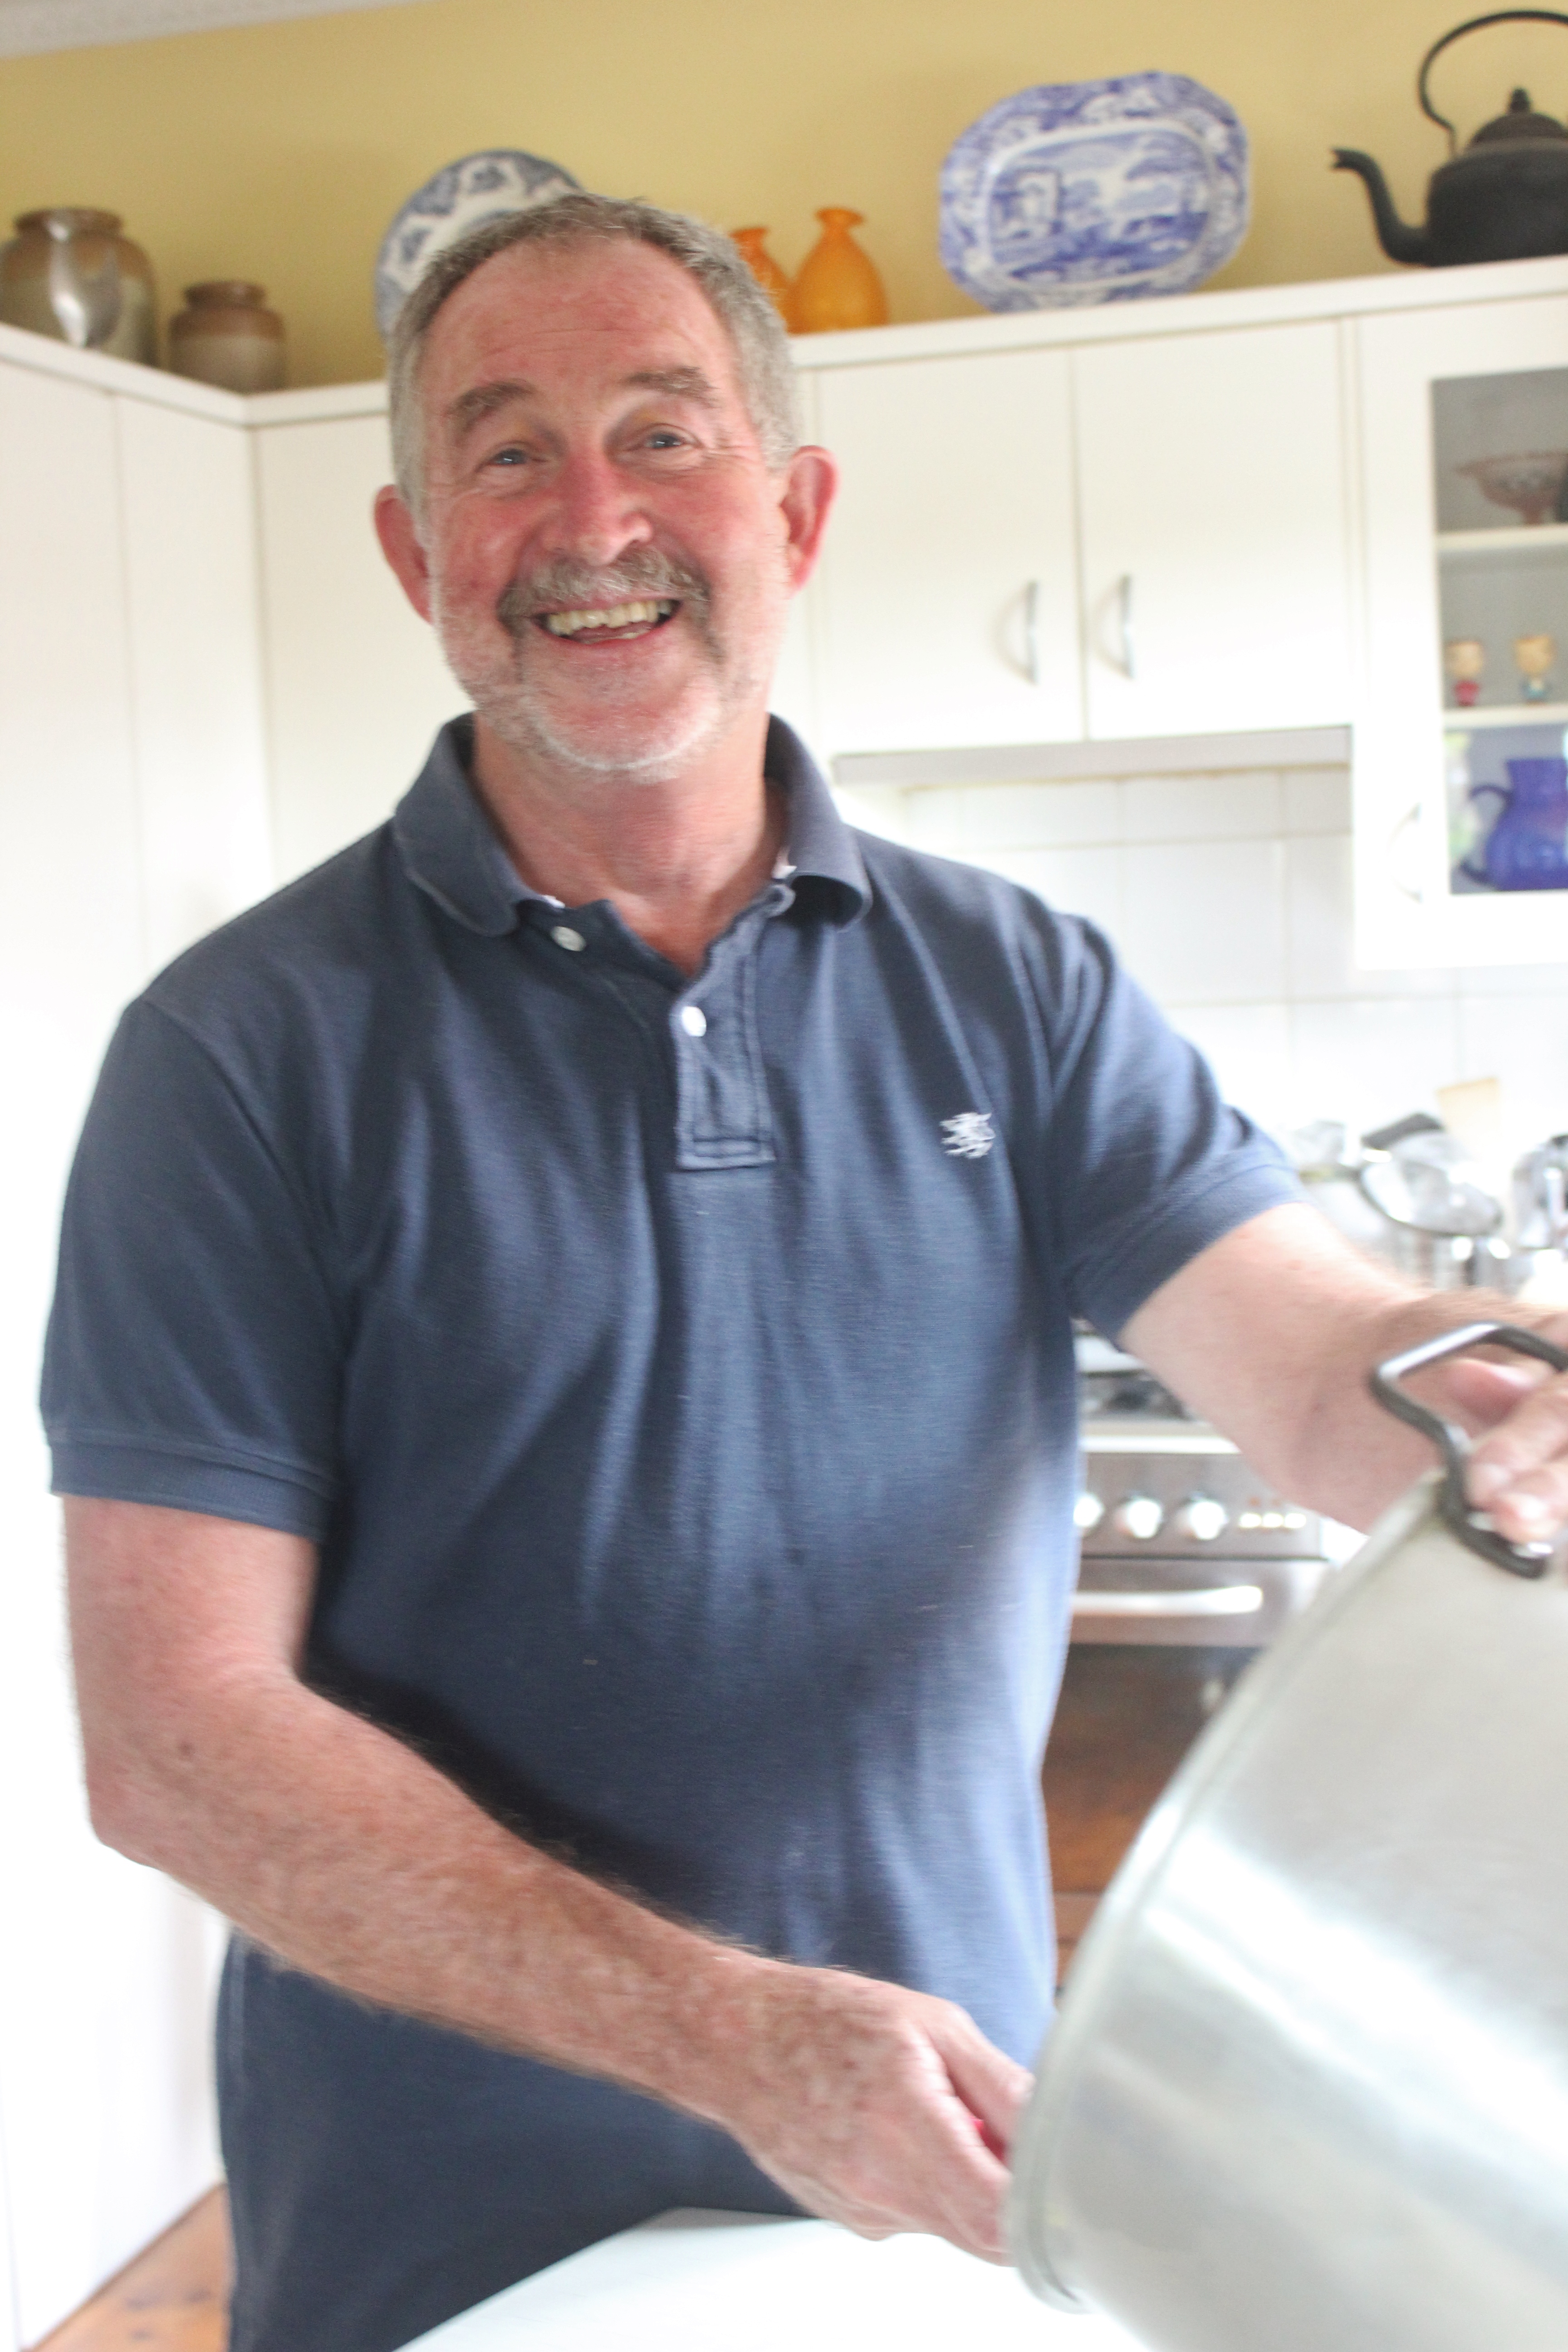
My claim to this pudding is not all-encompassing; it’s mine, but it’s not. It’s my dad’s. And it’s his mum’s. And it belonged to Quirks before her. This pudding is so deliciously entrenched in my family’s Christmas celebrations that I can’t imagine the festive season without it. So I’ve enlisted number one pudding expert, Neil Quirk to help with this post.
My family does, however, have a claim to Christmas. We don’t do it by halves. We love fairy lights and we have a colour theme for our Christmas tree every year. We also have a real Christmas tree (which I didn’t realise was that unusual until about five years ago, when I discovered that most people have to store their Christmas trees away in a box come January, whereas ours is chopped up and thrown into the garden as compost!) I feel as though my mother darling and I have done a particularly splendid job this year – we have an inside AND outside Christmas tree which is a first.
 And we have a babushka-style nativity scene. This makes me happy.
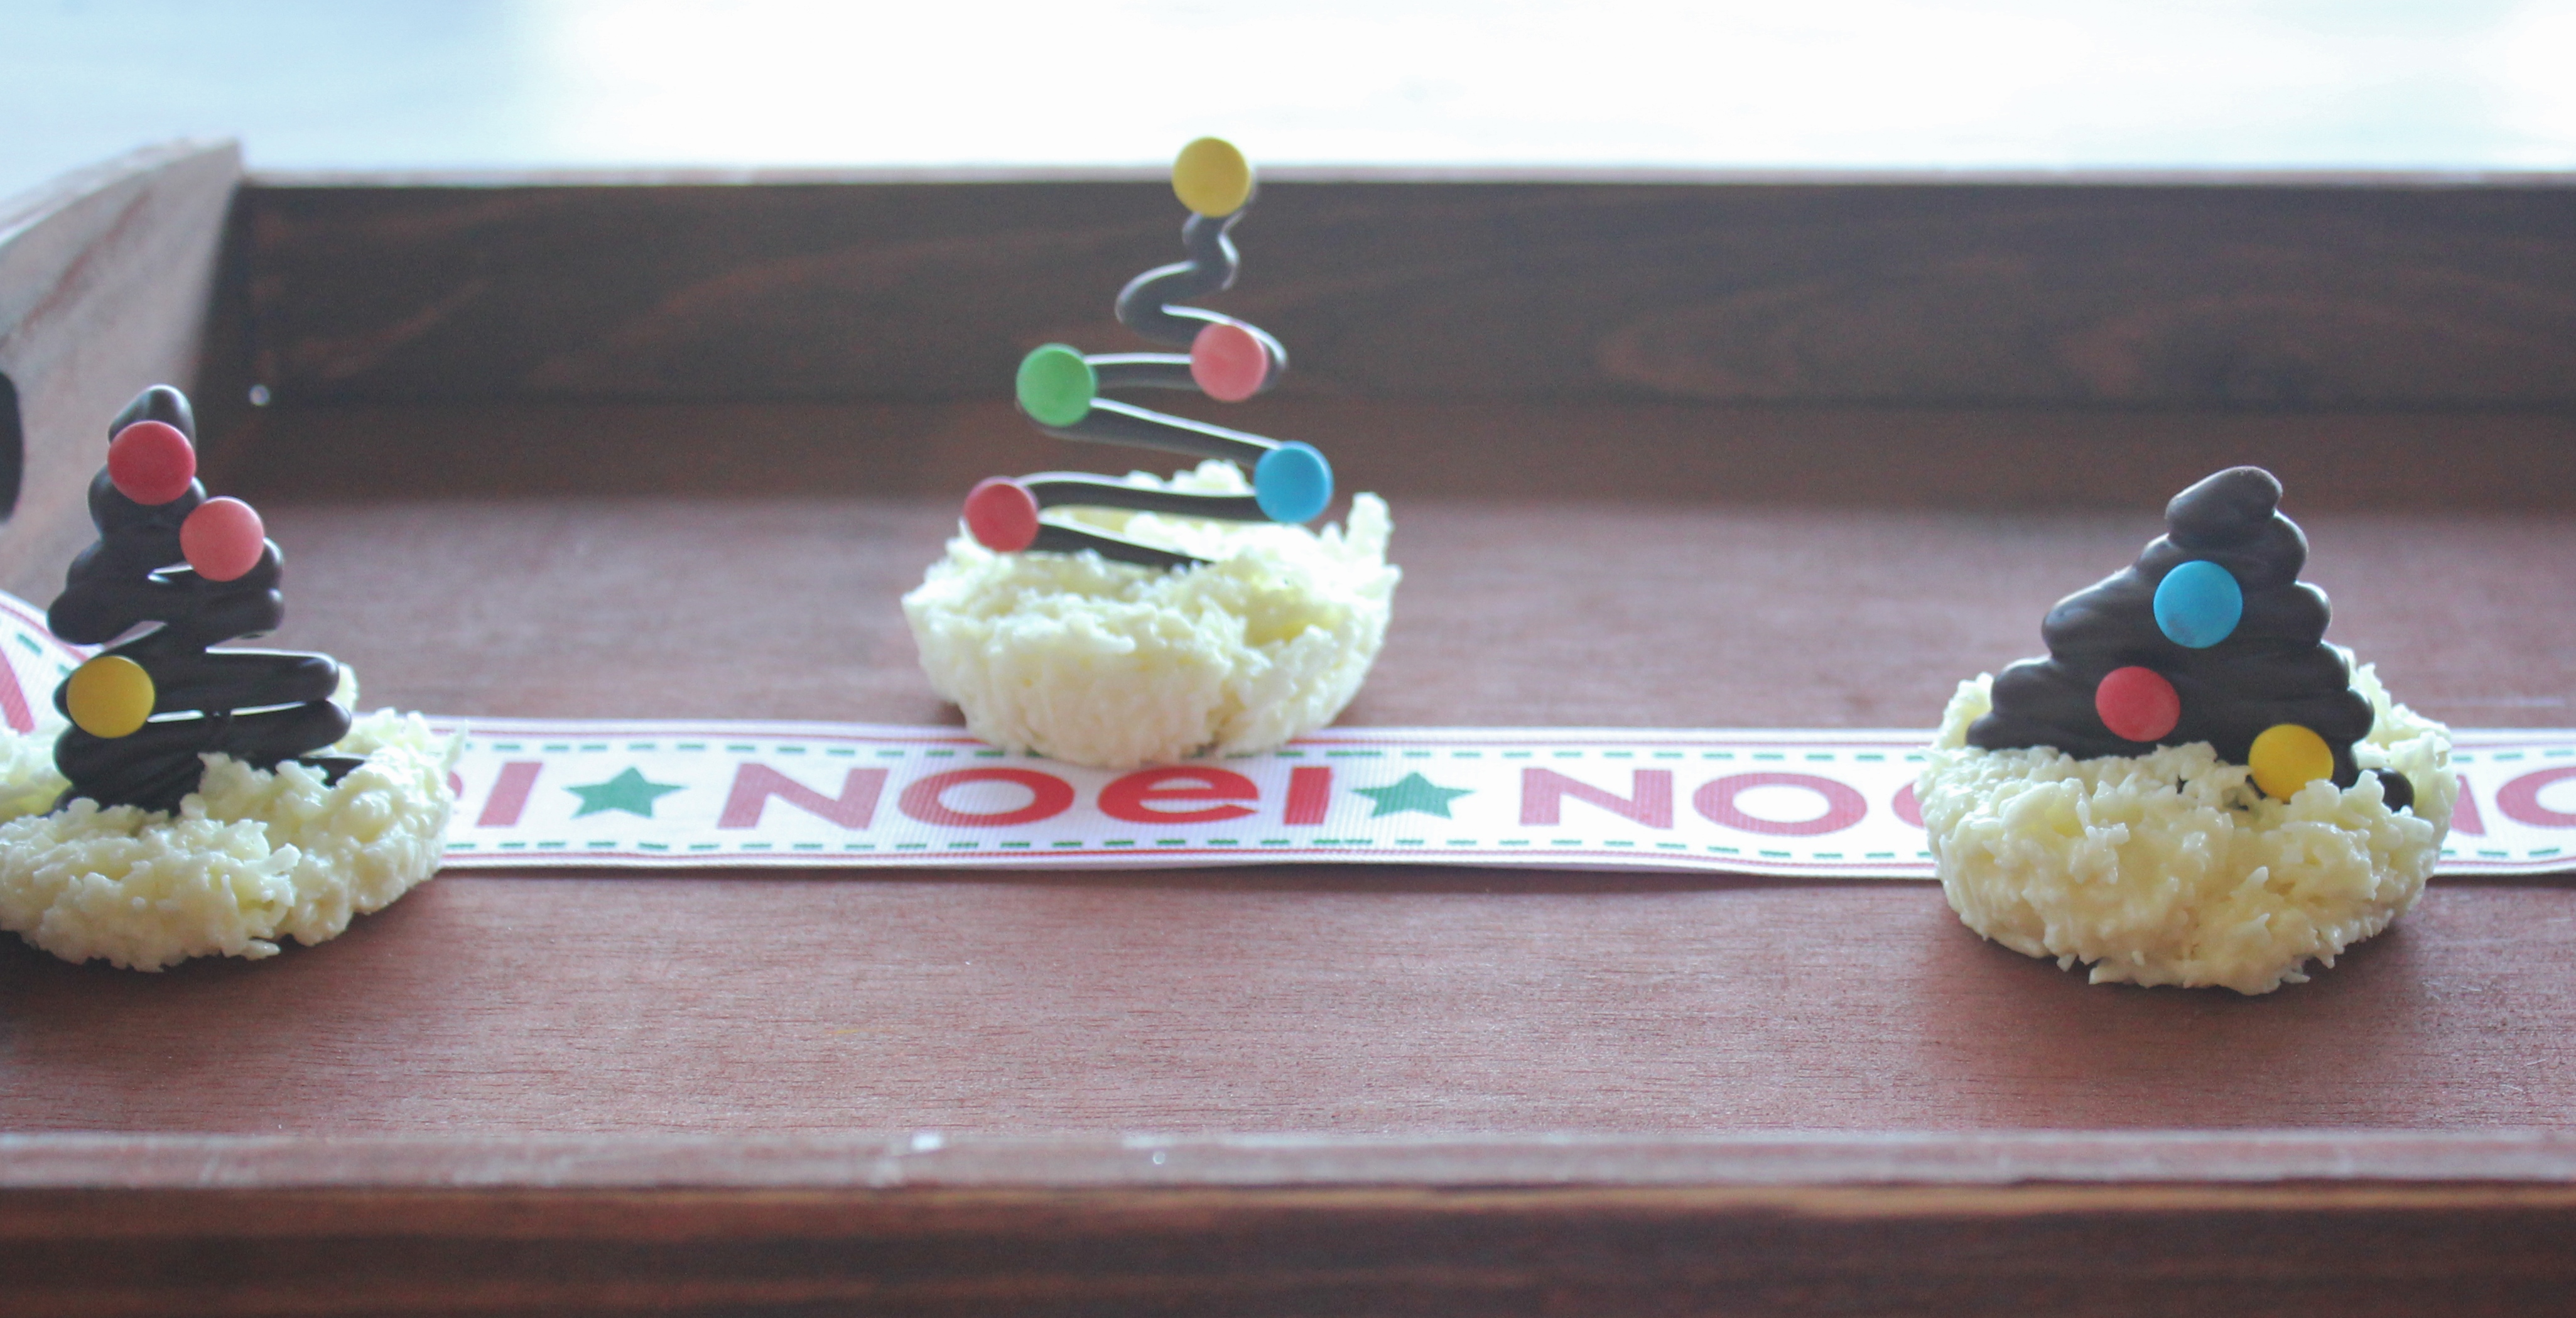
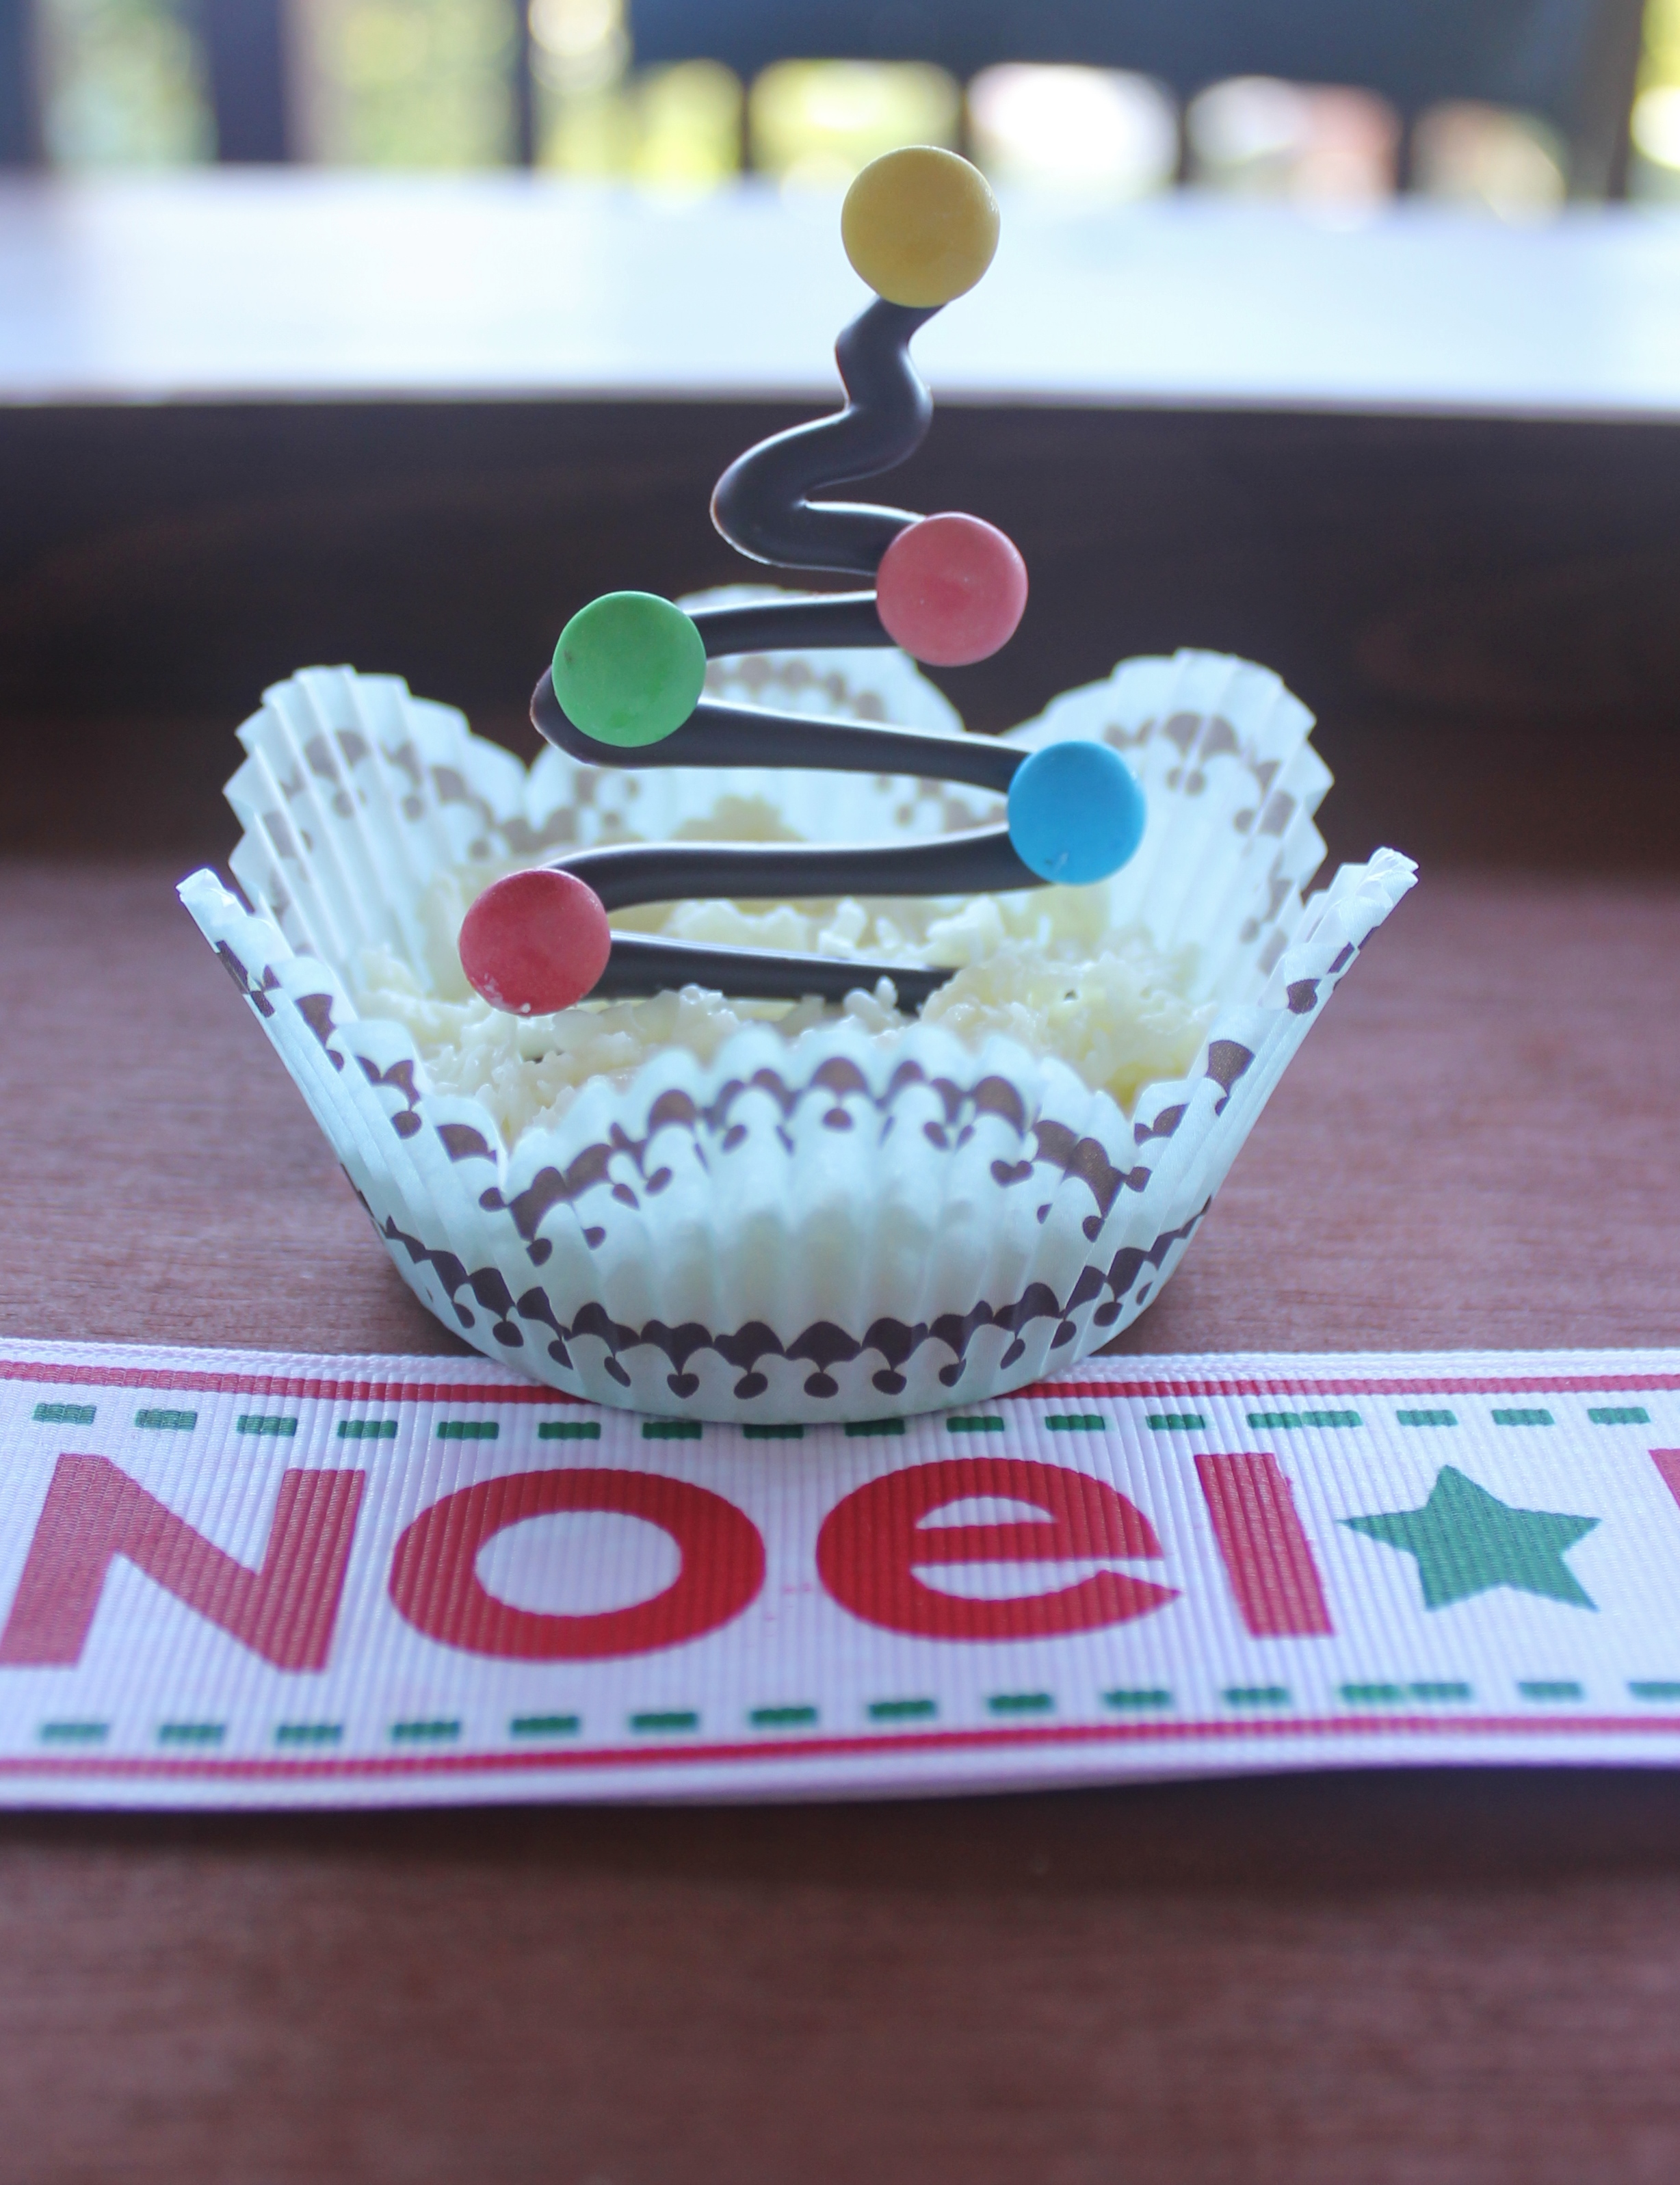
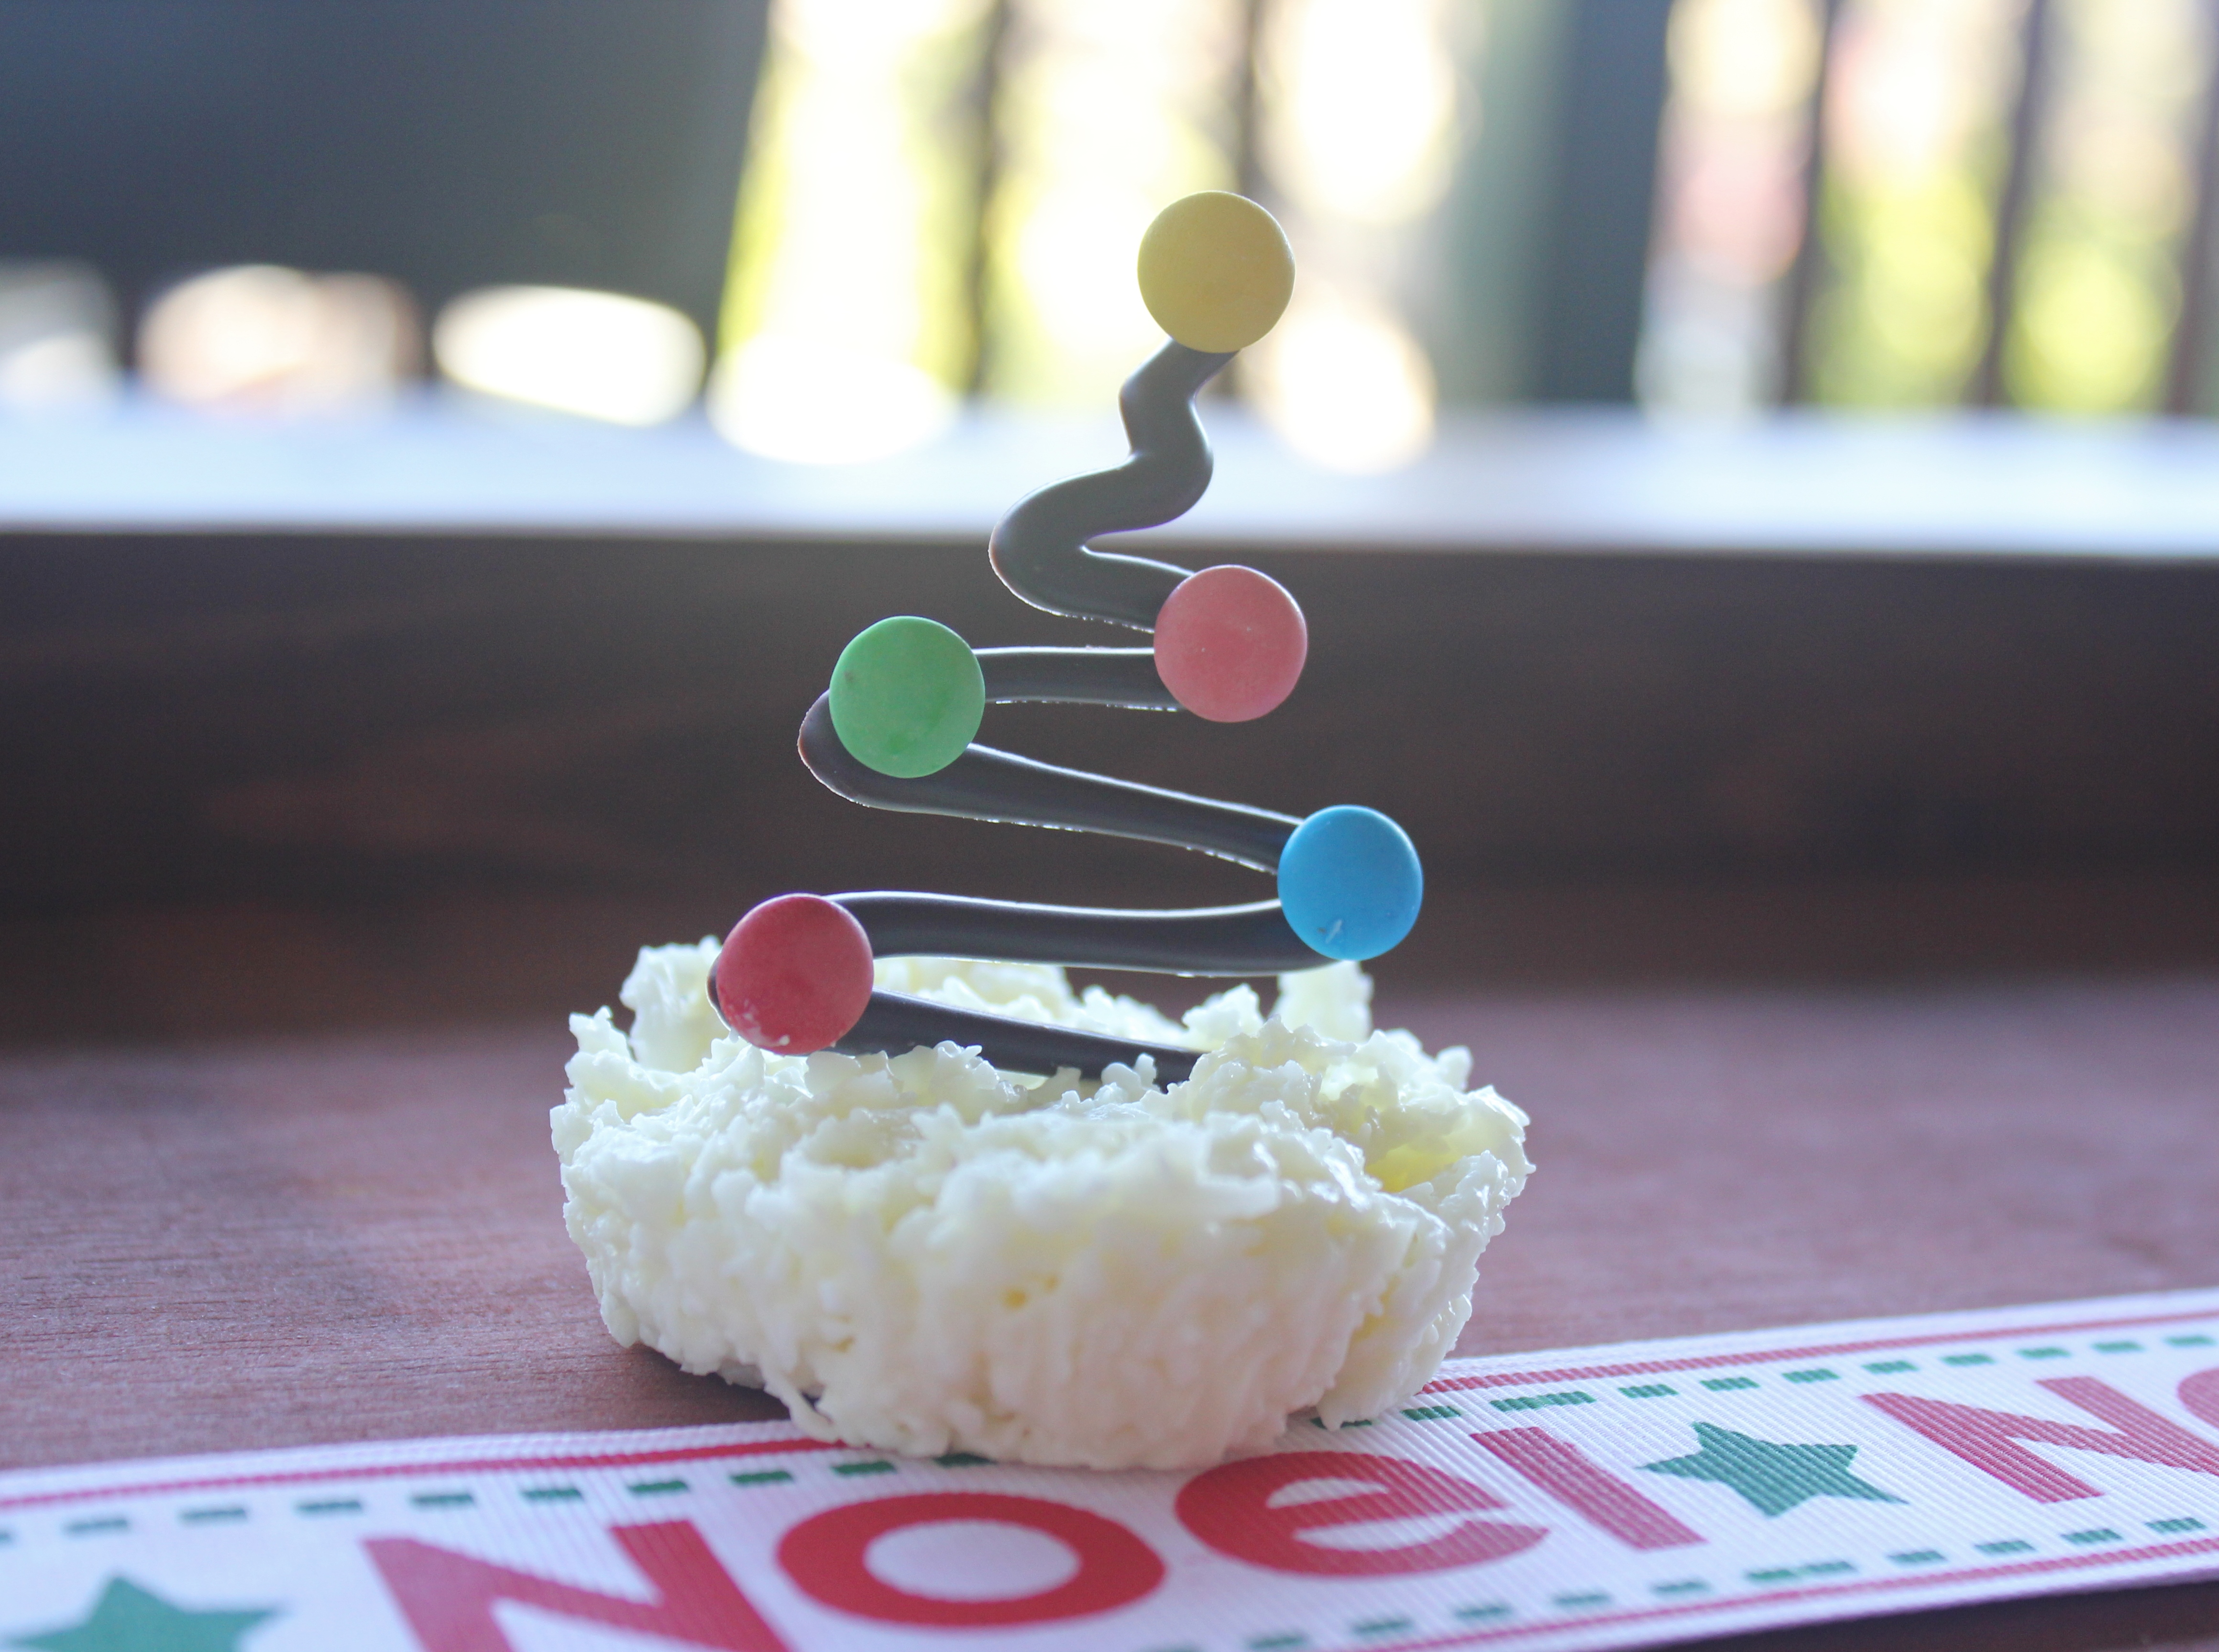
Everything about Christmas is magical, and I like to think that the experience of this pudding is kind of magical too. From the very start, where you bloat your fruit with alcohol, to the mixing in of coins and the lighting of the brandy sauce, this pudding is Christmas.
Makes one 4kg pudding, which serves 30-40
- 1 unbleached calico or cotton cloth (about 80cm square)
- 2 lengths of cotton string
- 450g raisins

- 450g currants
- 450g mixed fruit
- 50g glace cherries
- 150ml rum or brandy
- 450g butter
- 500g brown sugar
- 8-10 eggs
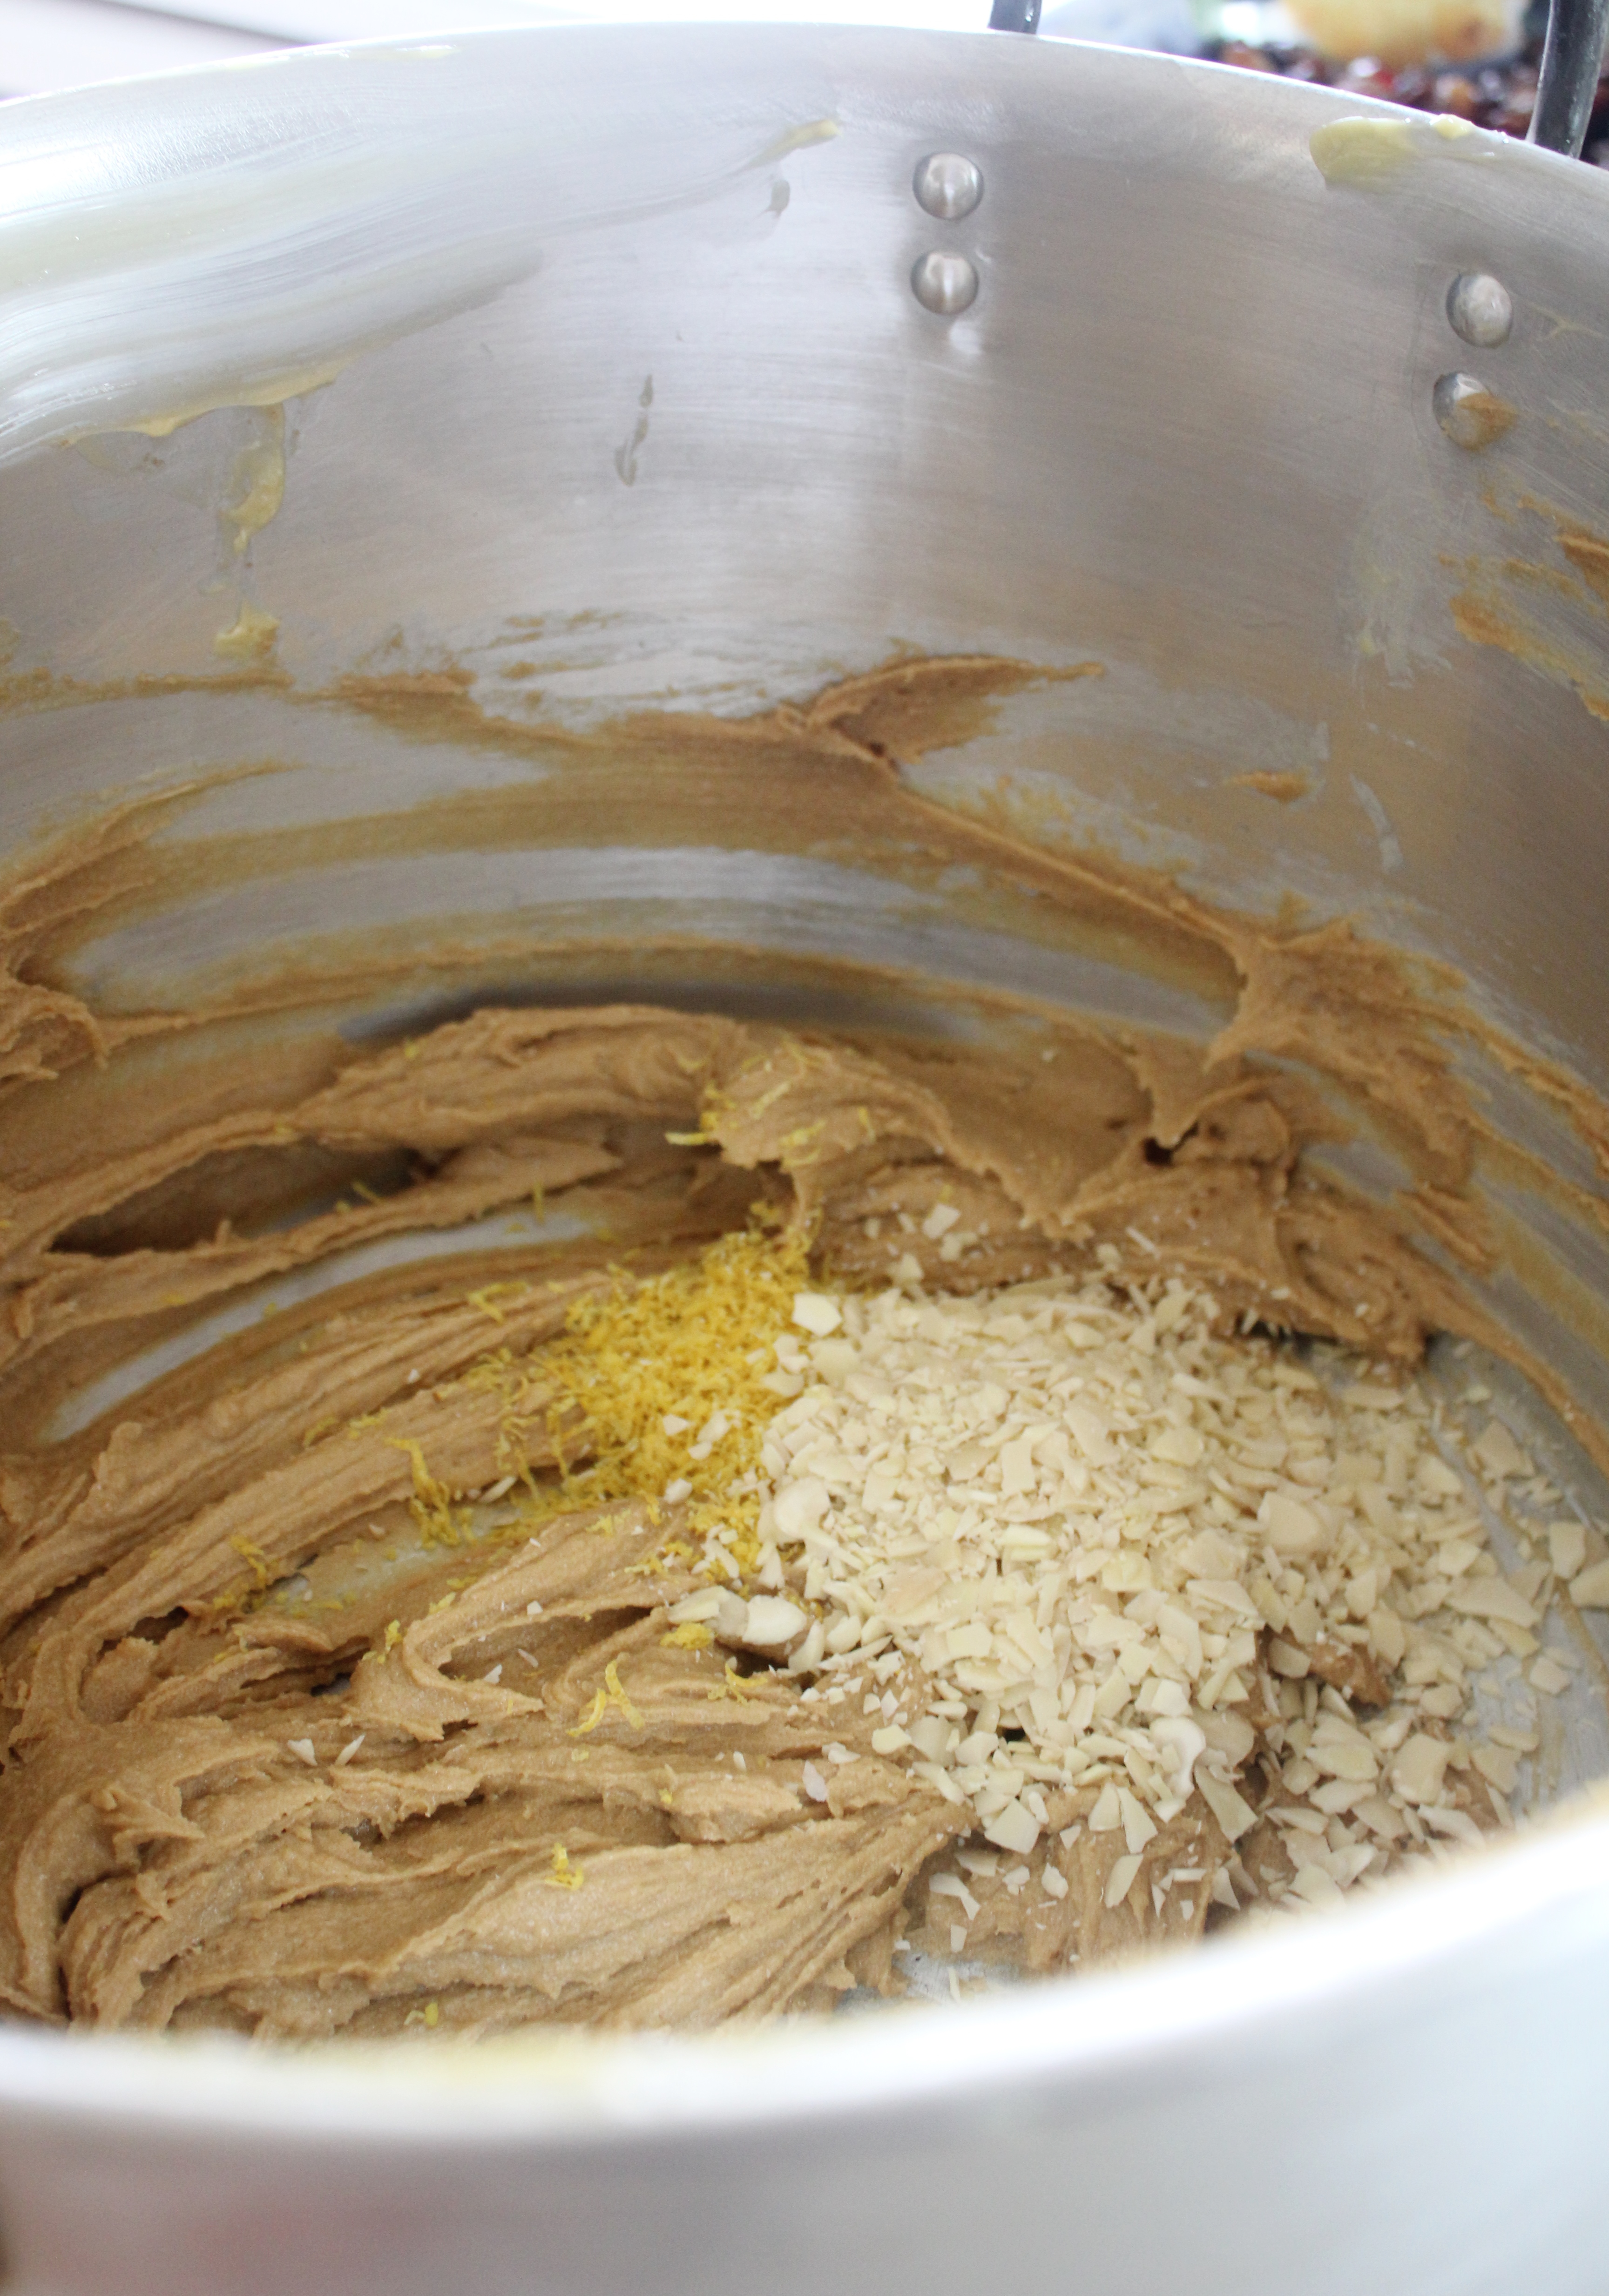
- Rind of 1 lemon
- 350g plain flour
- 1 tsp nutmeg
- 1 tsp mixed spice
- 50g blanched, chopped almonds
- 225g dried breadcrumbs
- ¼ tsp bicarb
- 1 pinch salt
 I’m going to preface this recipe with a warning – you need quite a large bowl to mix this colossal pudding in, and you’ll need an even bigger pot to steam it in. The traditional Quirk family pudding is mixed by hand (which can get quite greasy and sticky in the hot Australian December weather), but you have my permission to use a wooden spoon.
You also need to leave the fruit to imbibe overnight. Pop all of the fruit into a large bowl and pour your rum or brandy over it. Mix well, then cover with cling wrap and leave overnight (or for a few days if you have time.)
 The next day, cream your butter and brown sugar together. Add in the chopped almonds and then the lemon rind, mixing thoroughly. Beat your eggs in a separate bowl and add them into the mixture.
At this point in time, put a large pot of water on the stove to boil. Add your calico or cotton cloth to the water to sterilise it. Leave it to bubble away for at least ten minutes.

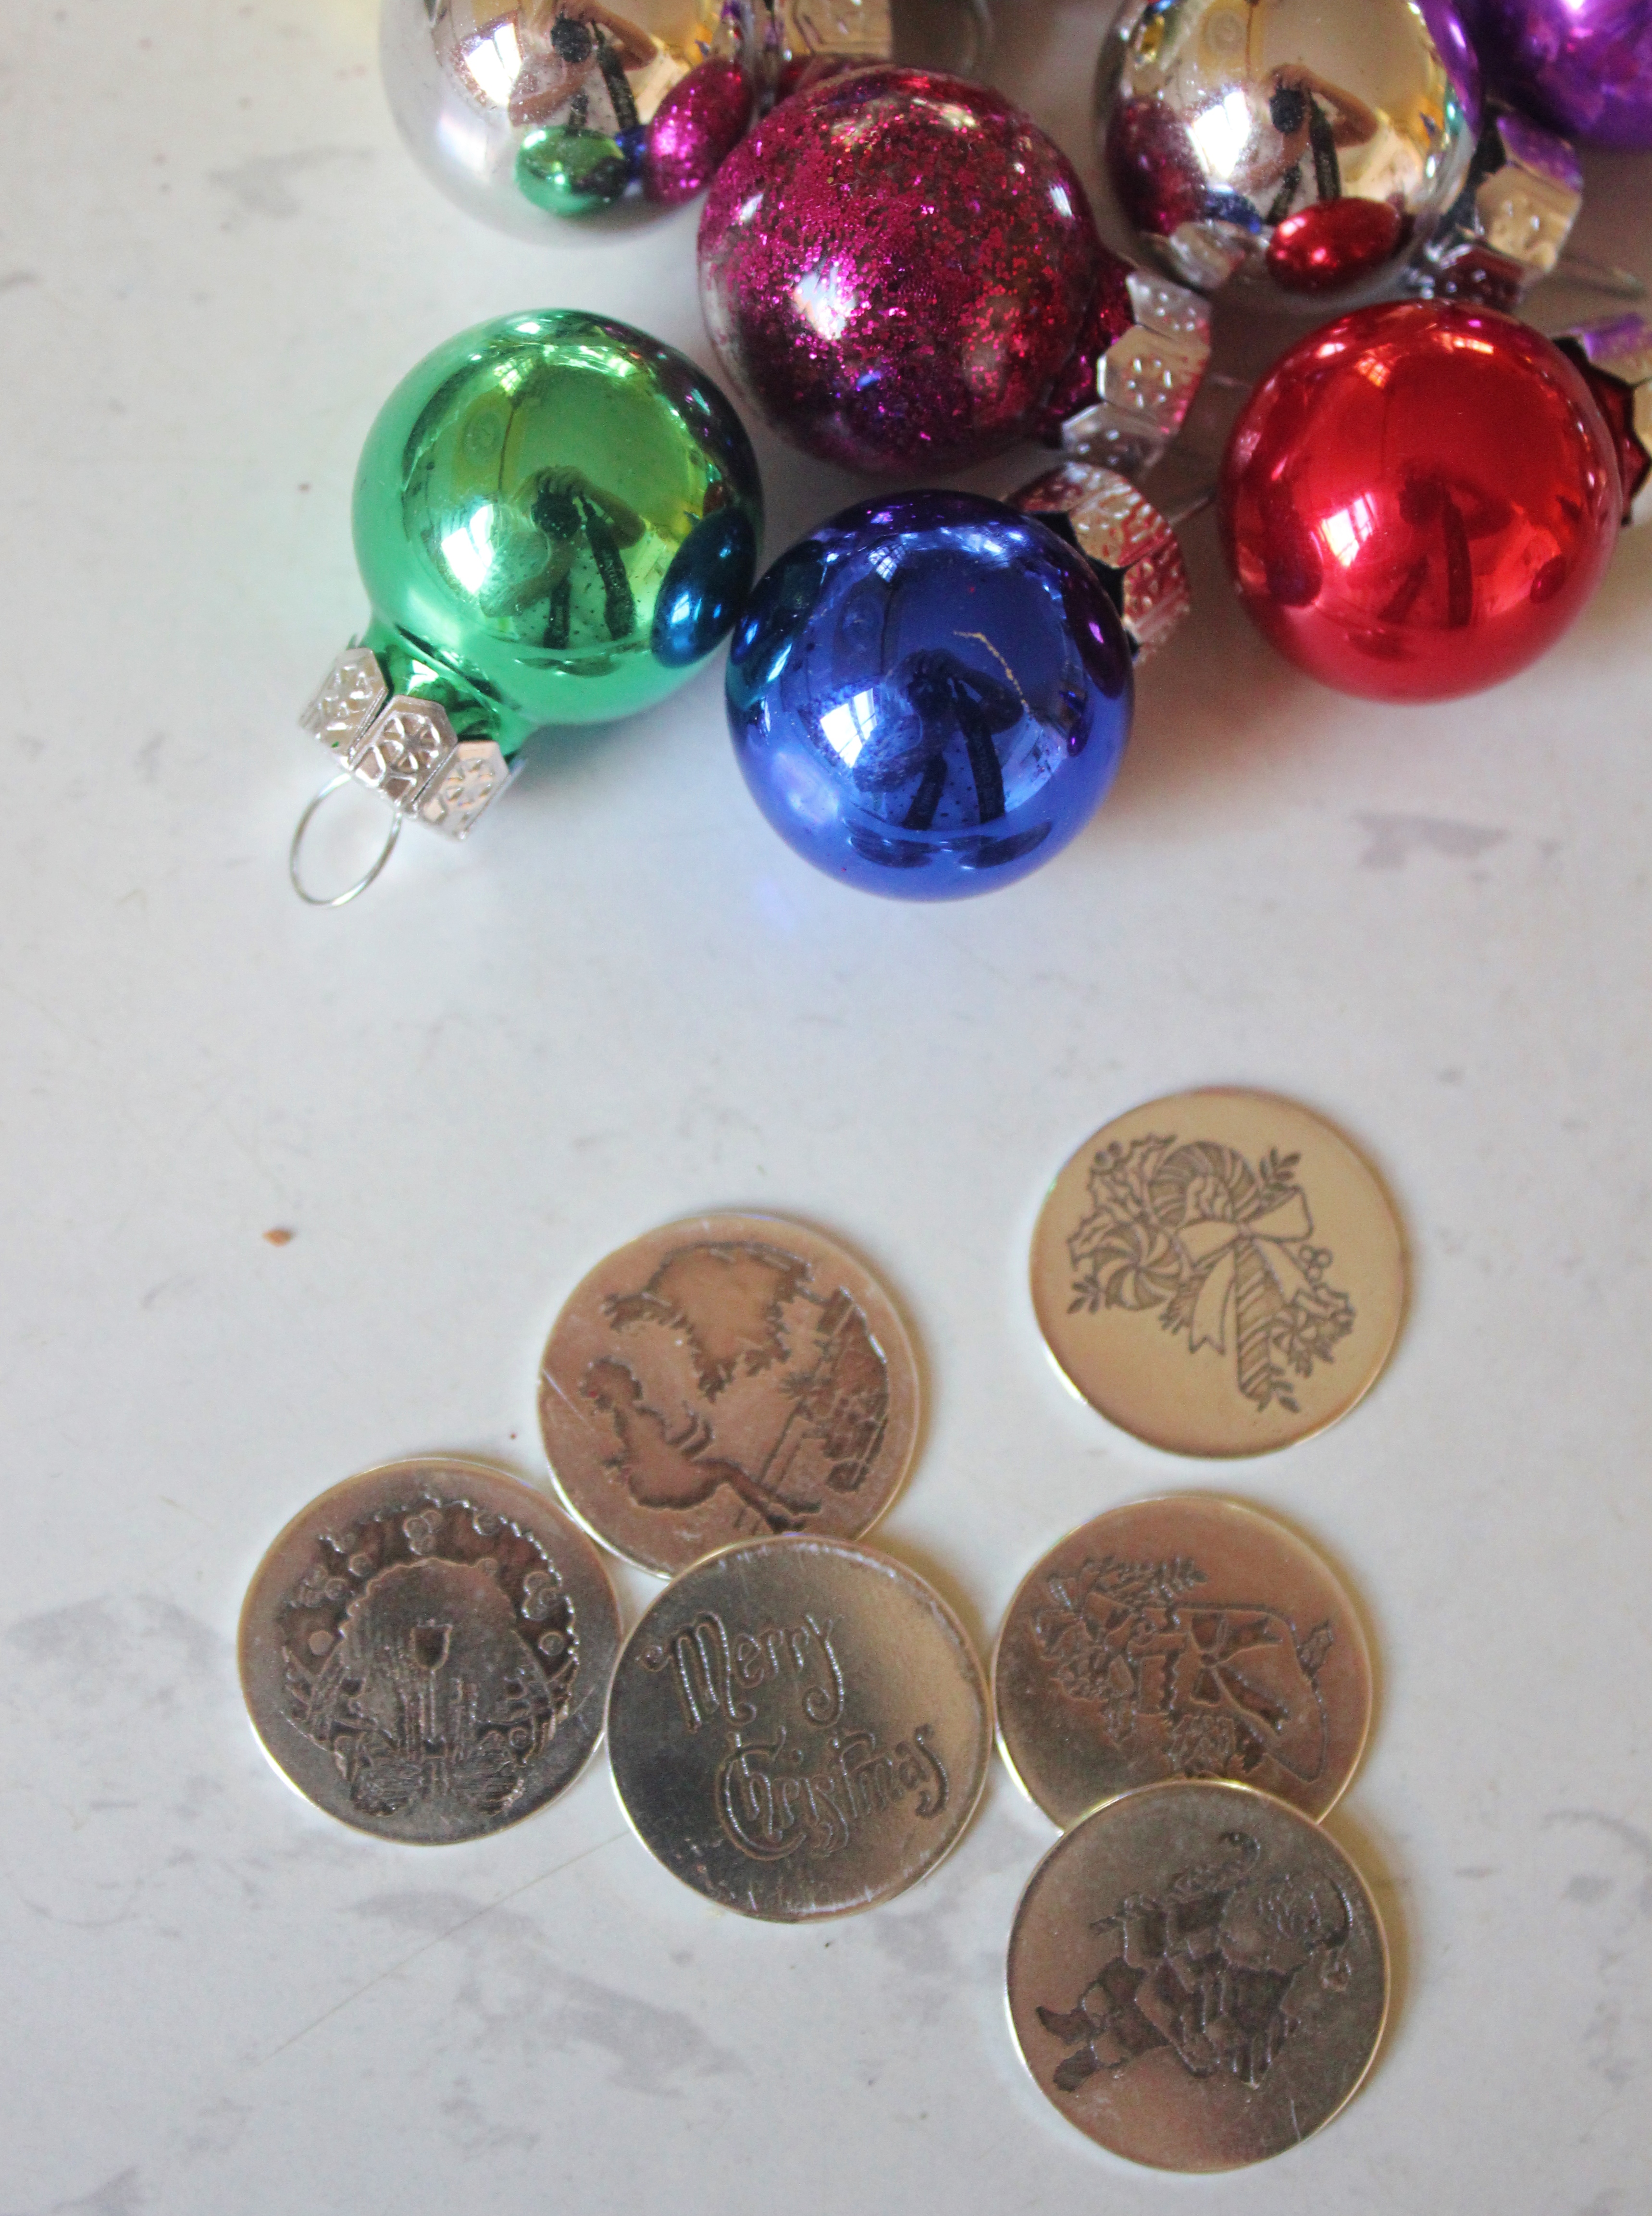
If you’re using pudding coins, pop them in to sterilise as well for ten minutes as well. My dad uses genuine sixpences from the Perth mint, but I stumbled across these beauties from jeweller, Simone Walsh and bucked tradition slightly by using them instead of the sixpences.
 Add the flour, nutmeg, spices, breadcrumbs, bicarb and salt and to the mixture and combine. Spoon the alcohol-bloated fruit into the dry ingredients, mixing as you go, until all of the fruit is mixed in.
Grab a colander and take the sterilised items off the boil. Remove the cloth (and coins if you’re using them) from the water. Spread your cloth evenly across the colander and sift a thin layer of flour over the cloth. This flour will form the skin on the pudding.
 Pop the coins into the mixture now, if you’re using them. Each person in my family gets to put a coin in the mixture and make a wish, it’s a tradition. You toss the pudding in and then mix it. It’s dorky, but I love it.
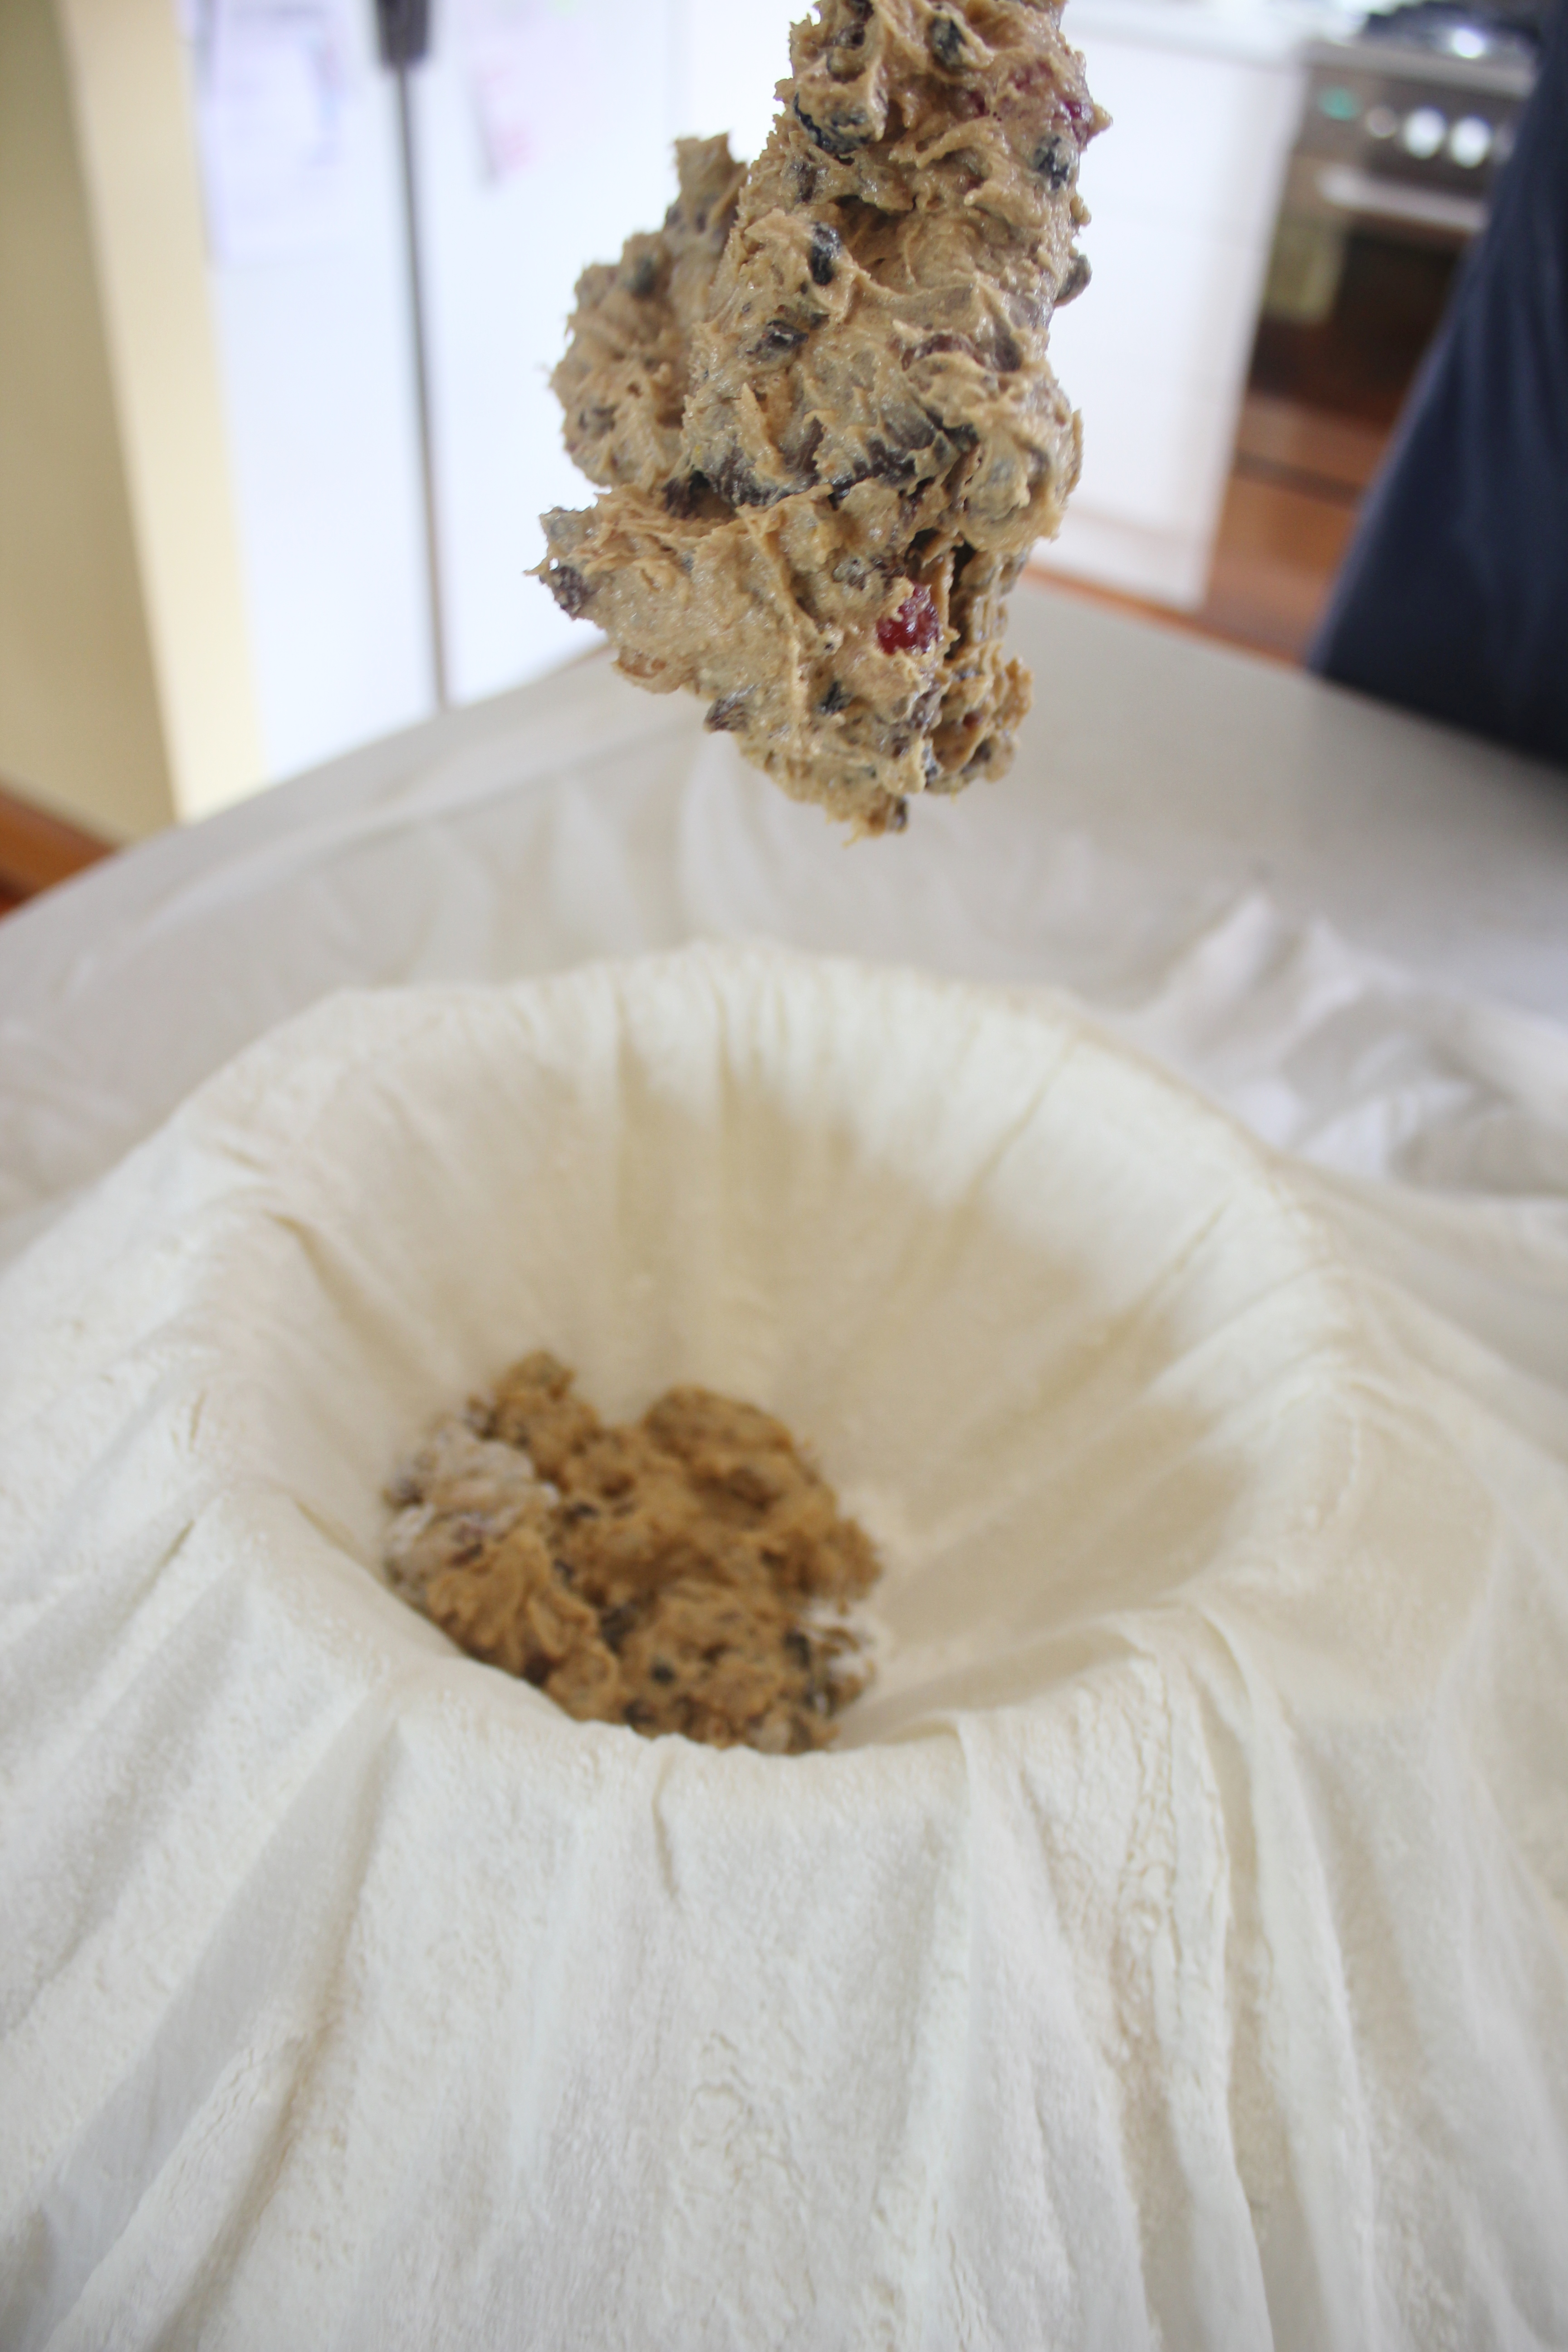
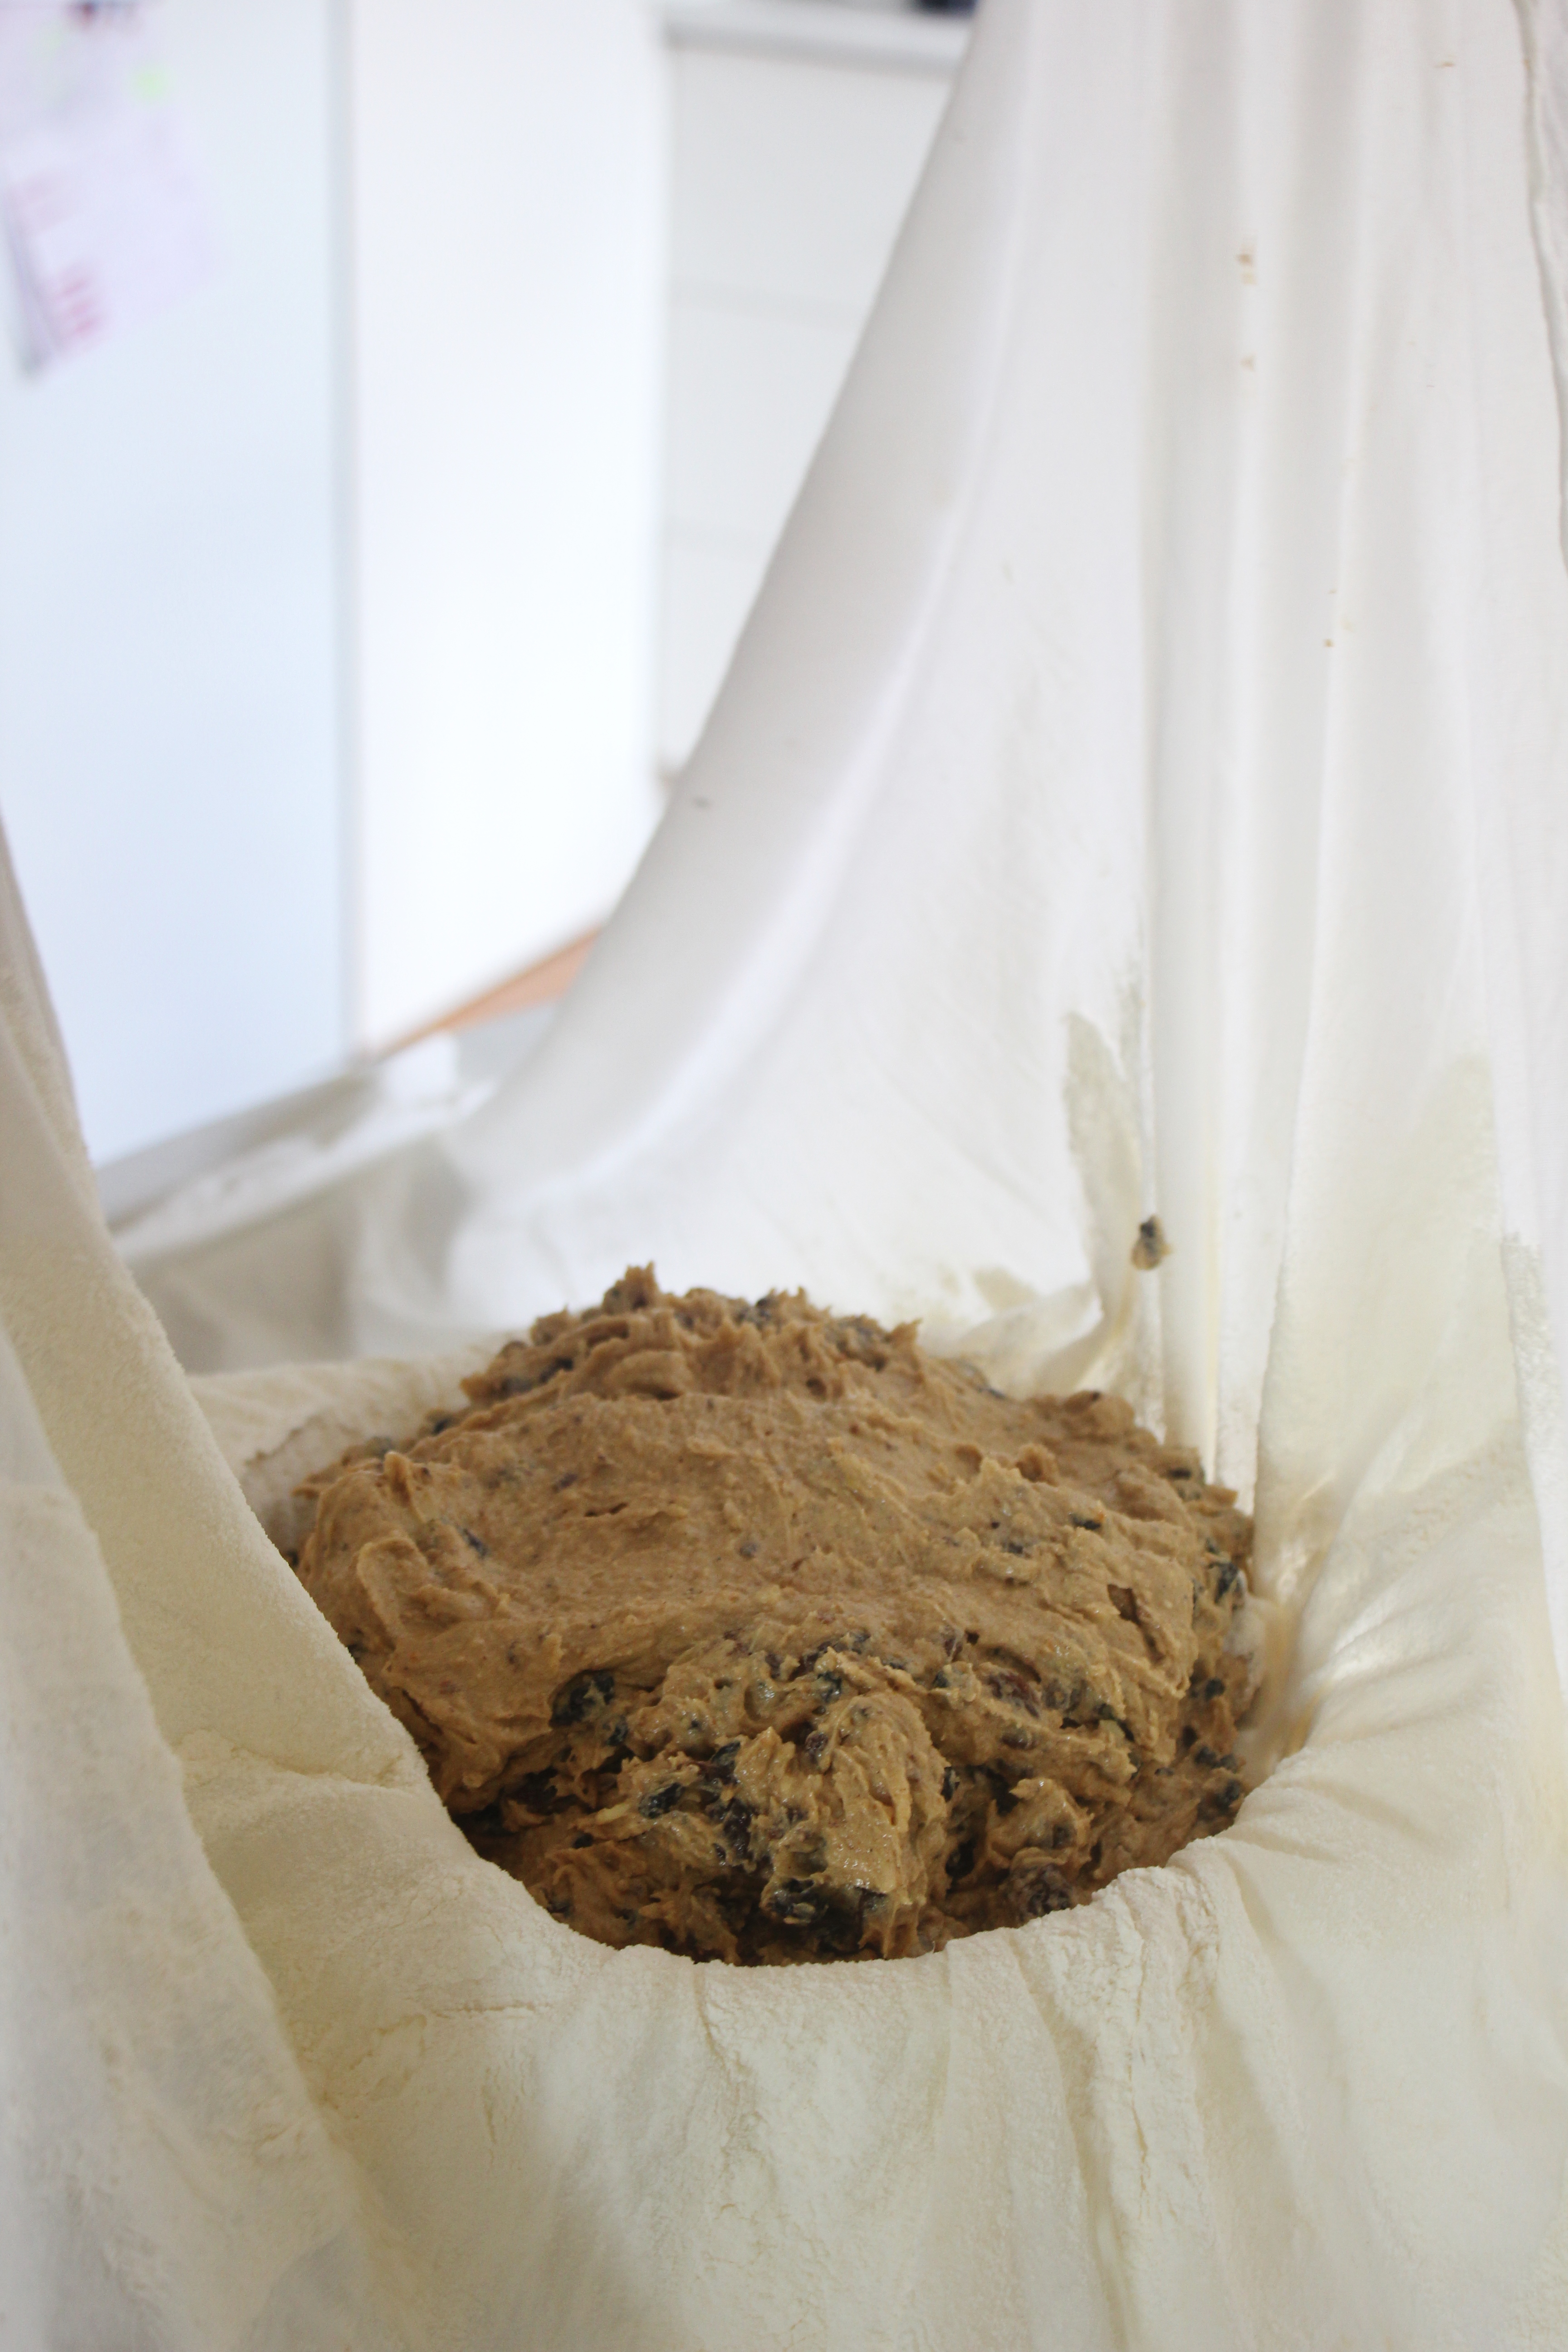
Spoon your mixture onto the cloth in the middle of the colander, it should take on the rounded shape of the colander. When all the mixture is in the colander, cut two medium lengths of cotton string. Take each of the four corners of the cloth and bring them up to make a central stem at the top of the pudding.
You may need to jiggle the mixture slightly to make the mixture rounded and pudding shaped.  Take one piece of string and tie a knot as tightly as possible as close to the base of the stem as possible (it’s easier if you ask for a helper at this point in times. Wind the string around the base a second time, and tie it again.
 About 4cm up from the initial knot, repeat the double knot process, but make a loop on the top one for hanging.
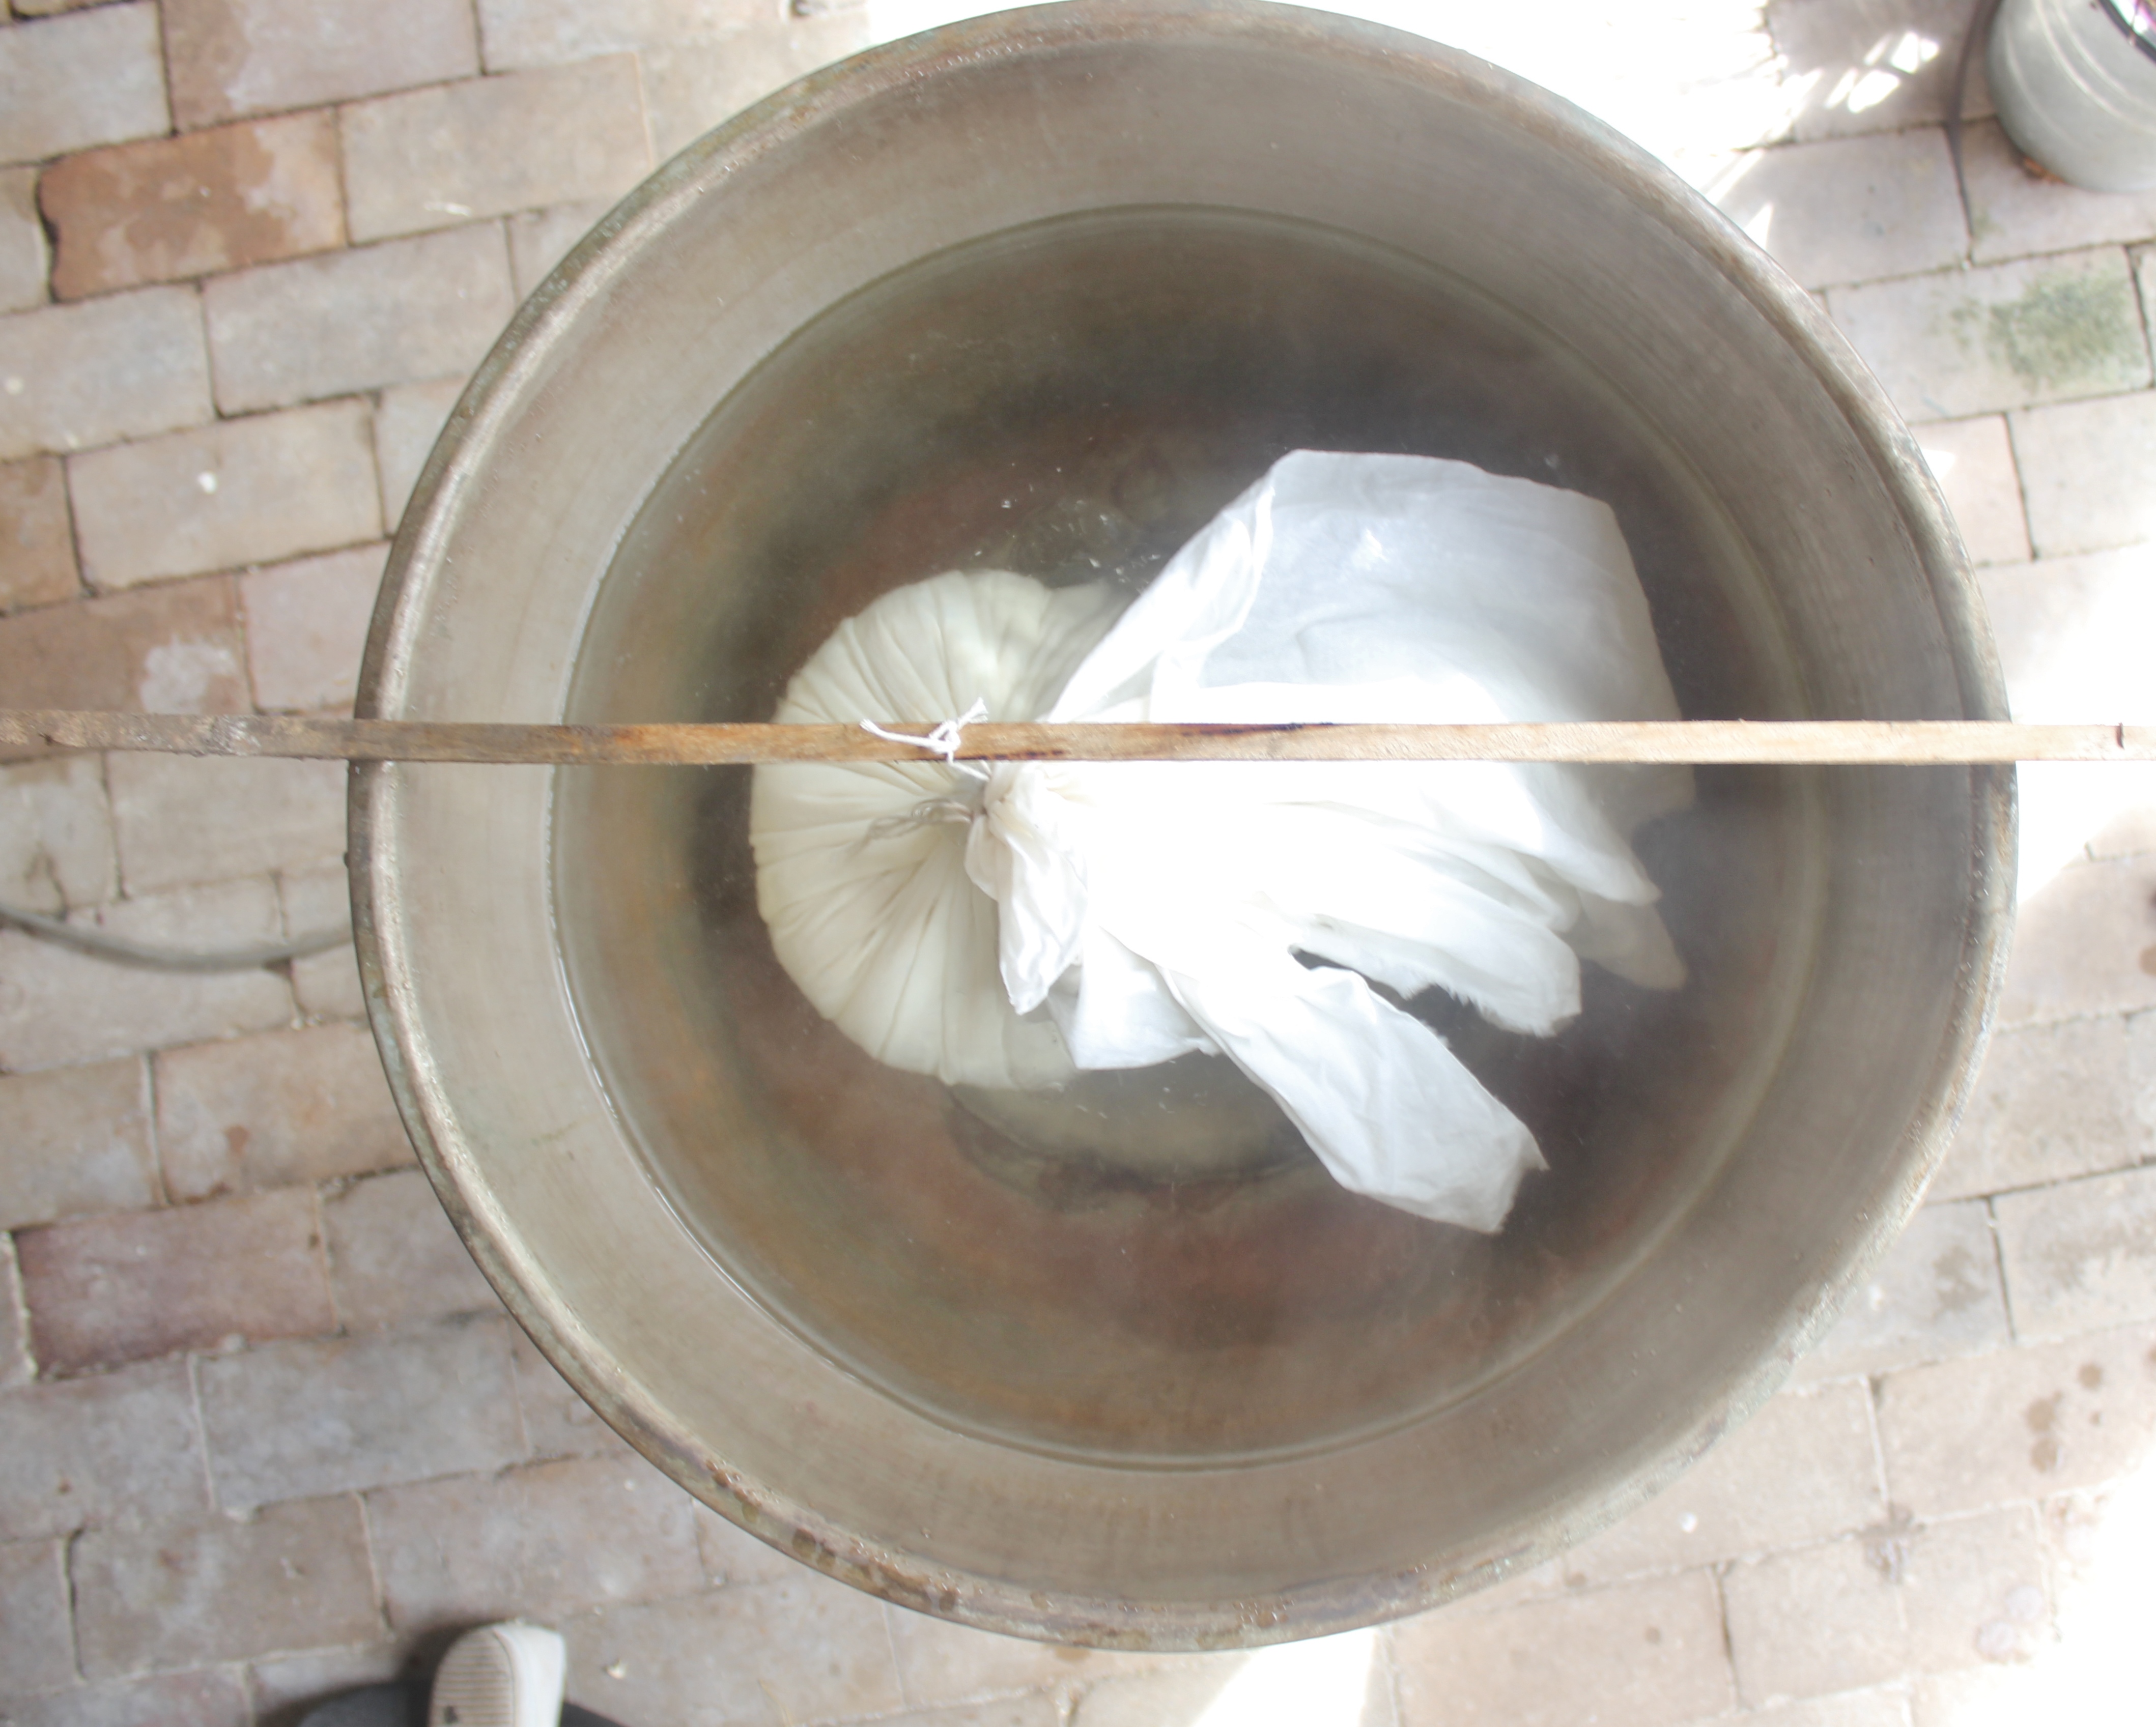
Fill your kettle several times and pour the boiled water into your boiler (my dad uses an ancient antique electric clothes copper, but you can just use a large soup pot.) Thread a stick or long wooden spoon through the loop that you left in the top not and rest it across the pot, so that your pudding is suspended. Boil for 7-8 hours, topping up the boiled water (so that the pudding stays submerged) and then hang it from the ceiling until Christmas day.
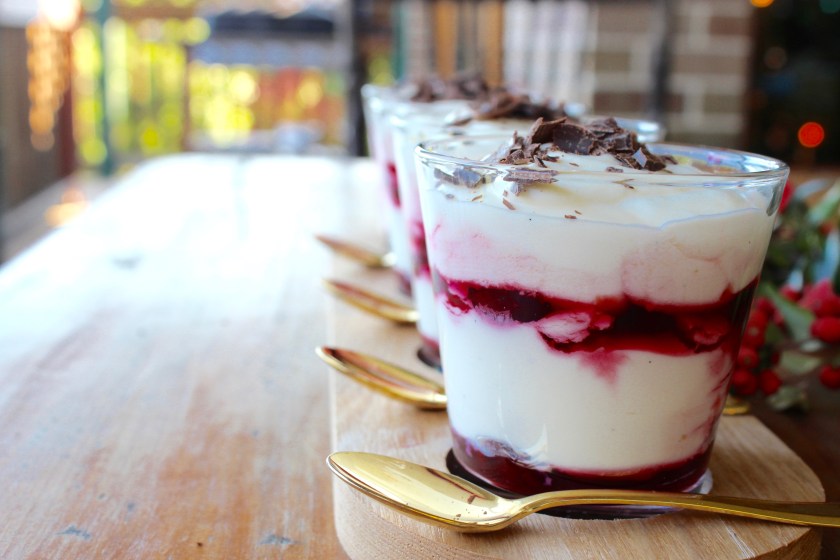
 On Christmas day, boil for 2-3 hours before serving. Peel wet cloth off , invert the pudding, and place it on a large plate. Top with holly for garnish (real or fake, either works), and serve with lashings of cream or custard. If you want to be extra showy, warm 100ml of brandy in the microwave, set it alight, and pour it over the pudding just before serving!
Warn guests to be on the lookout for your pudding coins. It’s supposed to be good luck if you find a coin in your pudding piece…I can only imagine it would be bad luck if you swallowed one!
Neil’s tips:
- This pudding can be made on Christmas Eve, or up to 2 months in advance.
 The longer the pudding hangs, the more time the flavours have to develop and intensify. That’s not to say that it won’t be delicious if you make it on Christmas Eve though!
- Calico is a sturdier option for pudding making, and can be used to make puddings year after year.
 Hang pudding in a dry, well-ventilated space to inhibit the growth of mould on the outside of the cloth as it is hanging. Check pudding every few days to ensure that all parts of pudding and cloth have sufficient ventilation.
- If you hang your pudding for a number of days, the fruit will dehydrate and
give the pudding a dimpled appearance that you’ll be able to see through the cloth. Don’t worry, they’ll re-hydrate when you boil it for the second time.
 Don’t use modern coins in your pudding. Pre-decimal threepence and sixpence coins have a higher silver content – they’re purer and won’t tarnish, whereas modern coins will turn mouldy and green because they react with the acids in the mixture.
Side note: my teapot giveaway ends at midnight tonight!! Enter before it closes!


 The closer it gets to Christmas, the more excited I get. The more excited I get, the more I crave clichéd Christmas foods – give me pudding and rich spiced cakes, mince pies and roasts. It’s funny that Australians indulge in Christmas foods inspired by their northern hemisphere counterparts. Even though Christmas day can be stinking hot, we still want to have delicious cooking smells filling the house.