Smarties cupcakes and nostalgia

This evening’s post was prompted by a request. And I’m so happy that I made them! I’m a solo worker; I choose my own recipes and prefer to make them in a kitchen with as few people around as possible. I love company, just not when I’m bustling about in my own world in the kitchen. My baking is for sharing, always, but the process is a personal one.

So when it was suggested that I make Smarties cupcakes I wondered whether I should acquiesce or not. I hadn’t had a Smarties cupcake since my childhood.

And therein lies their brilliance.

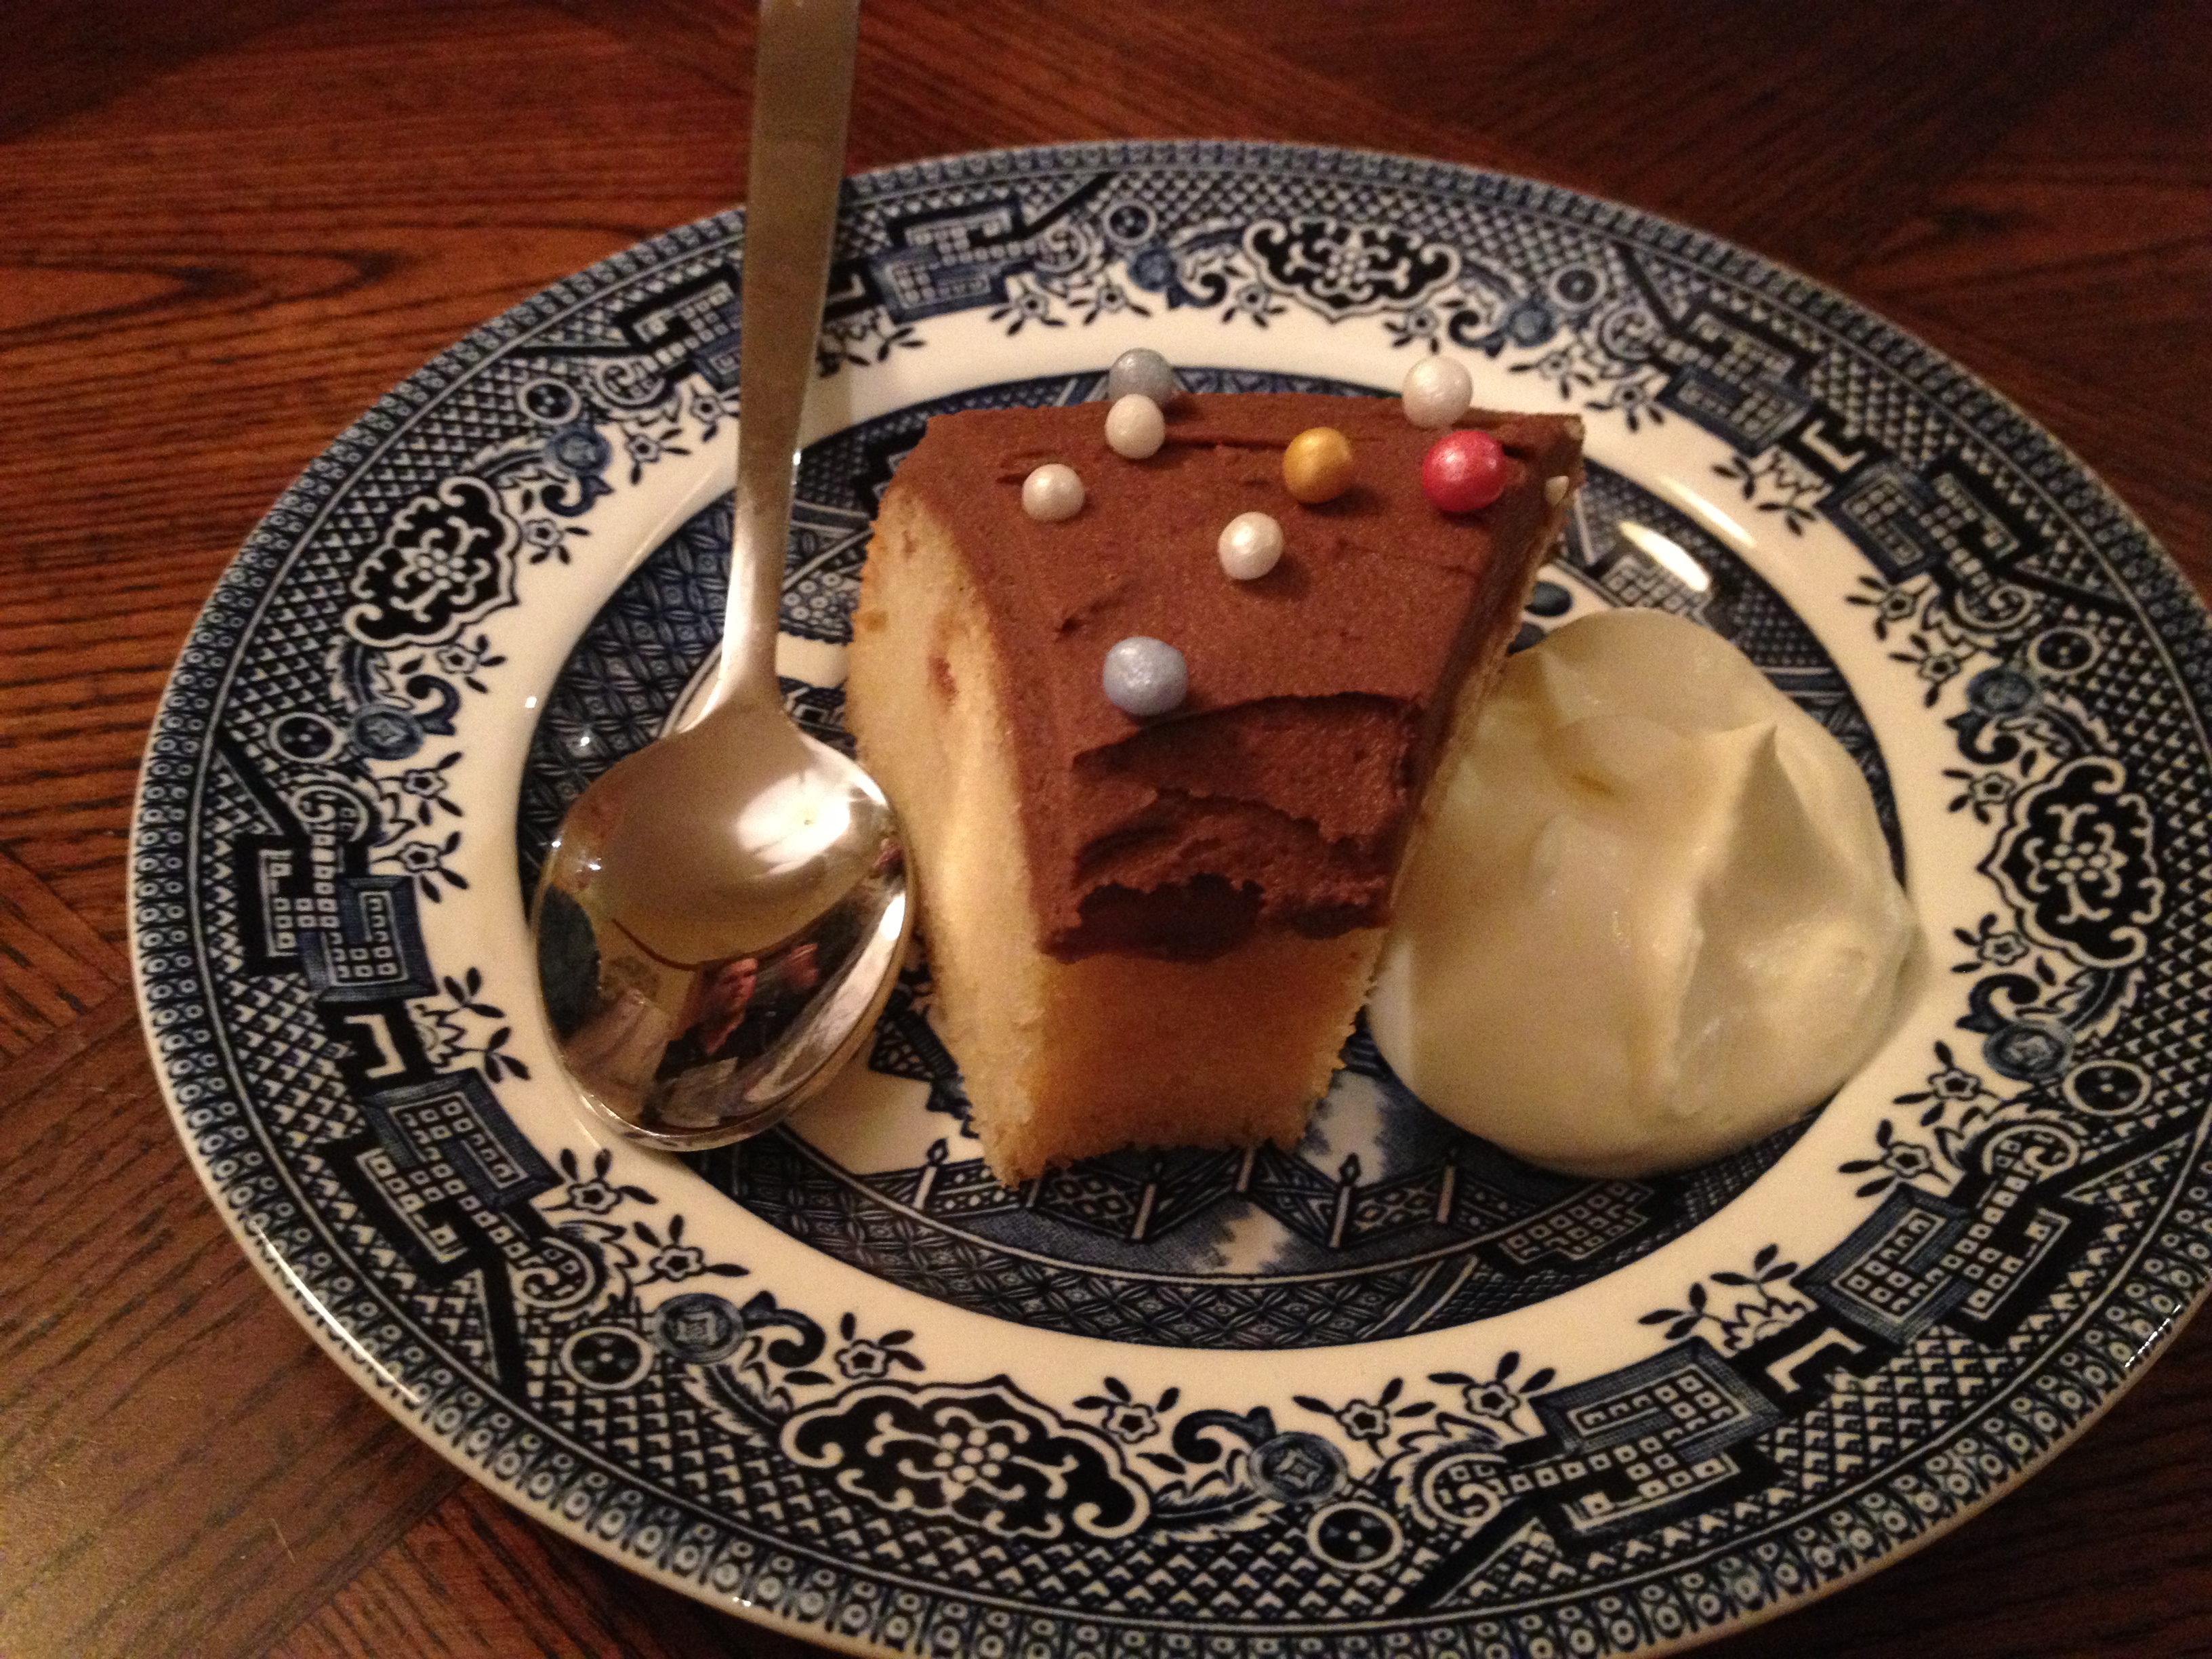
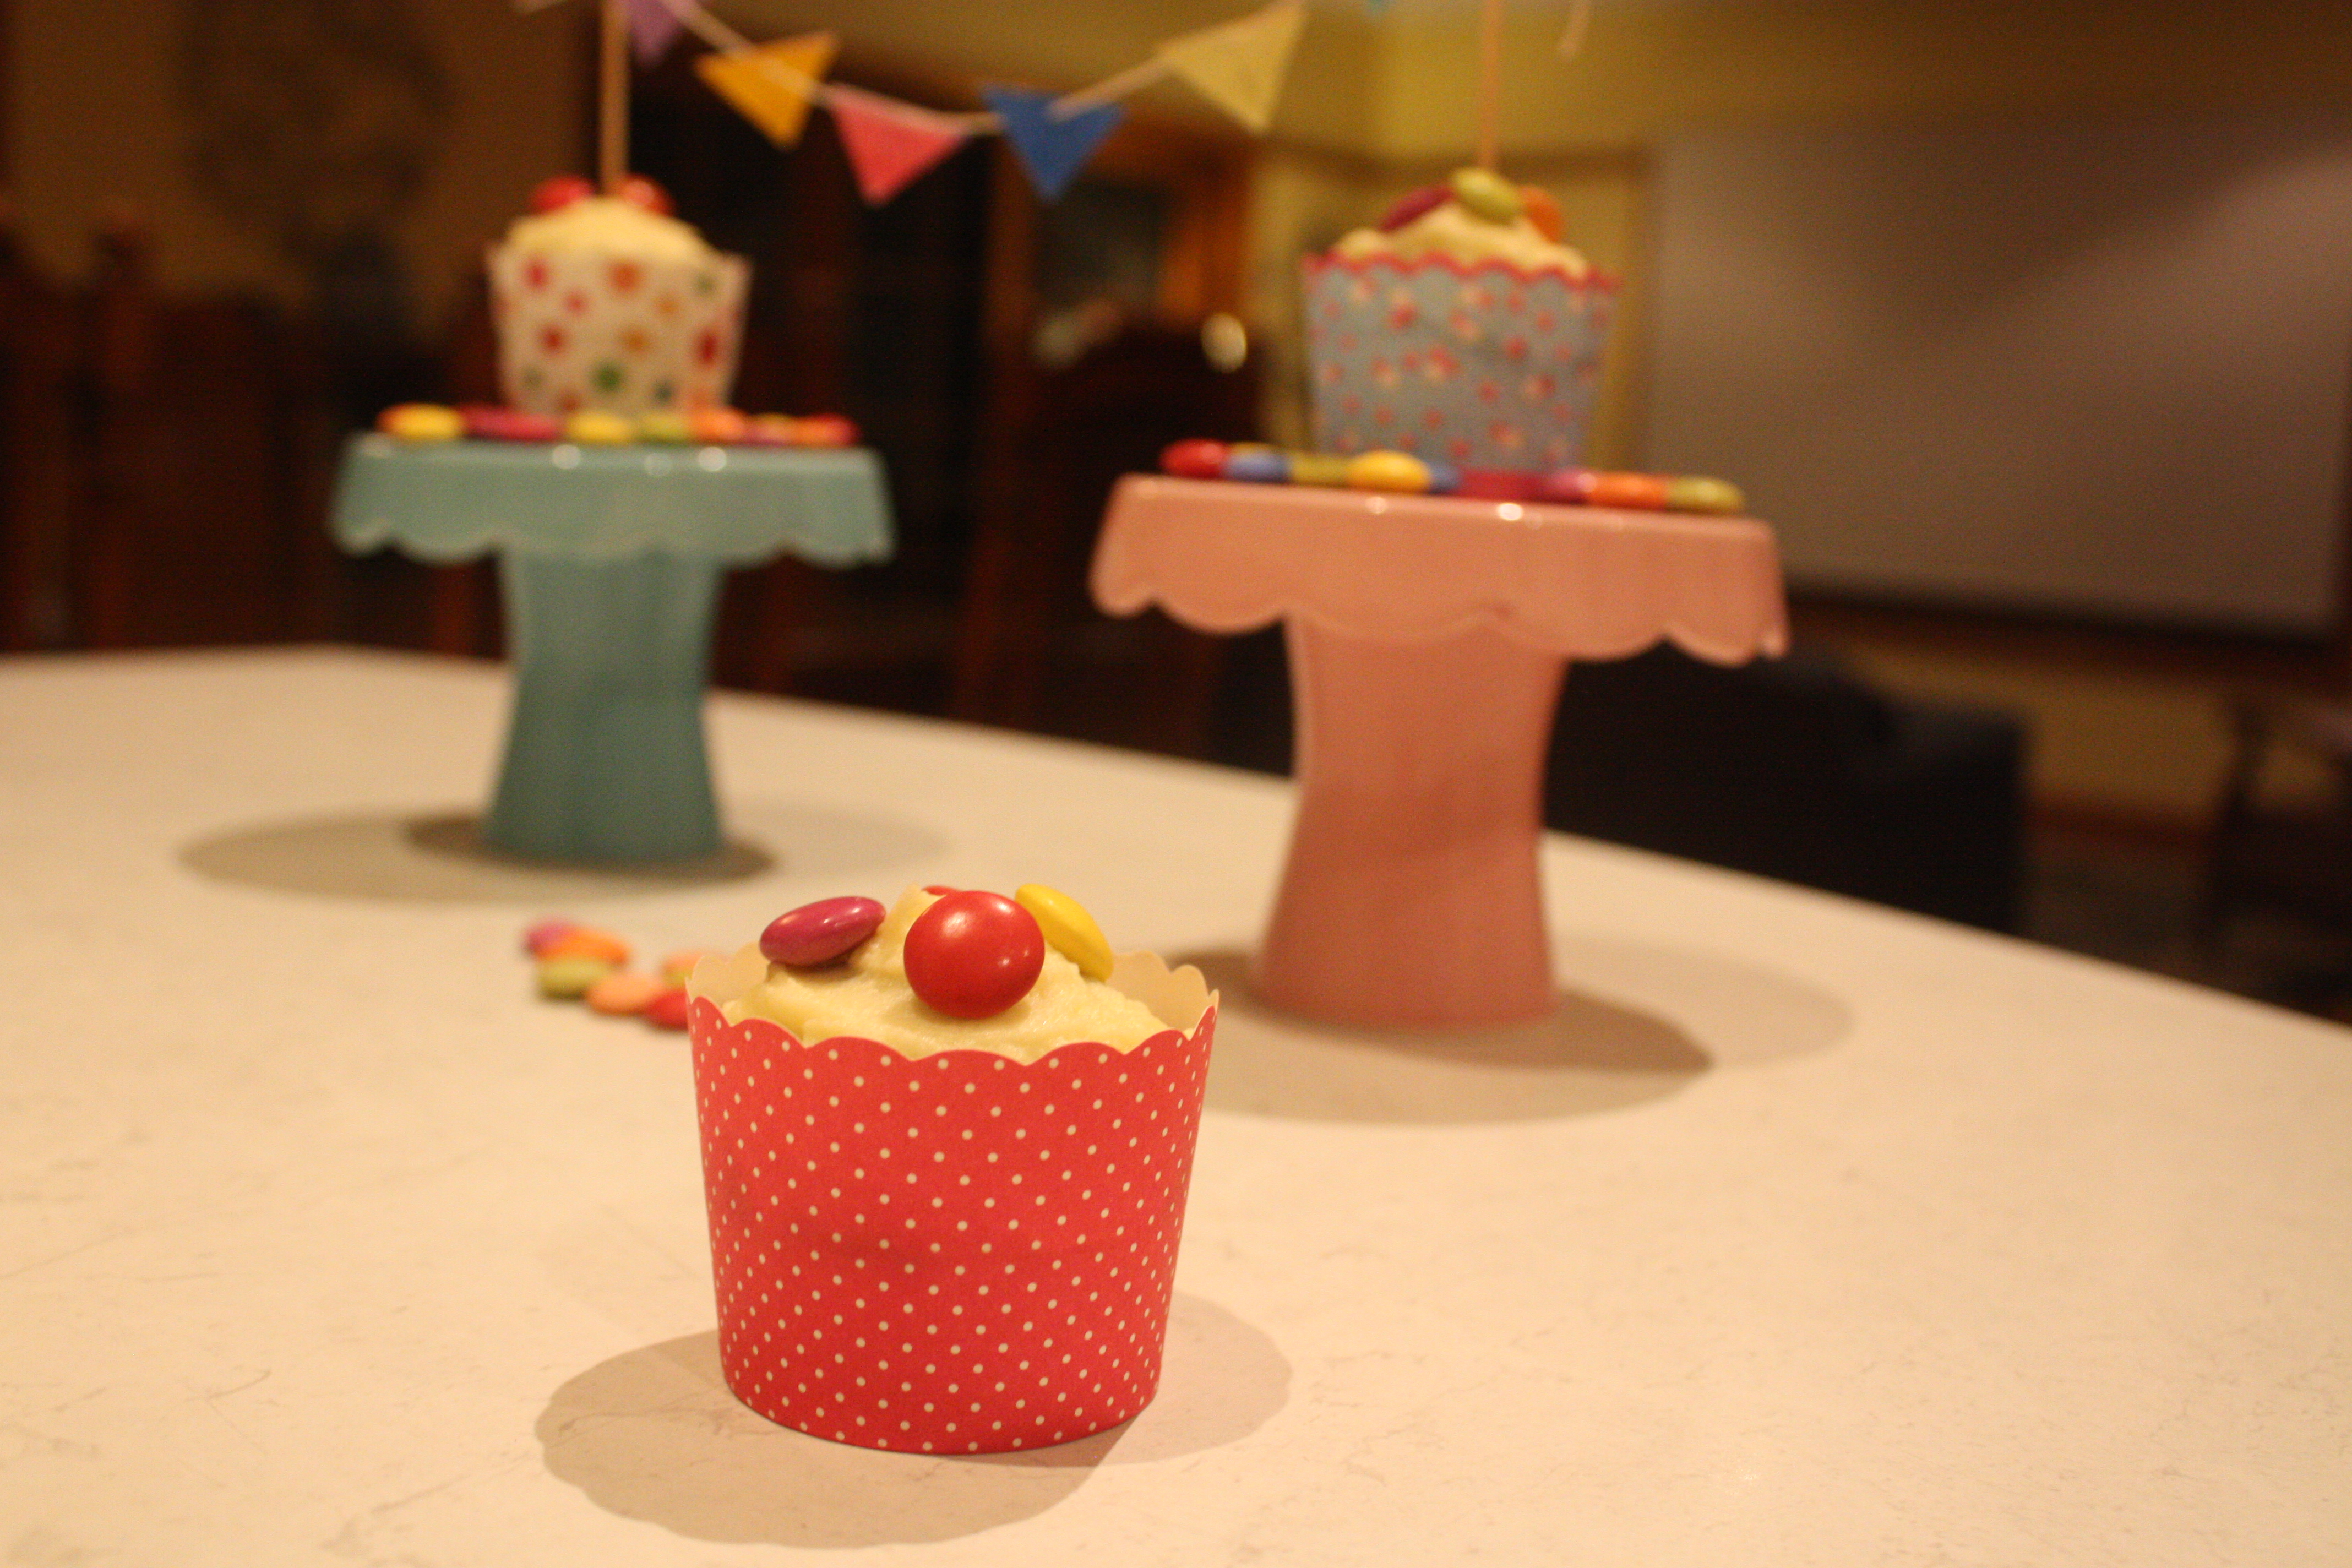
The colouring of Smarties may be less intense than it used to be, but their flavour is still the same. Complemented by a soft vanilla buttercream and chocolatey cupcake, these concoctions just work.

They taste of childhood and nostalgia. I half wished I’d made up lolly bags to go along with these cupcakes, it felt wrong to serve such festive cupcakes without a lolly bag for people to take home!

tiny teddiesSome teddy bears joined me for the photo shoot because it had been a while since they’d been played with. They enjoyed the trip back to childhood and what appeared to be a child’s birthday party.

Cook them for their colour, their easy charm and the memories they’ll bring back for you.

Just make sure you buy extra Smarties.

teddy bear picnicChocolate cupcakes

  • 1 ½ cups self raising flour
  • ½ cup cocoa
  • 100g butter
  • 3/4 cup sugar
  • 2 eggs
  • ½ cup milk
  • ½ tsp vanilla

Vanilla butter cream

  • 1 ½ cups icing sugar
  • 100g butter
  • 3 tpsb milk

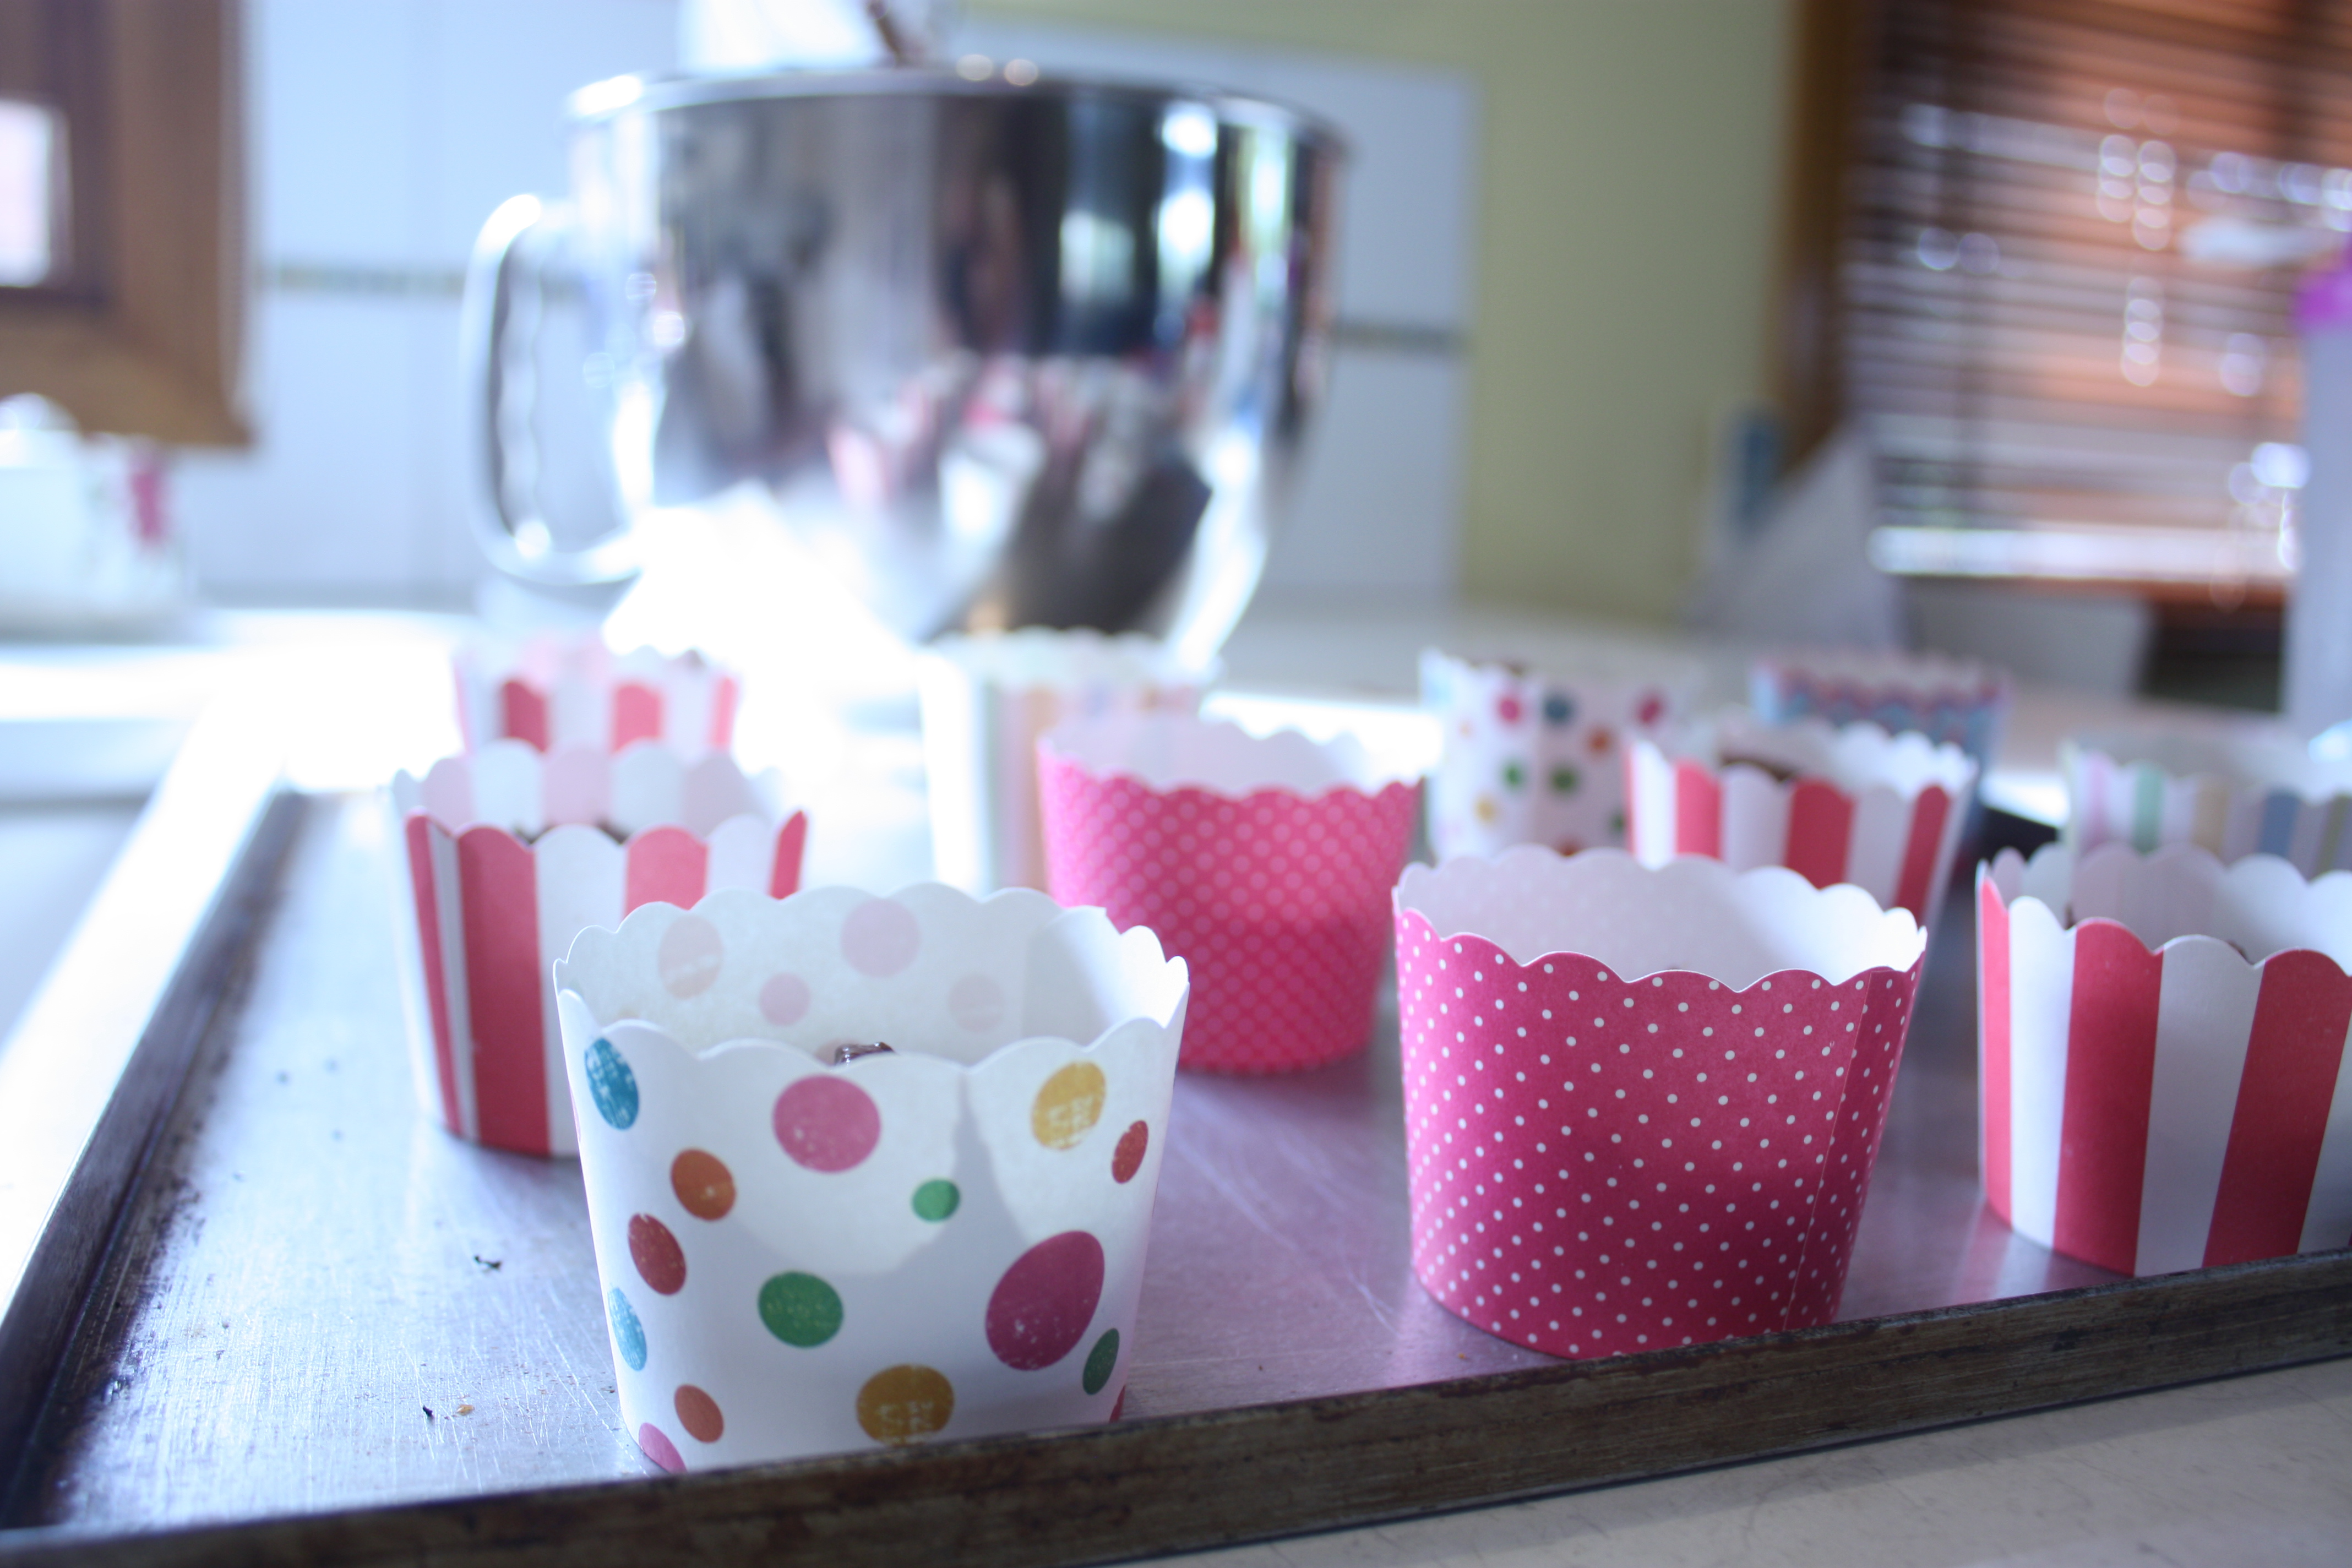
Preheat your oven to 190°C. Grease your muffin tins, or use cardboard cupcake cases like me if you’re feeling lazy.

Cream your butter and sugar together until pale and fluffy. Add your eggs and vanilla, mixing them well.

cookFold in the cocoa and half of the flour flour, adding your milk when it gets too hard to mix. Fold in the next half of the flour and make sure everything is combined.

Scrape the sides of the bowl down regularly so that the cocoa reaches every part of the mixture, nobody likes streaky cupcakes!

Fill your cupcake cases or muffin tins about 3/4 full and try some of the mixture, it’s delish!

Norman

Pop them on a baking tray (or not, if you’re using a muffin tin) and bake for 16 minutes or until you can insert a skewer into the cupcake and it comes out cleanly.

smartiesWhile the cupcakes cool, beat the butter until it’s pale and soft. Add the icing sugar and milk and mix until it is smooth. Wait until the cupcakes are completely cook to ice them, you don’t want the icing sliding off.


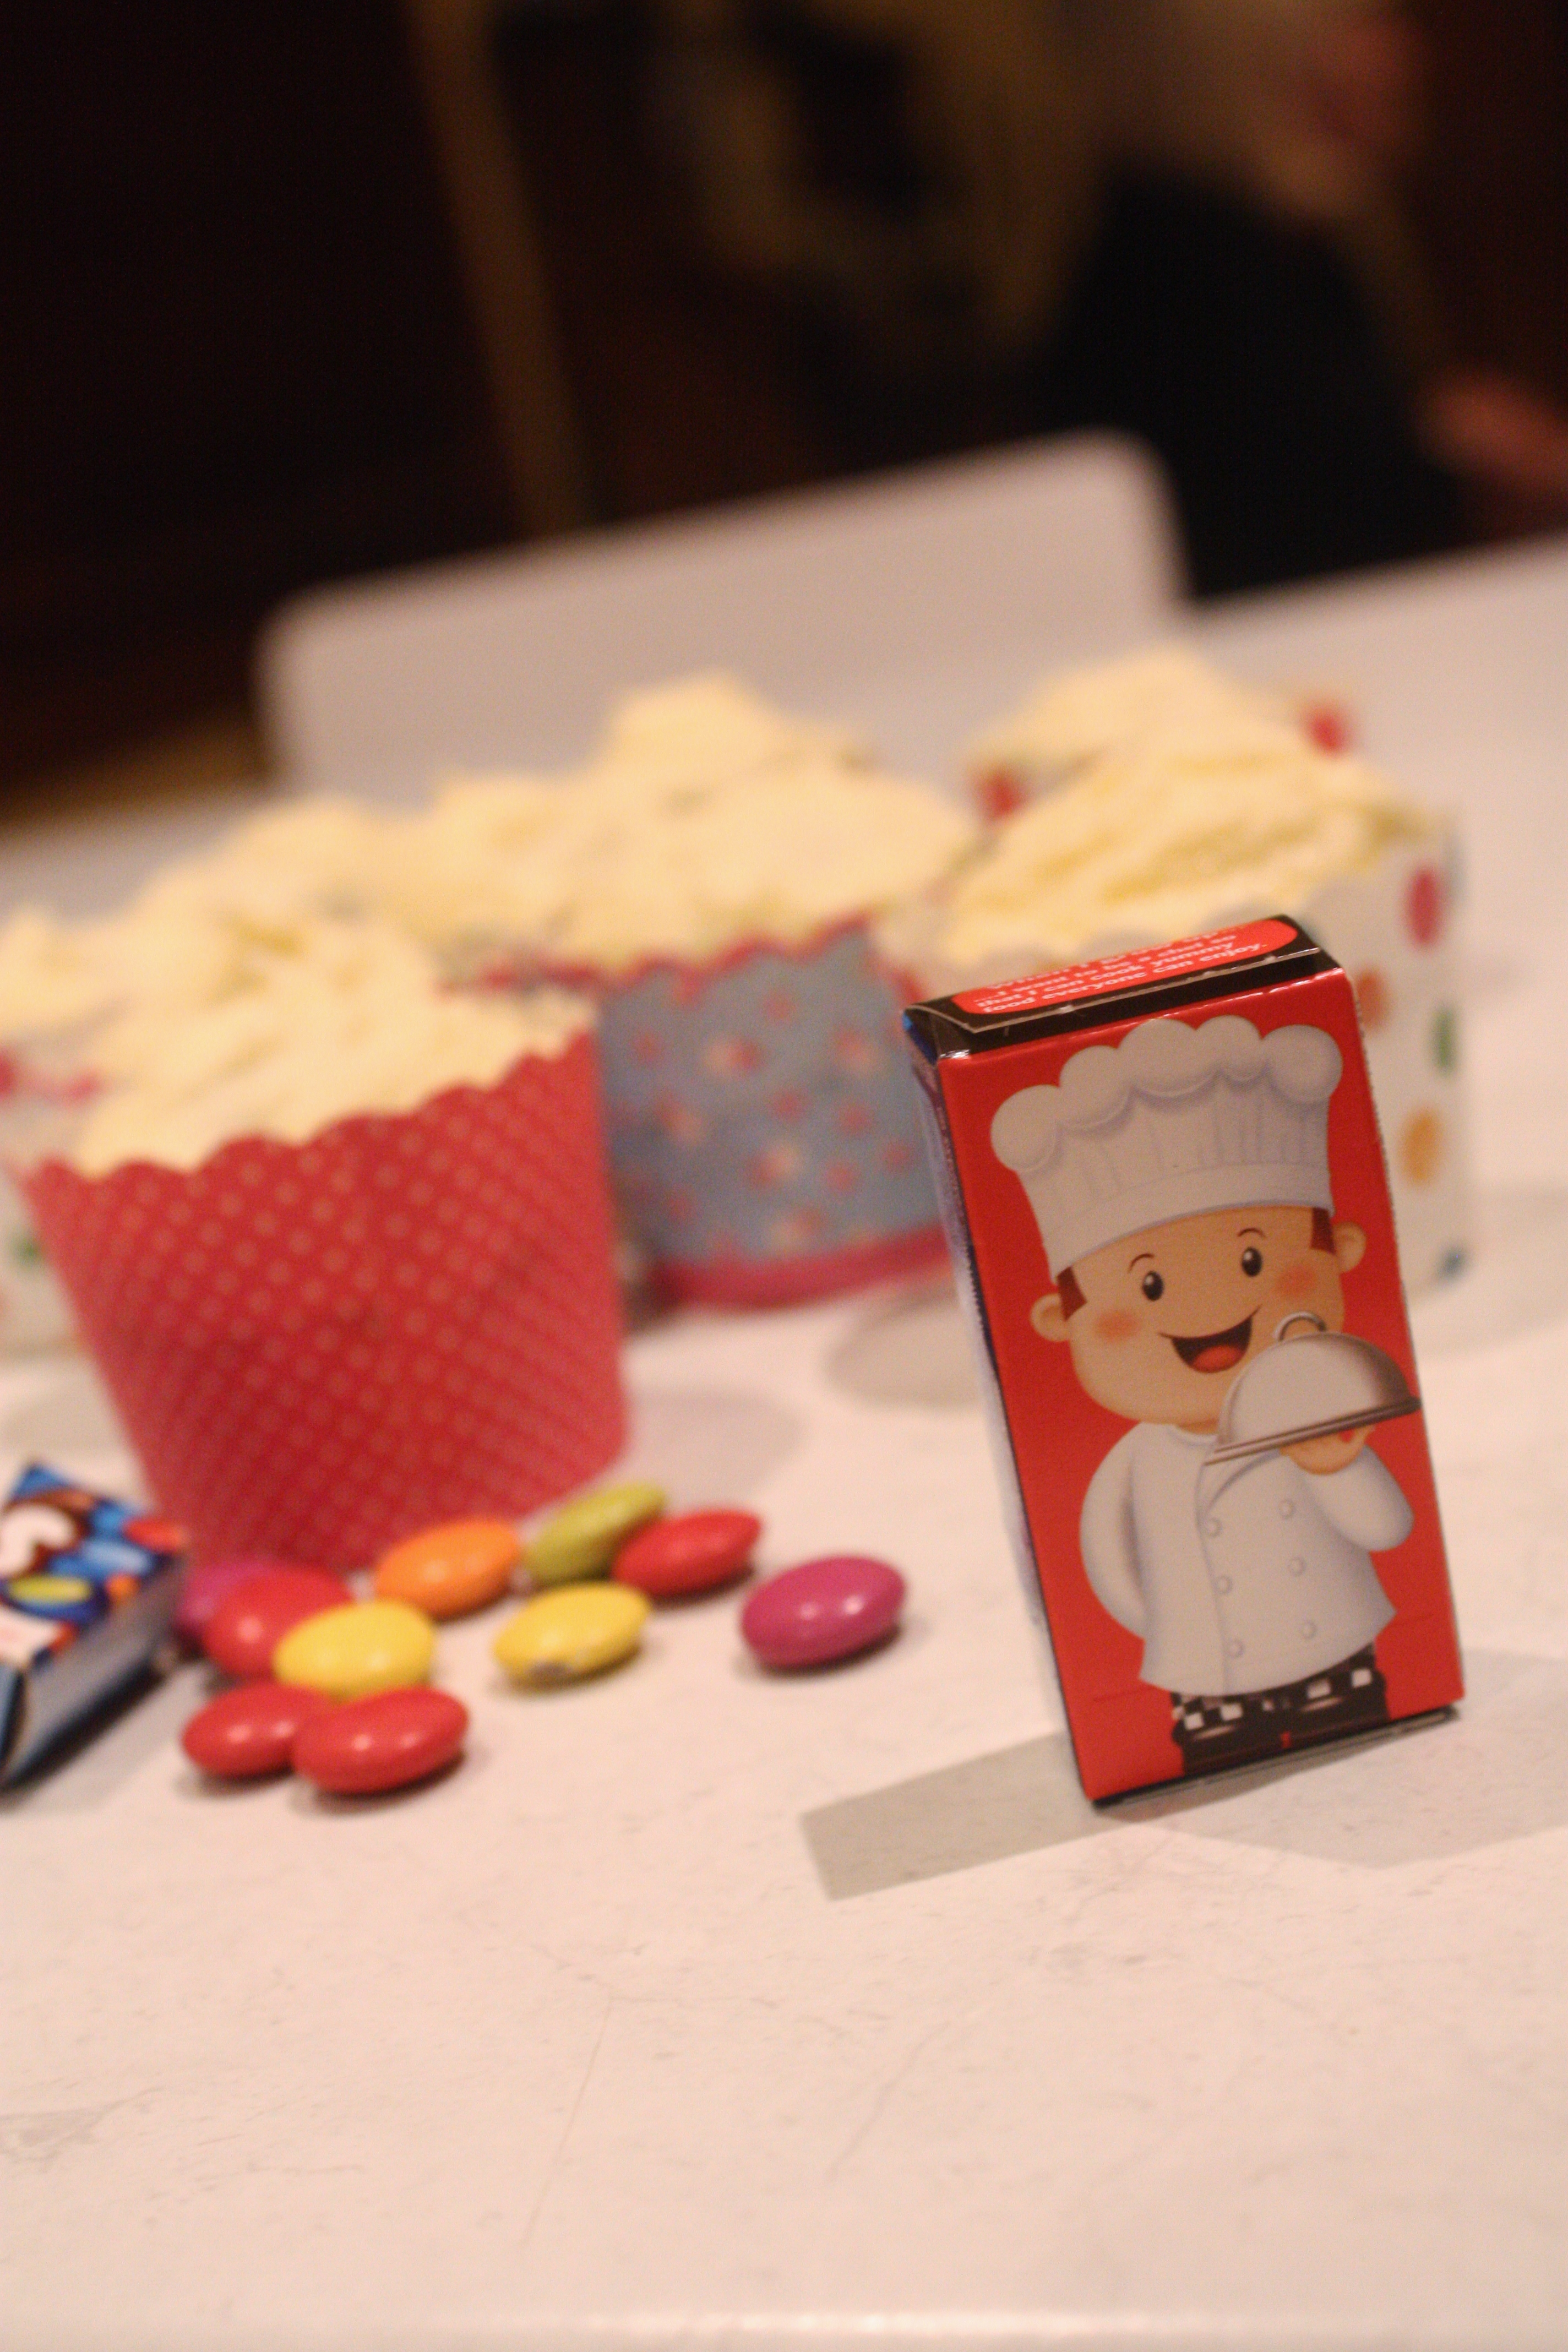
Toss a handful of Smarties over the cupcakes and feed the waiting children (or sentimental adults.) The Smarties packet had a chef on it – I appreciated the appropriateness of the character on the box!spotty cupcake

bunting

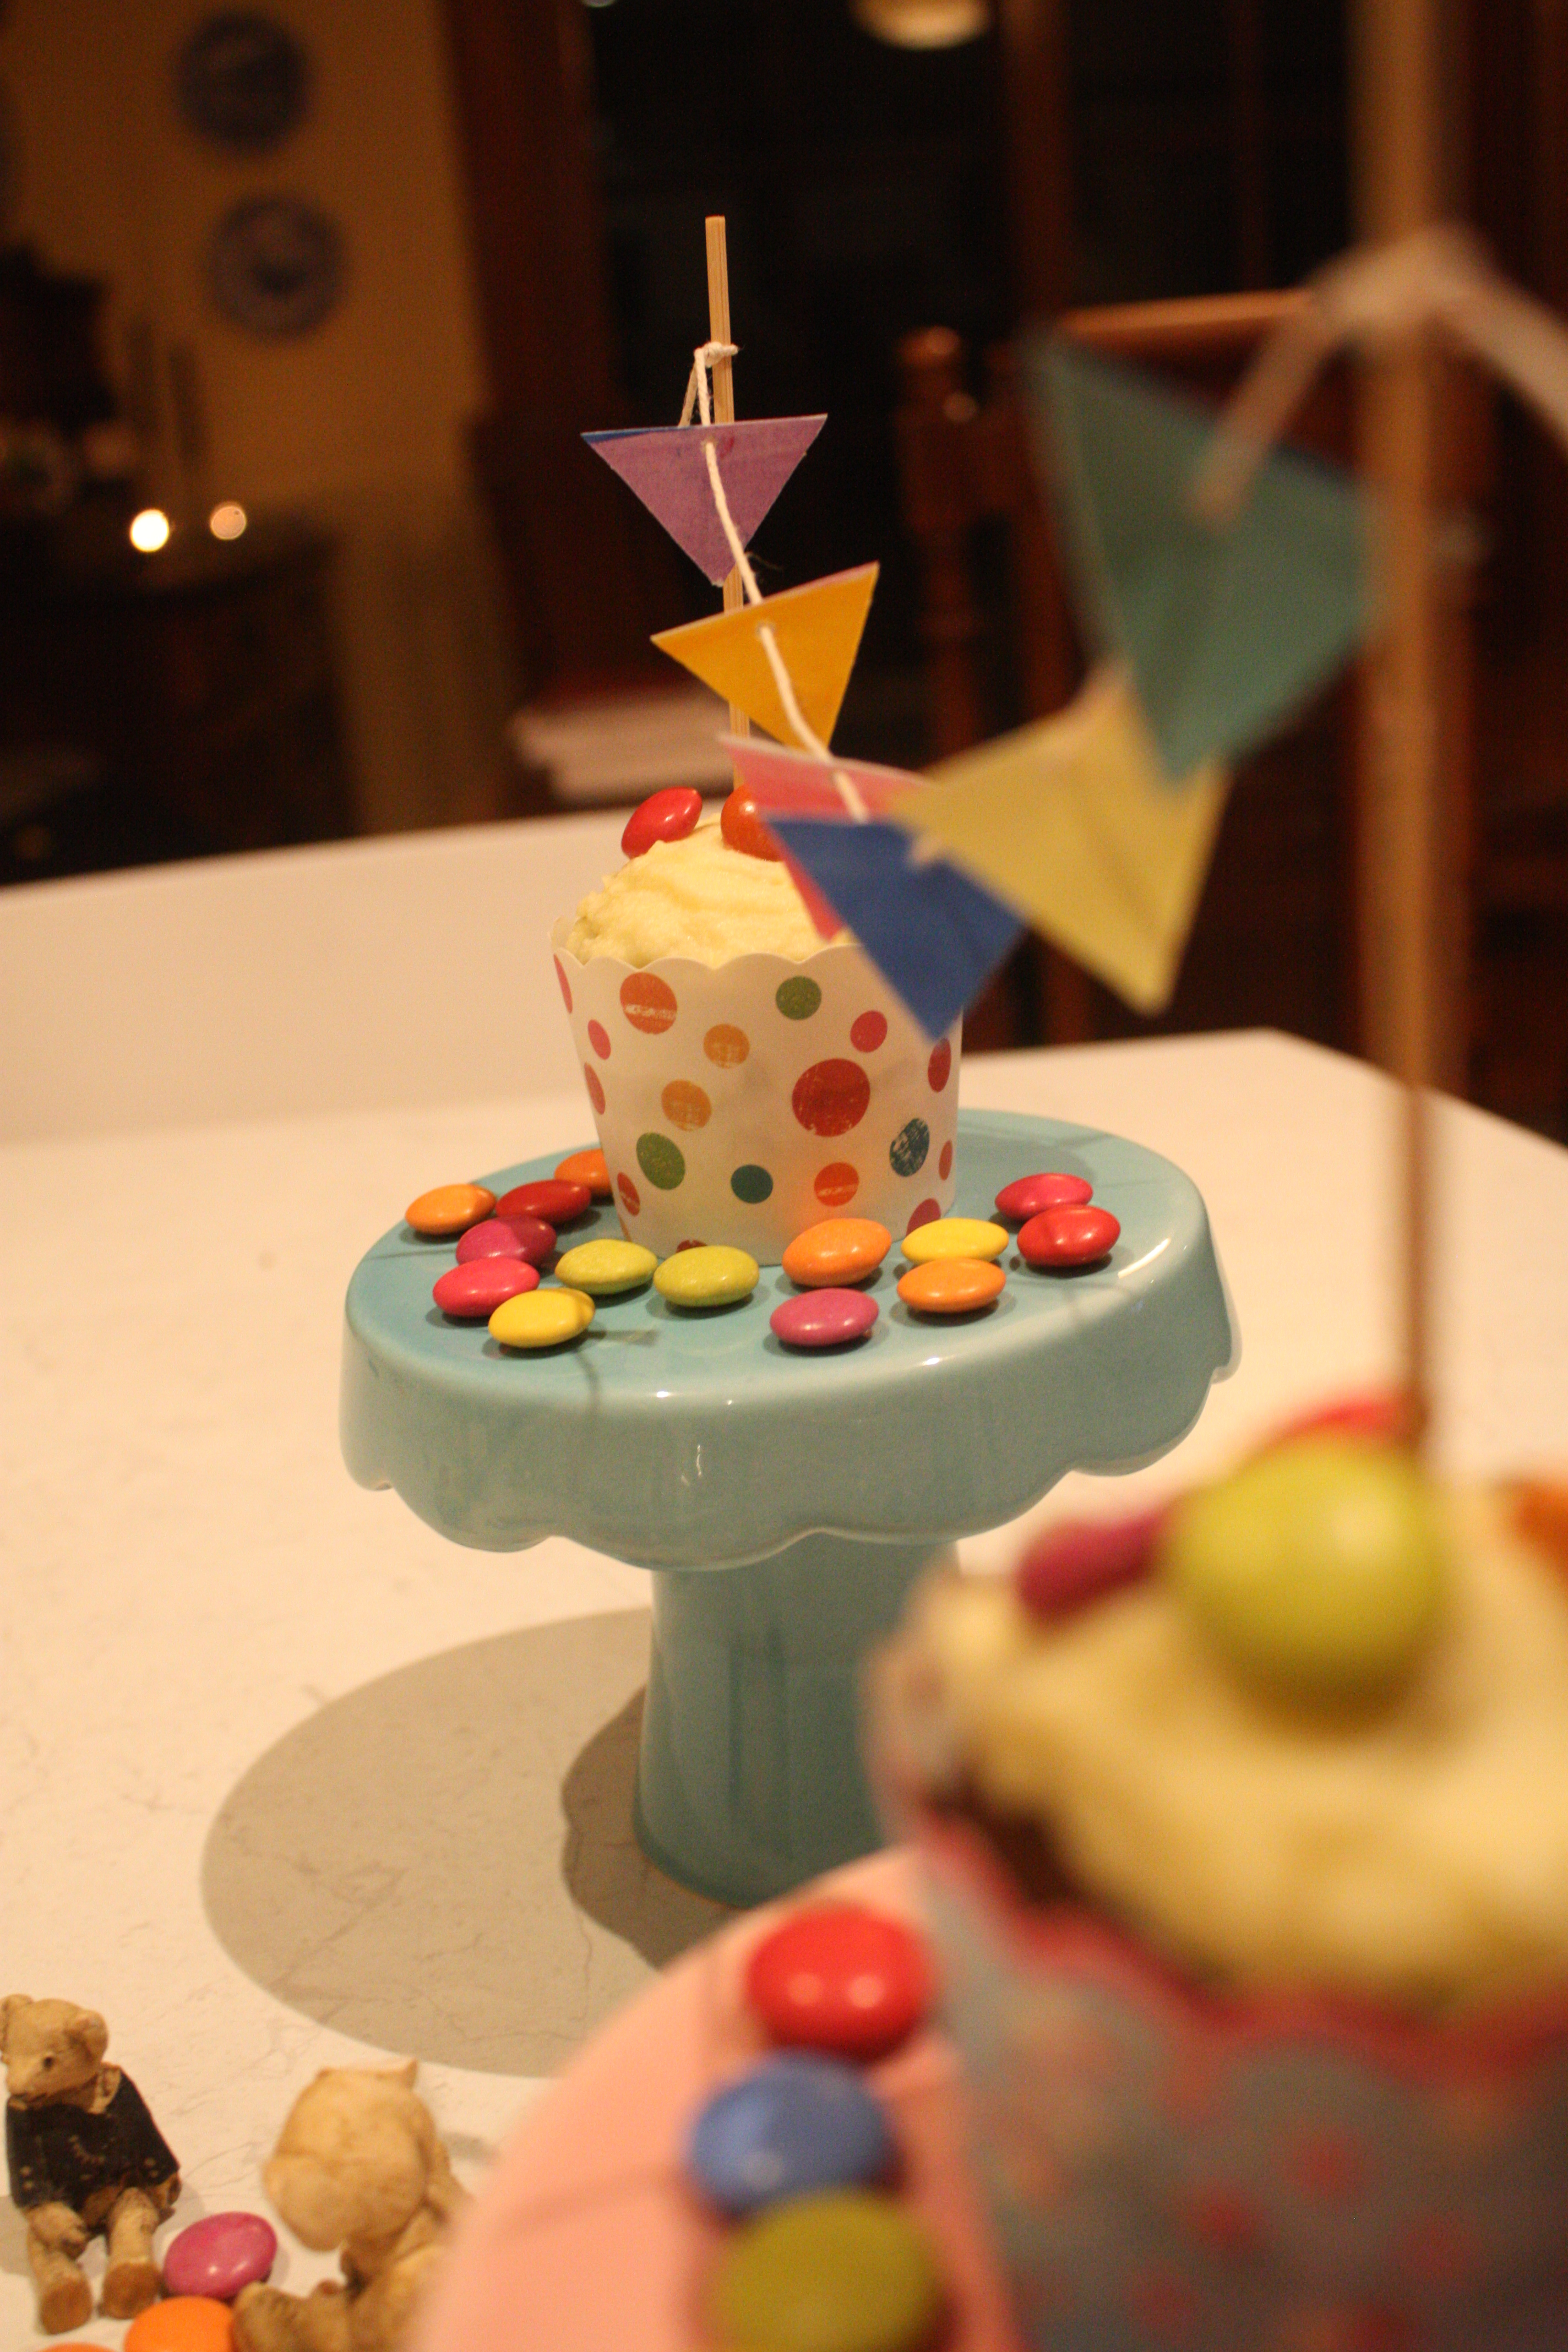
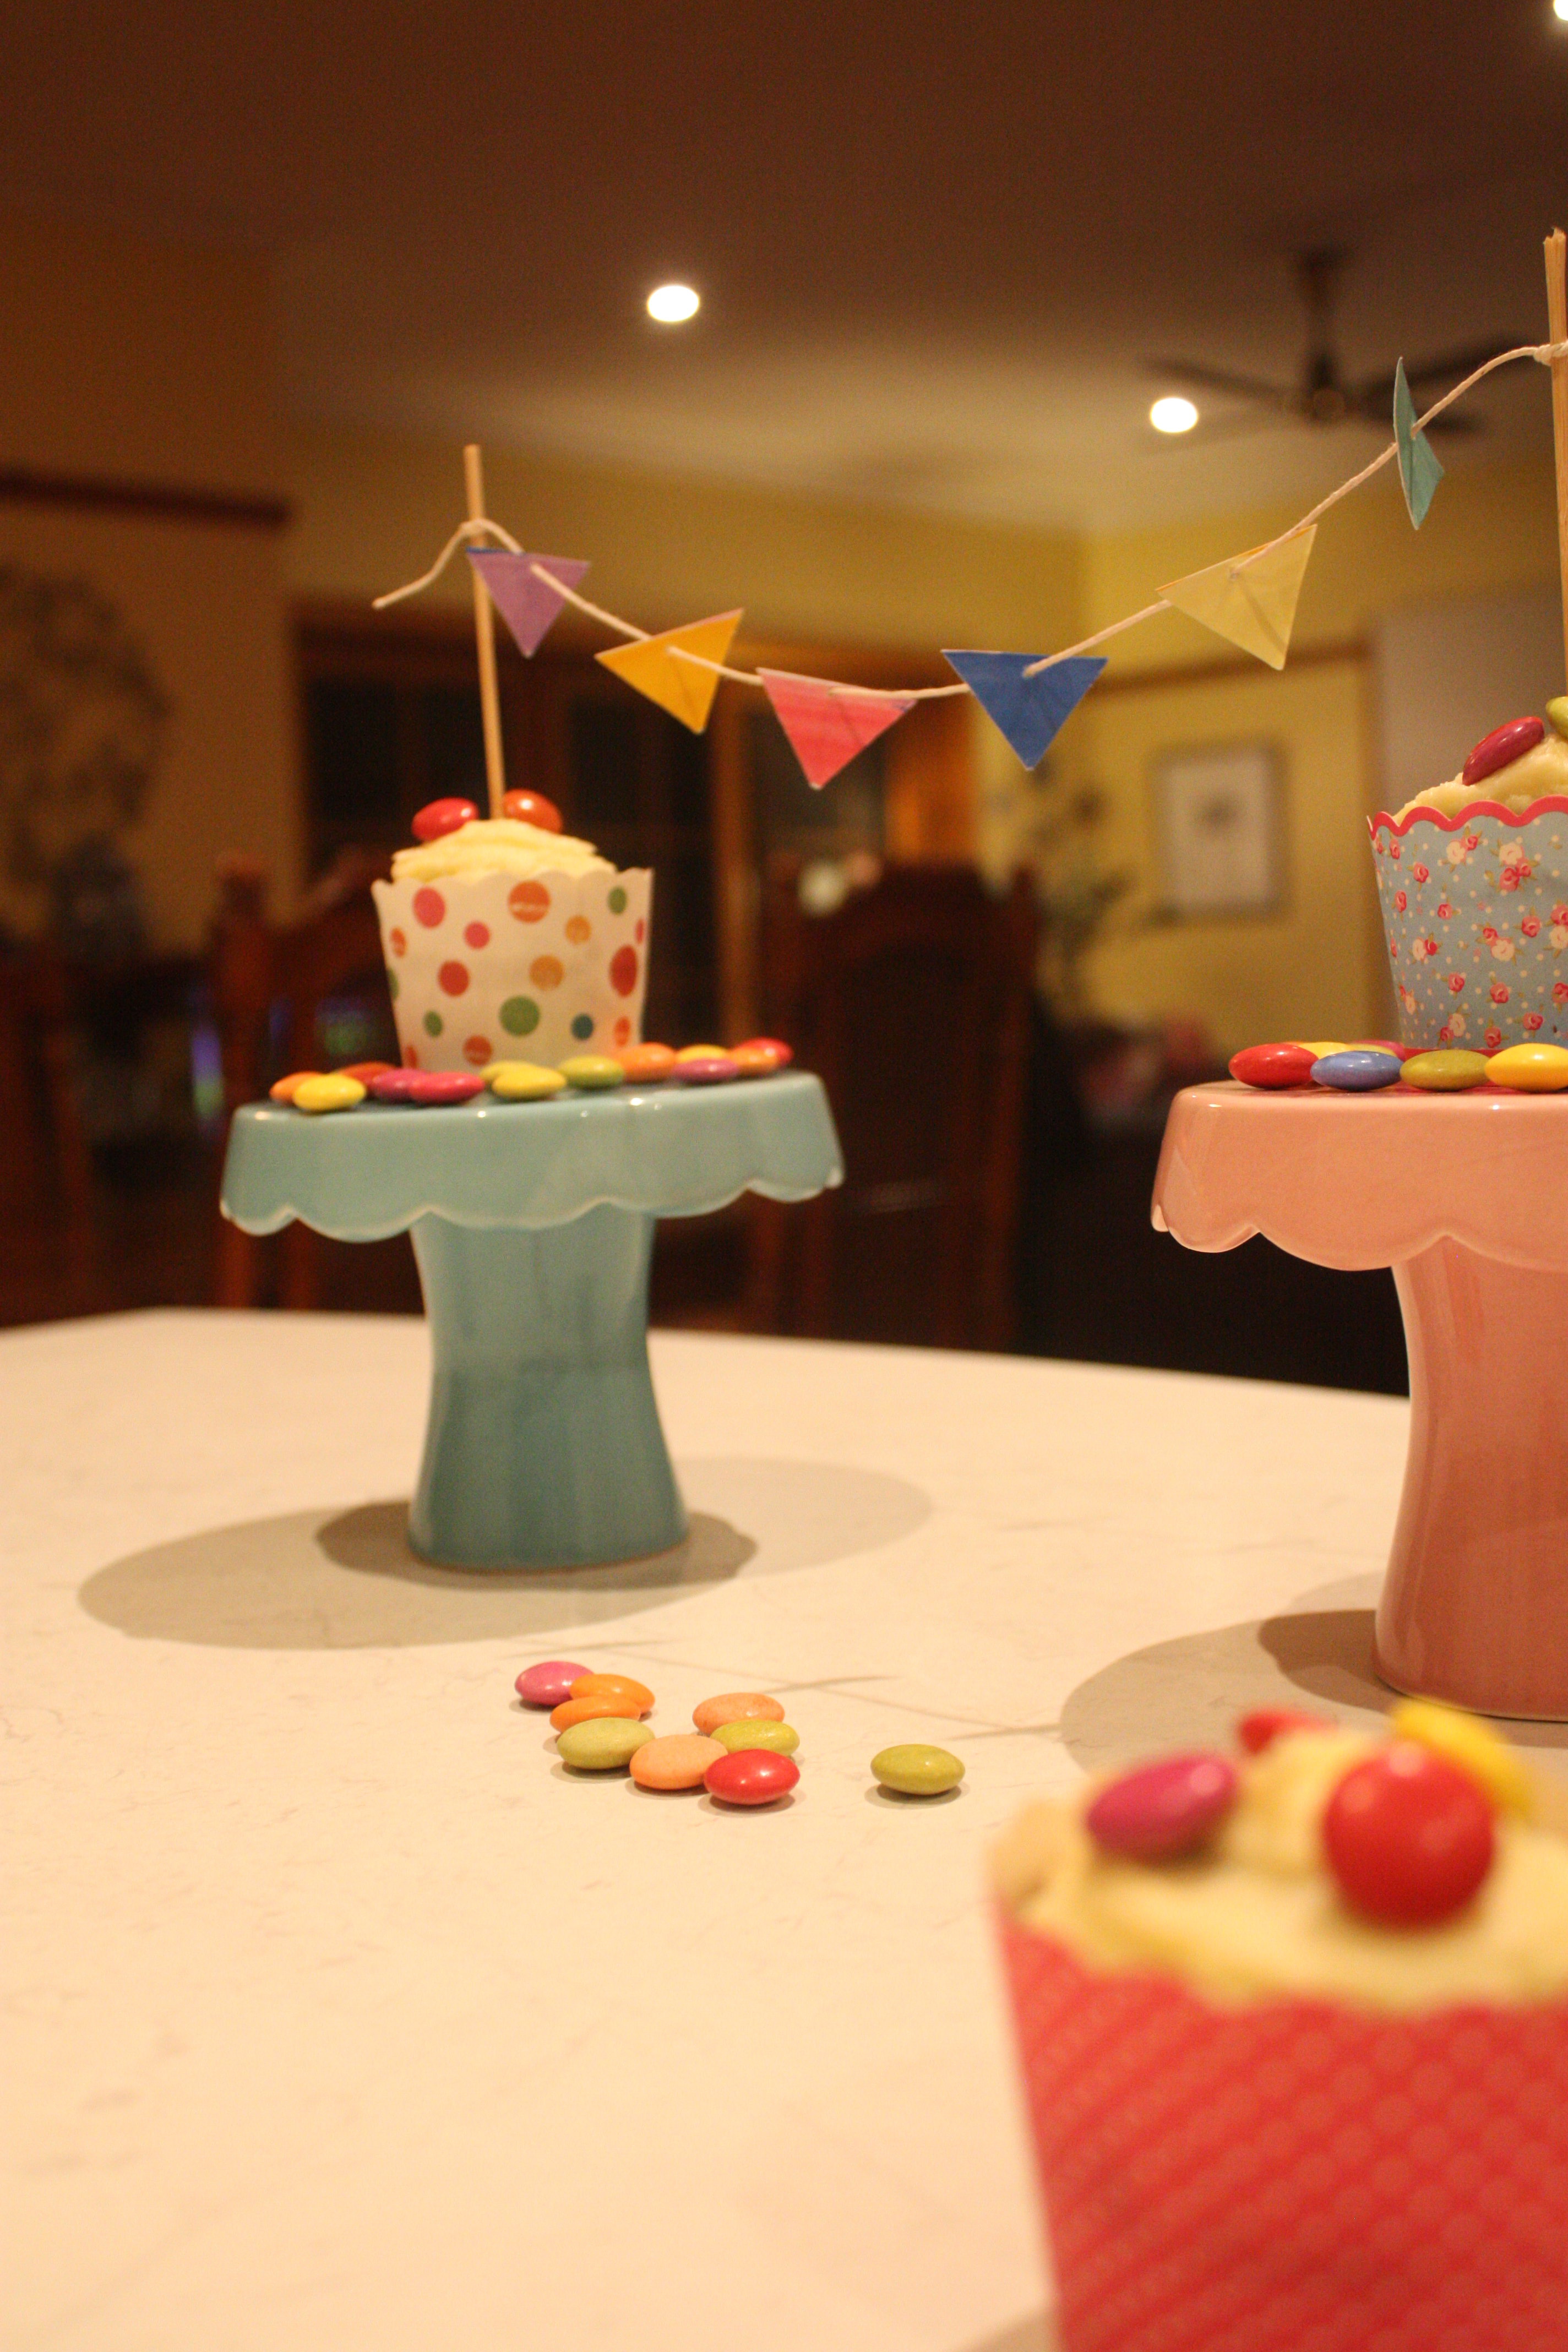
These little gems are perfect for a child’s party – no child is going to turn down a smarties covered cupcake! Add some bunting for decoration if you’re feeling especially fun – mine was made by stringing coloured triangles in between a skewer cut into halves. A little bunting makes a big difference to presentation!

pink cupcake


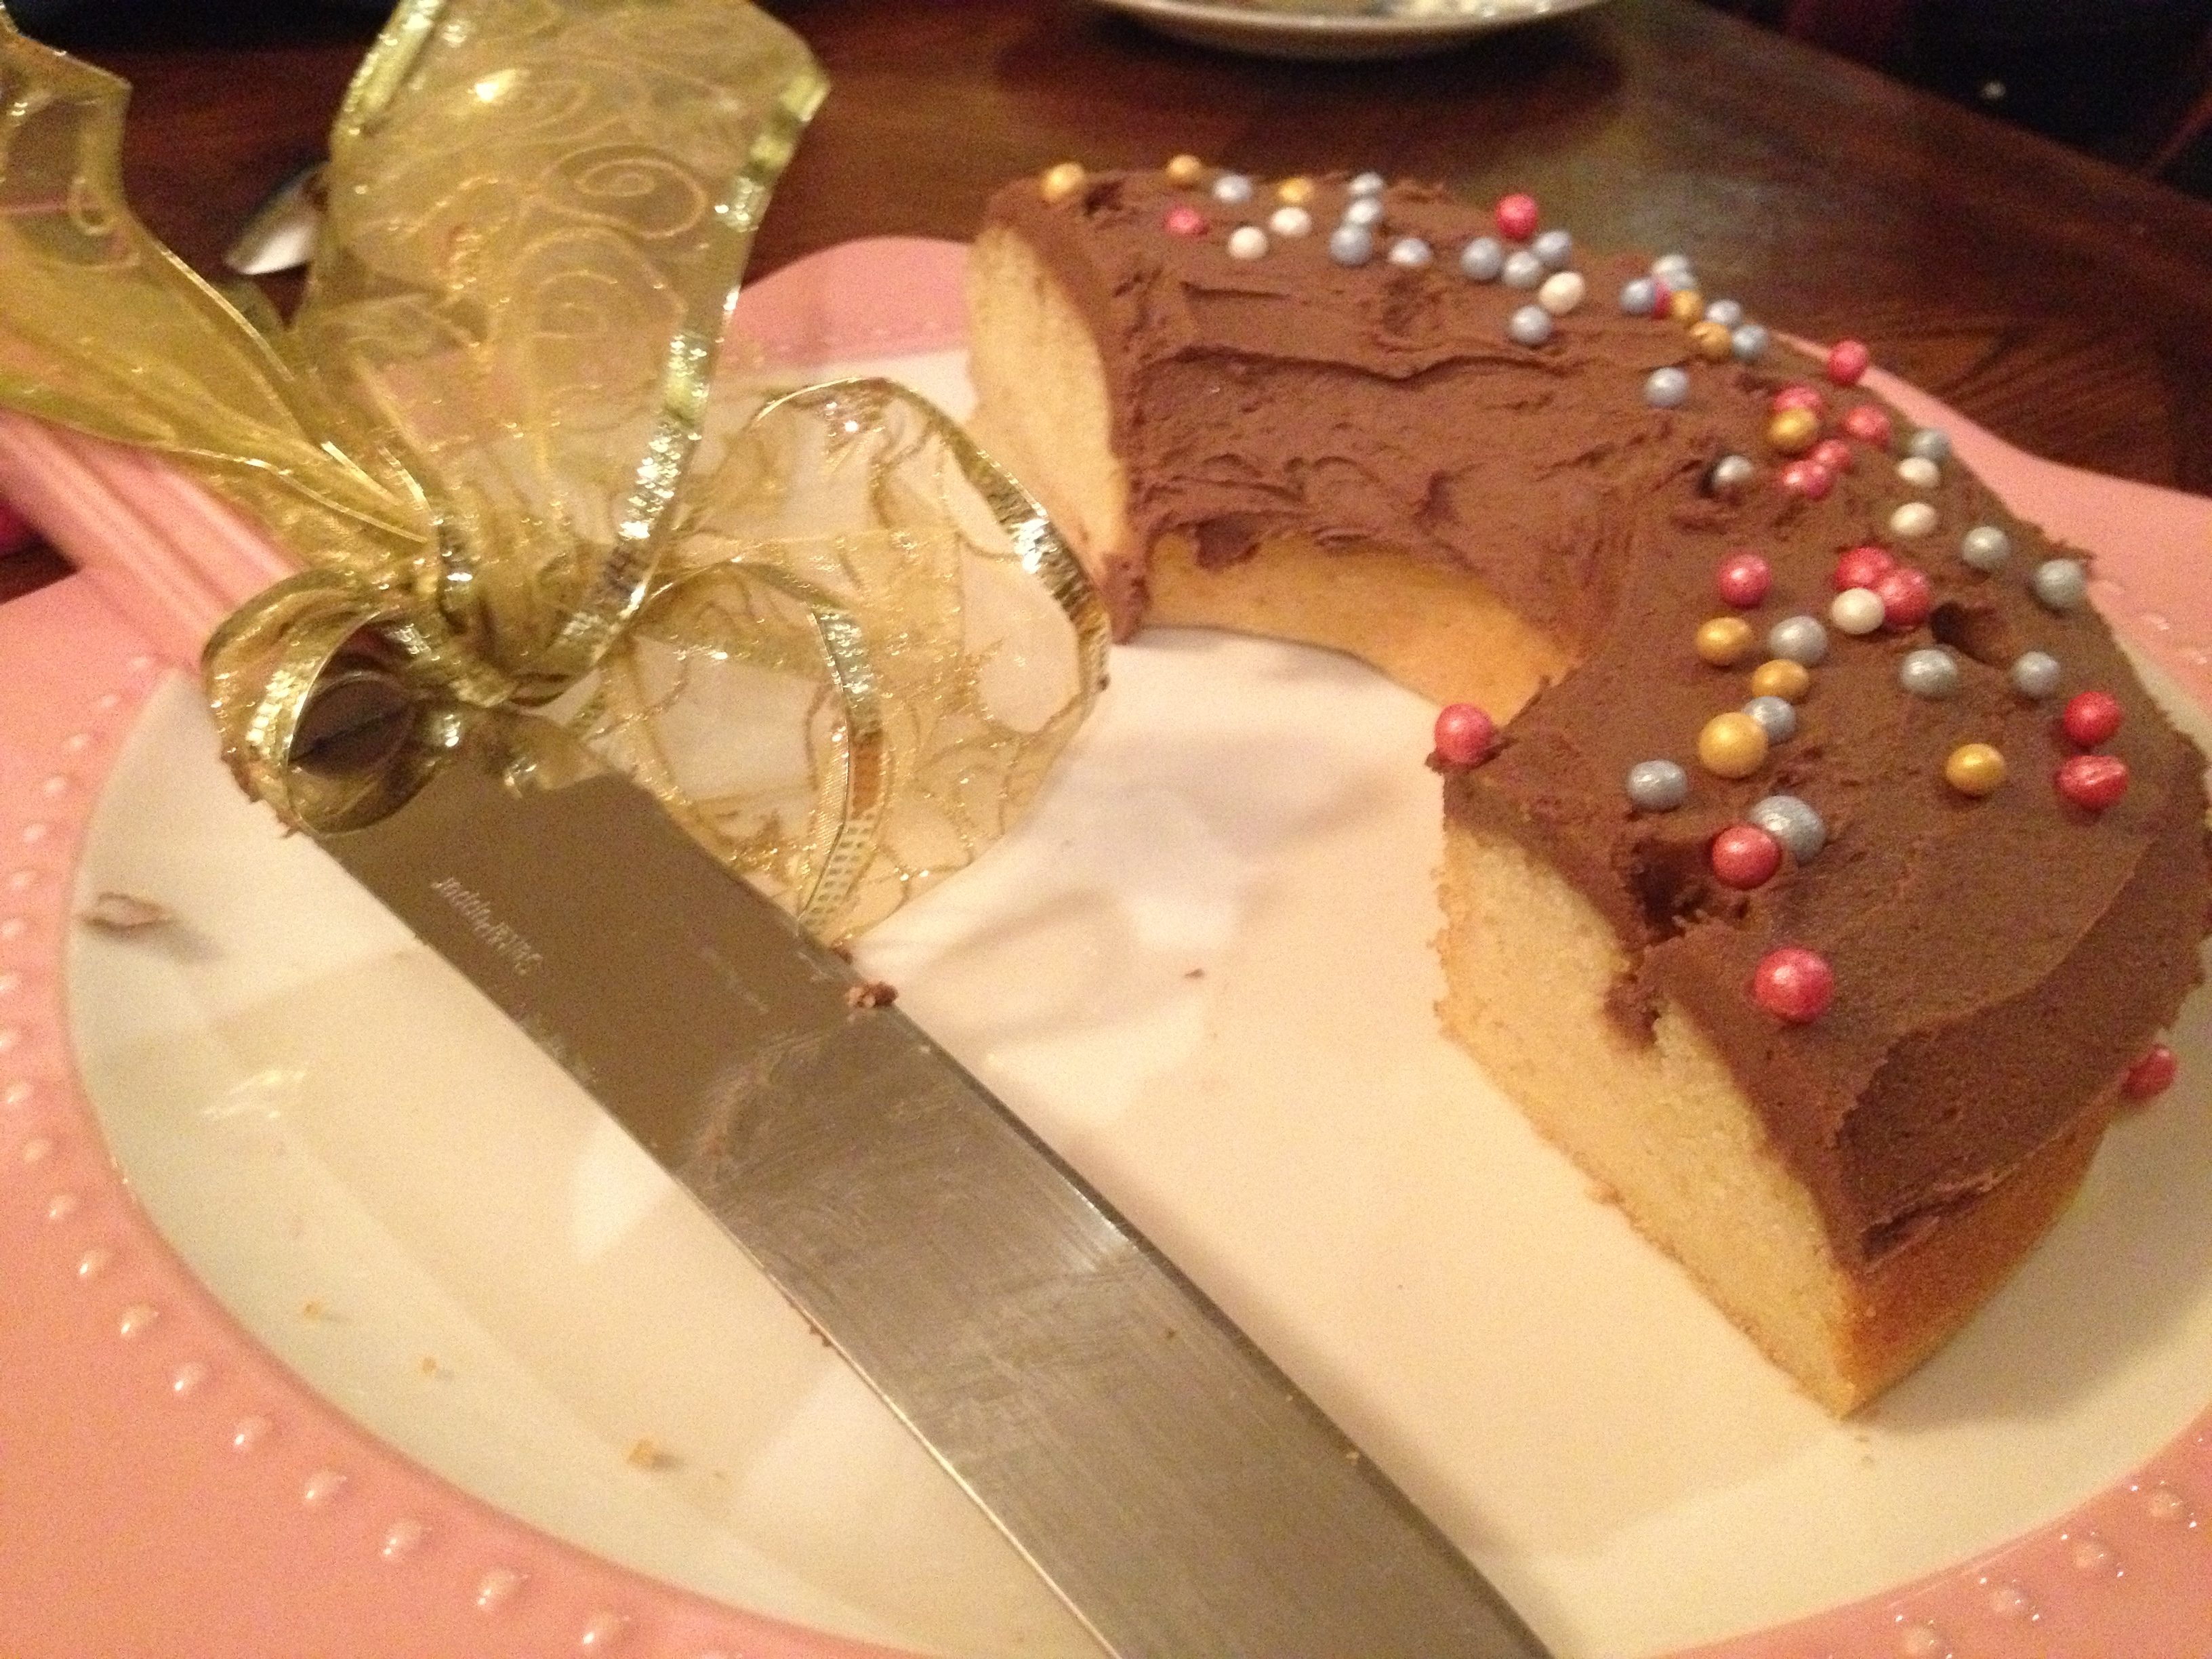
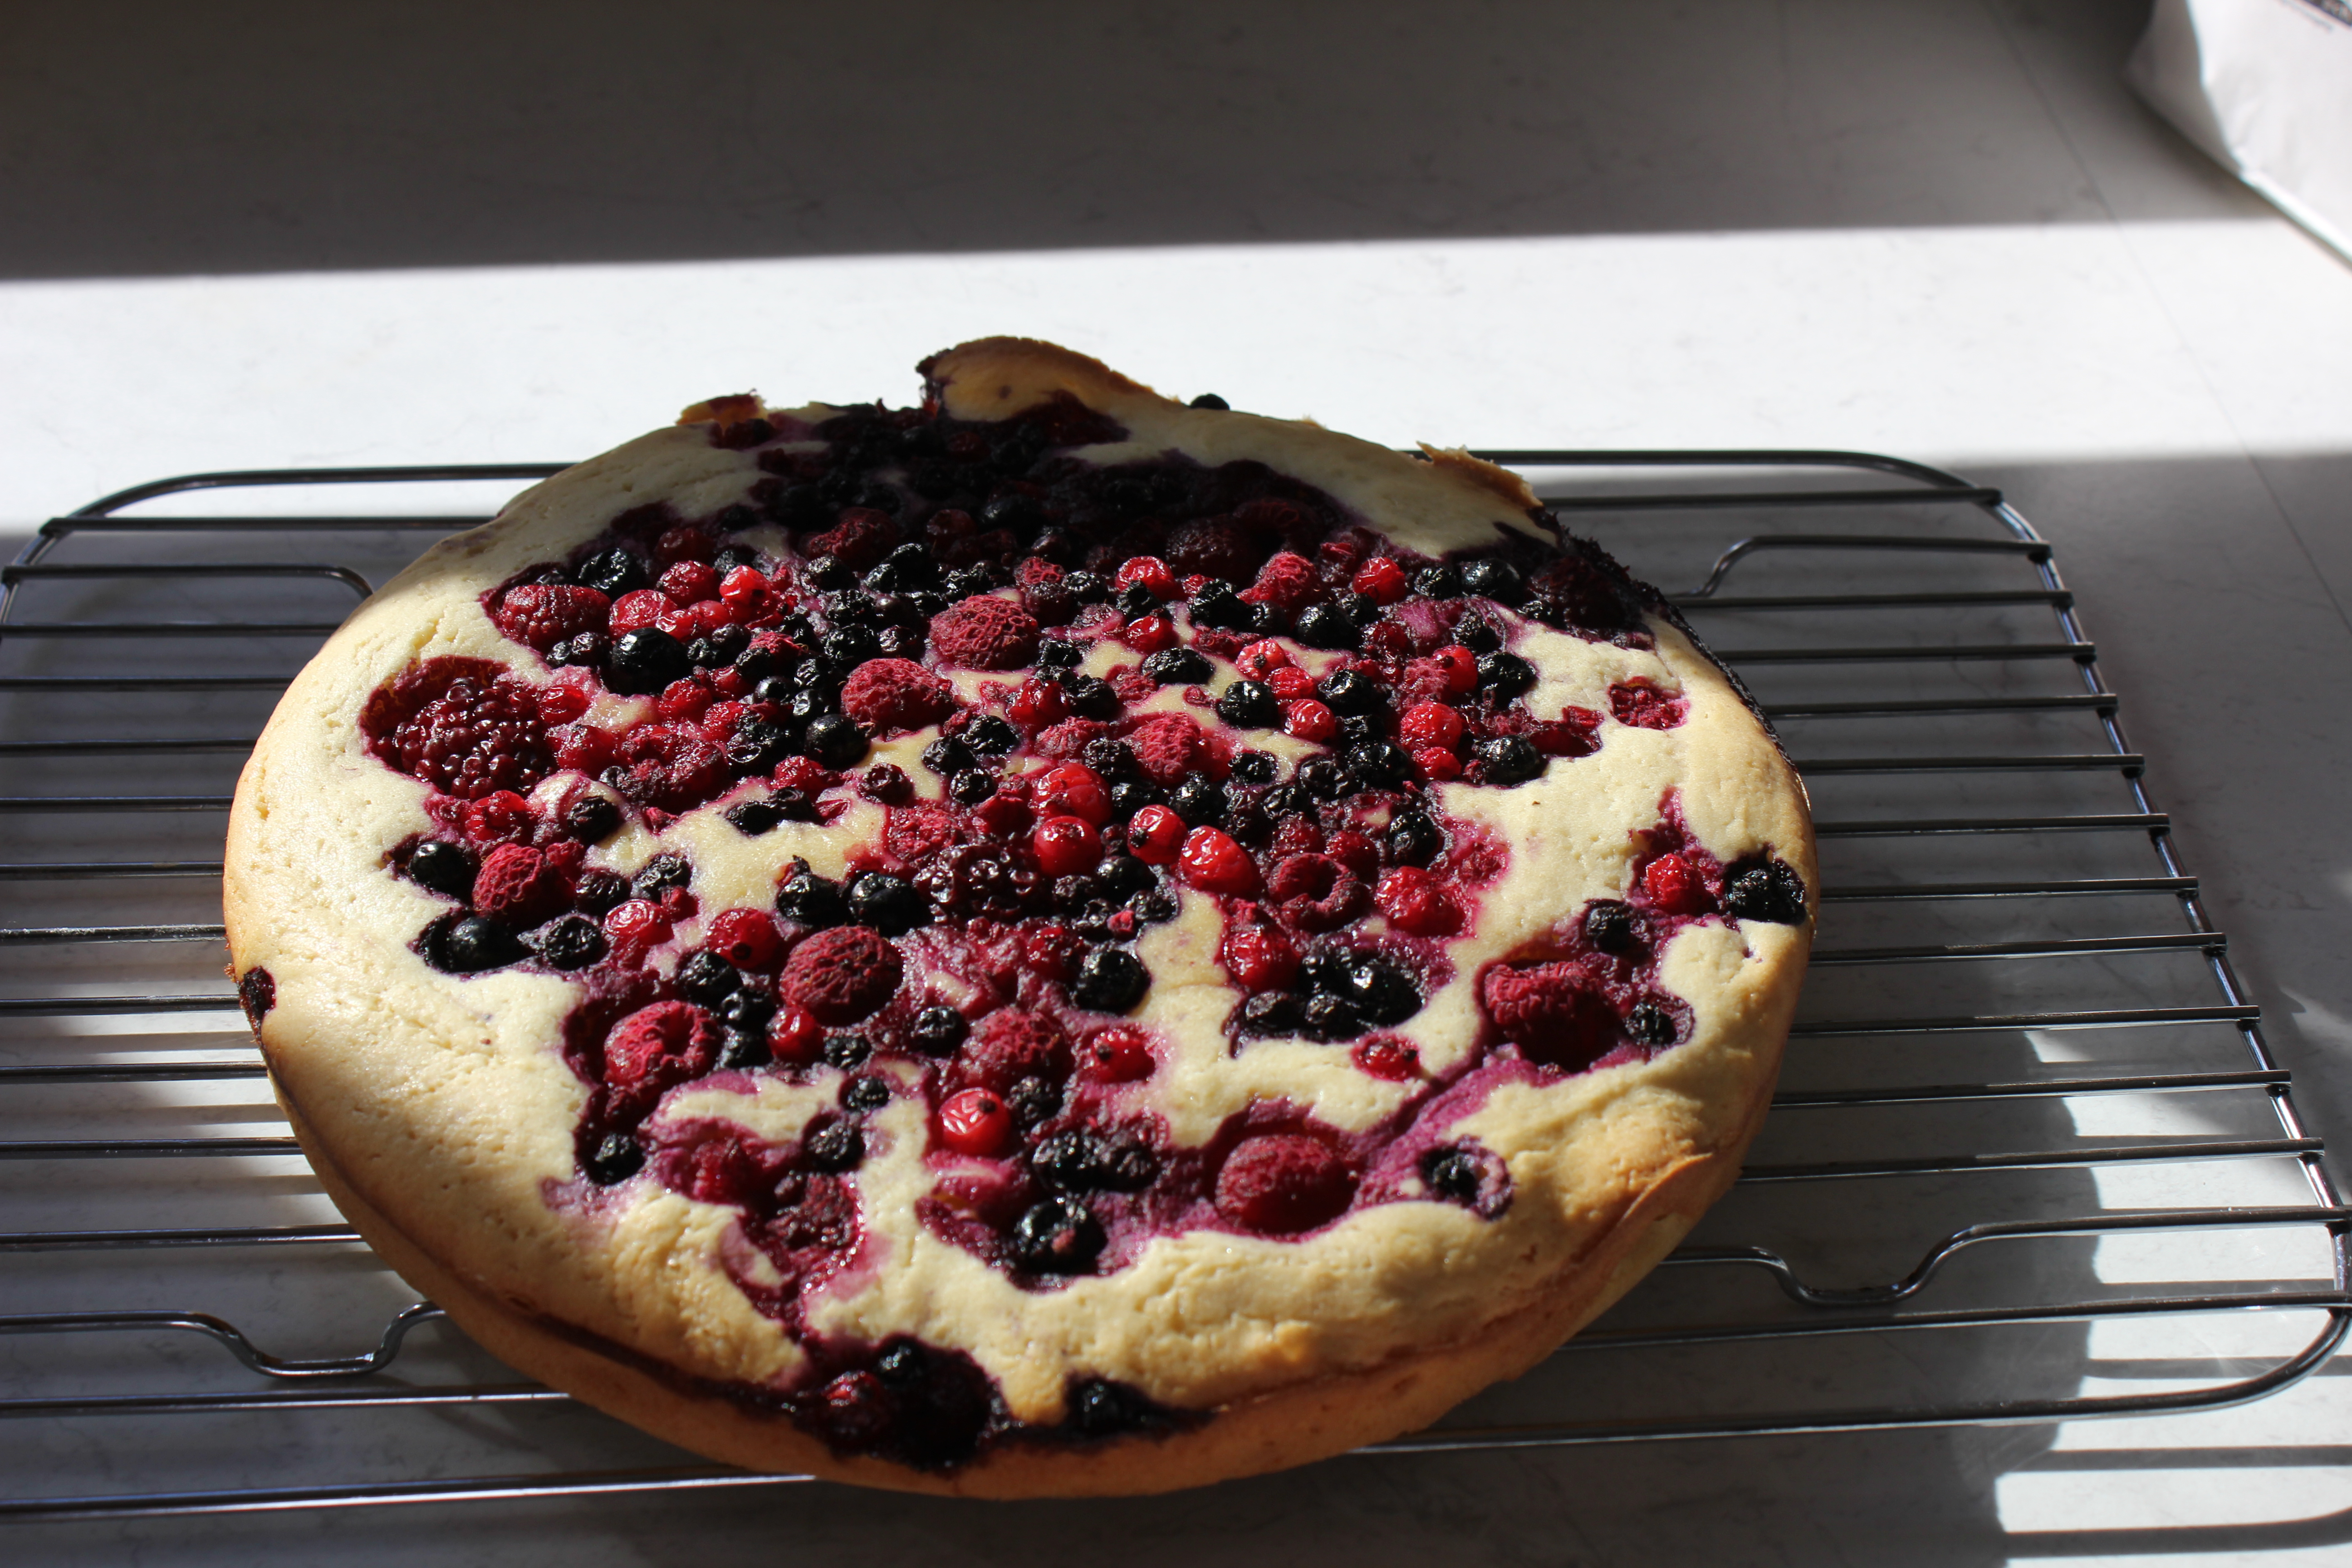
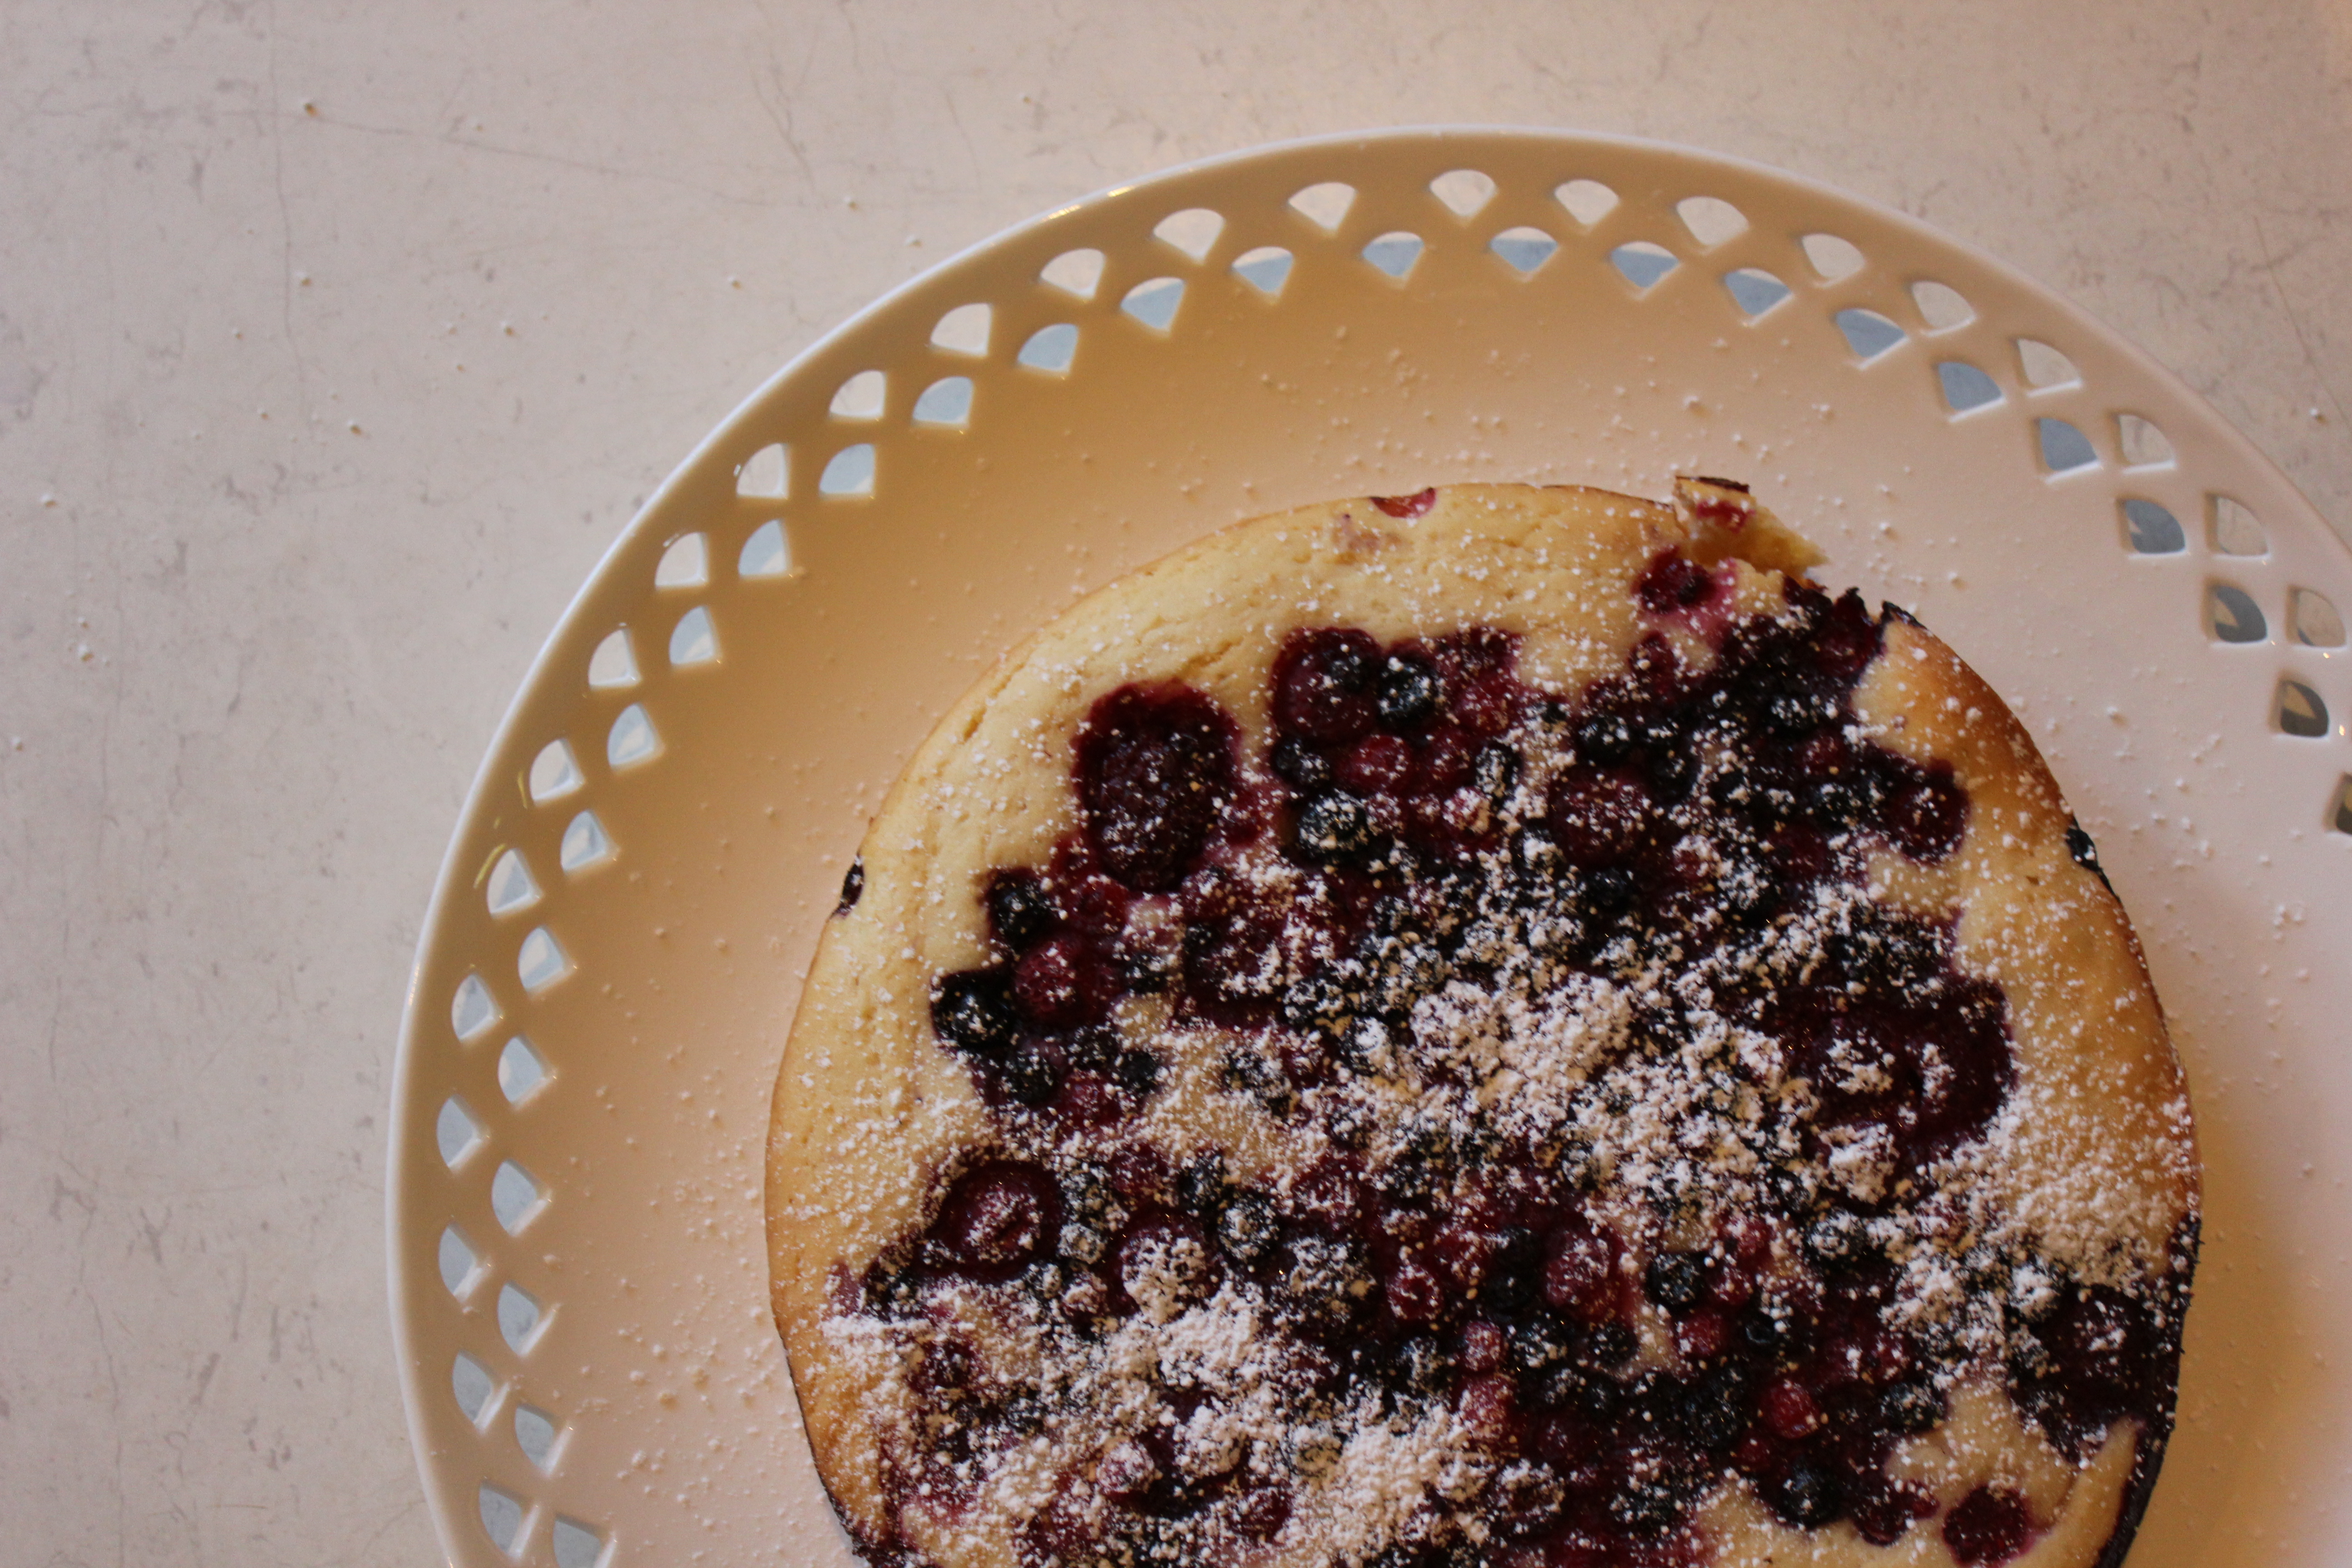
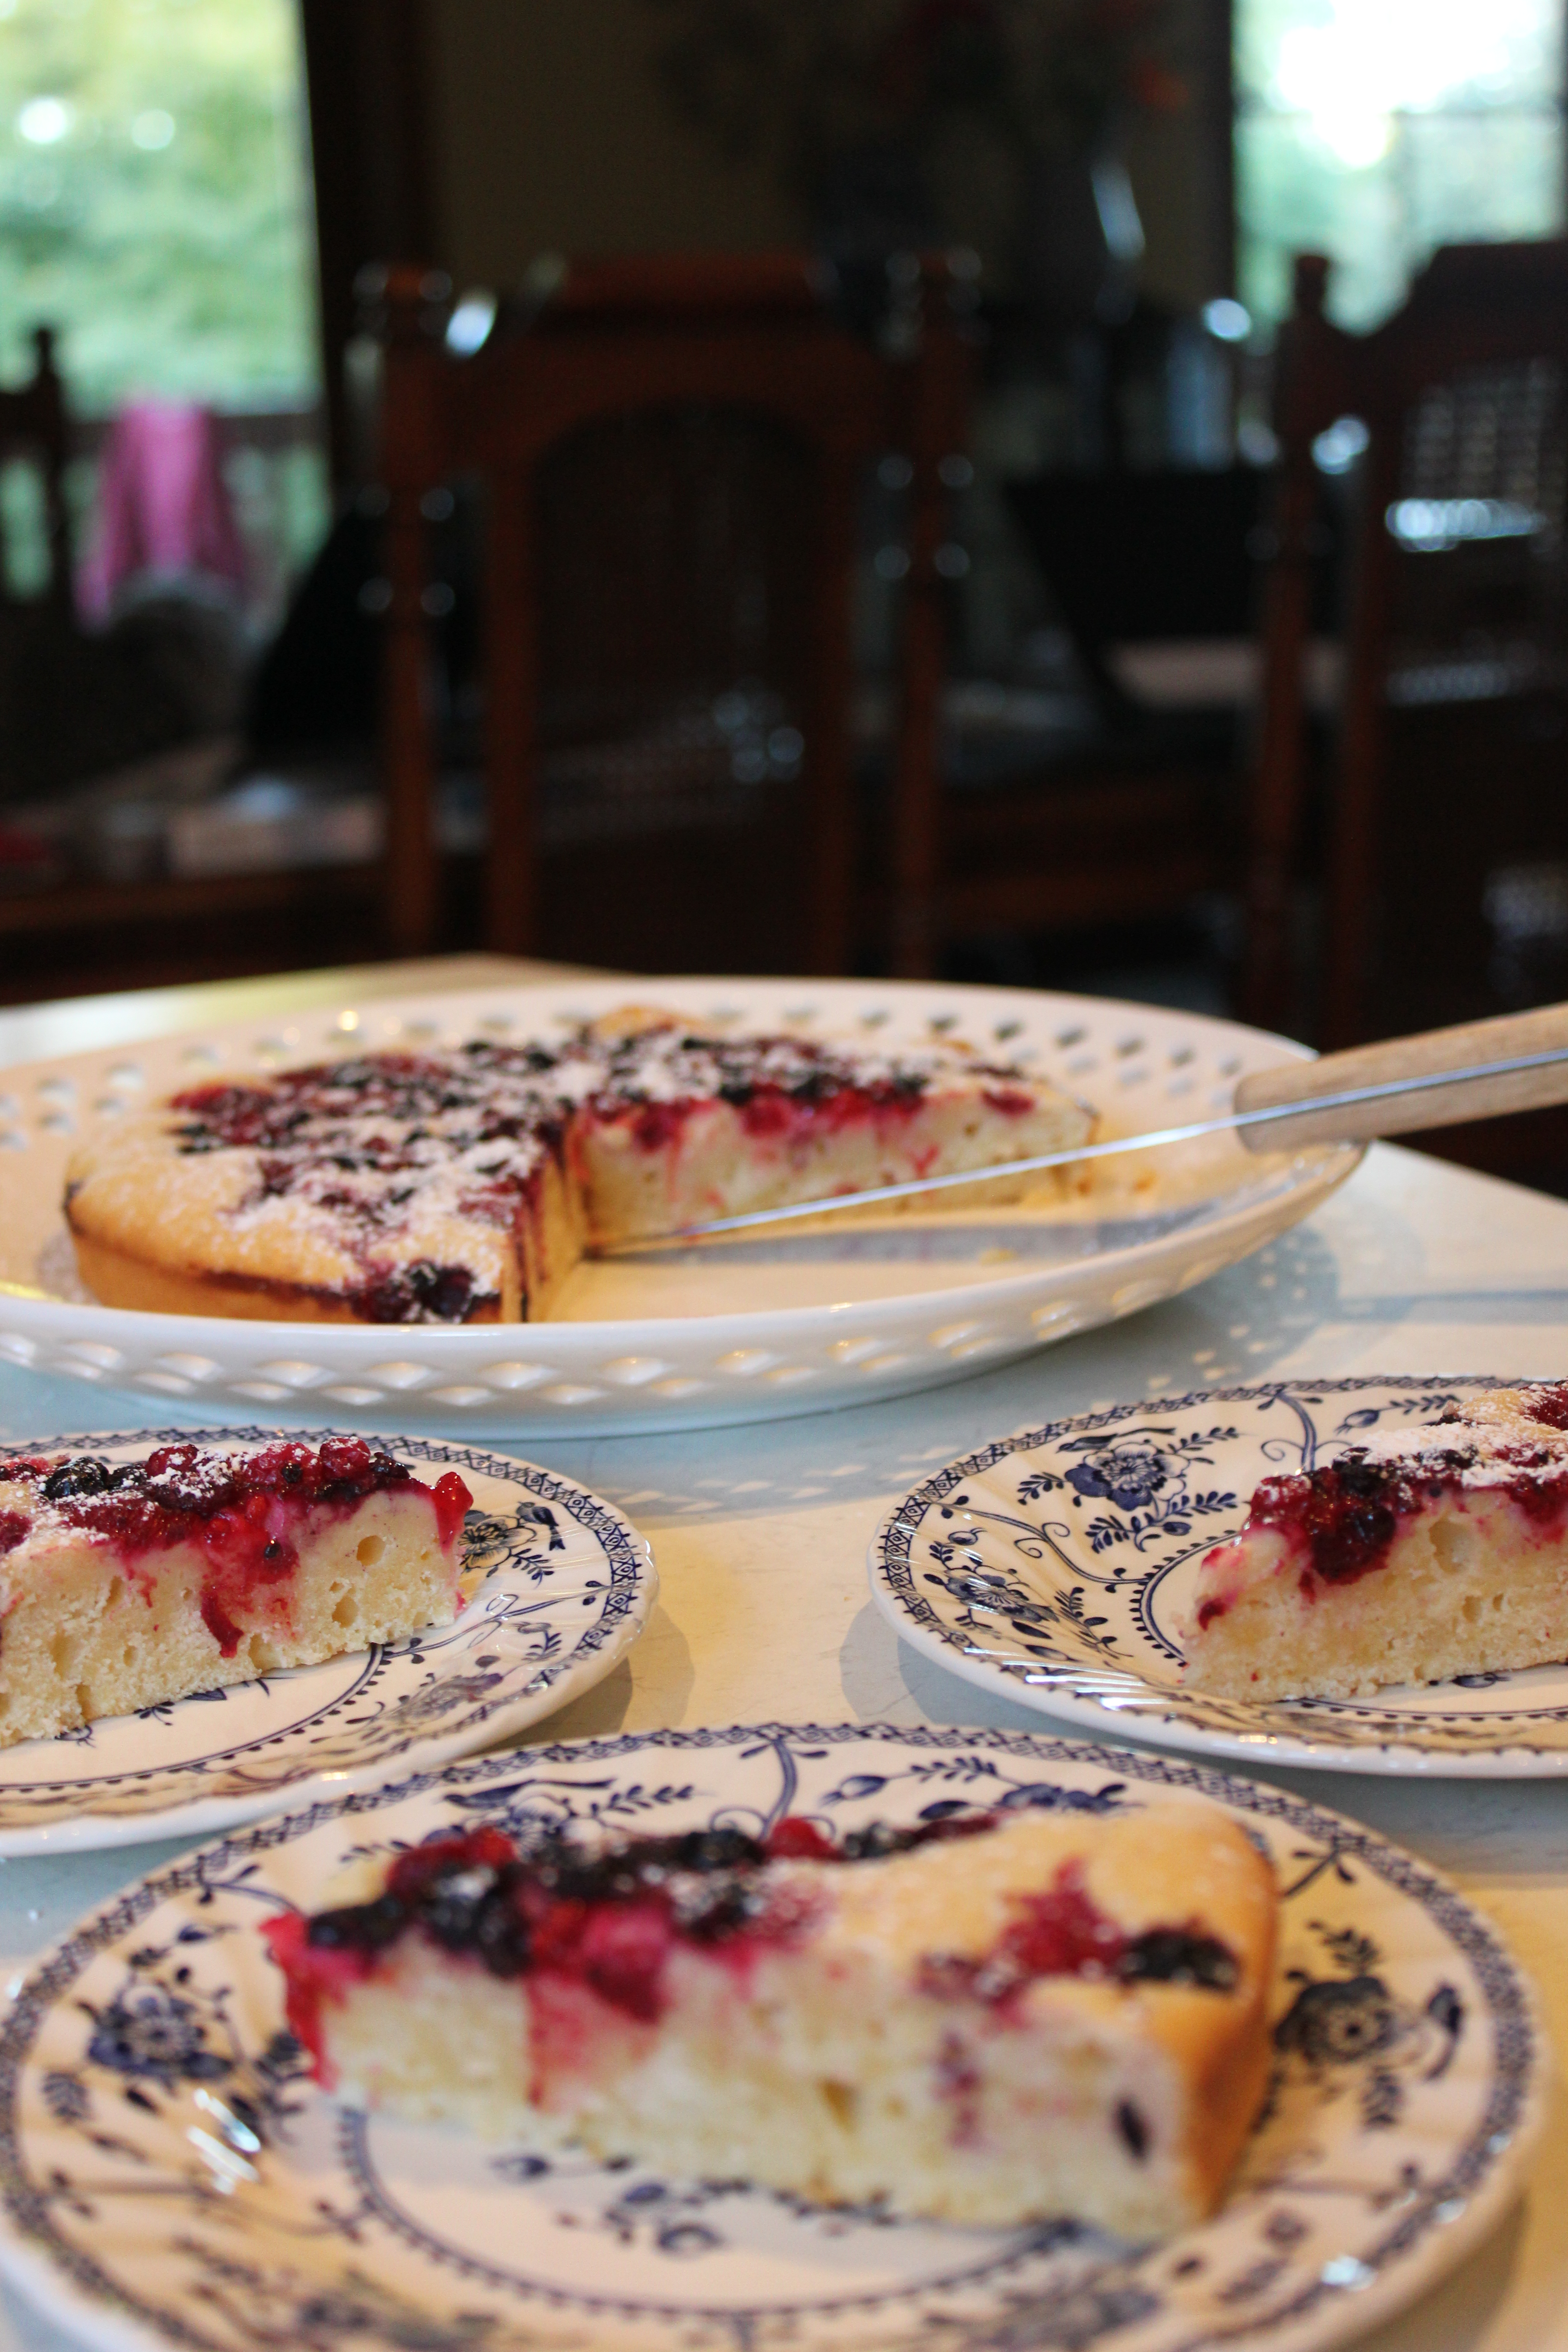
* I doubled this recipe to make a cake – results are here.

Danah’s Red Bull Doughnut Cake and Surprises

During the week it was a friend’s birthday. Danah is tiny, but has an insatiable appetite for sweet things – she eats like a fat person, but never shows it! As a fat skinny person, one of her favourite things in the entire world is Red Bull. When I asked her what kind of cake she’d like, she said a dessert based around Red Bull.

You can imagine my face – it was something like this =S

But then I thought it might not be too crazy an idea. I’d heard of cola cakes before, which are apparently moist and delicious, but Red Bull? For those of you unacquainted with it, Red Bull is an energy drink which is weirdly sweet and sour at the same time…kind of like drinking sour gummy worms. It’s a toxic-looking, intense yellow liquid that should only be consumed (in my opinion) when you require a ridiculous hit of sugar.

I had reservations about putting it in the cake, but I’m glad I did.
cake

I liked it.

It made a thick but well aerated cake that was surprisingly floral in taste. The sourness of the energy drink was taken away in the baking process, leaving a delicate sweetness to the cake which is unlike any other I’ve tasted before. I thought the Red Bull would overwhelm the cake, so I made a heavy chocolate icing in case the taste needed masking! Next time I would serve the cake with a dusting of icing sugar and cream, or with an orange syrup drizzled over the top.

I am thoroughly impressed. And utterly surprised.

Danah’s Red Bull Doughnut Cake:

  • 1/2 cup caster sugarslice
  • 80g butter
  • 1 teaspoon Vanilla
  • 1 teaspoon bicarb soda
  • 2 eggs
  • 2 cups plain flour
  • 1 ¼ cups Red Bull 

Preheat oven to 180 degrees. Grease your cake tin and line the base with a circle of baking paper.

Mix the butter and sugar together until pale and creamy. Add in the vanilla and bicarb, followed by the eggs. The mixture will be pretty sloppy at the moment, so add half of your flour and give it a good mix. Add ¼ cup of Red Bull, the final cup of flour and then the final cup of red bull, stirring in between each addition. The cake batter will smell very strongly of Red Bull, and I don’t advise eating the batter (which is unusual for me), but persevere, it can only go uphill from here!

slicedThis cake was intentionally flat so that it resembled a doughnut, but you could add another teaspoon of bicarb to give it some height.

The final product was perfect for Danah, a  fat skinny person’s dream!

To create a cake exactly like the one pictured, top with a chocolate buttercream and soft sugar pearls (try them, they’re great!) or experiment with other syrups/icings – tell me what you think!


Red Bull cake – great or gross?

Lemon Raspberry Meringue Pie and Craziness

Today’s post is going to start at the end. I had made Lemon Raspberry Meringue Pies and they were a little bit crazy. The recipe worked perfectly and cooked without a hitch, but I got the feeling that the beautiful bright colours were a little unusual for the humble lemon meringue pie.

doneI took a sample down to my neighbour. She’s lived one house away from me for my entire life and always played a bit of a cameo role in my life. I used to play with her grandchildren, see her at church and bump into her on my morning walks. Since I started Baking With Gab I have had so much excess food that I take her some every now and then.

Walking through her dining room I was struck by how beautiful her tea set was. Six cups, plates and saucers were out on the table, each with its own character and story. She explained that she’d been given them all individually and it was known as a ‘crazy tea set.’ Being born in 1989, I had never heard this phrase before, but I’m now completely in love with the idea of it. She told me a little history about each and I marvelled at how beautifully they worked as a set.

My lemon raspberry meringue pie is crazy in its own way. I piped the meringues onto each one differently – they all match, but they’ve got their own little bit of flair. This was done intentionally because:

  1. I don’t have the patience to agonise over perfect meringues and
  2. I’m not really that skilled a piper.

This whole thing takes about an hour, provided you time everything right. It could easily take you about half an hour if you cheat and use lemon curd from a jar and frozen puff pastry. I wouldn’t even tell anyone you cheated! I would usually cheat as well, but I had to use up excess lemons from my nan’s tree and surplus eggs that I had in the fridge. This is perfect for using up lemons and eggs!

Crazy Lemon Raspberry Meringue Pie:

pastry cutShortcrust pastry:

  • 150g butter
  • 1 ¾ cups plain flour
  • ¼ cup icing sugar
  • 1 egg
  • 1 tsp cold water


Lemon curd:

  • 3 lemons
  • 1 cup sugar*
  • 100g butter
  • 3 eggs + one egg yolkcurd*you can cut this back to ½ a cup if you want it to be super tart!

Raspberry meringue:

  • 3 egg whites
  • Juice of half a lemon
  • 2 cups sugar
  • 200g frozen raspberries

breadcrumbsDice up the butter and put it in a bowl with the flour and sugar. Grab a butter knife and cut through the butter to mix the flour and sugar into it (I use this method because my hands don’t get as dirty.) When the butter is in small pieces and covered in flour, use your fingertips to rub the mixture together until it resembles breadcrumbs. Add in your egg and teaspoon of water so that the breadcrumbs combine to make a pastry. Try not to knead, but gently squash it into a ball. Cover the bowl with cling wrap and pop it in the fridge for about 20 minutes while you make the lemon curd.

lemonsZest and juice your lemons. Or juice then zest them – whatever works for you. Put the lemon juice, zest, sugar and butter into a pan over a medium heat. Stir the mixture until the butter is melted. Whisk the eggs and egg yolk together, then add it slowly to the lemony mixture. Turn the heat up to high and allow it bubble quite fiercely. Whisk it for about five minutes (making sure it doesn’t burn) until it starts to thicken. You can also use your whisk to fish out any chunky bits of lemon that may have snuck through when you juiced the lemons. Take off the heat and transfer into a cool bowl so it can cool.Curd making

Grease two 12 cup muffin moulds and preheat the oven to 180 degrees. Take the dough out of the fridge and spread flour over a clean surface. Spread your rolling pin with flour too to stop the dough from sticking to it. Roll your dough out very thinly and use a cutter that is bigger than your muffin cups. Press the circles of pastry into your greased tins. Prick each circle at least three times and then pop them into the oven for ten minutes.

prickYou’ll have one egg white left over from making pastry, use this and two extra egg whites for the meringue while the cases cook.
Whip up your egg whites with half a cup of sugar and the lemon juice. In a separate bowl, pour one cup of sugar over your raspberries and mix to combine them. Set them to one side so that they make a raspberry-sugary mush. Once the meringue
whipforms stiff peaks, add the final half cup of sugar to the mixture. Mash the raspberry and sugar together so it’s smooth  and spoon it gradually into the meringue mixture.

pipe

Take the muffin cases out of oven and let them cool for five minutes. Spoon two tablespoons of lemon curd into each pastry case and pop them back into the oven for ten minutes. When they come out of the oven set them to one side and turn the oven up to 240 degrees. Pipe or spoon the raspberry meringue onto the lemon curd (be generous!) and then put them in the middle tray of the oven with the door open for 10-15 minutes.

bunchedAllow them to cool before serving. Sprinkle them with icing sugar and serve with raspberries on top!

*I doubled the lemon curd recipe that I listed in this recipe to use up the ginormous lemons that had come from my nan’s tree, but also because it means I have some ready for the next time I want to make this! Home made lemon curd is worth the extra effort, it’s tart and zesty – far superior to even the best store-bought stuff. Plus there are no preservatives or sneaky additives, just sugar, butter, lemons and eggs!

Chocolate Nutella pots de crème and chilly weather

Chilly weather is making me fat. I’m staying indoors, seeking out sugar and becoming too attached to the heater. Luckily, chocolate Nutella Pots de crème are not as indulgent as you would imagine. Below a dark layer of chocolatey thickness is a paler, lighter substance…I feel less bad about eating them because they’re not too rich, they’re just right.

These little devils are less posh than they sound. The French vibe they give off is enough to wow dinner guests, but they’re super simple…not to mention delectable! They’re basically a chocolate custard pudding thing – do labels matter? If people ask, just say they’re made entirely of delicious ingredients, they don’t need a name.

You can throw them together in 15 minutes and leave them in the oven to do their work. Pop them in the fridge while you eat mains, and they’re ready to be devoured! They’re adaptable enough to be served alongside a three course dinner, but  will fit neatly along side a casual Sunday lunch menu. Serve them with berries to dress them up, or chuck a spoon straight into them to give them a laid back scruffy feel.

Do what you please, just make sure you lick the bowl.

Chocolate Nutella pots de Crème (aka deliciousness in a ramekin)nom

  • 4 egg yolks
  • ¼ cup sugar
  • 1 tsp vanilla
  • 1 ½ cups cream
  • ½ cup milk
  • 2/3 cup nutella
  • 50g chocolate

Preheat your oven to 170°C. Resist the urge to eat the Nutella. Find six ramekins or oven-safe tea cups (I’ve gone for a mix of both because two of my Nanna’s darling ramekins have broken over time.)nutella

Mix together your egg yolks, sugar and vanilla in a bowl. Set them to one side.

In a saucepan over low heat, melt the chocolate down and add the Nutella. Once you add the Nutella in it should be thicker and glossier. Once again, resist the urge to eat the Nutella from the jar.  Mix the chocolate and Nutella until no lumps remain. Add your cream and milk in and turn up to medium so that it combines. Keep stirring.

Boil your kettle now, you’ll need hot water to surround the filled ramekins later.

mixThe mixture will be speckled, so you need to keep on stirring for about ten minutes. You don’t want speckled pots de crème! Once the mixture is an even colour (with no more speckles) slowly add the egg mixture in. Make sure the chocolate mixture isn’t too hot, you don’t want to cook the sugary egg!

Once all the egg mixture is incorporated, whisk the mixture over heat for five minutes, allowing it to bubble and thicken slightly.

Divide the mixture among the ramekins. If you’re a messy pourer like me, wipe the edges so there are no sloppy bits. Place the ramekins in a baking tray and carefully pour the hot (not boiling) water into the tray, about half way up the ramekins.drop

with water
groupPop them in the oven for 50 minutes to 1 hour. If you can gently press the top of the chocolate without it wobbling too much, they’re done. Put them back in the oven if you’re not 100% sure, the water means that it’s really hard to burn them. This style of cooking also ensures that your mixture is super silky and smooth. When they’re out of the oven, allow them to cool and place them in the fridge until they’re ready to serve.

shavingsUse a vegetable peeler to cover your pots de crème with shavings of chocolate – enjoy!spoon in

Weekends away and baking

The weekend just gone was fantastic. I ate too much, window-shopped and caught up on some reading, but most of all I enjoyed being in the country. I spent every Easter until I was about 15 at my cousins’ farm in Orange, so it has a special allure for me. There is so little going on there that you can see the Milky Way at night and you can’t see any neighbours! People are friendlier, the air is cleaner and I swear the sky is bluer there.

gate

bench

farm sun set

sheds

The farm has always just been “the Farm” to me. As though it was the only one in existence, like no other farms could live up to the one that my cousins owned. It is expansive and beautiful in its own rugged way. It was greener than I’ve seen it in the past, which was good for the cows and my photo shoot! Said cows took a keen interest in the picnic photo shoot.

gathered

rocks

cpwas watching

I used my brownie recipe posted previously (which is an adaptation of a Donna Hay brownie and a Gordon Ramsay  brownie), I just baked it in jars and topped it with strawberries and Milky Way infused cream. I’m still perfecting the consistency of the Milky Way cream, I’ll post that recipe up soon.

starwbs in jar

brownie in a jar

close jar

cute spoon

done

My mother darling’s fantastic new bag featured in this shoot. She bought it without knowing that I had planned a picnic-themed photo shoot! She hadn’t used it once and she still let me take it away for the weekend. And I bought super cute picnic spoons – feel free to admire them!

basket

spoons

There was also Bentley. The photos don’t do his character justice. He came to live on the farm after Snag, guardian sausage dog of the farm died. Bentley is a tiny sausage of energy, affection and adventure. He wouldn’t stay still long enough for me to get a good photo!

bentley walks

bentley

bentley 2

spot the doxie

fire

There was a cow traffic jam which made me laugh. I was like the ultimate tourist as we drove through it. It reminded me how country life moves at a different pace. We took our time getting past them, willing them to not run in front of the car and ruin our planned trip to find delicious food.

cows

cpws 2

I baked a few things, but mostly enjoyed food made by local cafes and restaurants or by my relatives. We visited the Old Mill Café, which was fantastic (both the conversation and the food) and bought some locally-sourced products from A Slice of Orange, which I’ll use in the blog in the coming weeks.

alcohol

apples

lemon

stand

sweeties

Brownies and weekends away

I made brownies yesterday in preparation for going away tonight. I’m doubling the recipe and leaving half with the fam and taking half away. The Boy and I are spending a few days in Orange. I’ve got cousins to visit, fresh produce to check out and cafes to explore. There is also a sausage dog pup that I want to steal from said cousins. The Boy doesn’t really have a choice in what we do, luckily he’s fairly compliant when it comes to these things! He’ll busy himself being a country boy for the weekend. He spent the first 20 years of his life in England, but something about leaving Sydney and heading for dirt roads unleashes his inner country boy. When we visit my cousins’ farm he wears plaid and an akubra and busies himself with fencing, quad-biking and burning things.

I read, bake and attempt to coax the farm dogs into leaving the country and returning to the city with me. I’m never successful. Sometimes I feel as though The Boy also needs coaxing back home.

I made this brownie recipe because it just screams homeliness and I think it suits the farm vibe perfectly. It’s cosy and simple. And just delightful.

Just as the farm is escapism from Sydney life, this brownie is escapism from the real world. Put away your diets for a minute, lay down the celery and indulge in a square of escapism.

textureChocolate brownie

  • 200g dark chocolate, chopped
  • 200g butter
  • 1 1/2 cups (310g) brown sugar
  • 3 eggs
  • 2/3 cup (35g) cocoa powder, sifted
  • 1 cups (185g) plain (all-purpose) flour, sifted
  • 1 teaspoon baking powder
unhealthy
Hello deliciousness!

Preheat your oven to 160°C and line a 20cm baking tin. Roughly chop your chocolate and butter and place them in a saucepan over low heat and stir until smooth and glossy. Put this to one side to cool slightly.

eggsCombine the sugar, cocoa, flour and baking powder in a bowl. Add in the eggs and mix as thoroughly as you can, it will be hard to mix because the mixture is so dry. Add the chocolate mixture and combine. Pour the mixture into your baking tin.

uncookedBake for 40-50 minutes or until a skewer inserted into the middle comes out mostly clean. For me, a perfect brownie should be squidgy in the centre, so I don’t want a completely clean skewer. If the skewer pulls out a whole chunk of mixture, pop it back into the oven, but if there is just a little bit of chocolate on the skewer, I’d say it’s done.

Allow the brownie to cool slightly in the tin before slicing. It will sink. It just will. There is nothing wrong with that – the sides and top will have puffed up more than the rest of the mixture and the centre will be deliciously moist. It’s dense, chocolatey and decadent.

wholeSprinkle with icing sugar and whip up some cream to serve.

Serve warm or cold. Makes 16 decent slices.

tongue out
Norman got some cream because chocolate isn’t good for dogs!

Macaroons and failure

The first (and last) time I made macaroons I was distracted. Never be distracted with macaroons. The first batch I put in the oven sunk, the second batch burned. I got cranky at the idea of macaroons and have not attempted them since. After two years, I decided it was time to try again!

I don’t have a good track record with meringues, so I was super conscious of doing things as perfectly as possible.

I wiped Penelope’s bowl down with a lemon to eliminate any fats or oils that could be lingering from its last use. I washed the lemon juice off and dried the bowl, then let it sit for a while to ensure that no moisture had hung about. I don’t usually have much patience for things like this, but I was determined to get these macaroons made!

IMG_5260When you crack your eggs don’t let any egg yolk enter the whites, it will dash all your efforts in cleaning the bowl so thoroughly because it will affect how the whites whip up. Be vigilant!!

I was so determined that this was going to be a successful macaroon making session that I planned three flavours. This was going to be a macaroonathon.

So I managed to make meringue with no problems. I was actually really impressed that I had made successful meringue. That is the extent of my success with macaroons. My first batch were lumpy and did not hold a nice shape. I’ll be honest, they looked like little lumps of poo. My second bunch was much more promising. IMG_5262The mixture was smooth and shiny, it glinted at me from the bowl even after I put the pink food colouring in. I tapped the bottom of the baking tray to remove excess air bubbles and I got prematurely excited. They were perfect circles, no lumps in the mixture – they were smooth, glossy little discs on the baking paper.

And then something went wrong. They expanded too much, they deflated, they looked like pancakes.

Poos and pancakes. Great.IMG_5312

Is it too much to ask that I produce one successful macaroon? My creations tasted fab (which made it worth the time I put into double sifting the tant pour tant, the almond meal and icing sugar mixture) and they formed the shell but remained soft on the inside. They just didn’t look right.

One of my pet hates is cooks who put too much emphasis on aesthetics and ignore taste, but even I have my limits. These thing tasted fine, but I would never serve them! Not even a sprinkling of icing sugar could mask these abominations.

Luckily I had friends to mourn the macaroons disaster with me. We chomped on ill-formed marshmallowy-pancakey-pooey-things and had a laugh. This isn’t the end though! For the moment I’m going to recommend you leave it to the experts. Go visit Zumbo or your local patisserie.

Macaroons: 1  Gabby: 0 – they’ve won this round.

Until next time, macaroons.

Yoghurt Berry cake and cooking credentials

You may be reading this blog wondering what credentials I have to be advising people about their cooking (valid question) – the answer is: none. I have no formal culinary qualifications, I just love it. I’m a strong believer in doing what you love – I love writing, pretty things and cooking, so writing a cooking blog seemed like a sensible choice.

flowersWhen I say cooking, I mainly mean baking. I have a near insatiable sweet-tooth, so I gravitate towards cooking things which are sweet (and often visually pleasing!) I will try to blog about savoury dishes as well, but I can’t promise they’ll be exciting – nobody gets excited over spag bol!

Cooking (baking especially) should make you happy. If it doesn’t, you’re doing it wrong. There are always going to be times when you can’t fathom getting home from work/uni/whatever else you do to slave over an oven, but it doesn’t have to be this way.

Find recipes that excite you. Experiment. Make something up! You don’t have to be a professional to make something amazing.

Not everyone gets as excited about cooking as I do, but I like to think that they have it within them somewhere.

A friend of mine loves coming to my house because there are always left overs. She goes crazy over a simple chocolate slice or mashed potato, but refuses to believe that she can replicate them in her house.  She can. I’m going to make her understand this even if it pains me! You can cook as well.

This recipe is super simple and works warm or cold. It’s great for entertaining – it’s quick to make and it makes people happy! It works with most fruits as well. If you don’t have fresh berries, use frozen ones. Nectarines cut into wedges look really effective if you use a lamington tin instead of round cake tin.

sliceSuper simple Berry Yoghurt Cake

  • 125g butter
  • ¾ cup caster sugar
  • 2 eggs
  • 1 cup plain flour
  • 1 cup self-raising flour
  • 3/4 cup vanilla yoghurt
  • 1 cup blueberries
  • Icing sugar, to serve

Preheat oven to 180°C fan-forced. Grease a 23cm round cake tin.

Beat butter and sugar together until light and fluffy.

mixtureAdd eggs, beating to combine. Mix in your plain flour, then the yoghurt. If you only have greek yoghurt in the fridge (like I did), add a teaspoon of vanilla to the mixture as well. Add the self-raising flour and mix until combined. This is quite a thick mixture, don’t worry if it’s a little hard to mix. Spread mixture into your greased cake tin.

tinThe cake tin I’m using has been well-loved. It has held many of my mother dearest’s crème caramels and cakes. As a result, it’s a little worn (that’s being polite) and has a tendency to cling onto cakes when you want to remove them. To combat this I simply trace the base of the tin onto baking paper, cut the round out and place it over the greased base. Problem solved.

frozen berriespressPress a few berries gently into the mixture, but sprinkle most of them across the top of it and then pat them down gently with your hand. If your oven is prone to over-browning things, cover the cake with tin foil two thirds of the way through cooking.

Bake for 50 minutes or until a skewer inserted in the centre comes out clean.

cake
Remove from oven and let it stand for ten minutes before serving. Sprinkle with icing sugar and add a dollop of cream or yoghurt to finish.

off centreDon’t worry if you take this cake out a little too soon, my favourite part of any cake is the squidgy bit right in the centre where the heat hasn’t completely cooked the mixture. I’m a sucker for cake mixture, and the centre of this cake is glorious!

trio


Your finished product should look even better than mine because I foolishly used 2 cups of plain flour instead of one plain and one self raising. It should look more like this (I instagrammed this cake when I made it about a month ago.) We all make mistakes!